
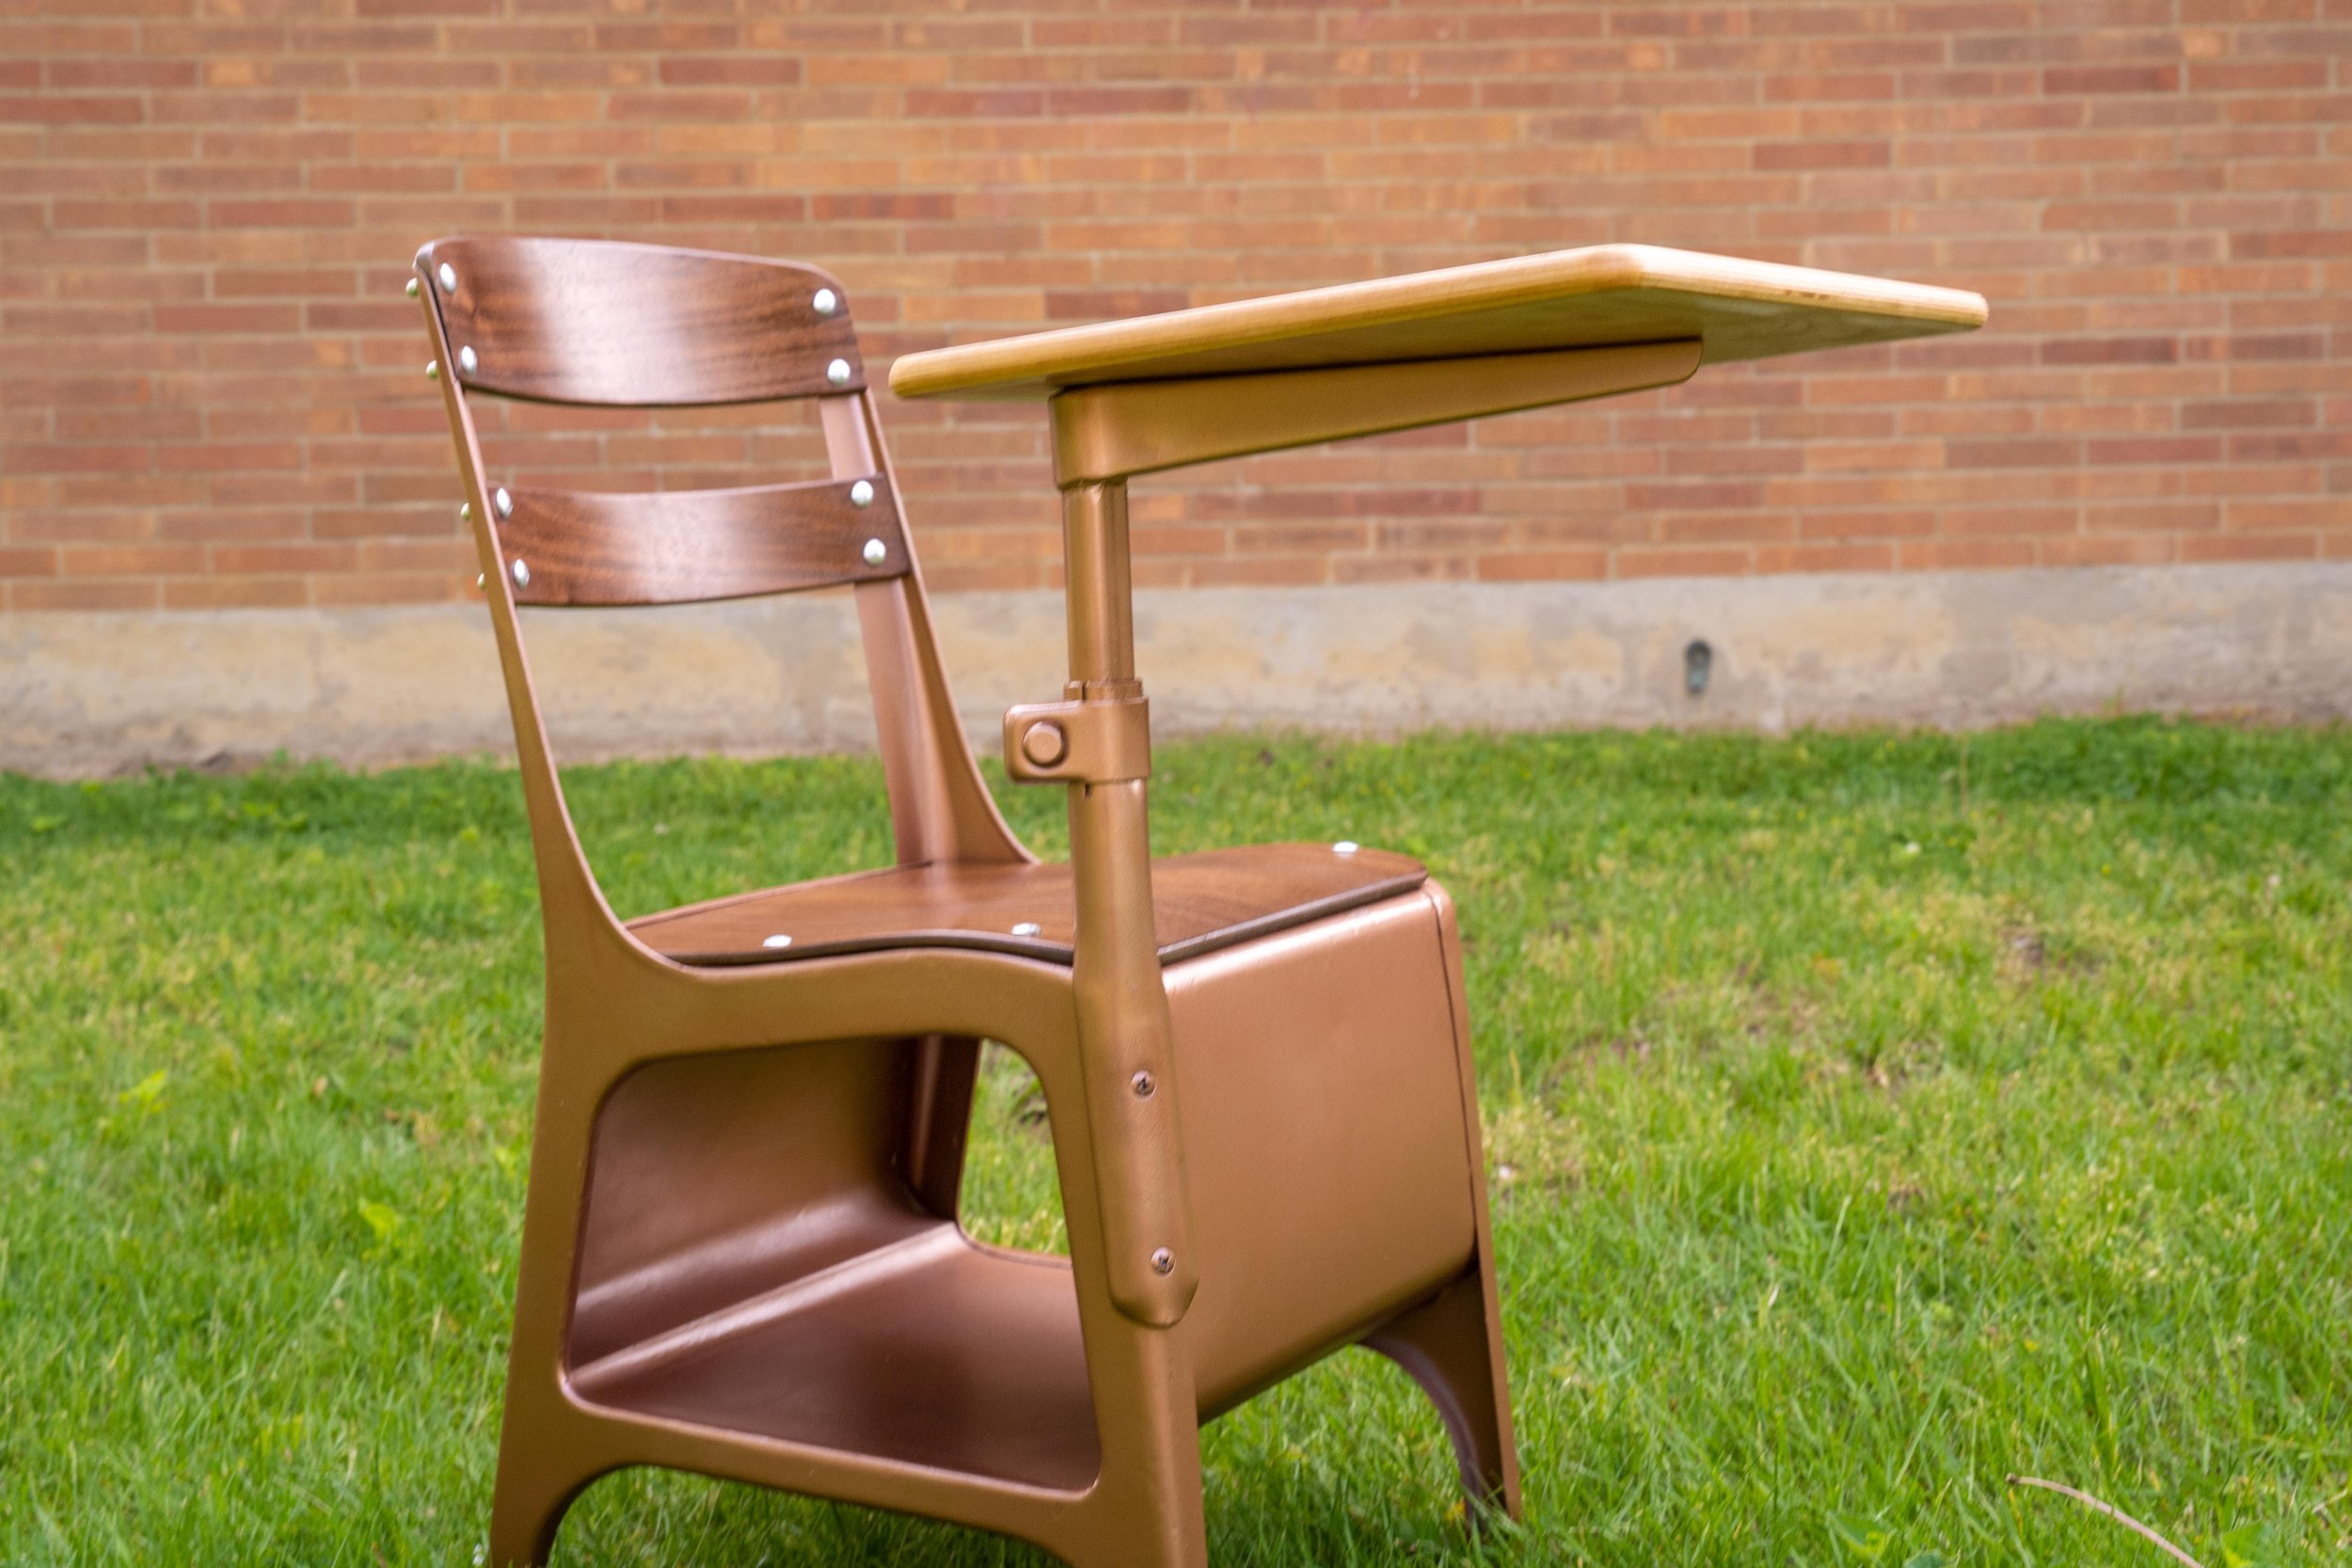
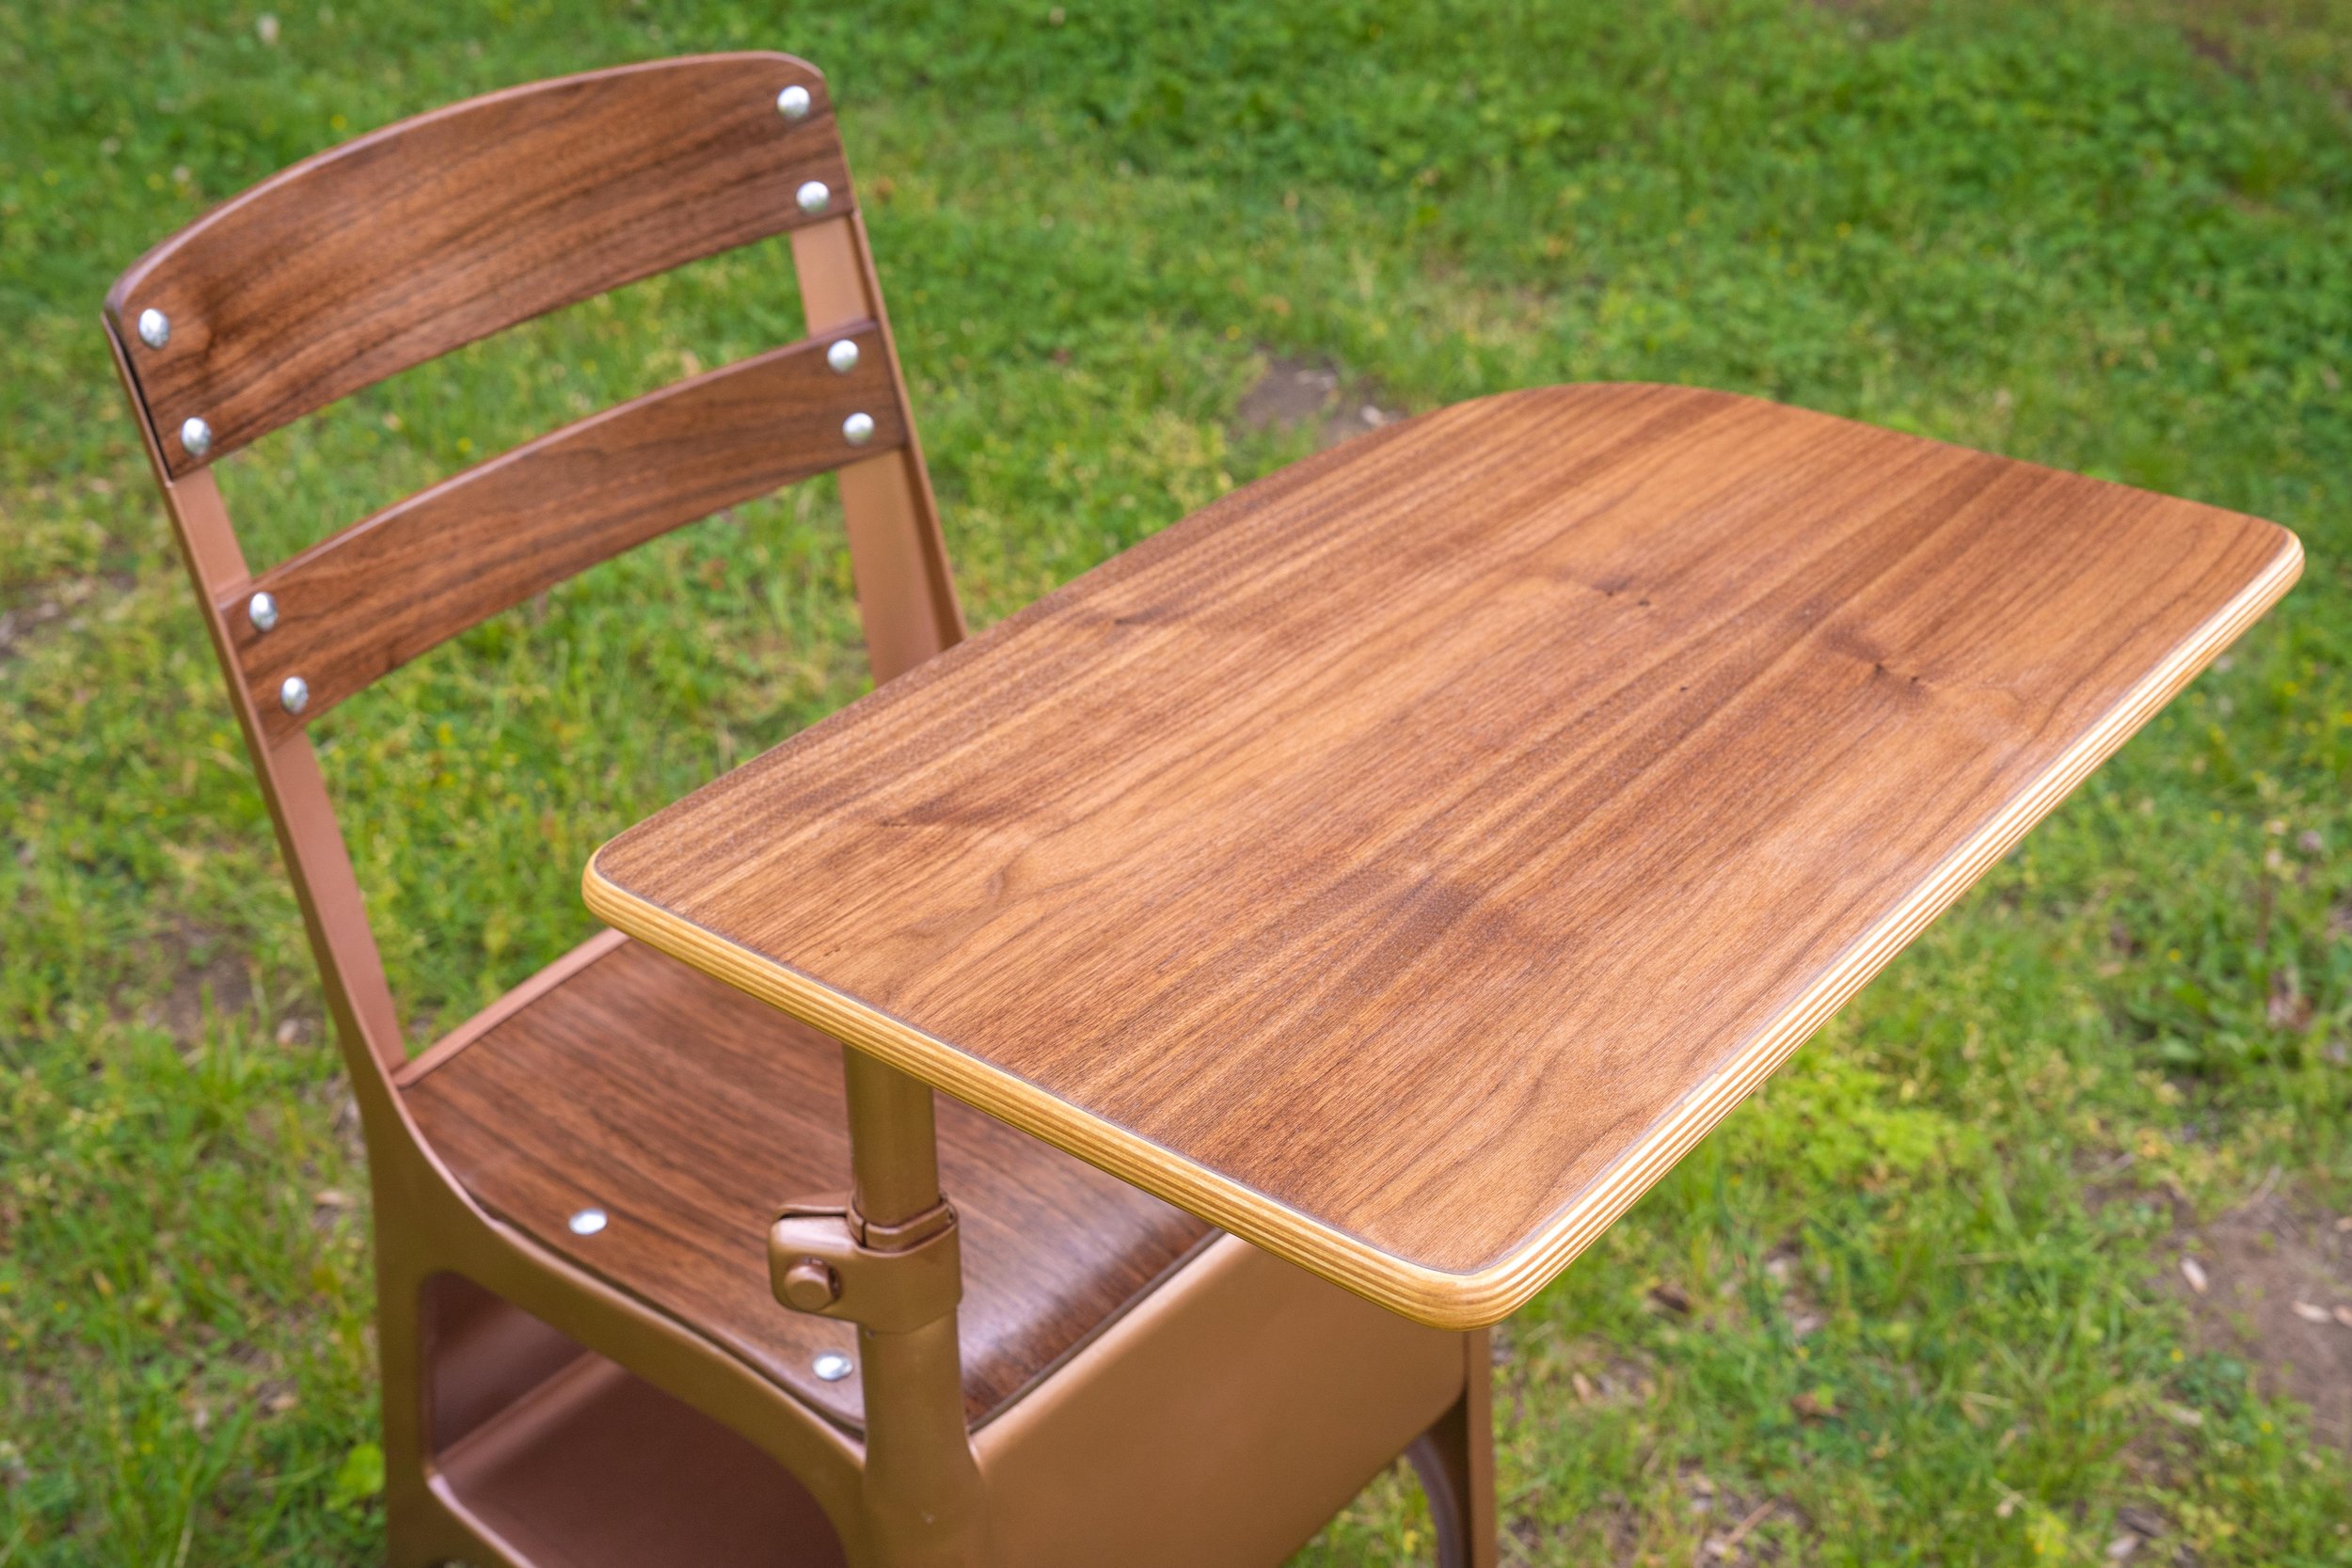
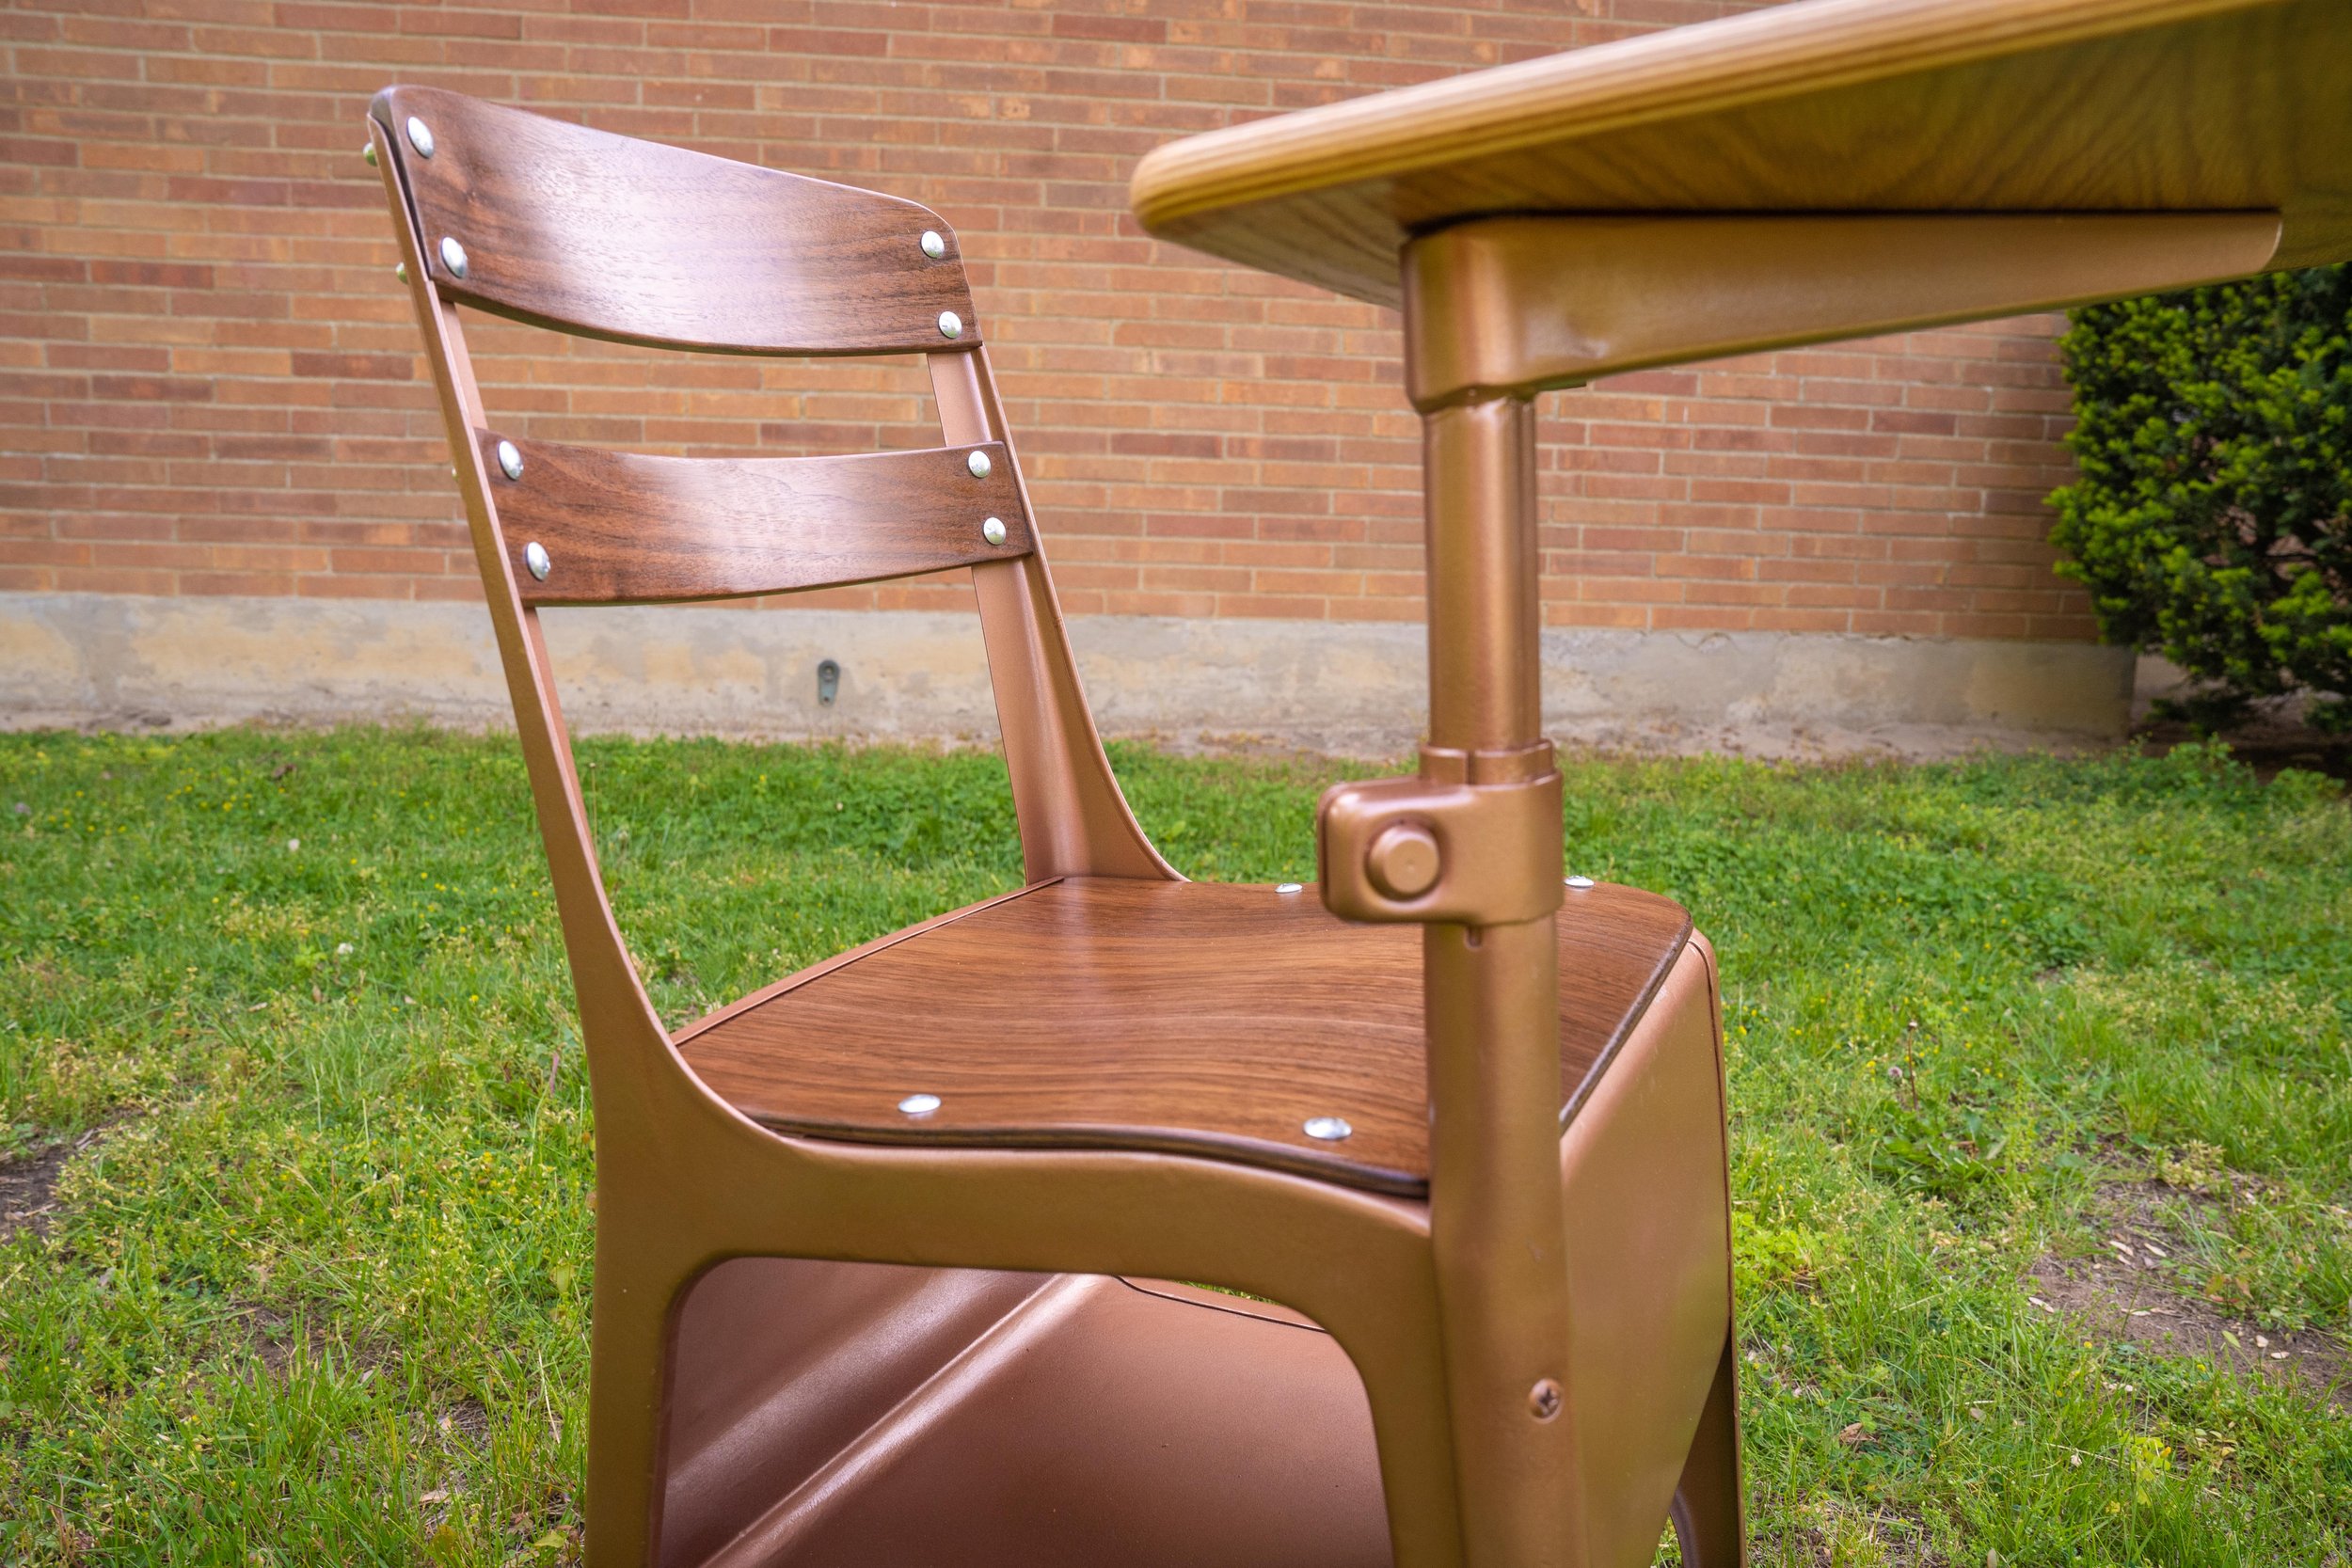
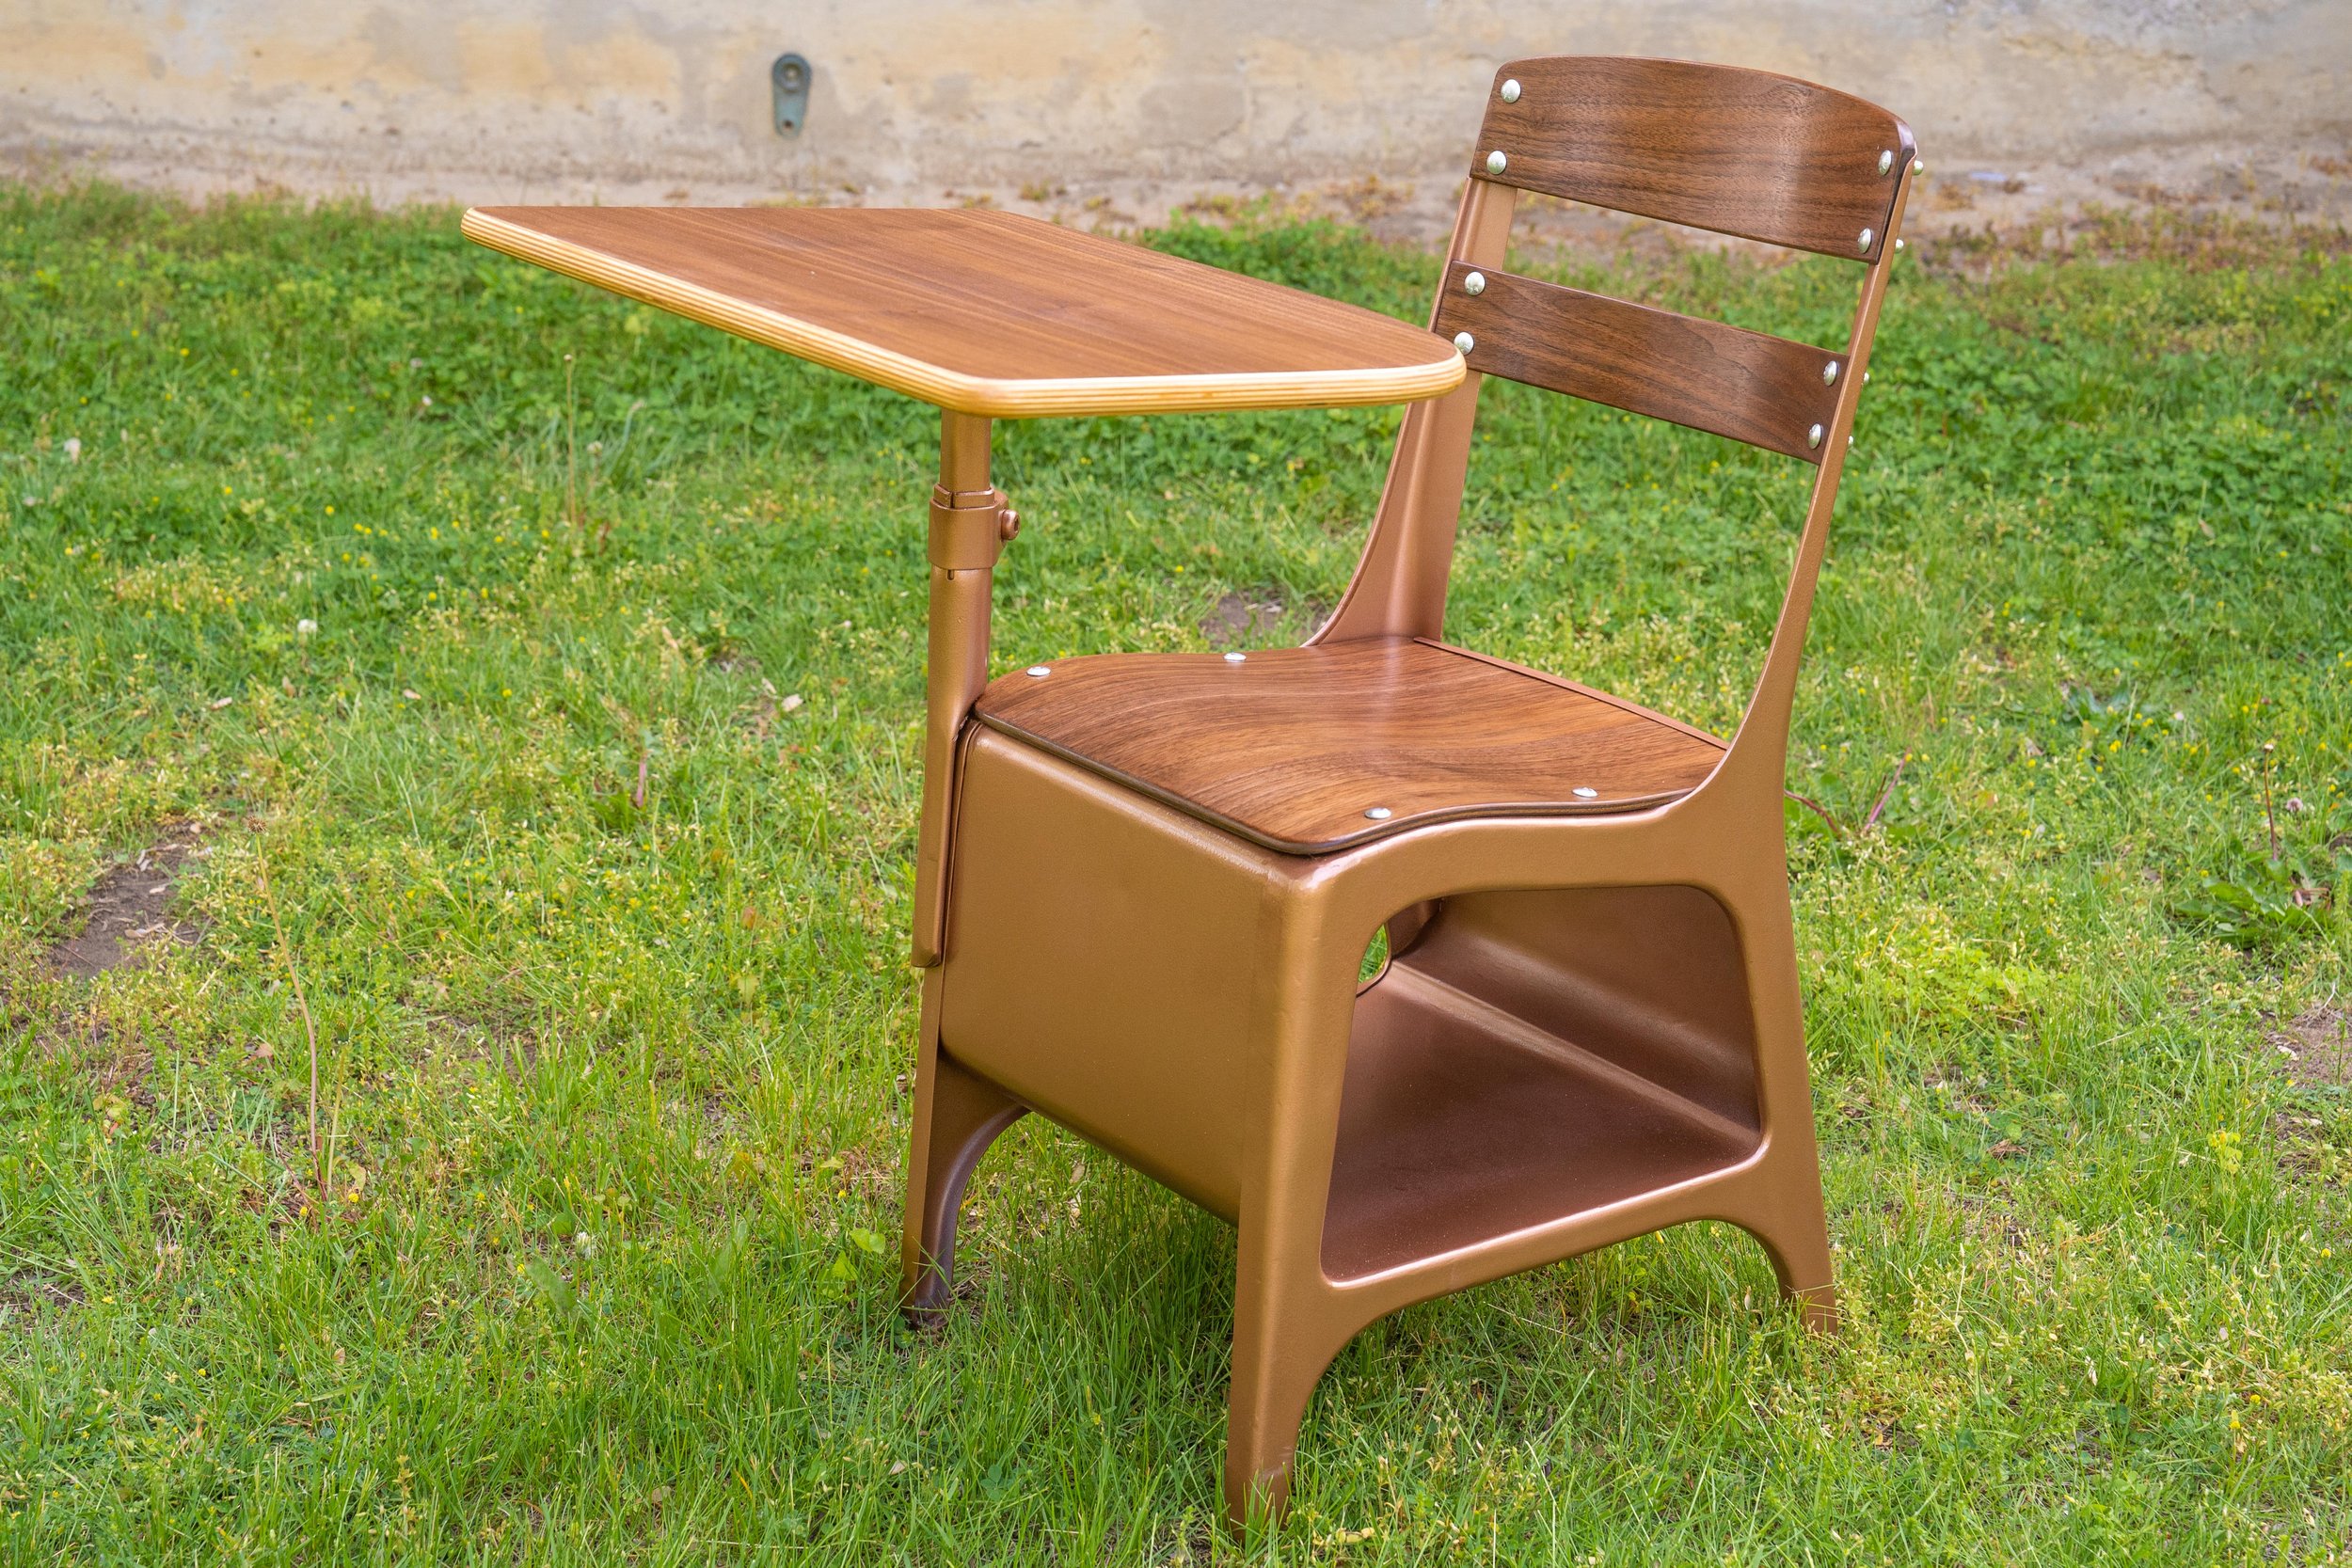
Flipping a Thrift Store School Desk for Profit
Taking a cheap old school desk from the thrift store and turning it into a treasure I can sell to fund my next project.

I discovered a neglected old-school desk at a thrift store for a bargain of just $10. I'm going to completely restore it and bring it back to a like-new condition. Using some beautiful locally grown walnut wood, I aim to transform this school desk into a stunning piece of fine furniture that I can then sell. The profits from this sale will be used towards funding our next upcycling project from the thrift store. This has been one of the most enjoyable woodworking projects I've worked on and I'm truly thrilled with the outcome.


Stunning Fine Furniture from 2x4s! This even blew my mind!
An easy DIY project anybody can make even with limited experience.
In this tutorial, I will guide you on how to create stunning fine furniture using only 2x4s from your local home center. I meticulously hand-picked the best 2x4s available at Home Depot, although, as with any lumber, they weren't completely straight or flat. Nevertheless, I overcame these issues and created some stunning furniture pieces. Starting with rough cutting the boards to length and planing them down, I then milled them to the correct width, before crafting the legs, back, and sides. Adding a groove to hold the back and sides in place and some decorative arcs to the bottom of the legs, I then assembled the panels, shelves, and doors, ensuring that they could move freely with expansion and contraction. To give the cabinet a modern design look and feel, I opted to route some decorative flutes onto the two front doors, and the top was fashioned using the pentagonal tiling technique to give it a unique appearance. After staining the furniture in a vivid cherry color, it was impossible to tell that this fine furniture was made from ordinary 2x4s.

How to Make an Outdoor Patio Table with DIY Tools
An easy DIY project anybody can make even with limited experience.
How to make an outdoor patio table with only an angle grinder, circular saw and a drill. An easy DIY project anybody can make even with limited experience. All the tools and supplies for this project can be found at your local home center and craft store. No specialized expensive tools needed. My favorite thing about this DIY project is how customizable it is with the endless possibilities of color combinations you can make with the vinyl covered glass. Links to the tools and supplies I used down below

Get the FREE Plans

How to Make LED Neon Signs.
How to make LED Neon signs with only a router and a bandsaw.
Easy Woodworking Project.
A quick a fun project that involves some freehand routing into plywood or MDF. Easy to make with just a bandsaw and a router. And here’s the thing, you don’t even need a router! Watch the video above to see how it’s done.
Supples


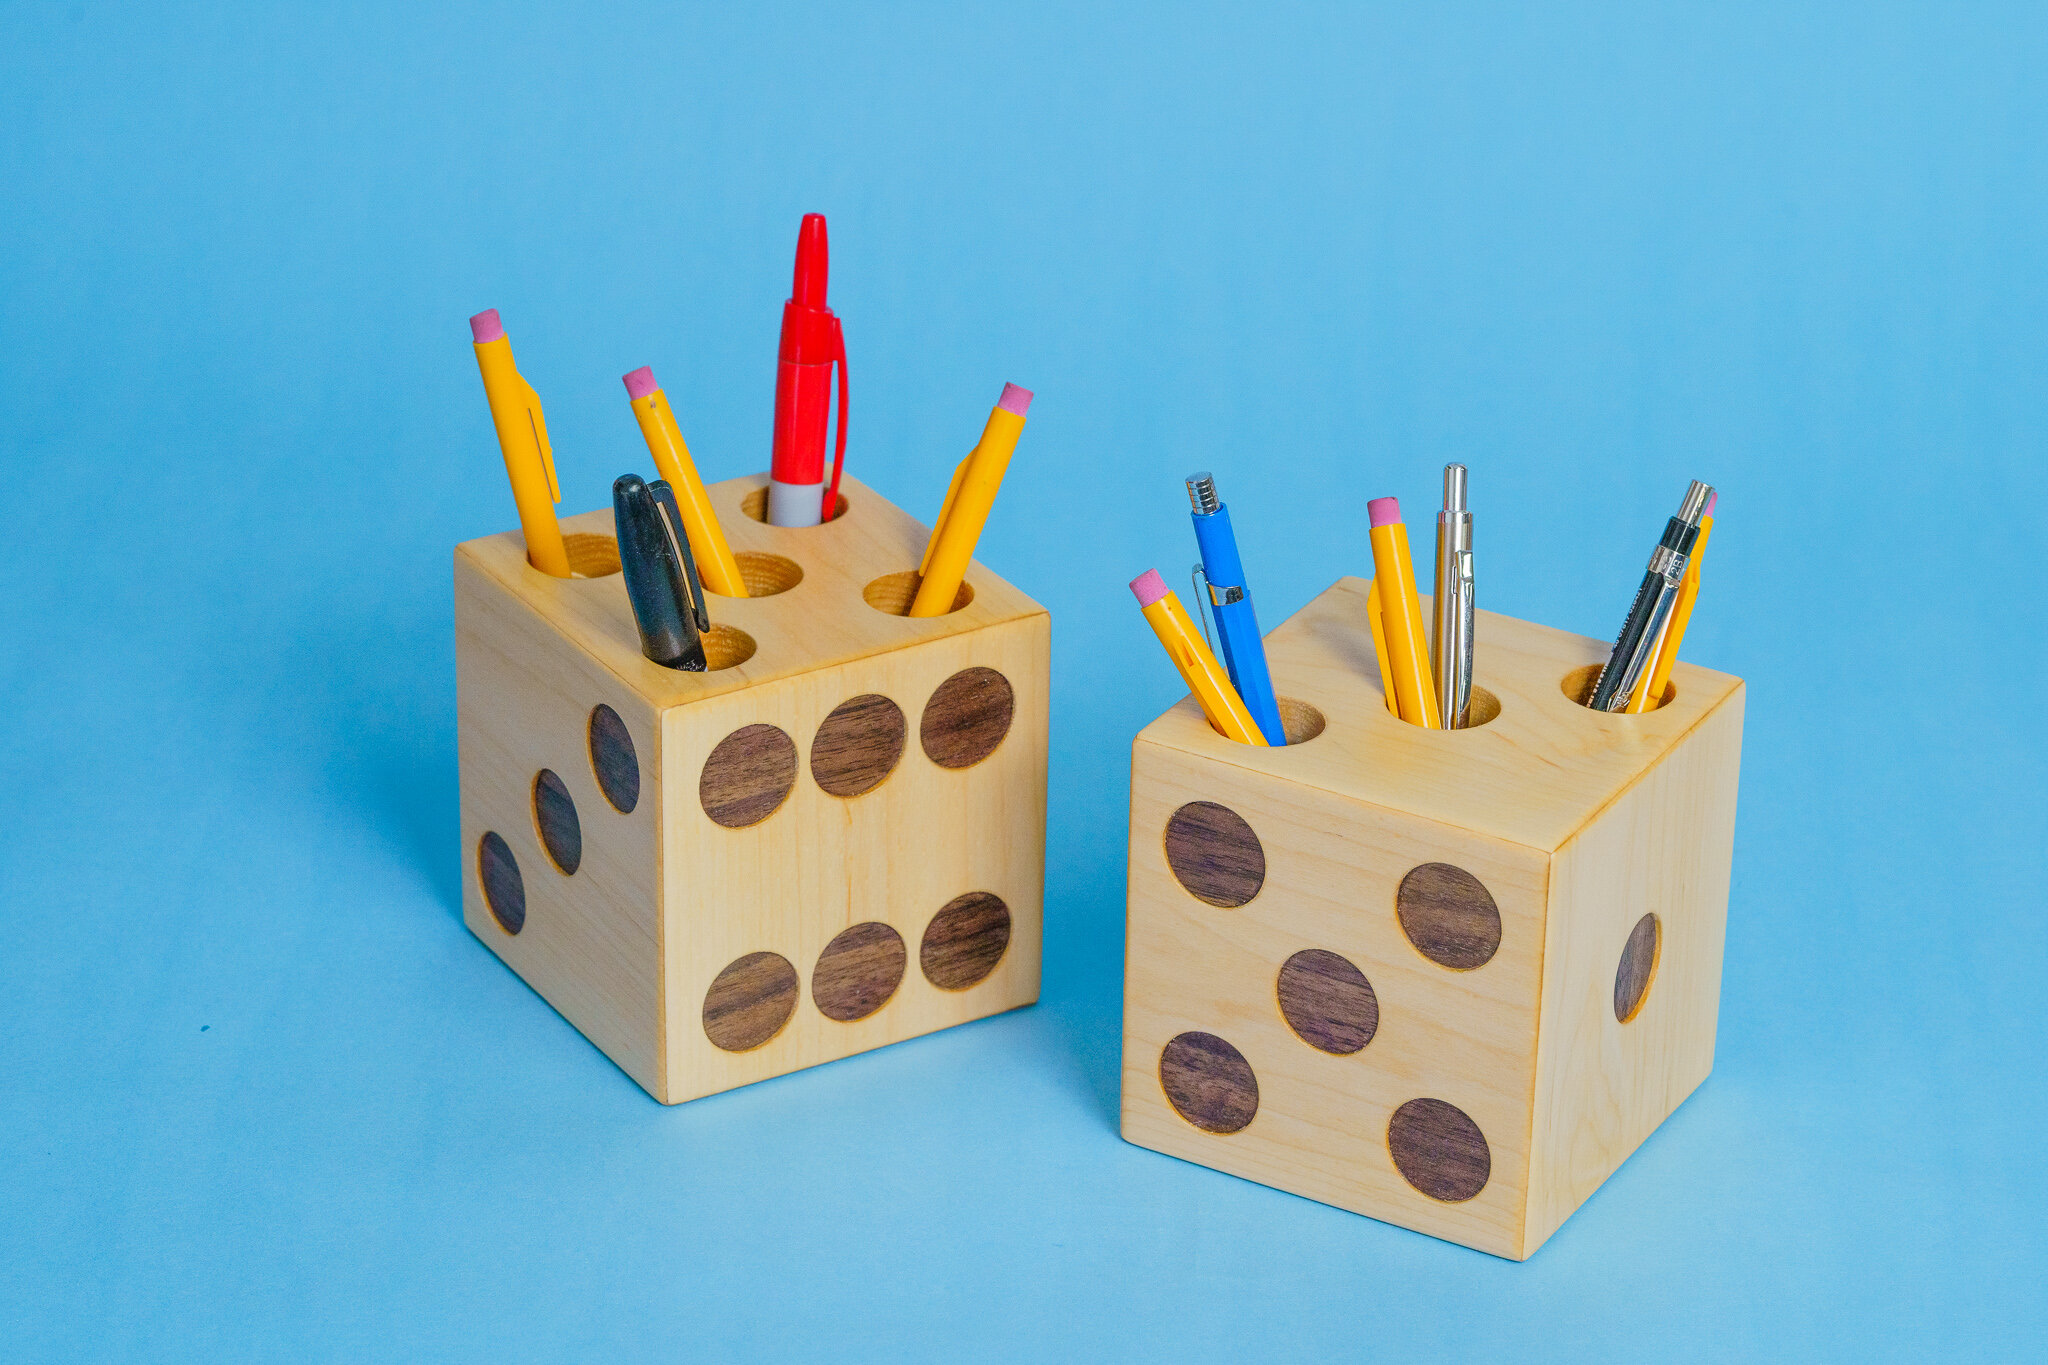
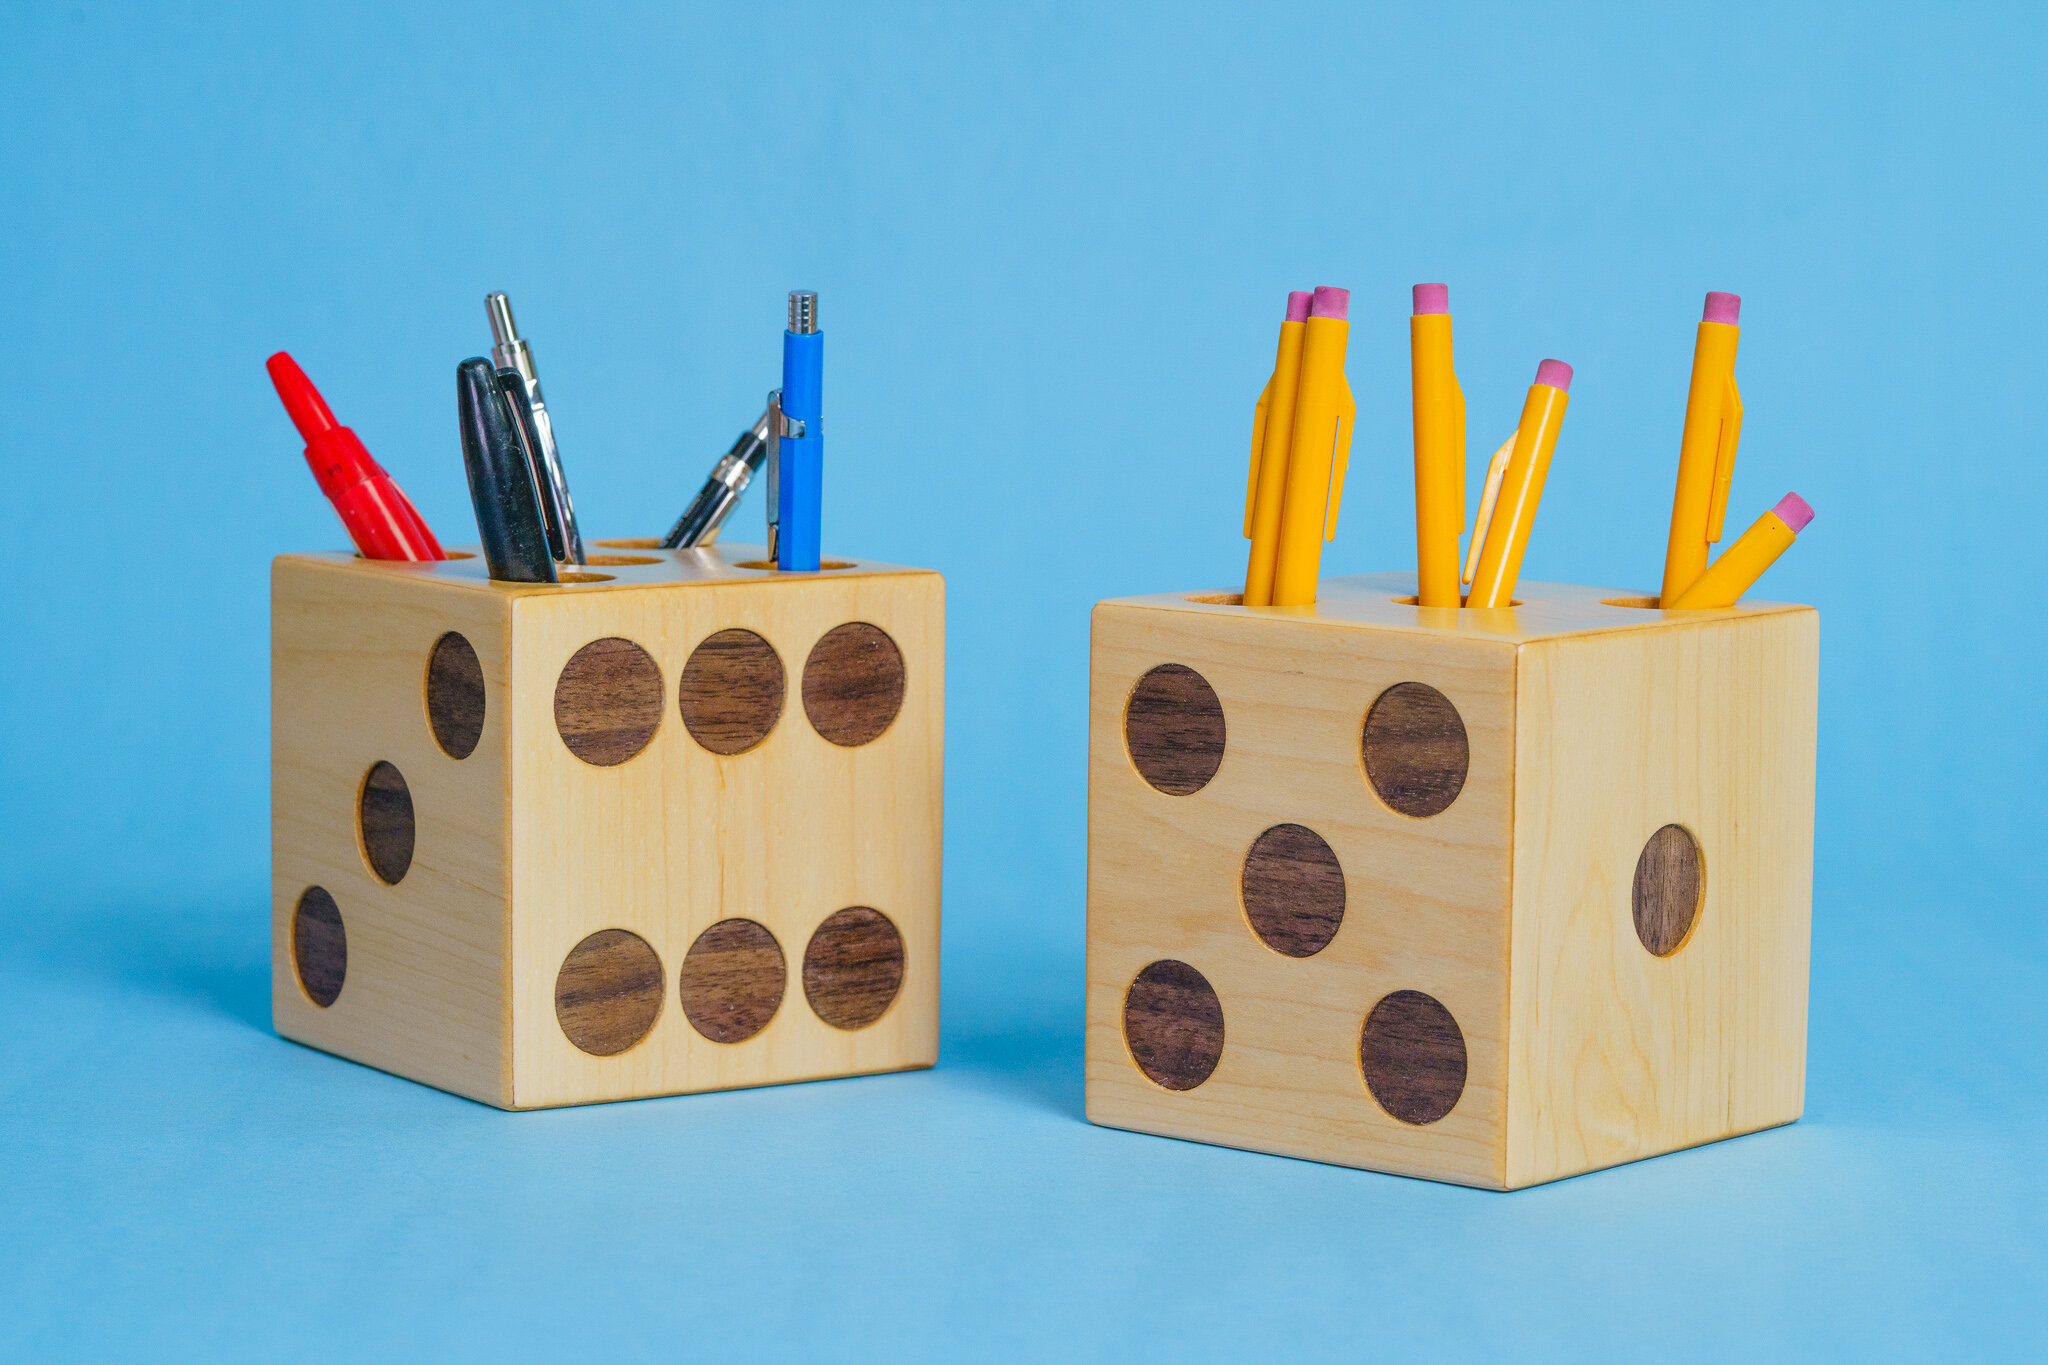
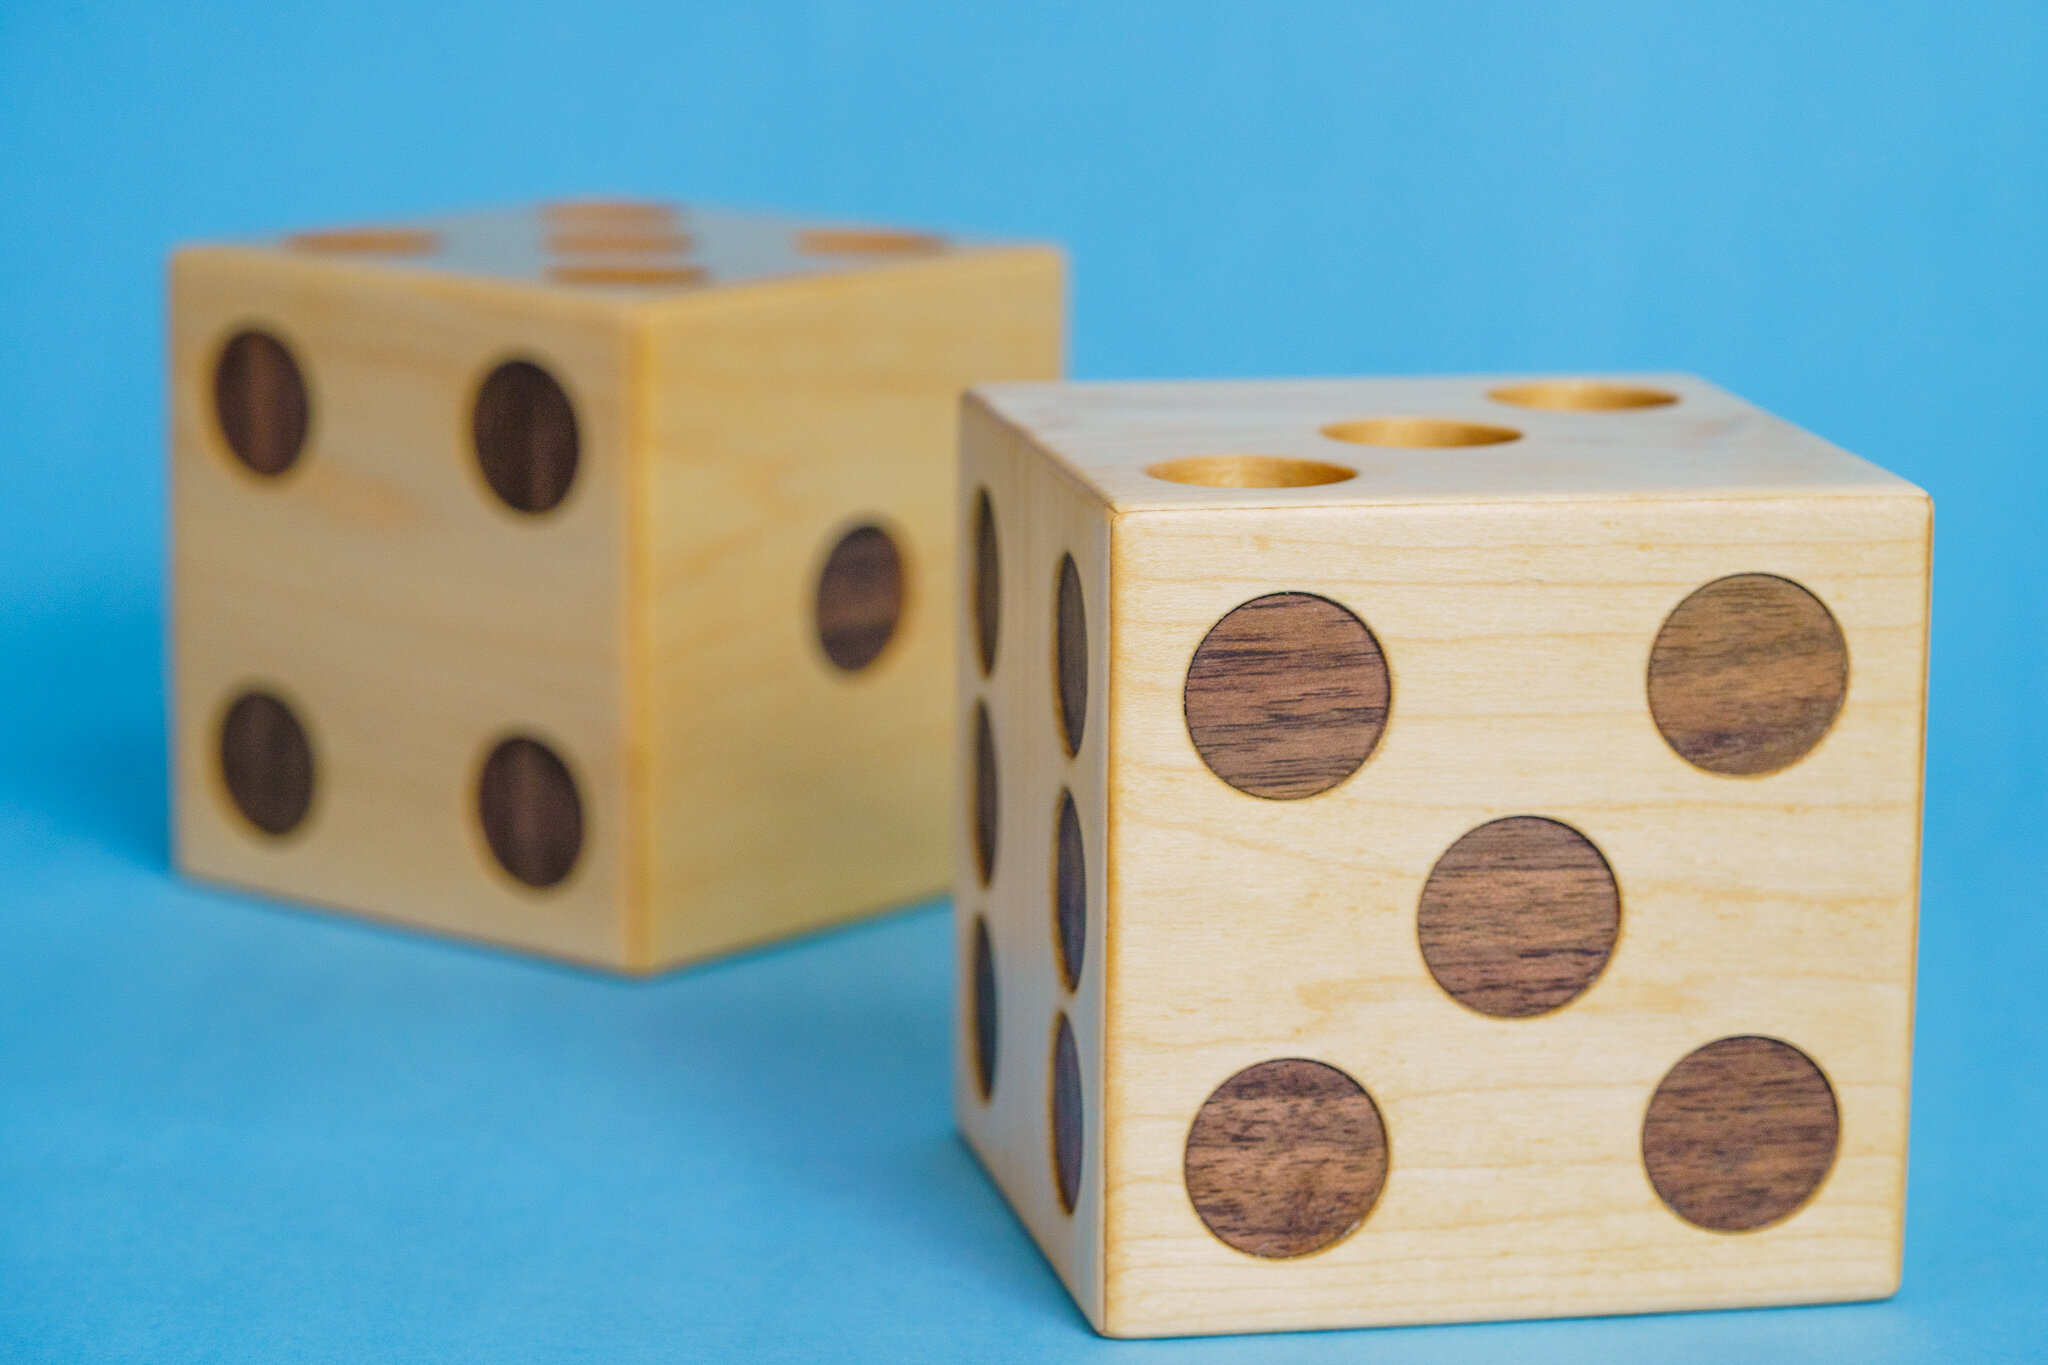
How to Make Dice Pencil Holders
How to make a pair of dice pencil holders.
Easy Woodworking Project.
How to make a pair of dice pencil holders out of maple. This is a fun weekend project you can make for yourself or batch out for selling at crafts shows and online. Get the plans here!


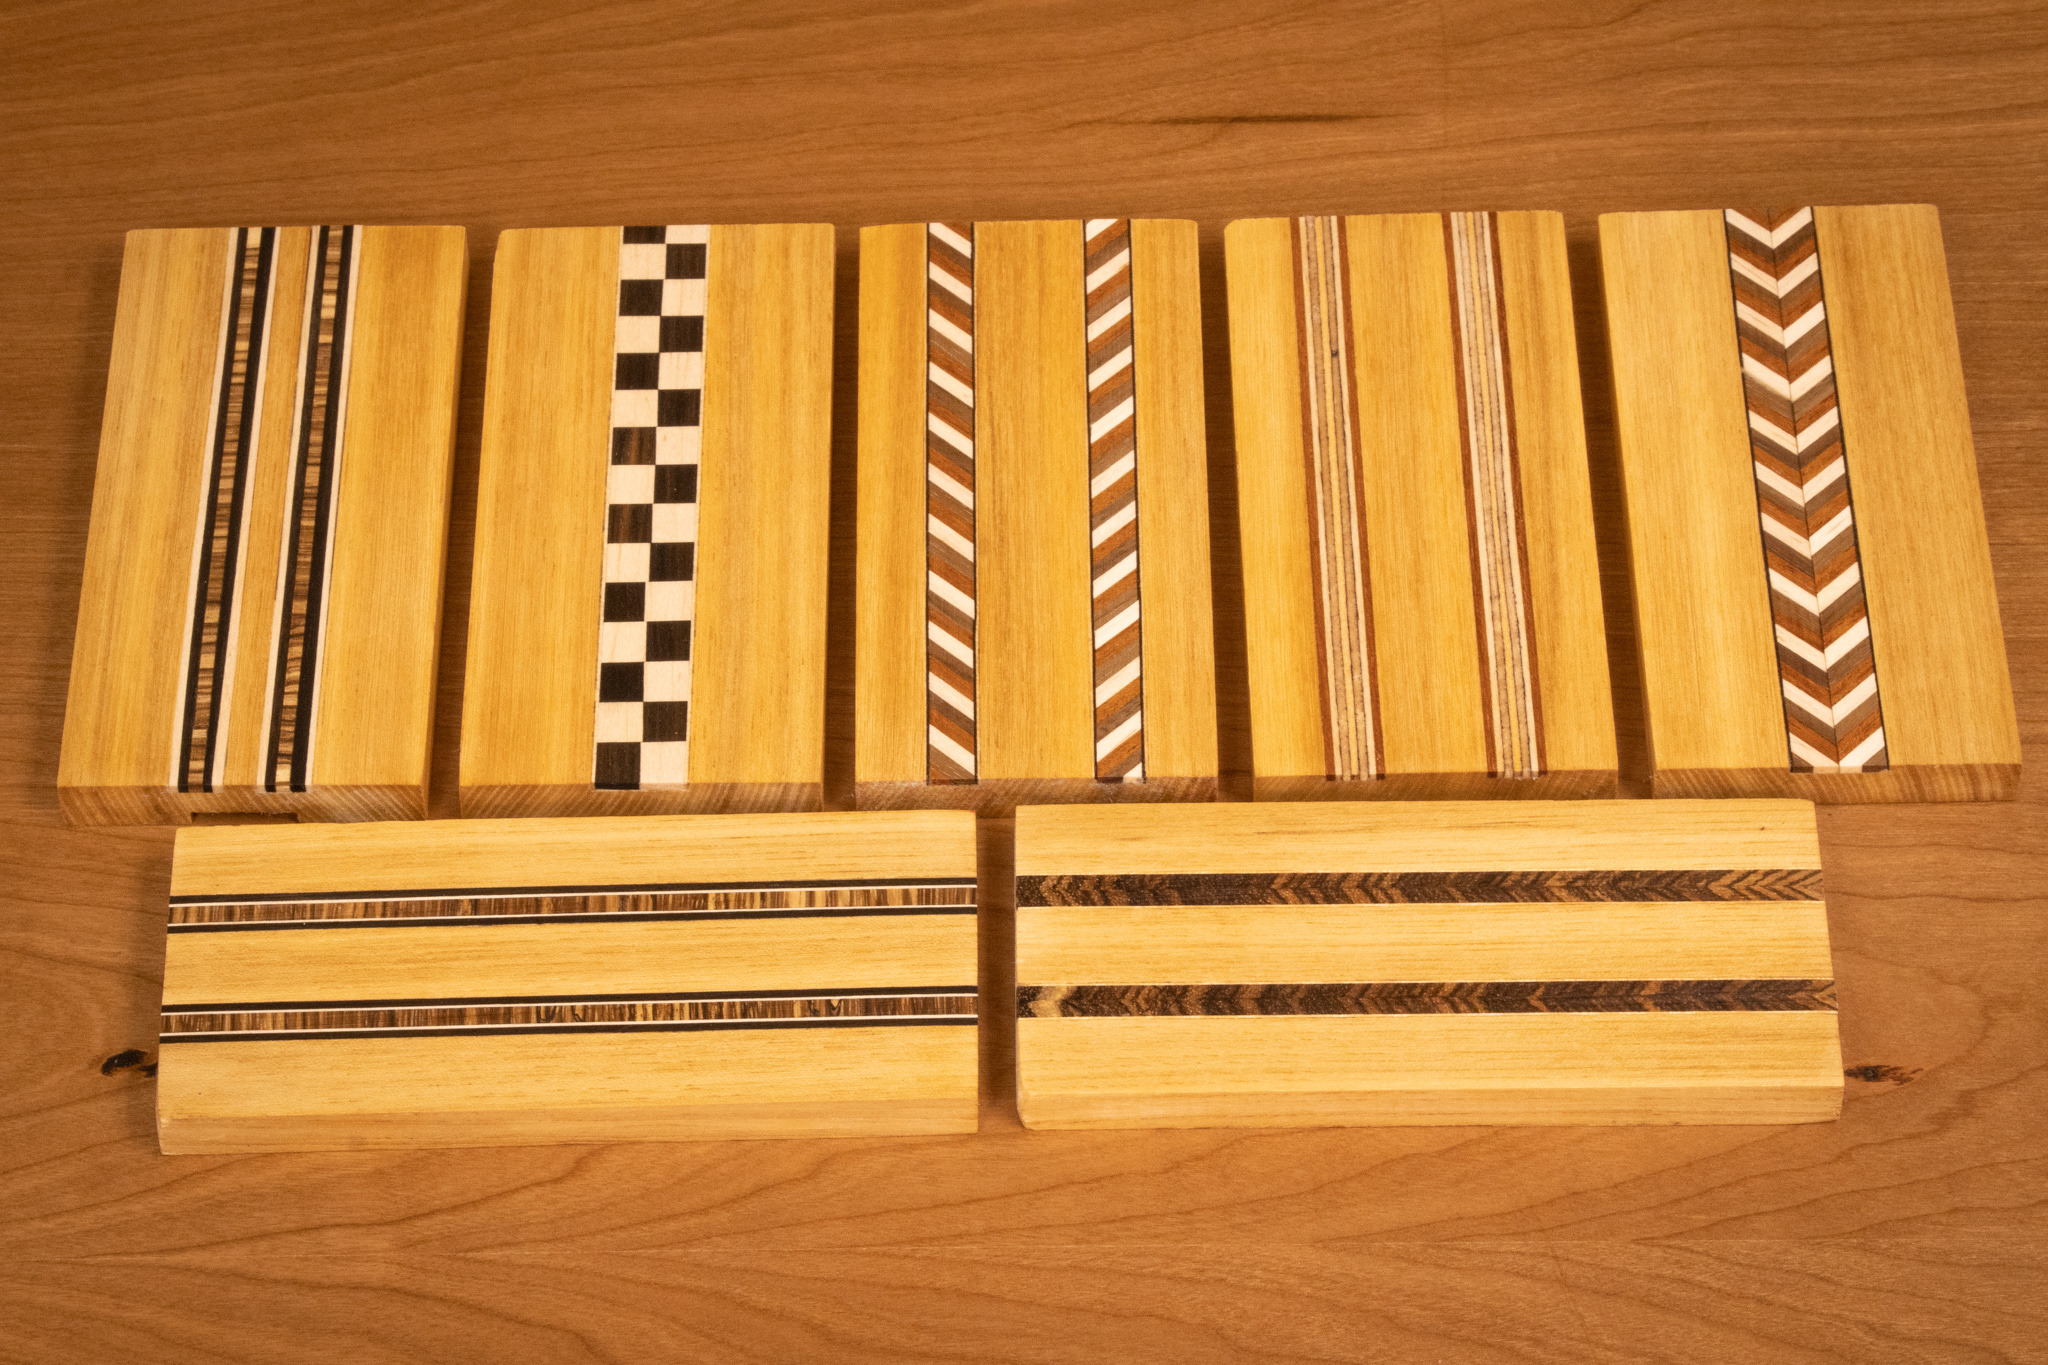
How to Make Your Own Inlay Banding and Enhance Your Woodworking
How to easily make your own inlay banding and take your woodworking to the next level.
How to easily make your own inlay banding and take your woodworking to the next level.
I’ve been purchasing inlay banding for years to enhance the look of my woodworking projects and thought it’s probably time to start making my own. In this woodworking tutorial video we go over 7 different designs to get you started in making these inlay strips. Inlay banding will instantly make your boxes, table tops and picture frames pop with class and elegance. This is one of those projects that the more you do it the more creative you get with it.
Tools and Supplies Used In This Woodworking Project

How to Make Wood and Copper Wedding Bands/Rings
Hand Made Veneers Wrapped Around Copper for a Strong and Easy Wedding Ring.
Hand Made Veneers Wrapped Around Copper for a Strong and Easy Wedding Ring.
Every year my wife Kelly and I retire our wedding rings and make new ones. The challenge is to come up with a new design and get creative each fall. This year we got some beautiful zebrawood, maple and ebony from Kencraft and glued them up in a pattern. Using a block plane we make thin shavings that are then wrapped around a copper pipe. Copper is a great metal to work with because it’s soft enough to stretch to the perfect size.
Tools and Supplies Used In This Woodworking Project


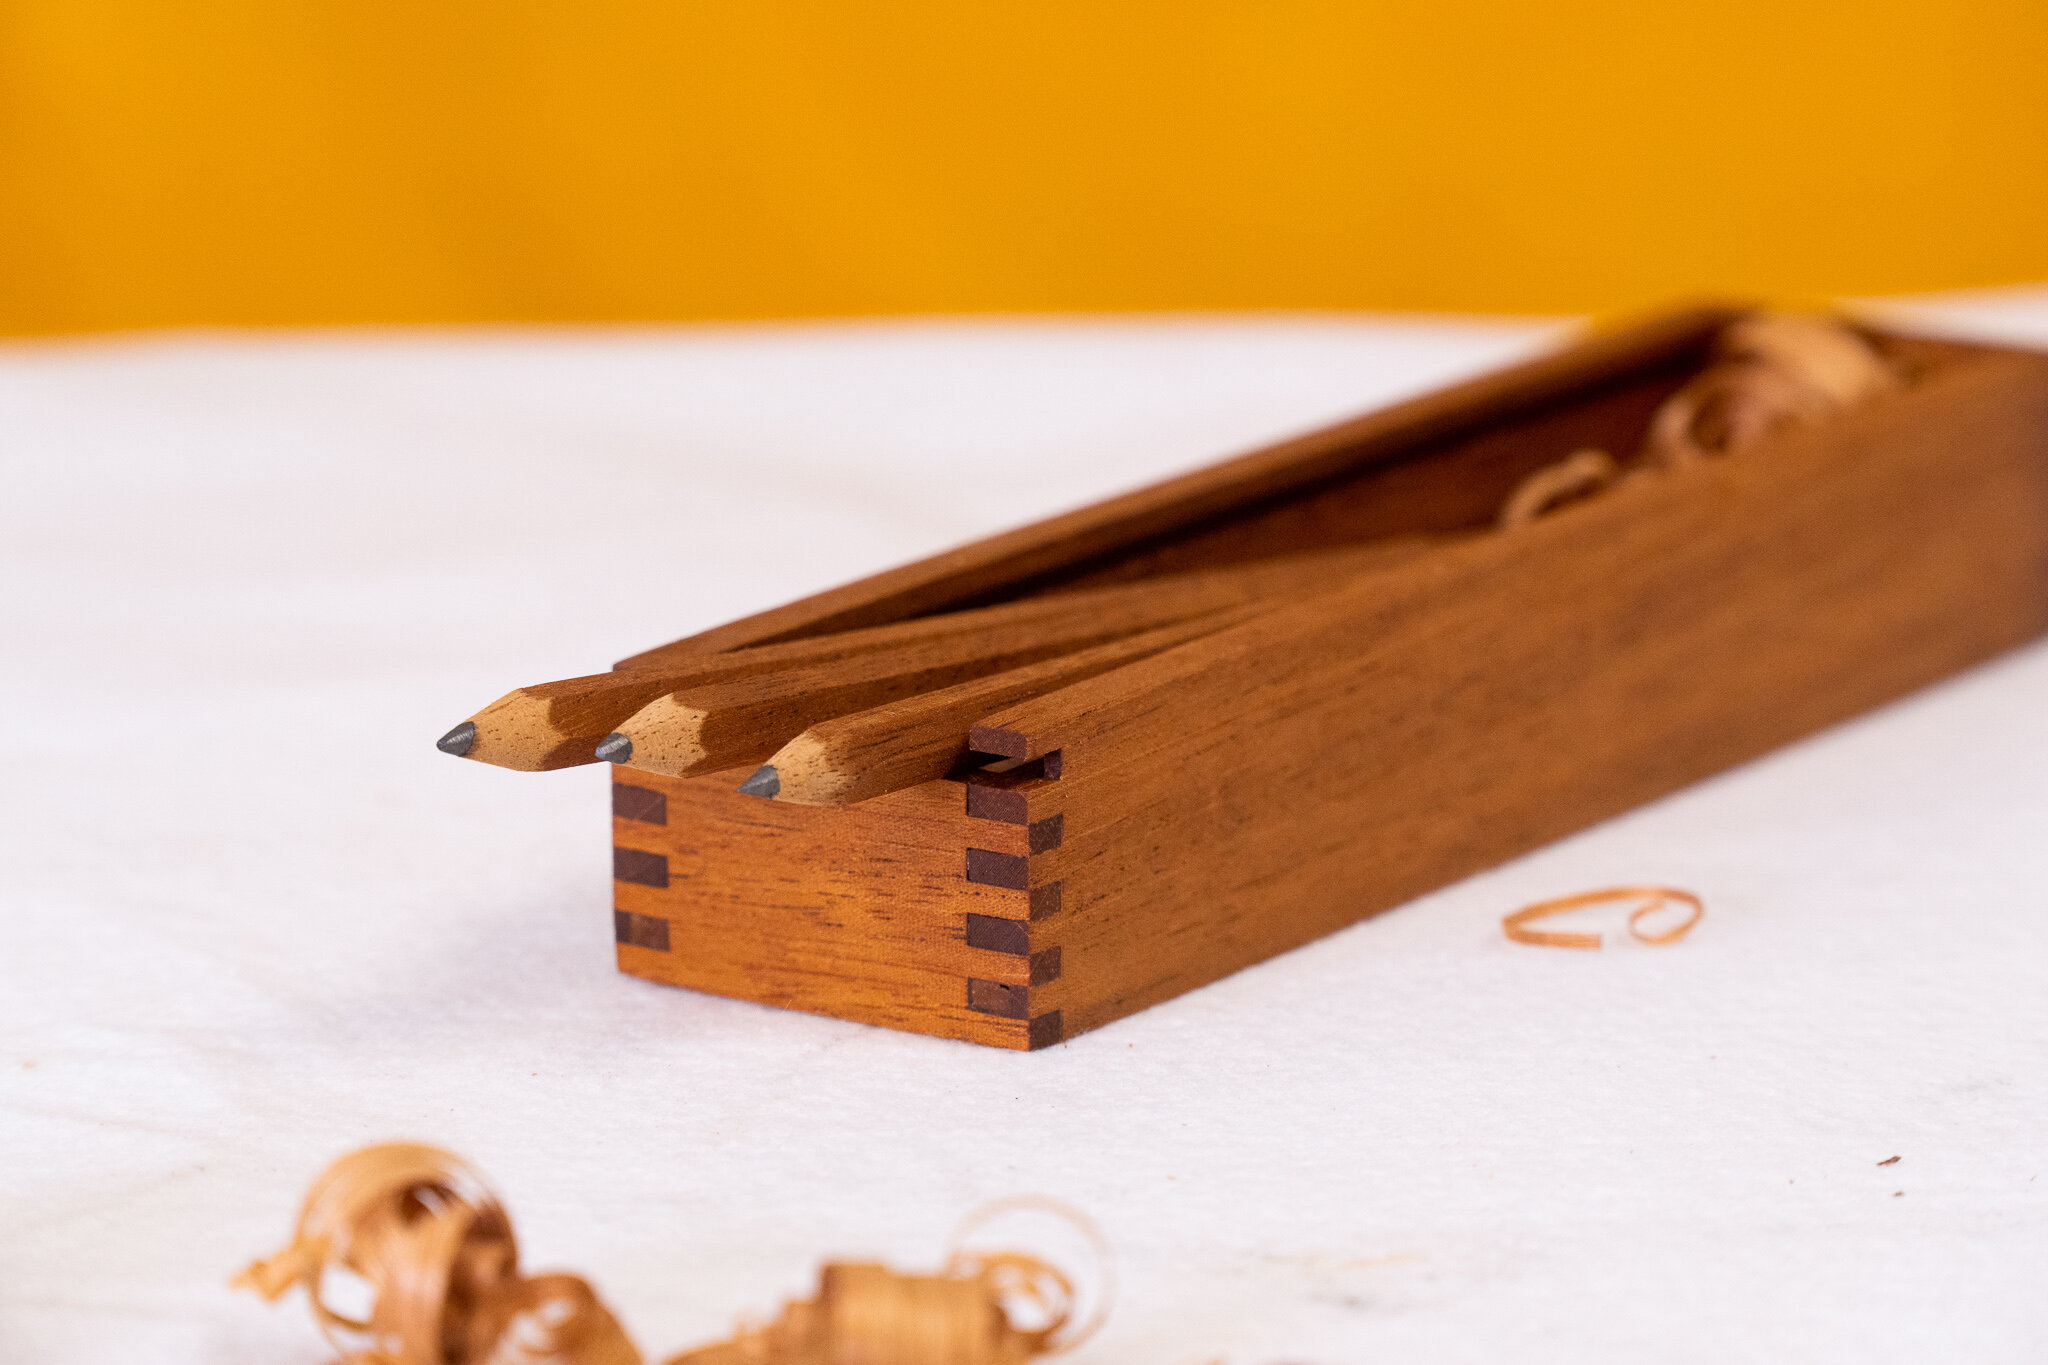
Easy Solid Wood Pencils with Gift Boxes
How to make solid wood pencils and a a gift box to keep them in.
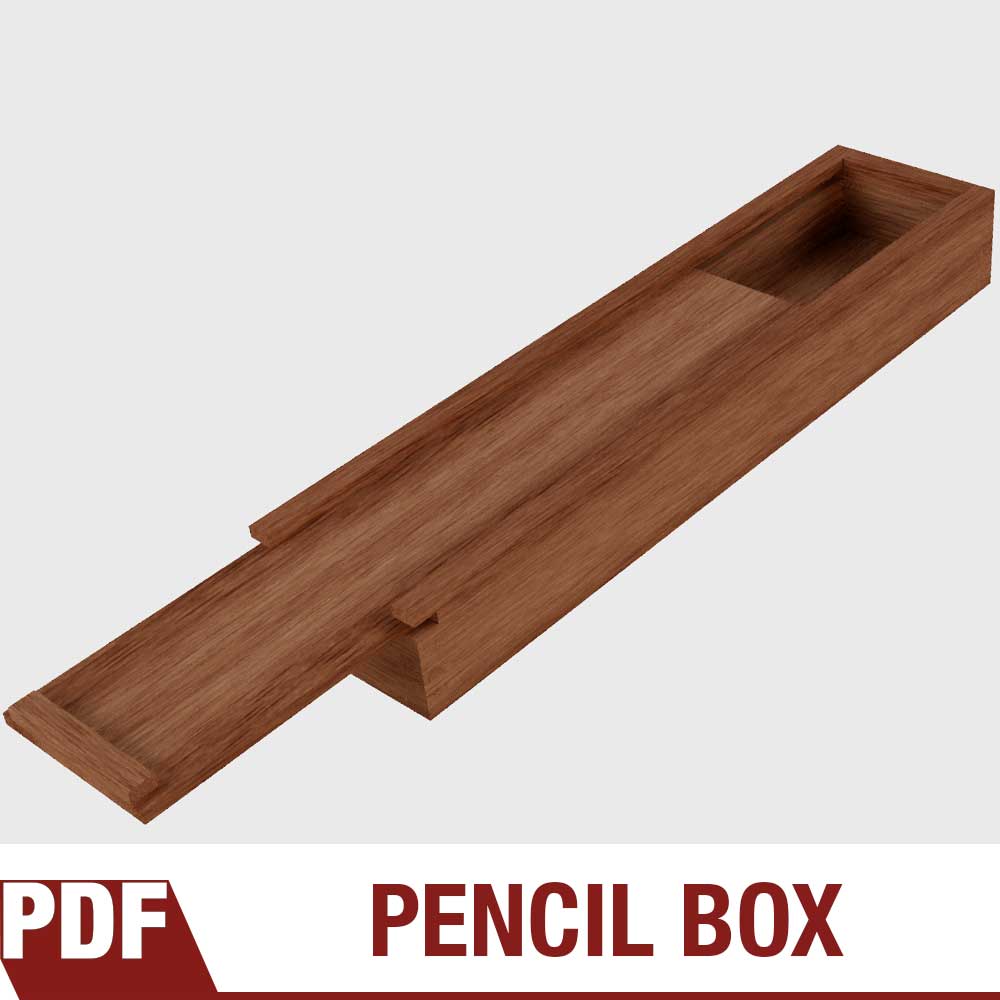
How to make solid wood pencils with a box joint gift box. Perfect for gifts, selling online and craft shows.
These pencil sets are quick and easy to make. I will be making these as holiday gifts for my family this year. And you can bet the next time I participate in a craft show I’ll be selling them! The pencils can be made the traditional way on a lathe with a mechanical pencil kit or out of solid wood with Andrew Klein’s pencil making jig.
Tools and Supplies Used In This Woodworking Project


How to Make a Luminary Lamp Light. Woodworking Project.
How to make these stunning luminary lamps. This woodworking project is super quick and easy which makes for a great craft show item or holiday gift.
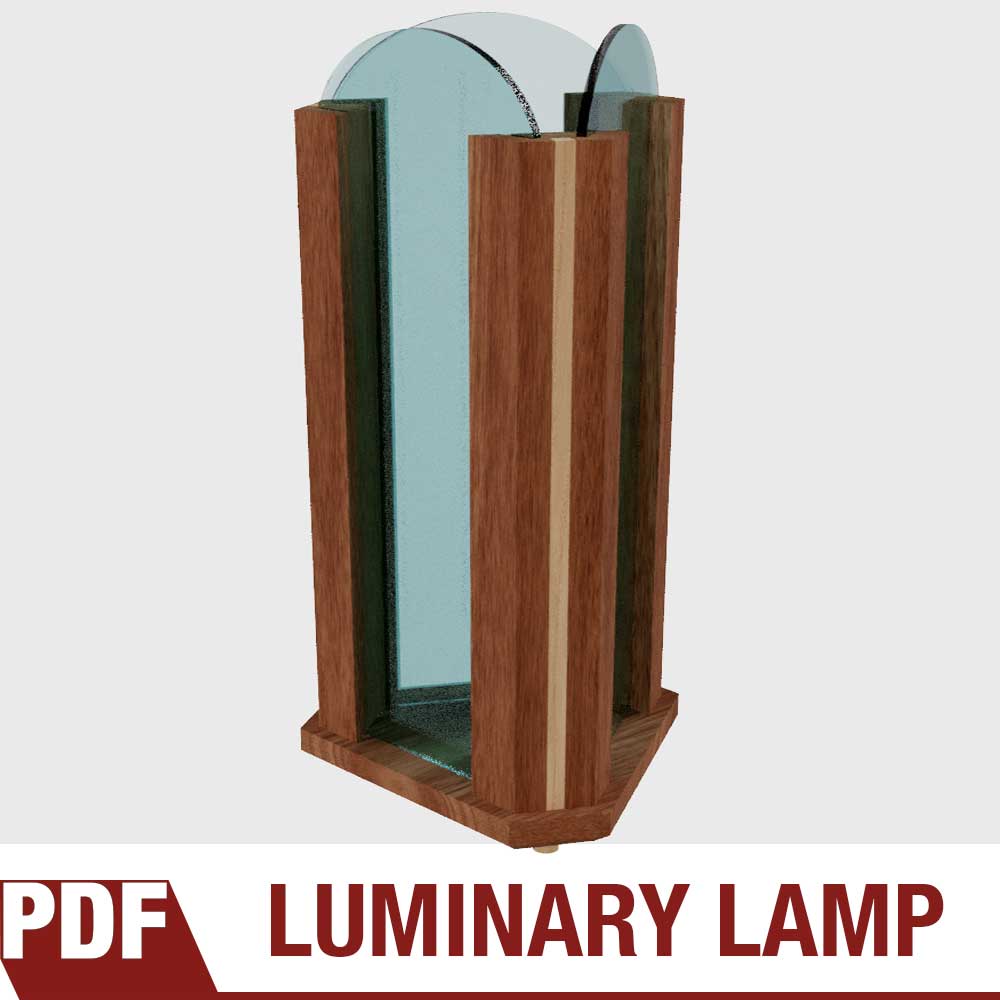
Make and Sell These Lamps on Etsy and Craft Shows. Also makes a great Holiday Gift.
How to make these stunning luminary lamps. This woodworking project is super quick and easy which makes for a great craft show item or holiday gift. You can make this light as simple or as complicated as you like. Keep it simple and batch out a bunch in no time at all. Or add all kinds of embellishments to fit your style and decor. The translucent part can be made with glass, acrylic wood veneer or anything you like. You can even use solid wood and drill holes to allow light through. The great thing about this project is there are endless possibilities with the design.
Tools and Supplies Used In This Woodworking Project


How to Make a Solid Wood Toolbox
How to make a solid wood toolbox with a reversible lid that doubles as storage.
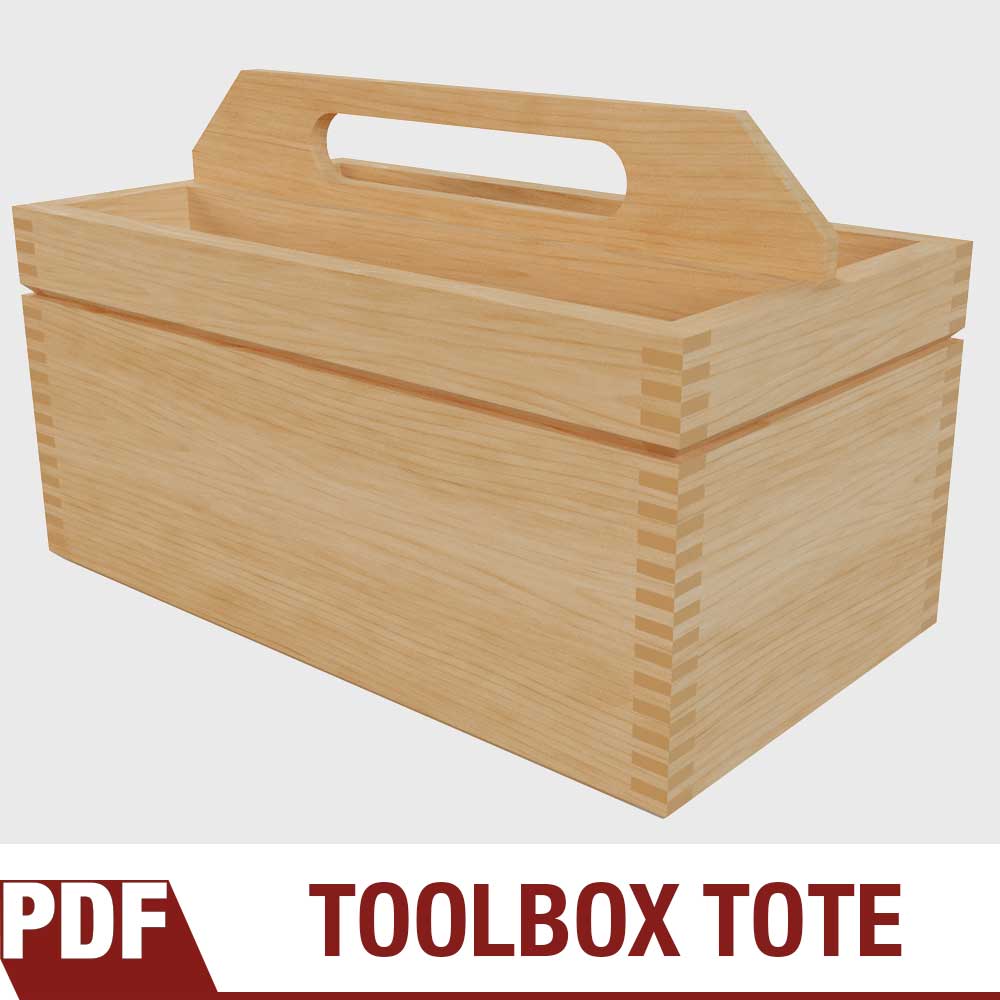
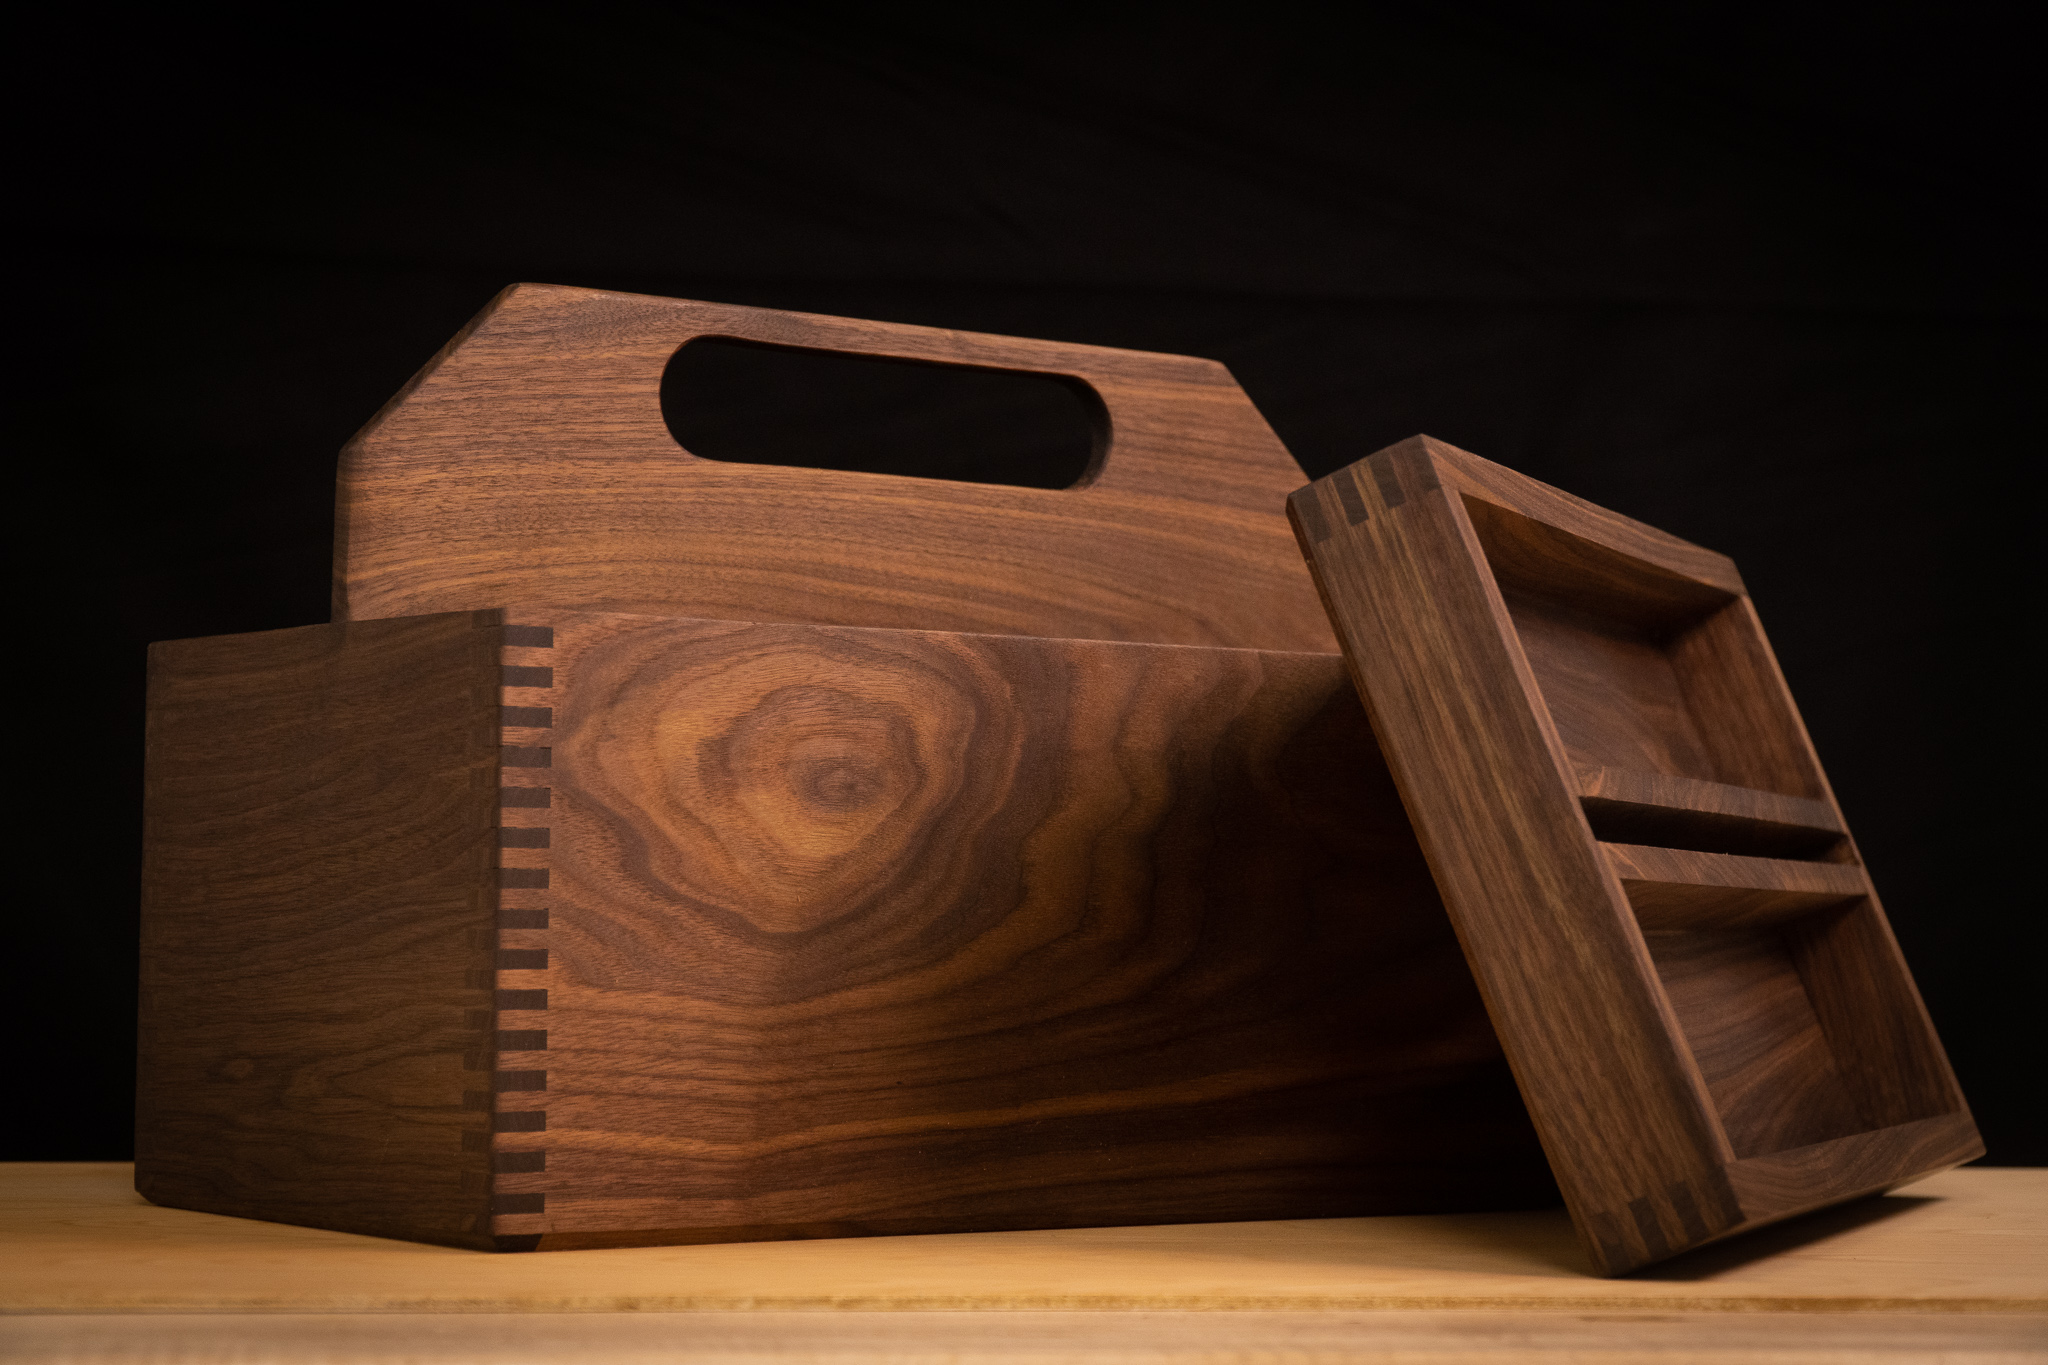
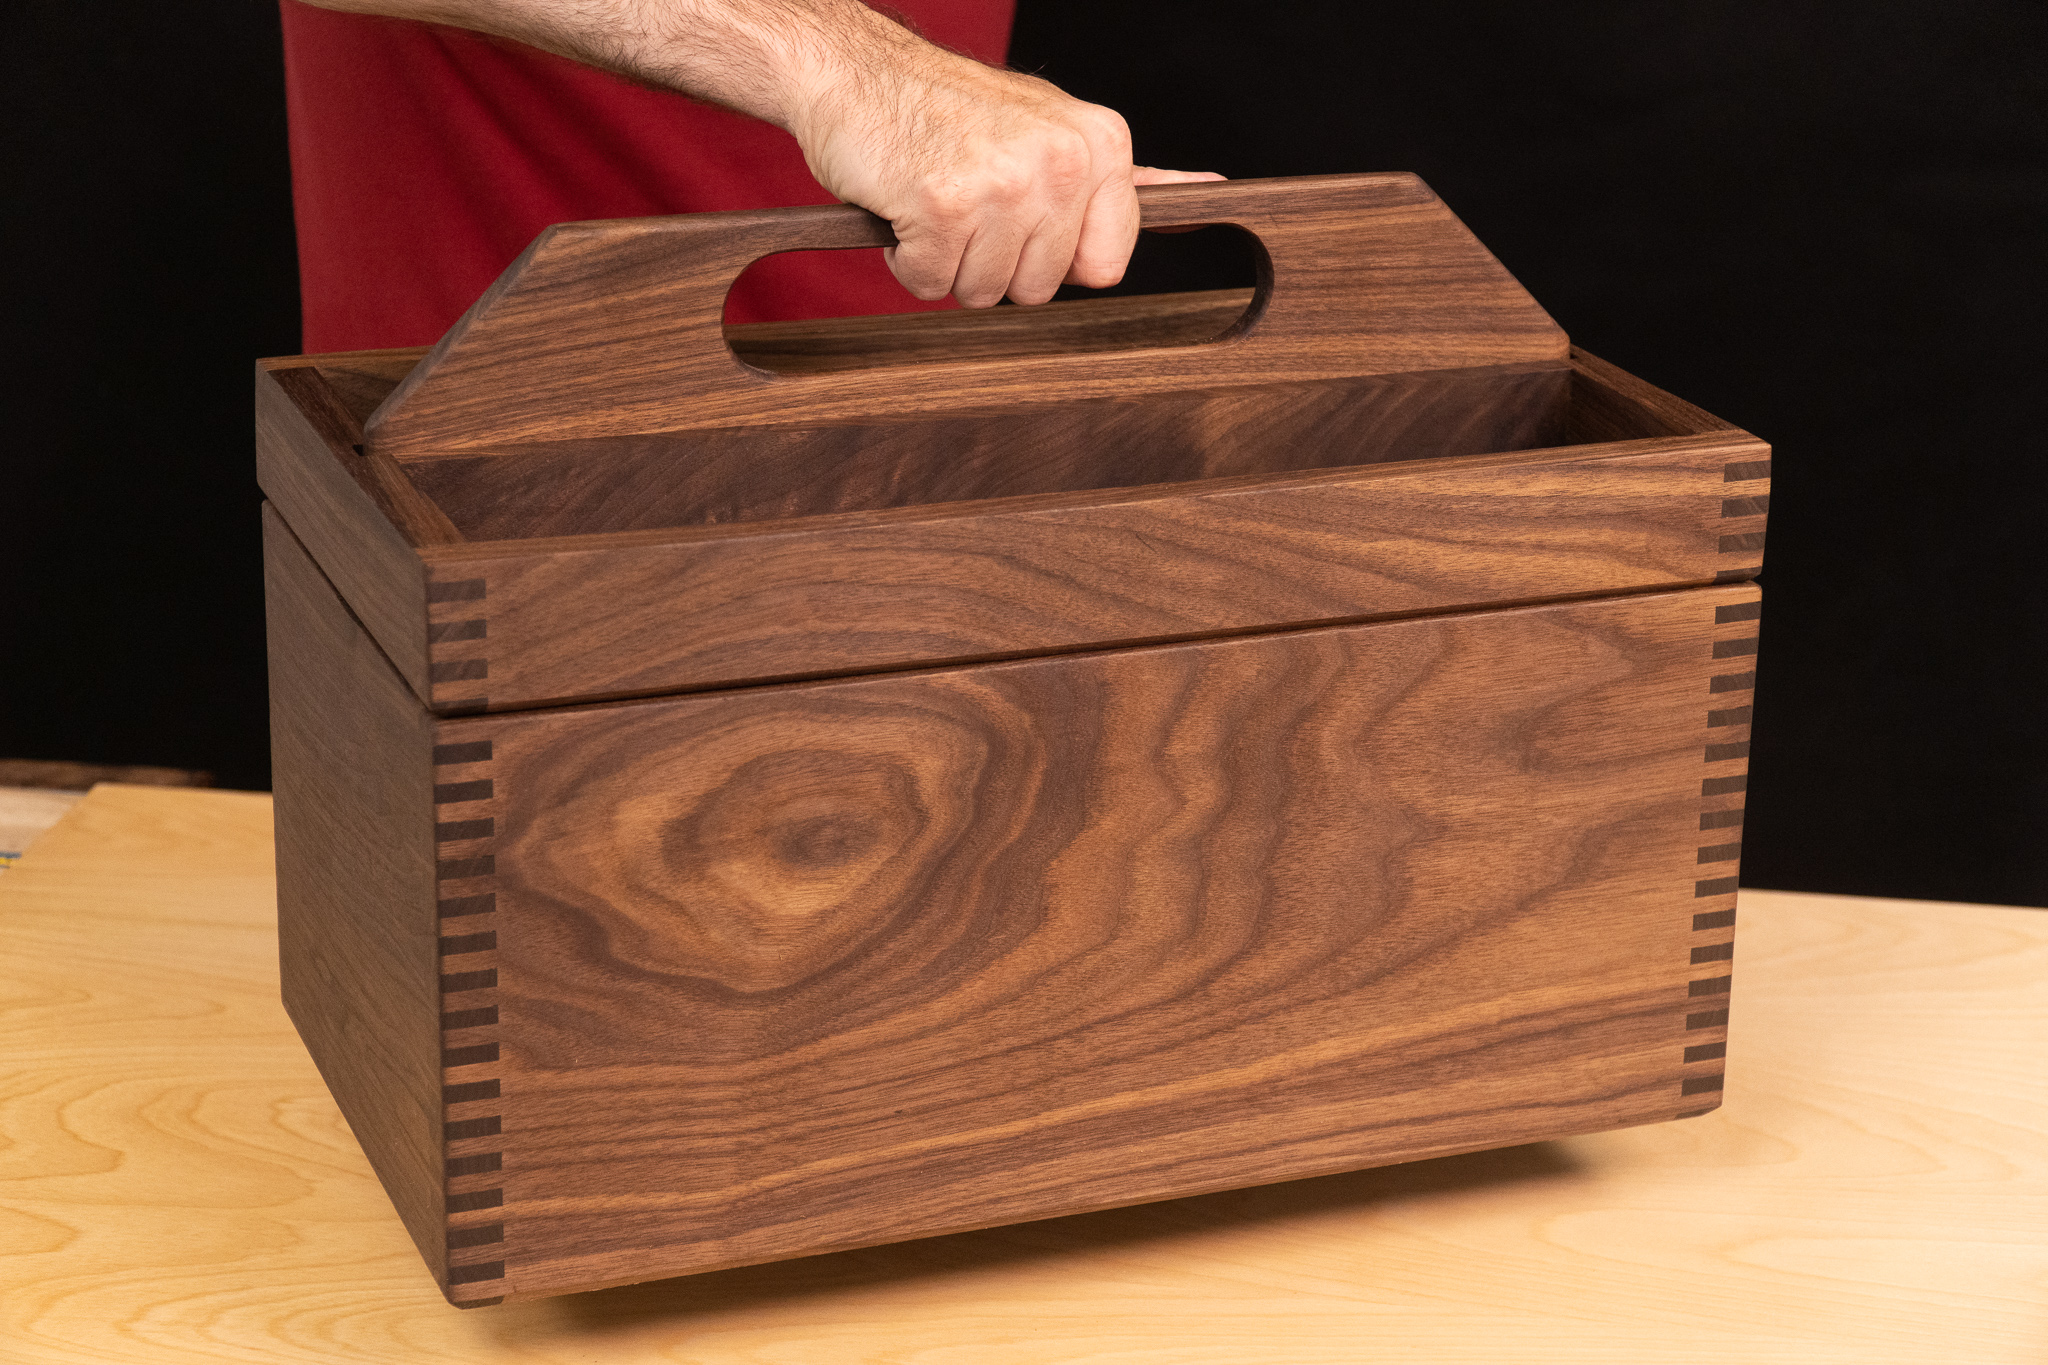
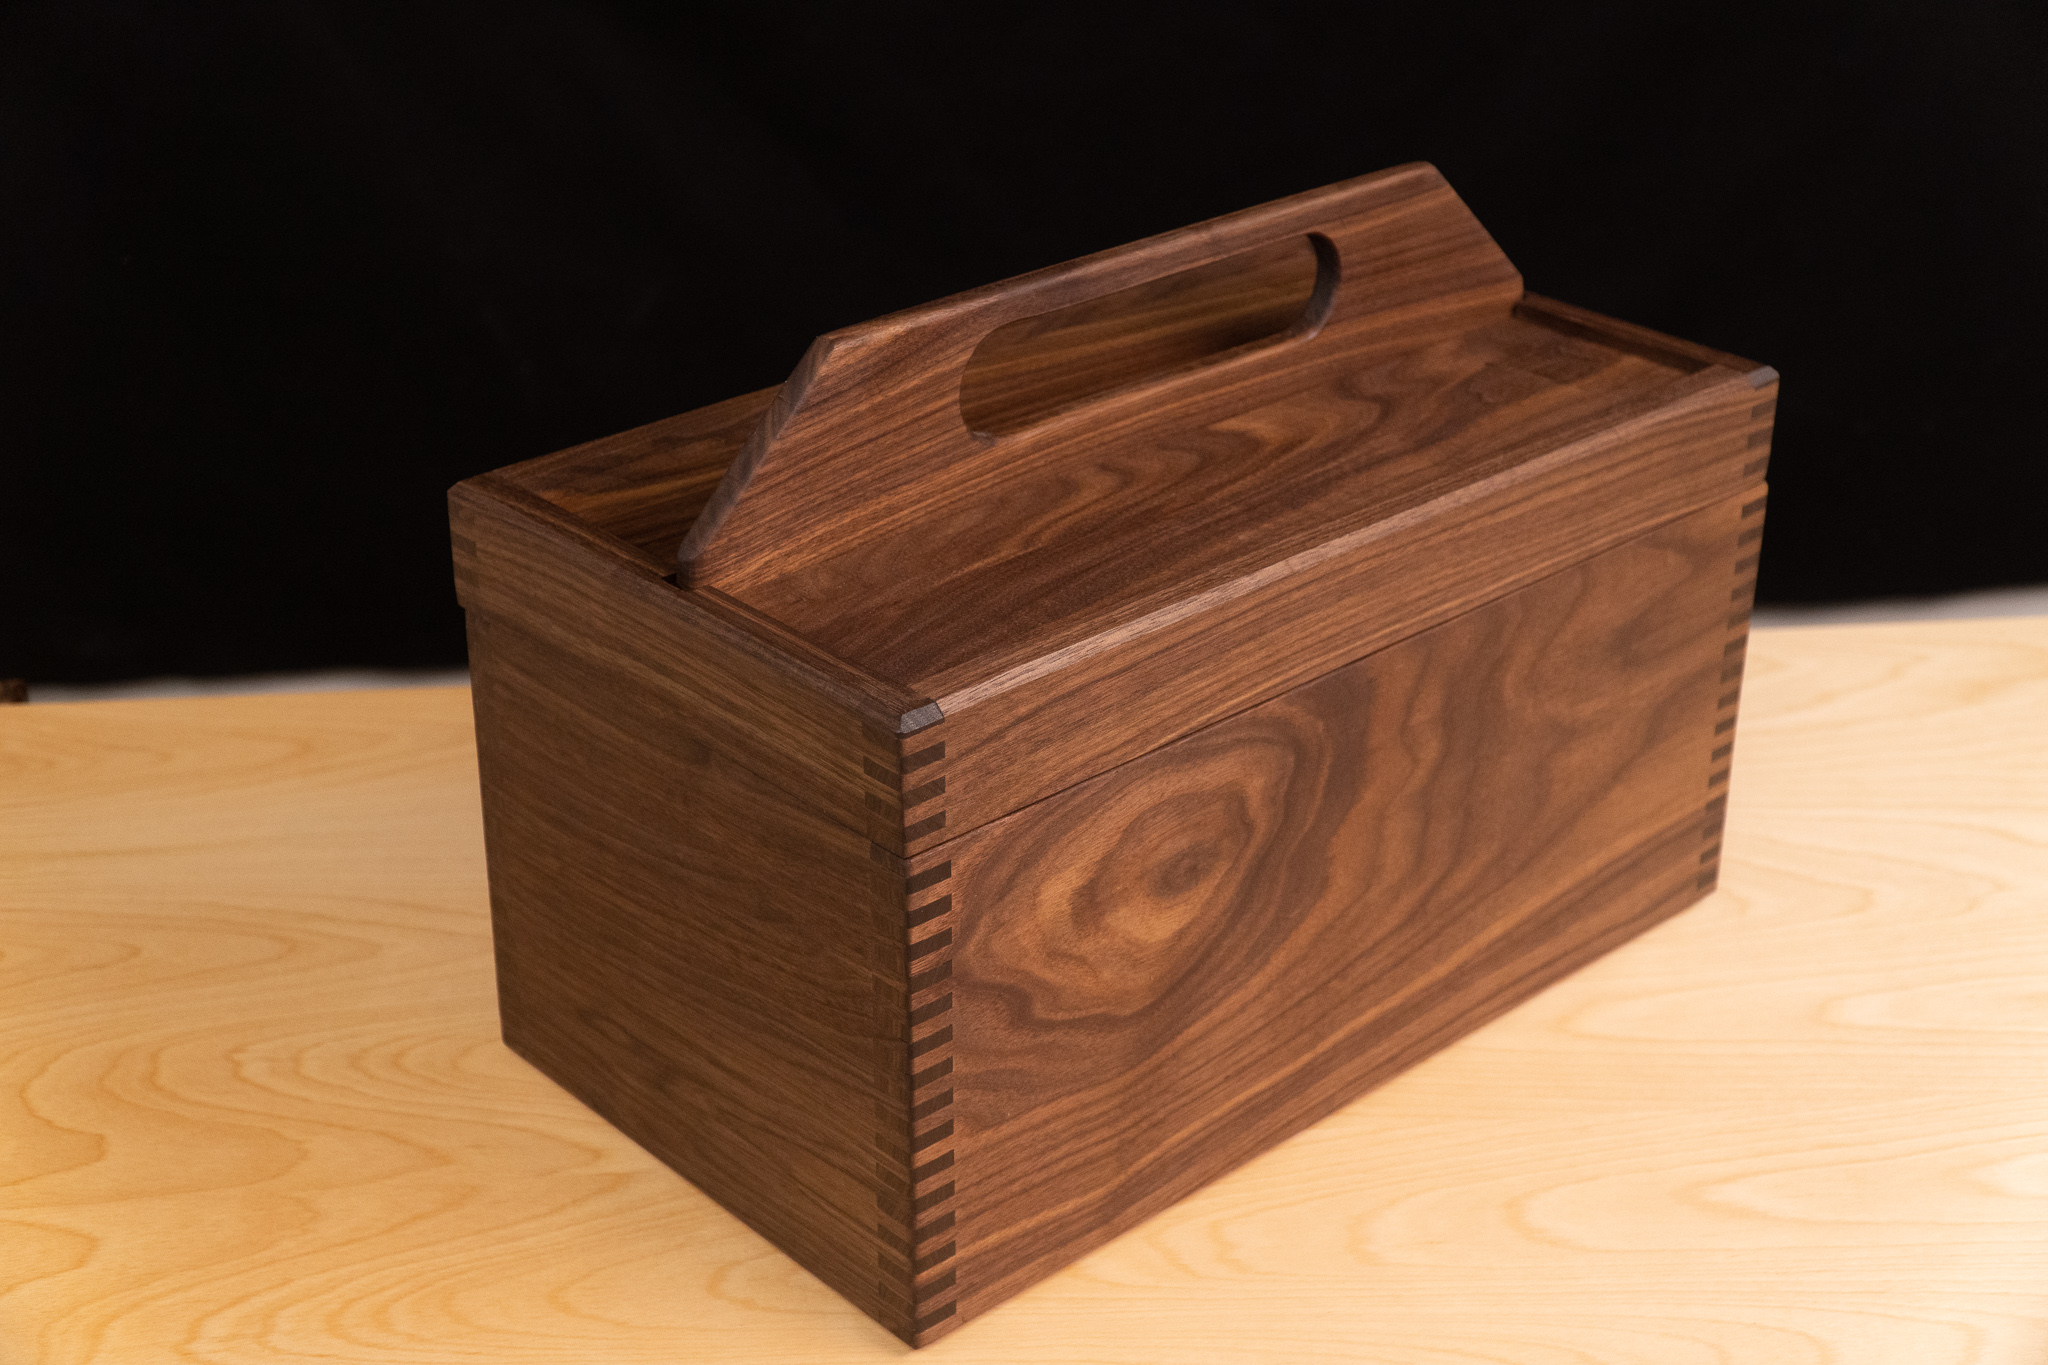
Box Joint Joinery Toolbox with Removable Lid that Doubles as Storage
How to make a solid wood toolbox with a reversible lid that doubles as storage. This is a simple and easy project for woodworkers. This beautiful walnut box uses traditional box joint joinery that can easily be done on the tablesaw or router. The removable lid slides over the handle and is a great place for small parts and tool storage. The entire tool box is made with solid hardwood and will last many lifetimes. Follow along and build one for yourself with step by step instructions in the video and if you need measurements and more details I have clear and easy to understand plans.
How to Make Box Joints with a Router
How to Make Box Joints with a Tablesaw


How to Make Box Joints with a Router
How to make finger and box joints with only a router. No table saw necessary!
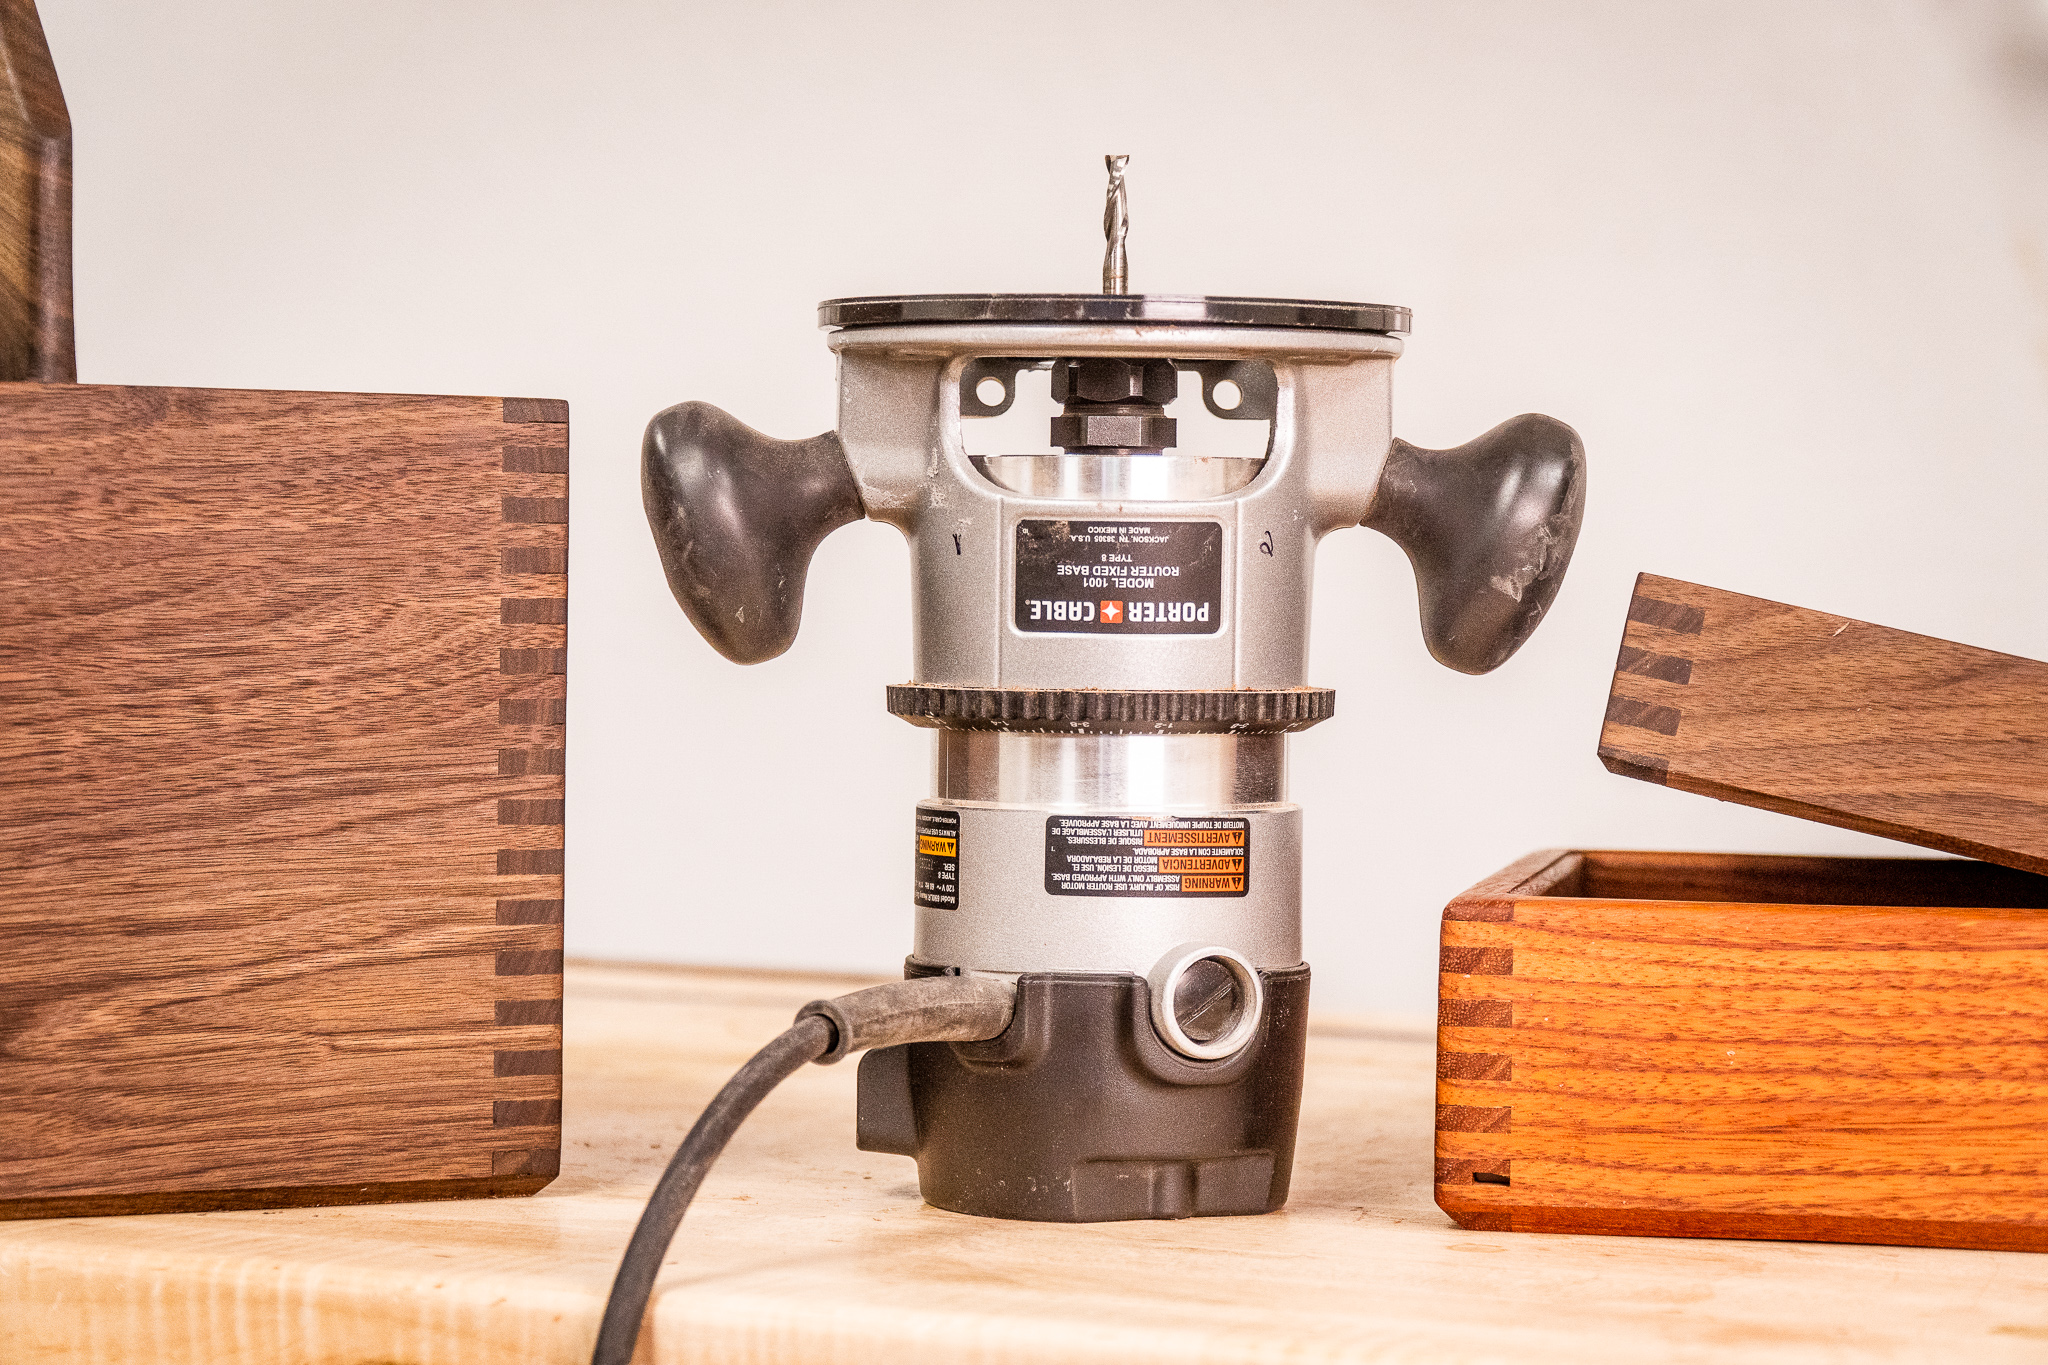
Make Box Joints and Finger Joints with Only a Router. No Table Saw or Router Table Necessary!
How to make box joints (sometimes called finger joints) using only a router. Making box joints on the table saw requires a dado stack which isn’t available in all areas. The next best method is at the router table but not everyone has the space for a dedicated router table. This tutorial video shows a simple method on making a jig out of plywood for a hand held router that attaches to the base. Once you make this woodworking jig you’ll always be set up for box joints and finger joints. If you choose to change up your box joint finger width you’ll need to swap out the bit and make a dedicated fence for that bit.


DIY Closet Organizer With Laundry Hamper
How to make a DIY closet organizer out of plywood with simple joinery.
Closet Makeover with DIY Closet Organizer and Shelf Divider
How to make a DIY closet organizer out of plywood with simple joinery. In this easy woodworking project I'm using maple plywood and pocket hole screws to make a closet divider that takes full advantage of the space with an accessory drawer and a clothes hamper drawer. Watch this woodworking tutorial video for step by step instructions on how to build your own custom closet shelves.

Tools and Supplies Used In This Woodworking Project


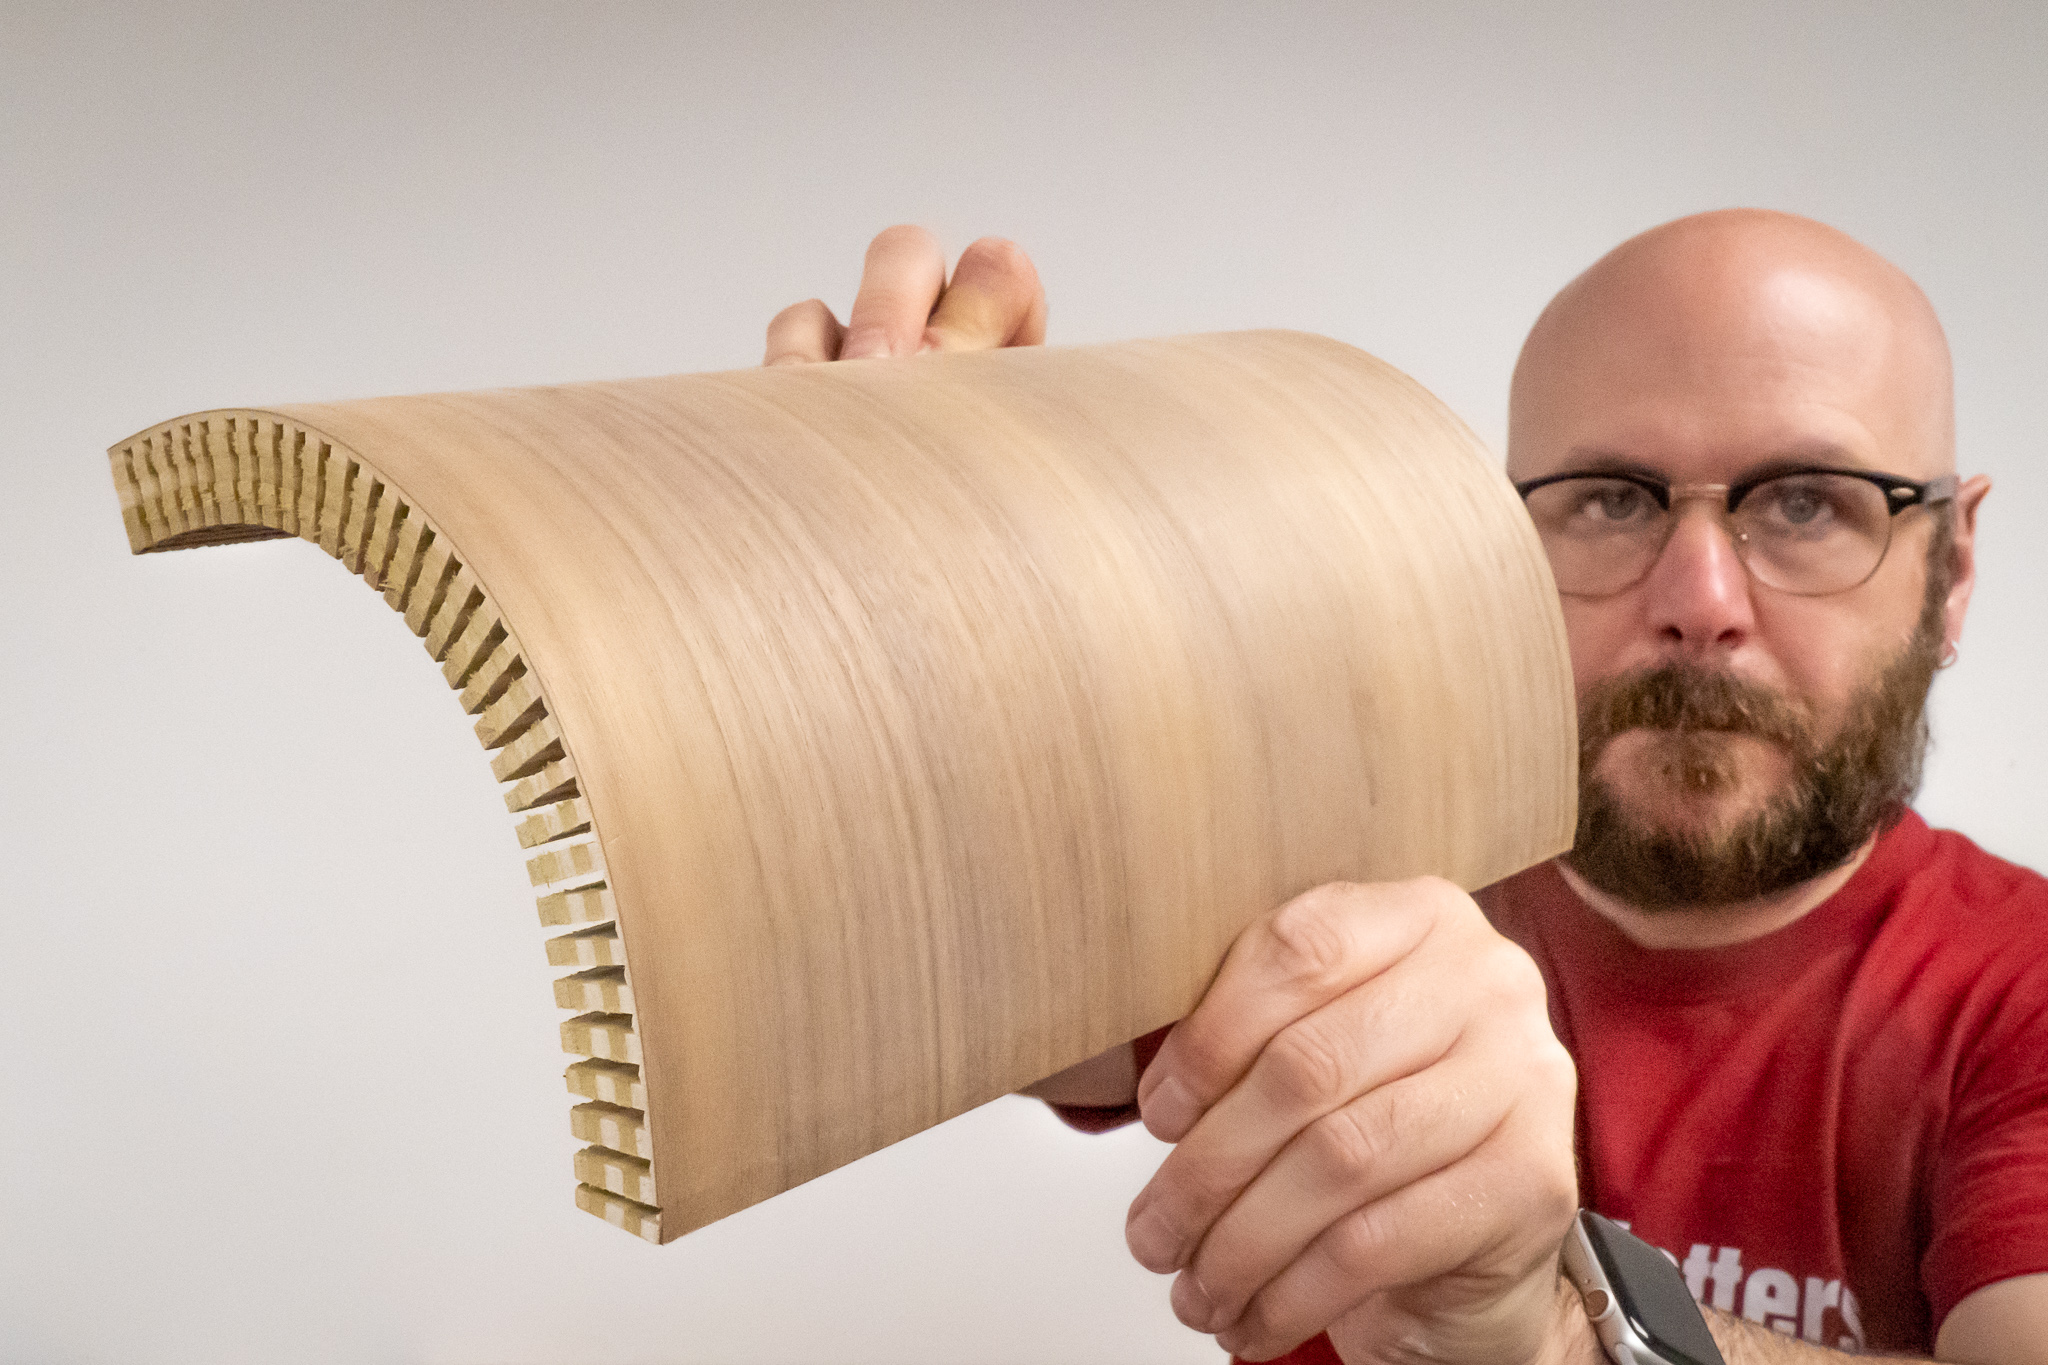
How to Quickly Kerf Bend Plywood and Solid Wood
Kerf banding is in most cases the quickest and easiest method and doesn't require any special jigs.
Easily Bend Wood With Kerf Bending. No Math and Measuring Required.
There are 3 common ways to bend wood; steam bending, bent lamination and the technique used in this video called kerf bending. Out of the three, kerf banding is in most cases the quickest and easiest method and doesn't require any special jigs. The process if fairly simple in which you make a series of kerfs in your wood spaced apart depending on your desired radius. The kerf is cut almost all the way through leaving a little more than a 1/16 skin (veneer) on top. This skin is thin enough to allow it to bend and can be held in place with glue. I prefer using polyurethane (Gorilla Glue) for this technique as it expands when it comes in contact with water filling the gap. This wood bending technique works with both plywood and solid wood. In this tutorial video we go over how many kerfs to cut, spacing and depth without getting into unnecessary math. I use the kerf bending technique to make a stylish coat rack and at the end of the video I'll go over some tips and tricks to get up bending wood with ease!
Tools and Supplies Used In This Woodworking Project


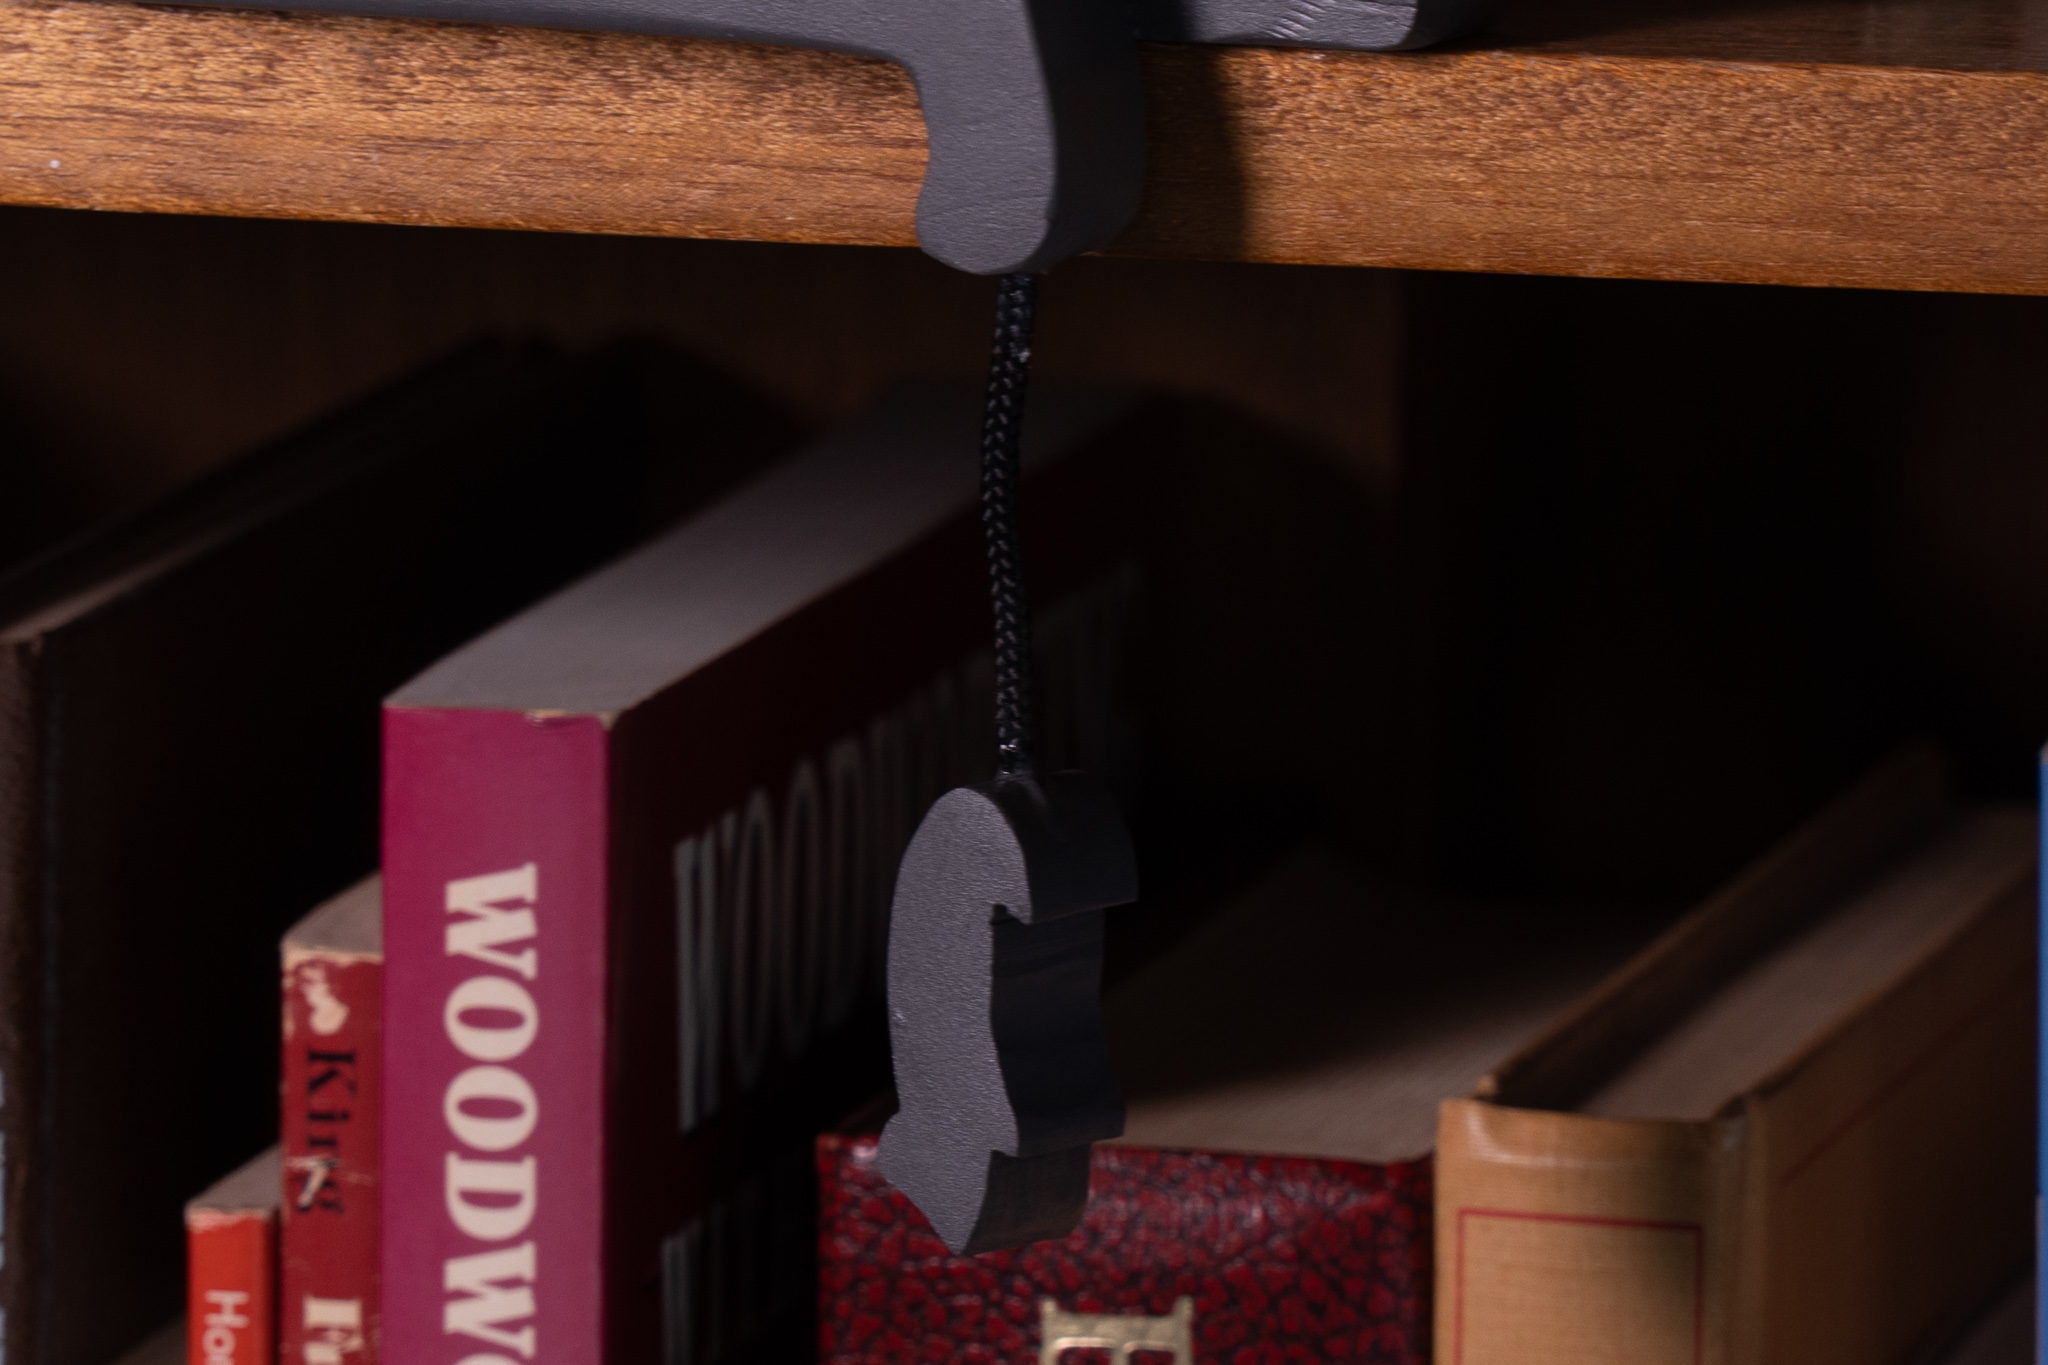
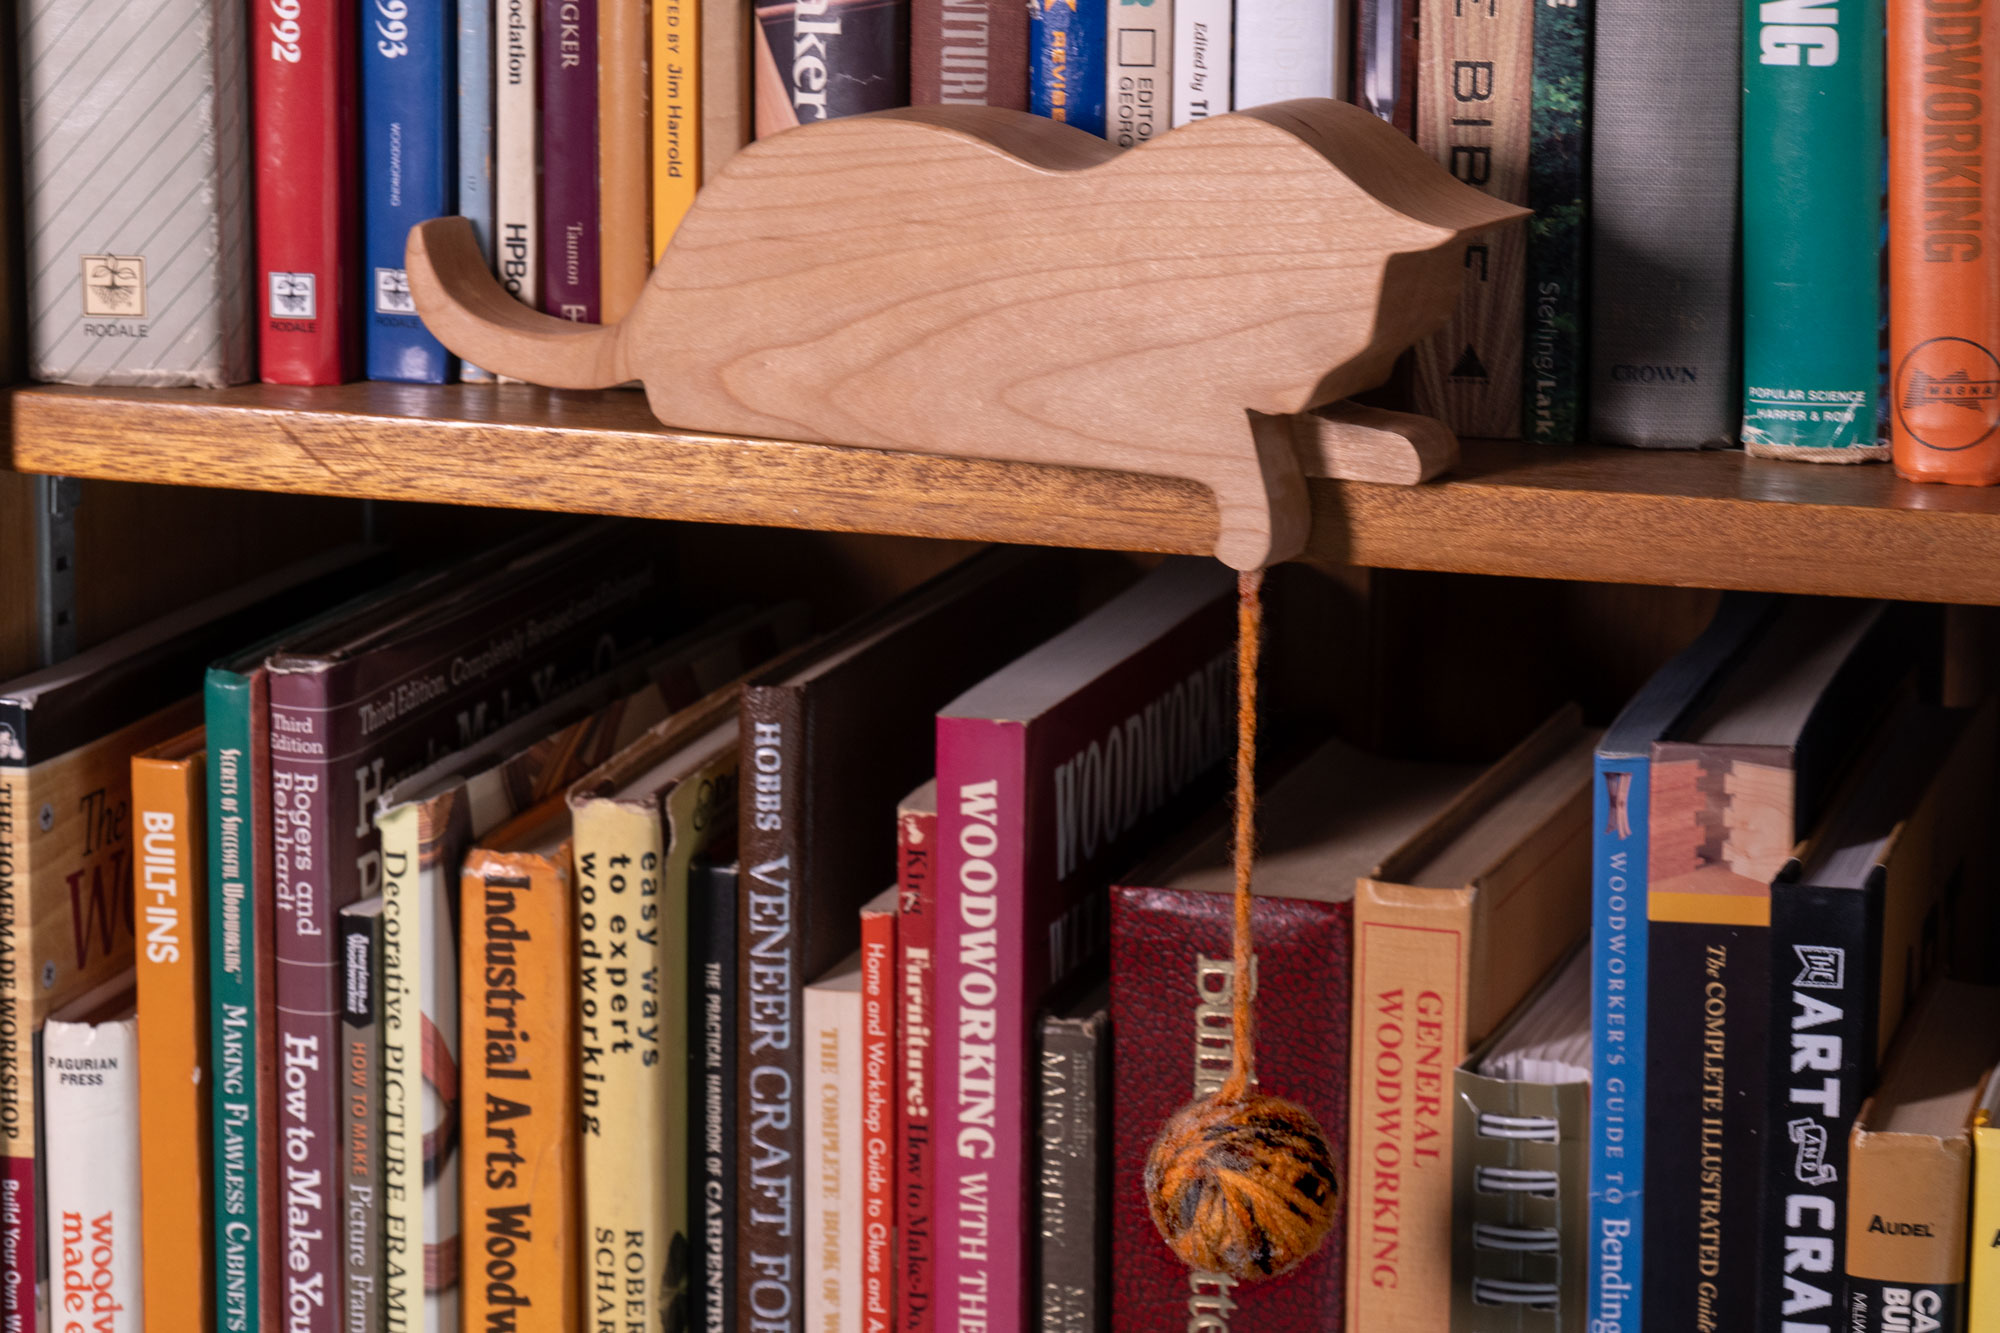
How to Make a Bookshelf Cat Decoration
Easy to make woodworking project. Great for a Mother’s Day gift and craft shows!

Easy Woodworking Project. Perfect for a Mother’s Day Gift!
Looking for something you can batch out quickly for craft shows or a gift? Wooden shelf cat decoration is the perfect project. You don’t need a shop full of tools to make this. Mainly you need a bandsaw or scroll saw and some sandpaper. Watch the tutorial video above to see how easy and quickly this project can be made! Get the plans and Make Something!
Tools and Supplies Used In This Woodworking Project


How to Make a Wood Tissue Box Cover
Easy to make woodworking project. Great for Christmas gifts and craft shows!
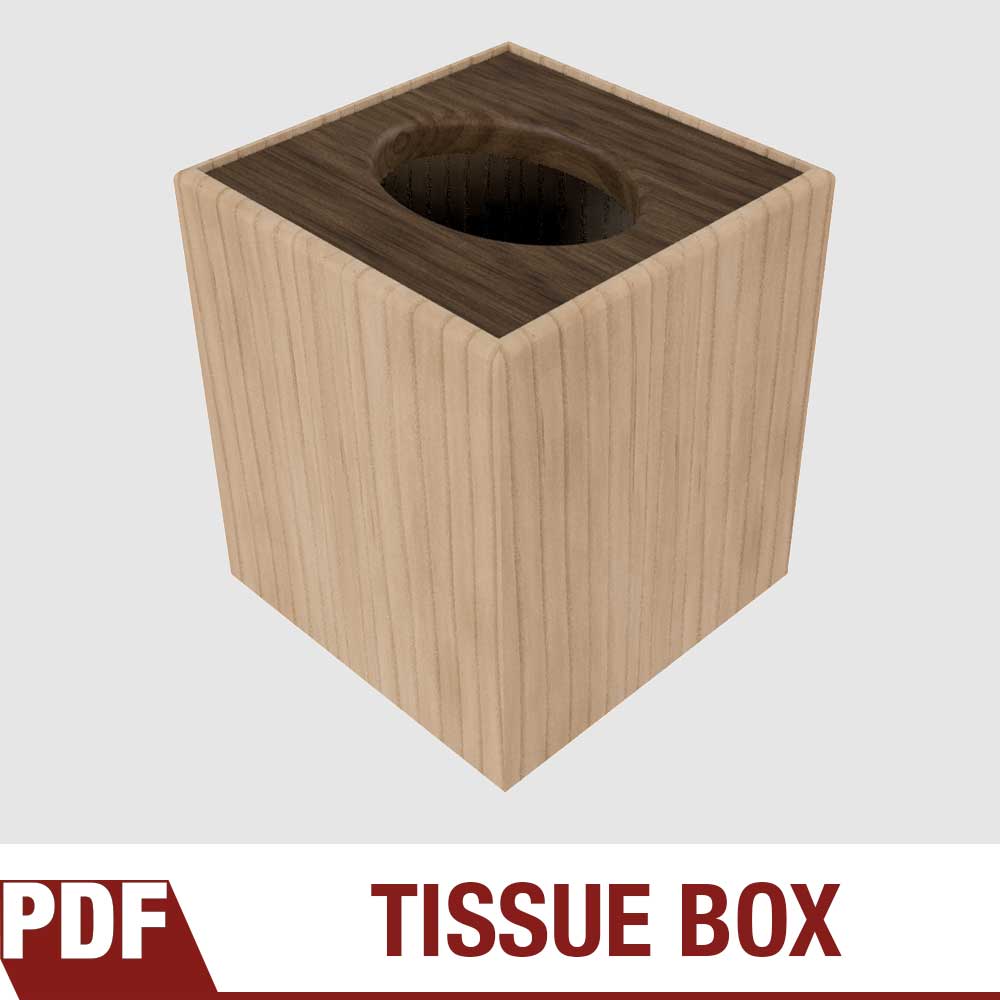
Easy Woodworking Project That Can Be Batched Out as Gifts
Looking for something you can batch out quickly for holiday gifts or craft shows? This wood tissue box is the perfect project. Easy joinery with basic woodworking tools. Watch the tutorial video above to see how this simple design can turn an ordinary tissue box into a center piece on your coffee table! Get the plans and Make Something!
Tools and Supplies Used In This Woodworking Project


How to Make Gift Wine Boxes With Finger Joints
Easy to make woodworking project. Great for Christmas gifts and craft shows!
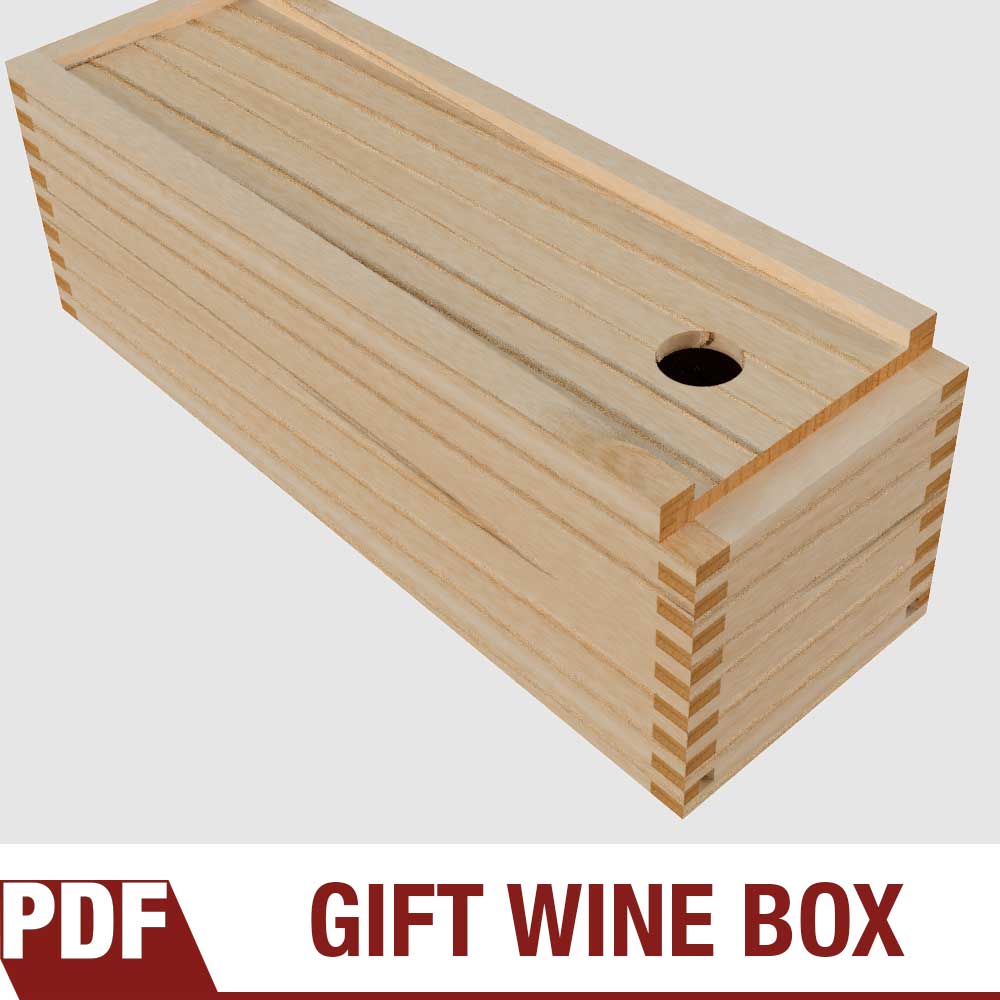
Quick and Easy Woodworking Project Just In Time For Christmas Gifts!
These easy to make wine boxes make for a great gift when pared with a bottle of wine and also sell well at craft shows. I like to make mine from pine and leave them unfinished for that natural softwood feel, smell and look. If you’ve never made finger joints (also known as box joints) then check out this video that’ll get you up a running quickly and easily. Looking to batch out a few of these? Get the plans and Make Something!
Tools and Supplies Used In This Woodworking Project


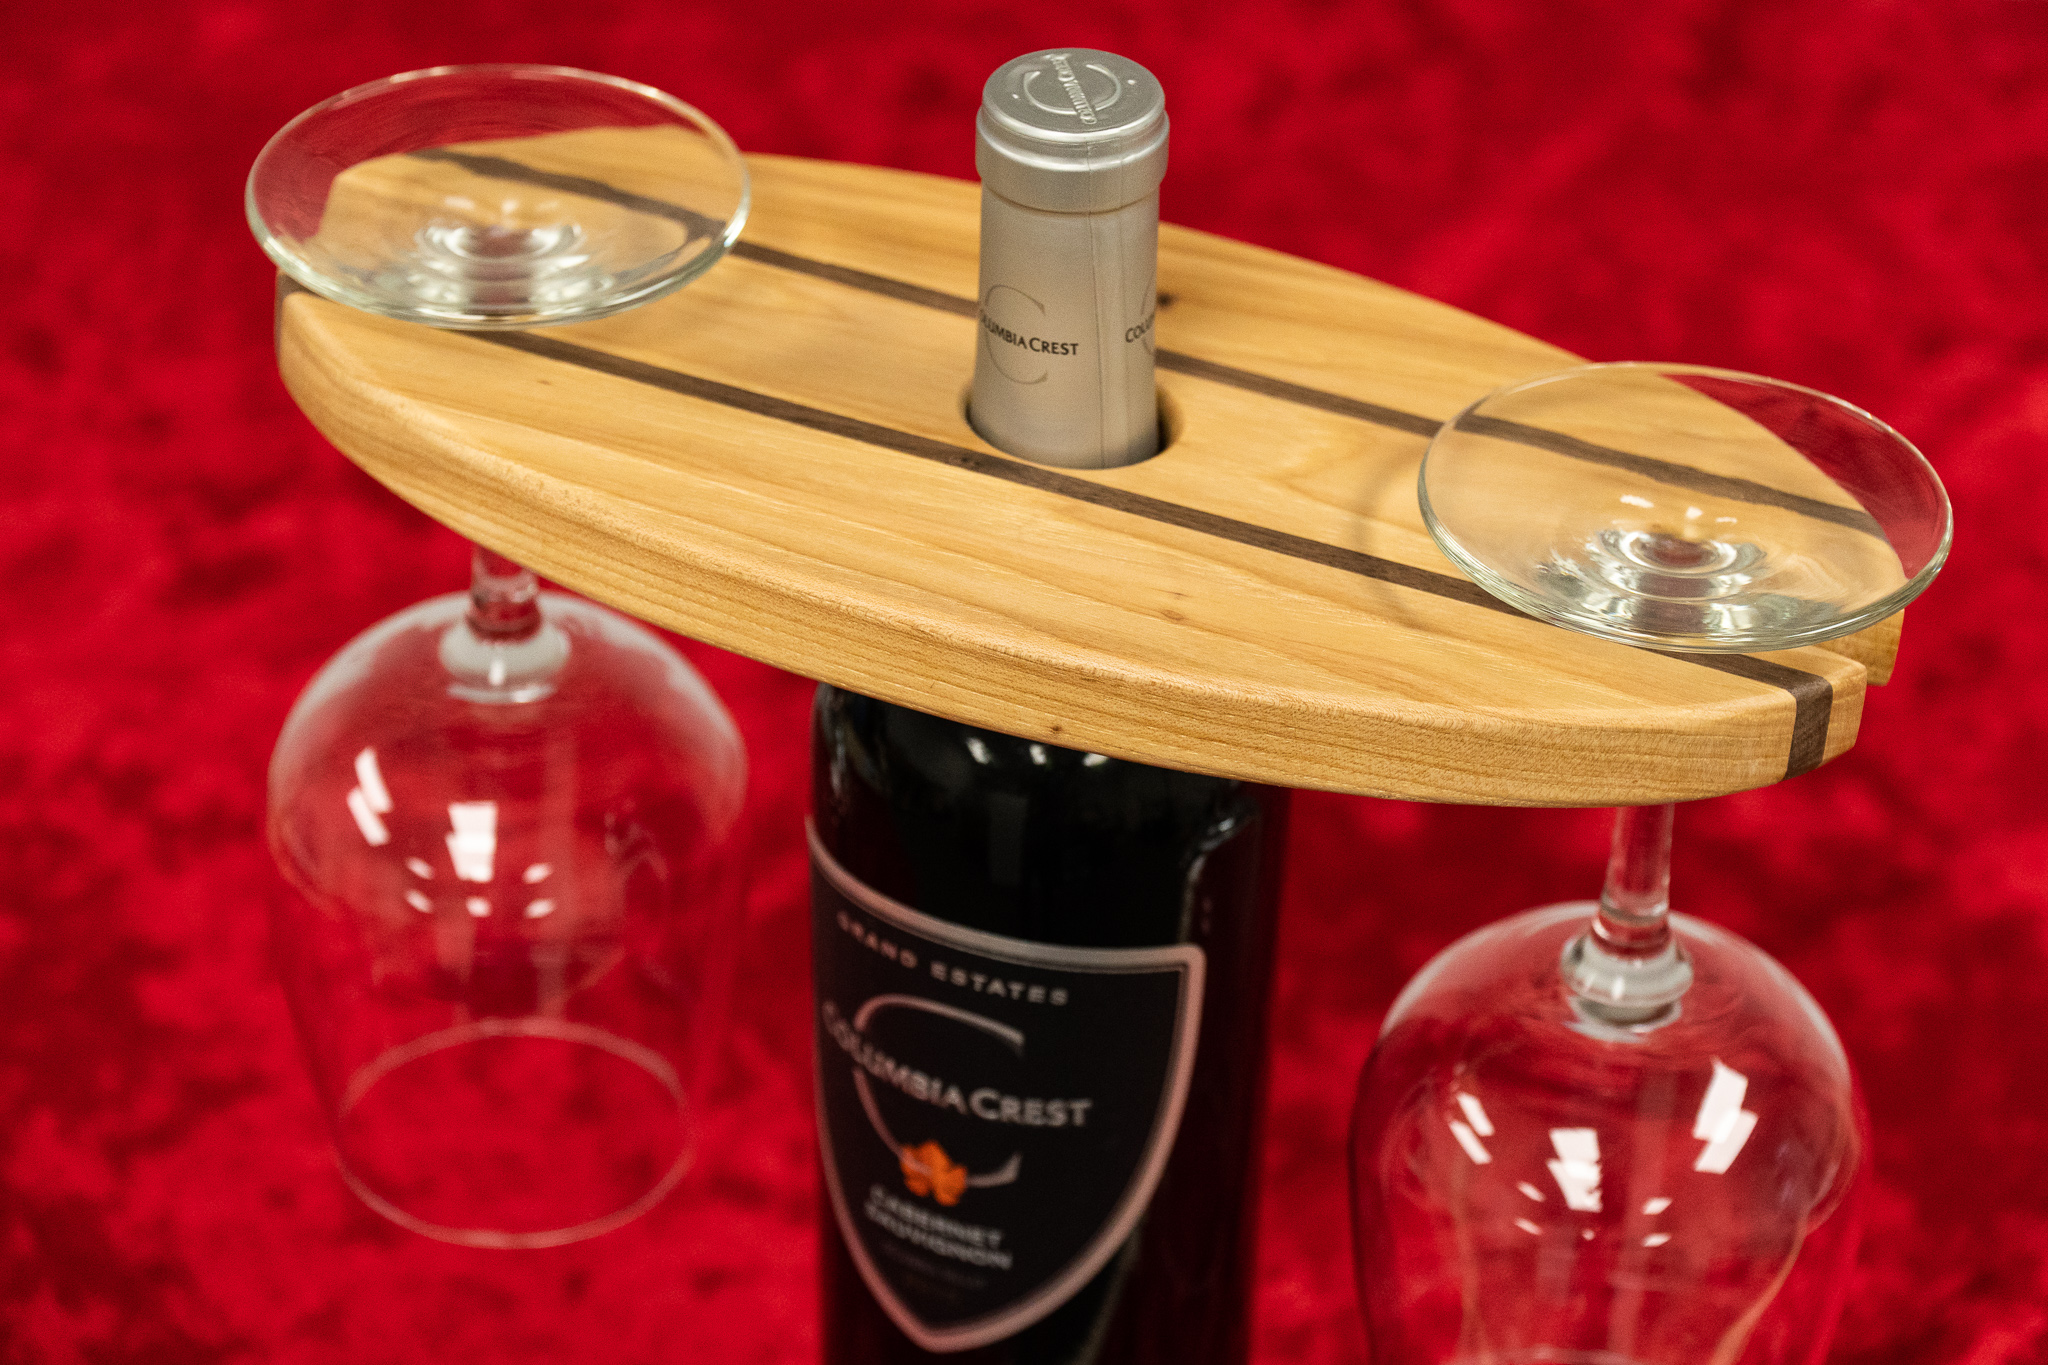
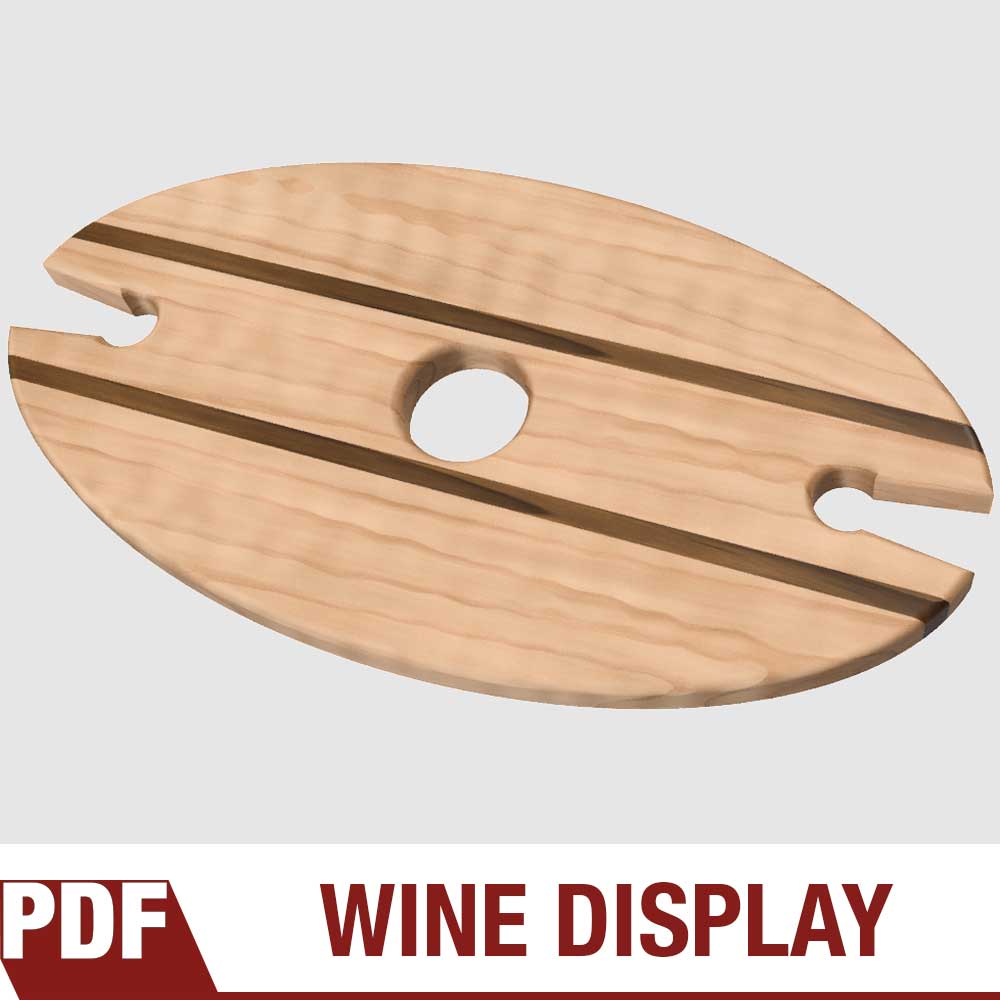
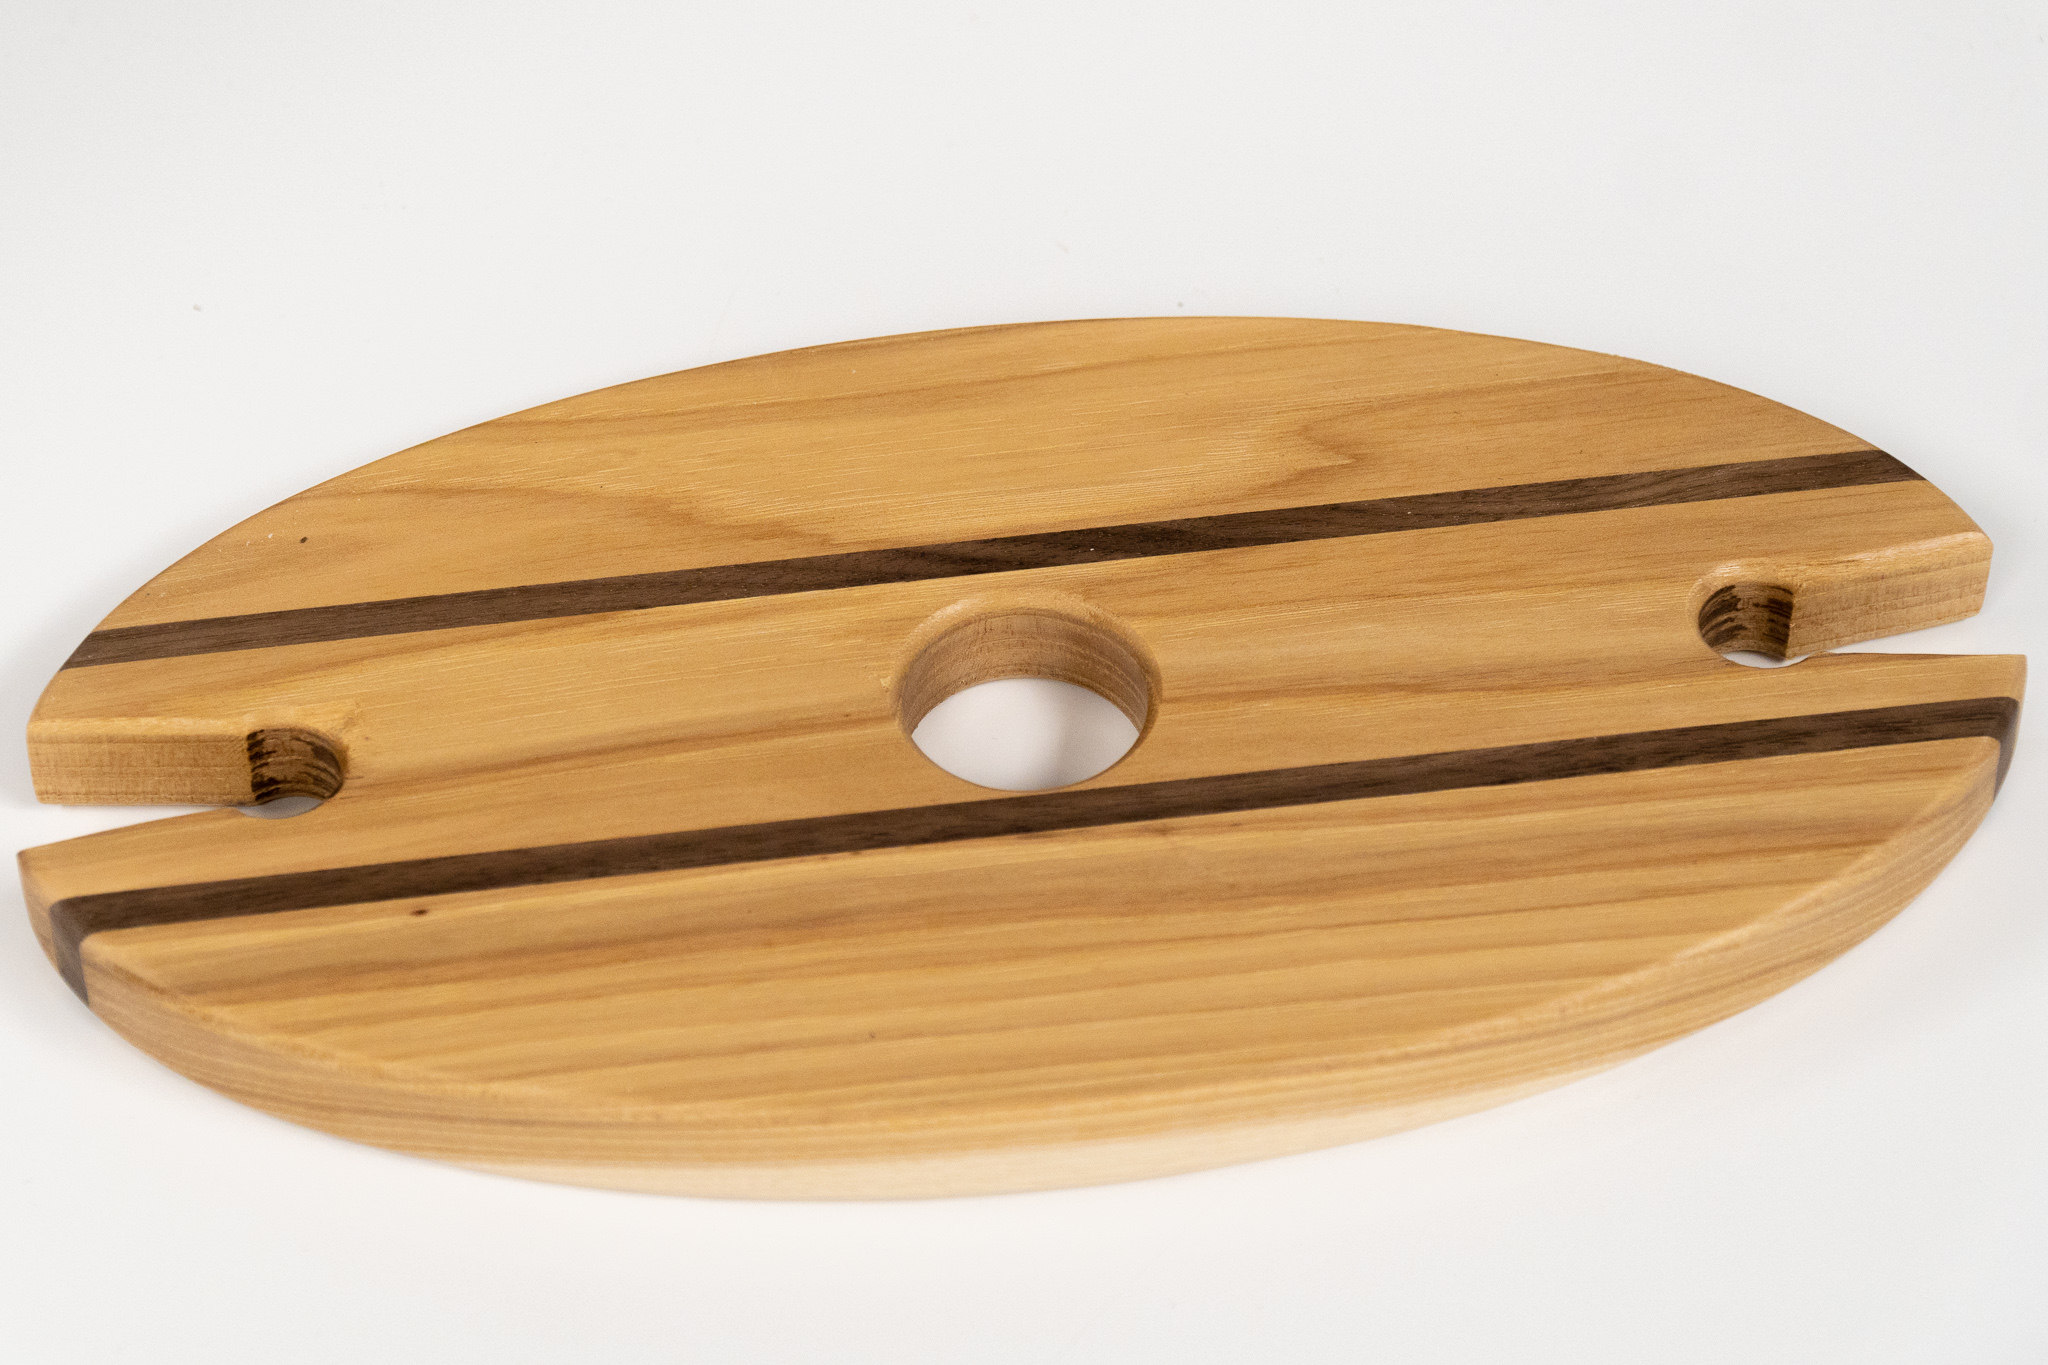
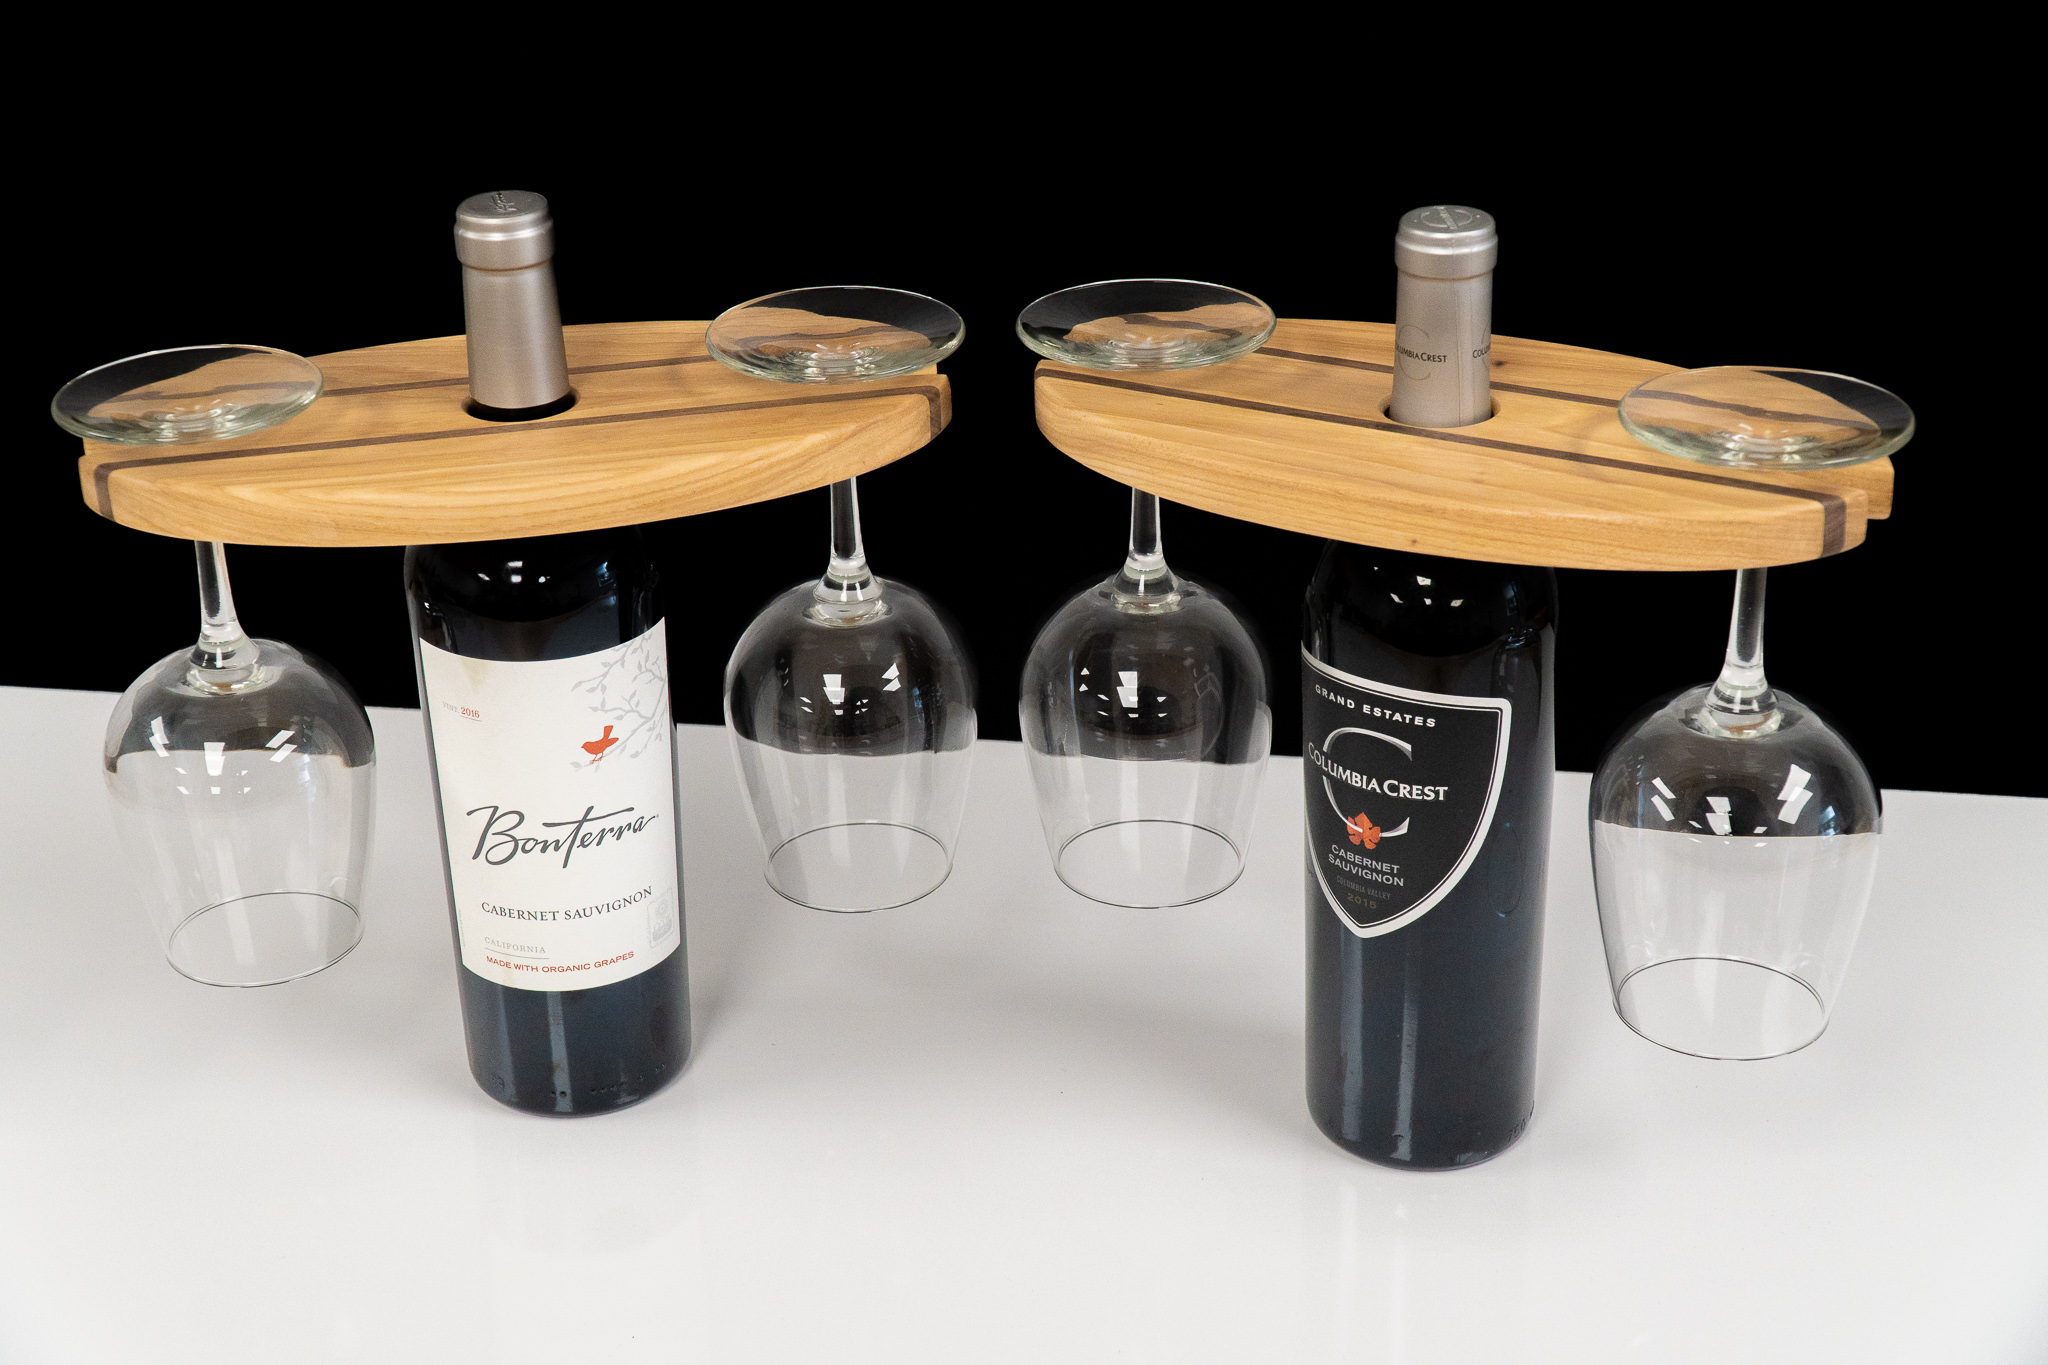
How to Make a Wine Bottle and Glass Display
A quick and simple woodworking project that can easily be batched out for selling at craft shows.
Make Money With Your Woodworking
These wine displays are constantly my biggest seller at craft shows and also one of the easiest things to make! When making these it's best to batch out and make a handful at once to make efficient use of your time. I give the customer the option of buying them with or without the glasses. You ready to dig in and Make Something? Let's go!
Trade is offering 50% OFF your first order when you subscribe to The Hookup. Use my code ‘david’


Everything You Need to Know on Making Bandsaw Boxes
Step-by-step tutorial on how to make bandsaw boxes with templates and plans. Easy and fun woodworking projects!
Making bandsaw boxes is what got me excited about woodworking! You can make them out of scraps in a day and they make for a great handmade gift. There are endless possibilities in shapes and sizes and you don't need and entire shop full of expensive tools or years of experience.
Bandsaw Box Templates and Plans
Looking to get started in making bandsaw boxes? I’ve got PDF templates for 4 simple but elegant bandsaw box designs as well as a book full of unique styles. You can find the book in all major book stores and public libraries or you can get a signed book directly from me!


The Best Blade For Making Bandsaw Boxes

I’ve made dozens of bandsaw boxes in my day and I’ve tried many blades. You need a blade small enough to cut tight curves. Generally the more teeth per inch the smoother the cut you’ll get. But when it comes to making bandsaw boxes a smooth cut is not necessary. What’s more important is large gullets between the teeth to remove all the waste dust that’s created when cutting a big 4" thick bandsaw box blank. If you have too many teeth you’ll have issues with burning and not being able to cut the curves because of all the saw dust trapped between the blade and the wood. I’ve come to the conclusion that a 3/16" blade for 4 teeth per inch is the perfect blade for these bandsaw boxes. I like this 3/16", 4 TPI, Skip Tooth blade from Highland Woodworking.

Step 1: Bandsaw Box Blank
The first thing you need to do is cut up the boards that'll make up your bandsaw box blank. The height and width will depend on which template you choose to work with. The depth can vary but I like mine to be about 4" thick. In this example I'm using Baltic birch plywood as my core with an exotic wood on the faces. You'll glue up all the pieces with wood glue on the faces of each piece. Use plenty of wood glue make sure the entire surface is covered.

Step 2: Bandsaw Box Glue-up
Now you'll clamp everything up with plenty
of F-style clamps. You should see some glue squeeze out all around. Let this sit and dry for a few hours.
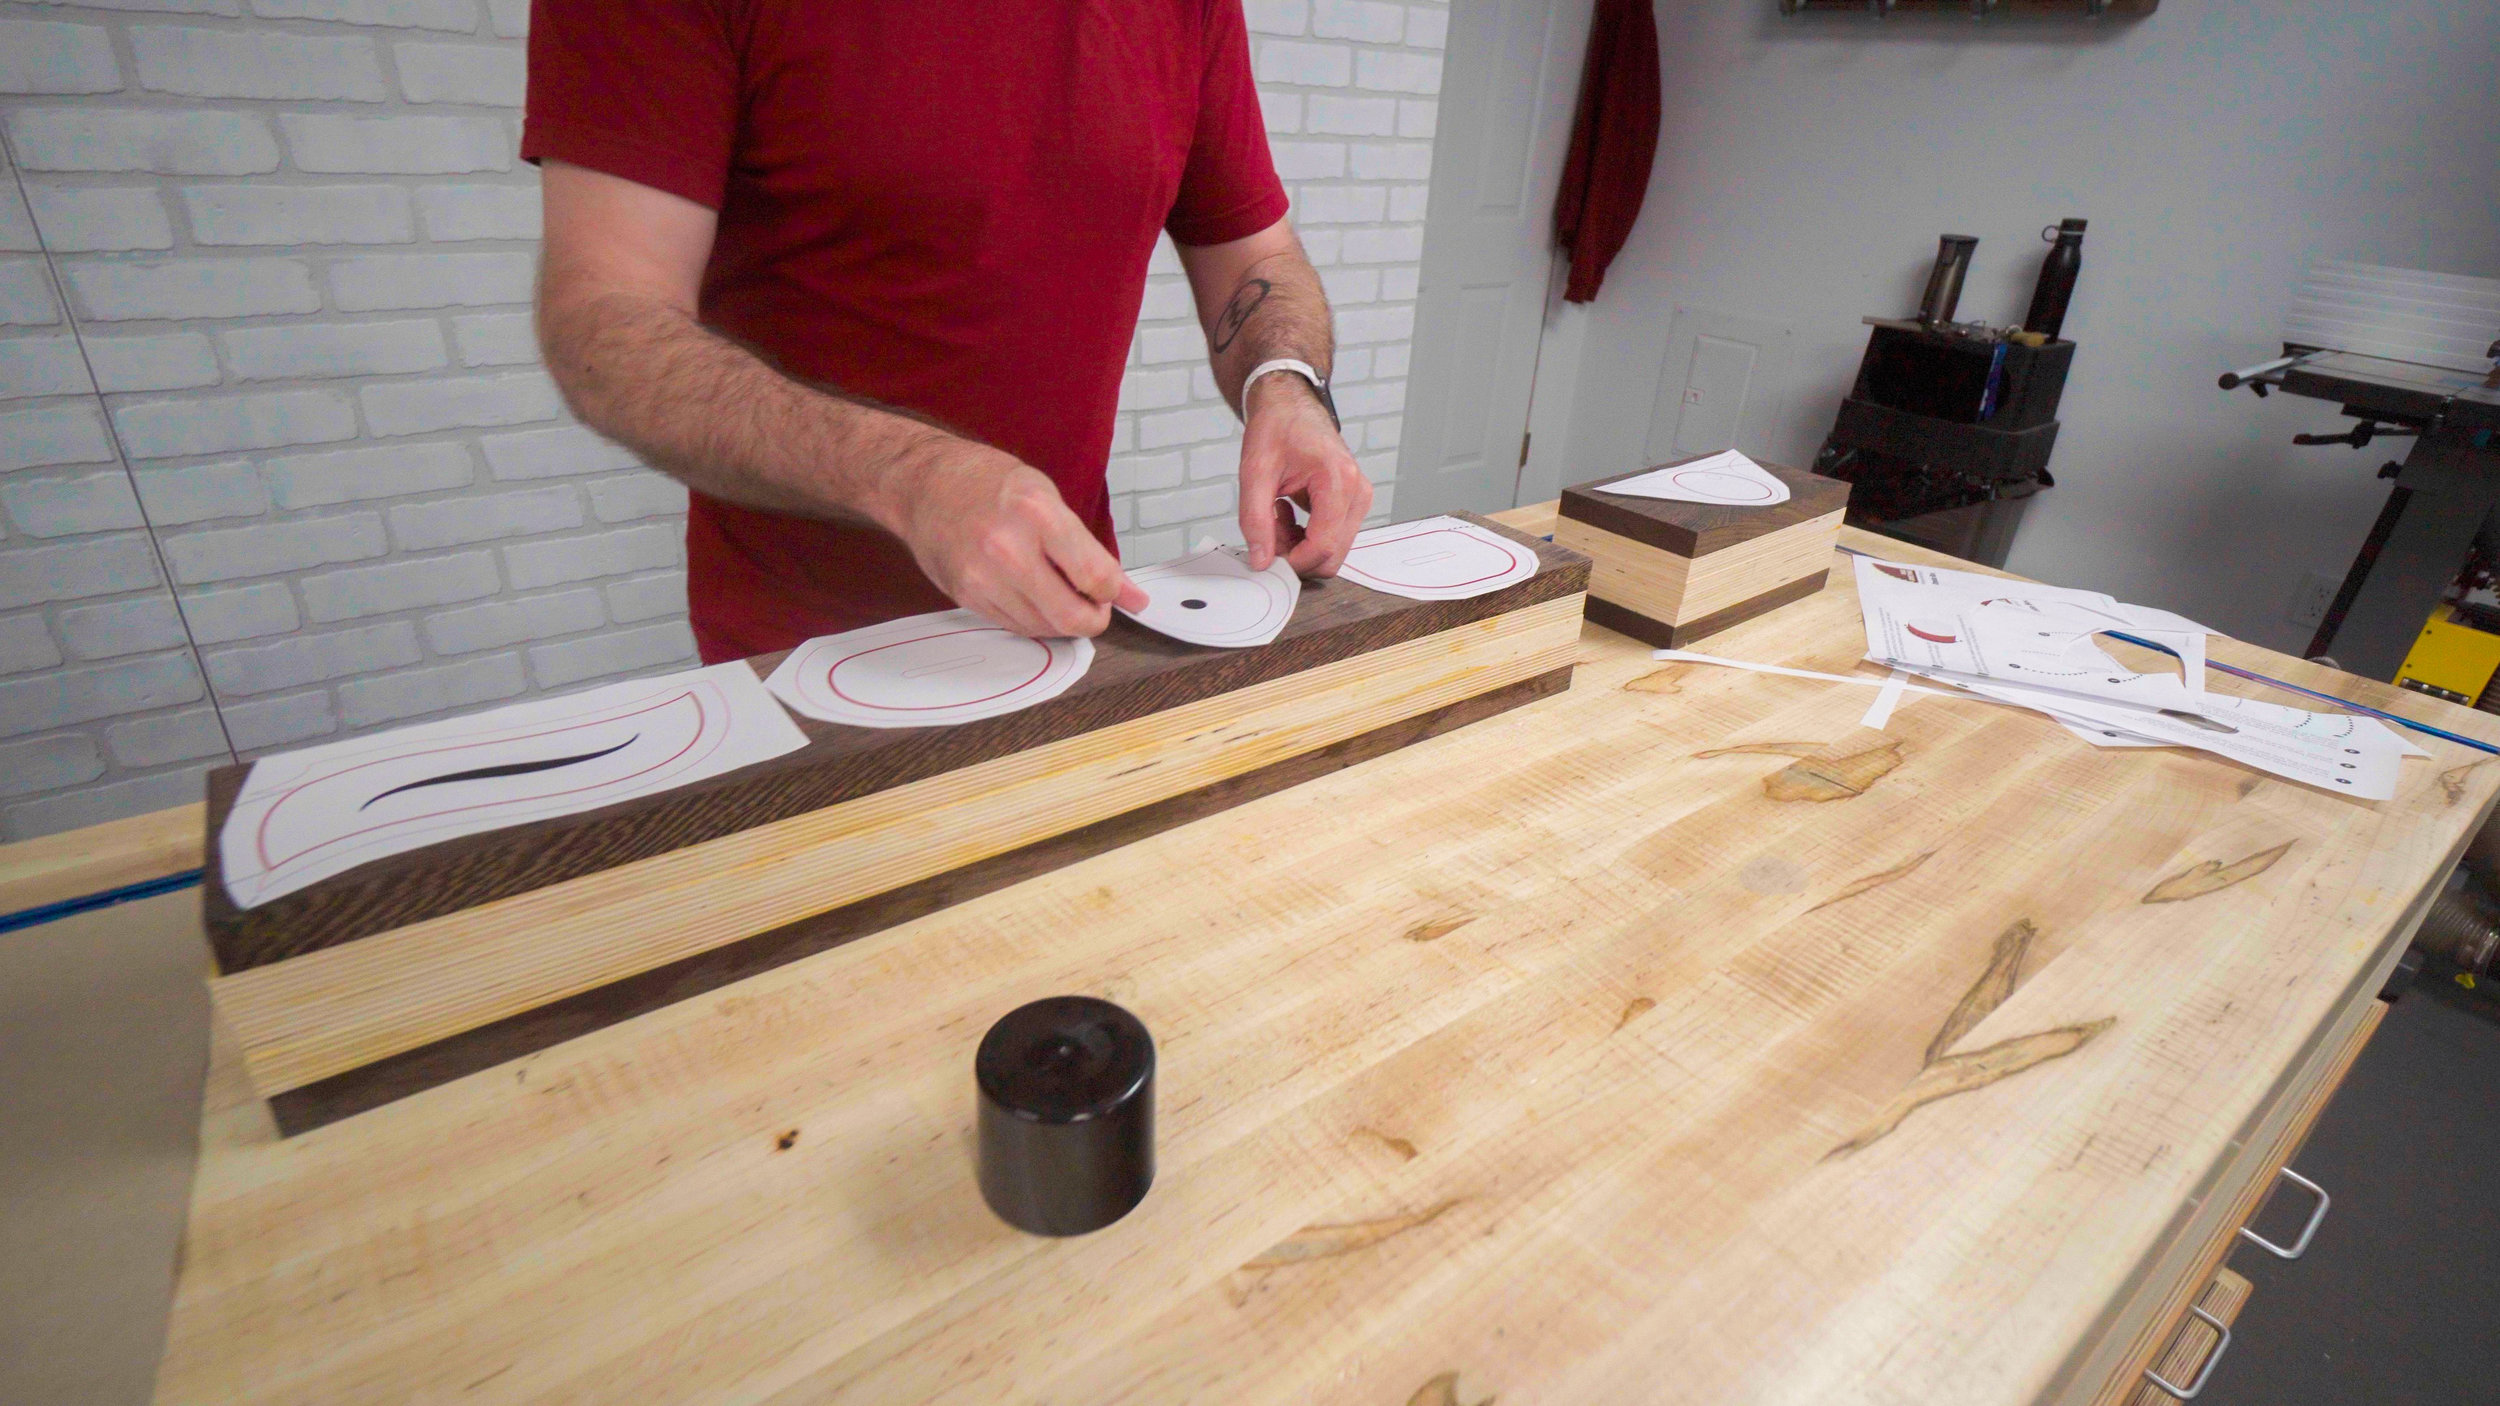
Step 3: Bandsaw Box Templates
Print out your template at 100% size (do not fit to scale) and spray the back with spray adhesive. A light even coat is all that's needed. Let it sit and get tacky for 60 seconds. Place your template and push out any air bubbles.
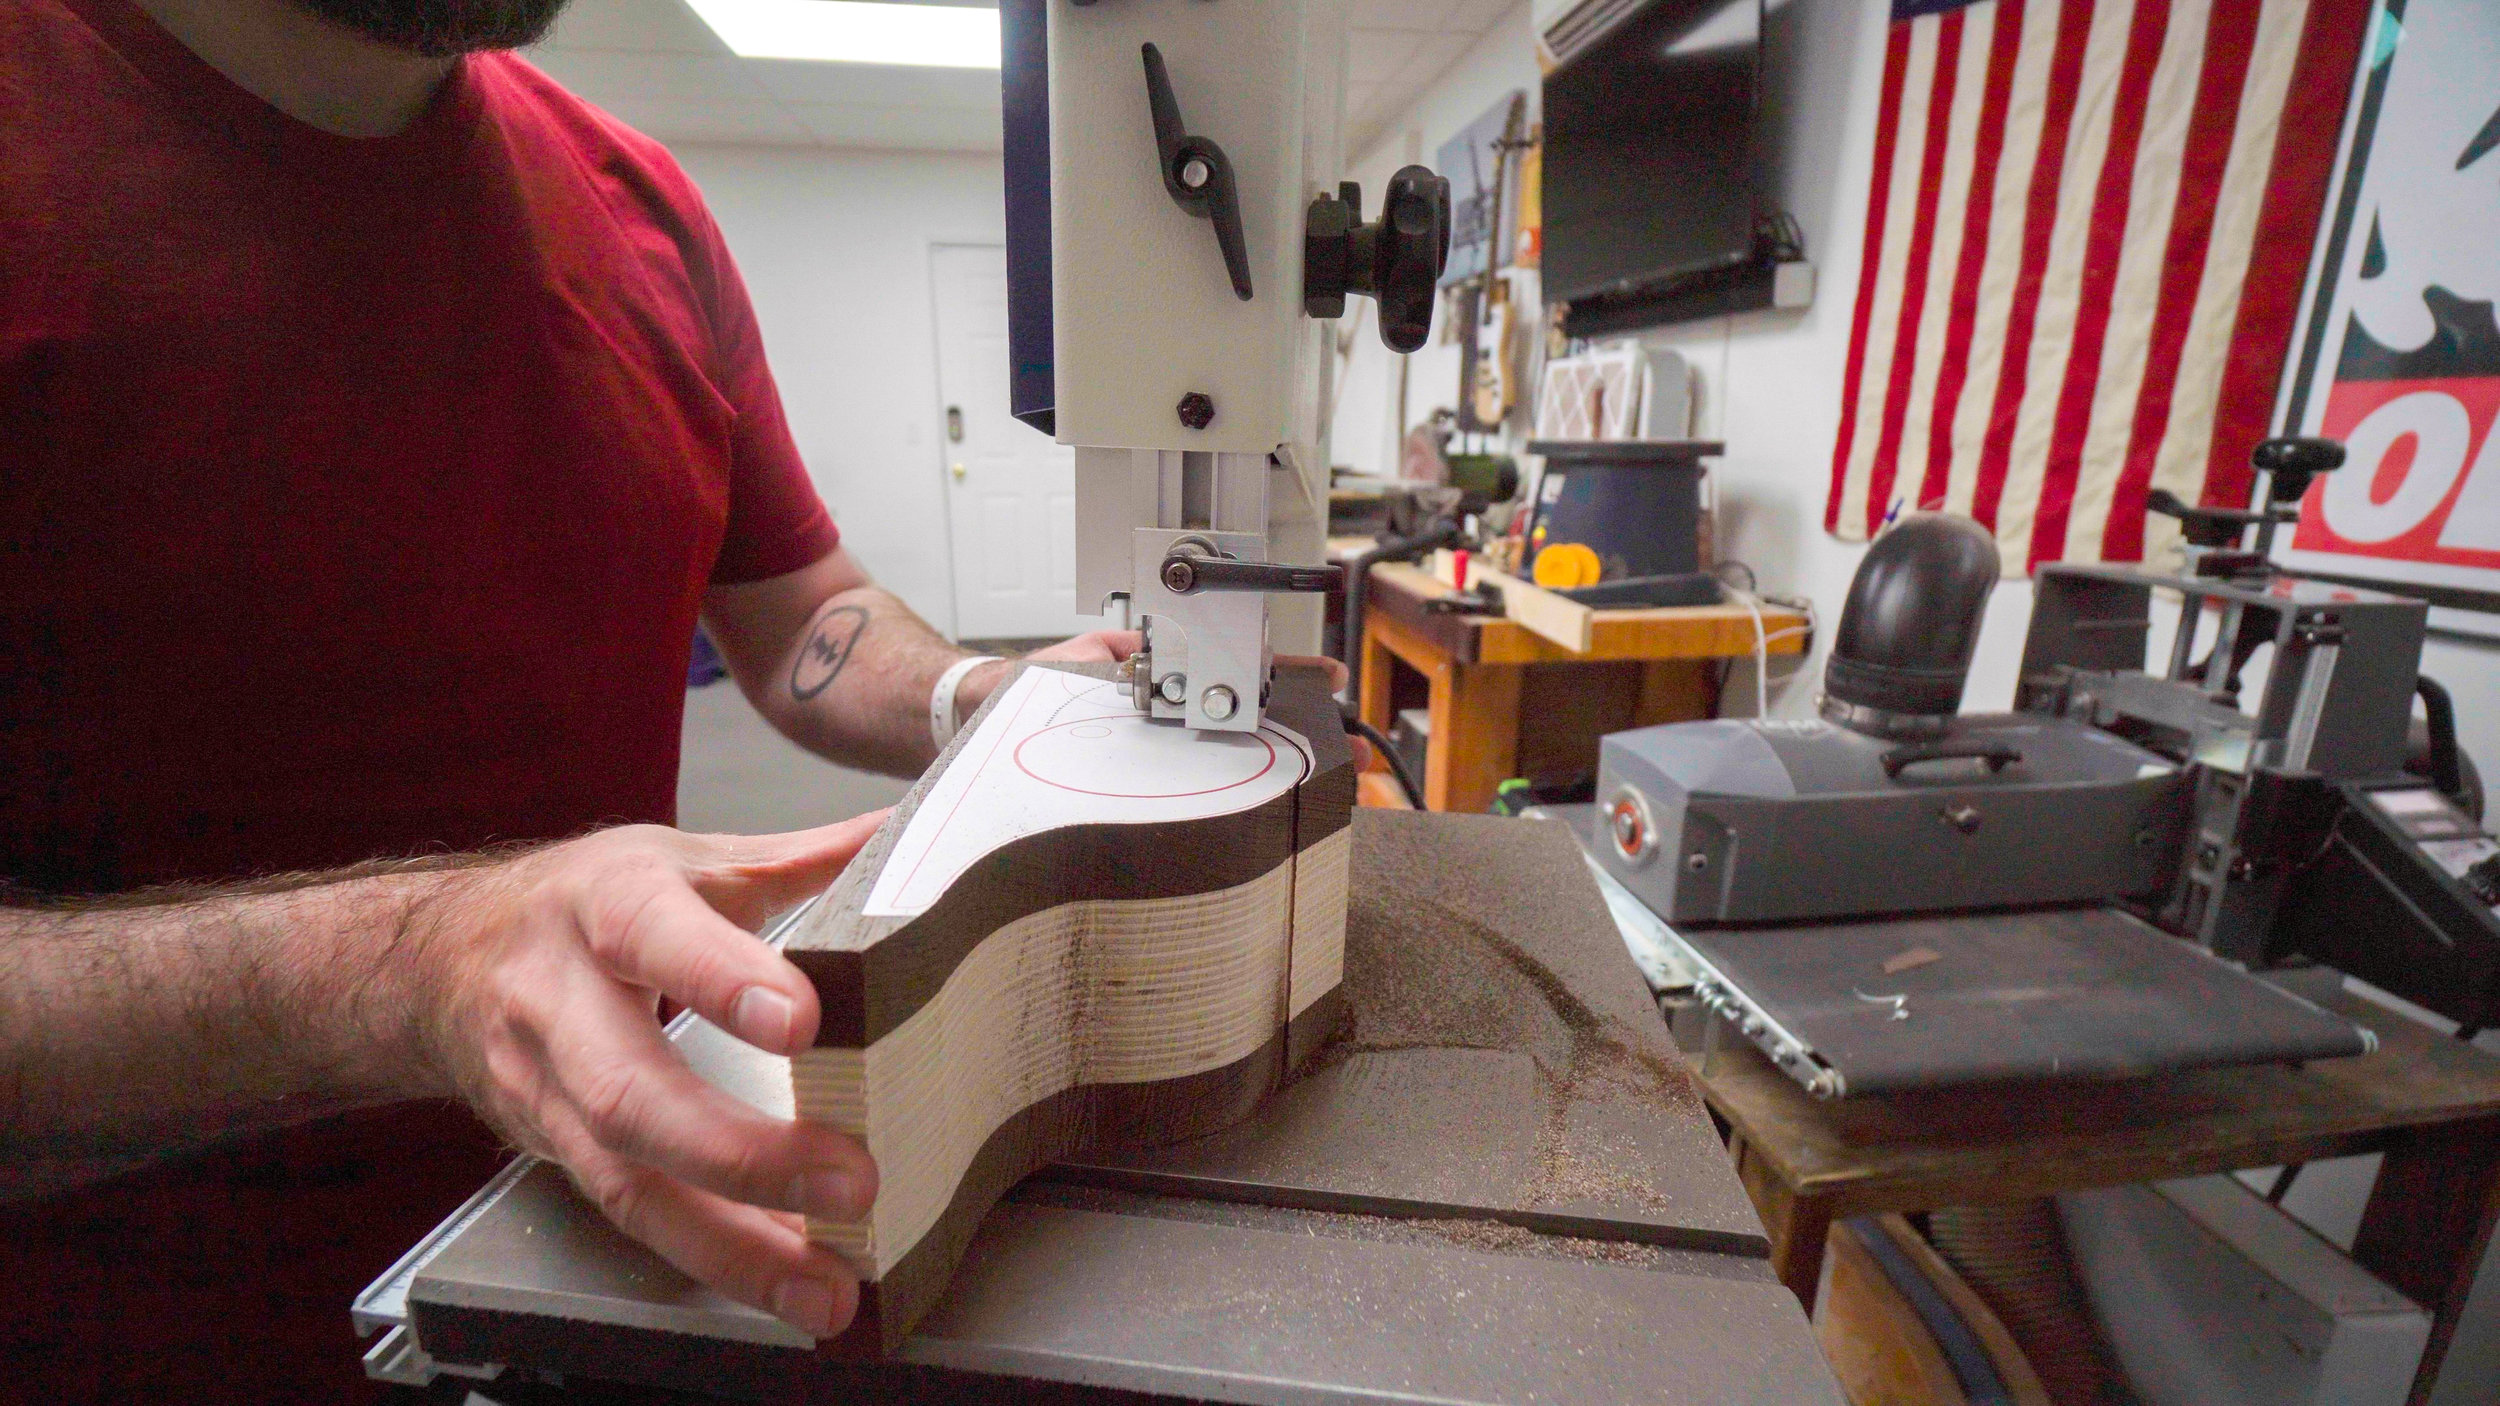
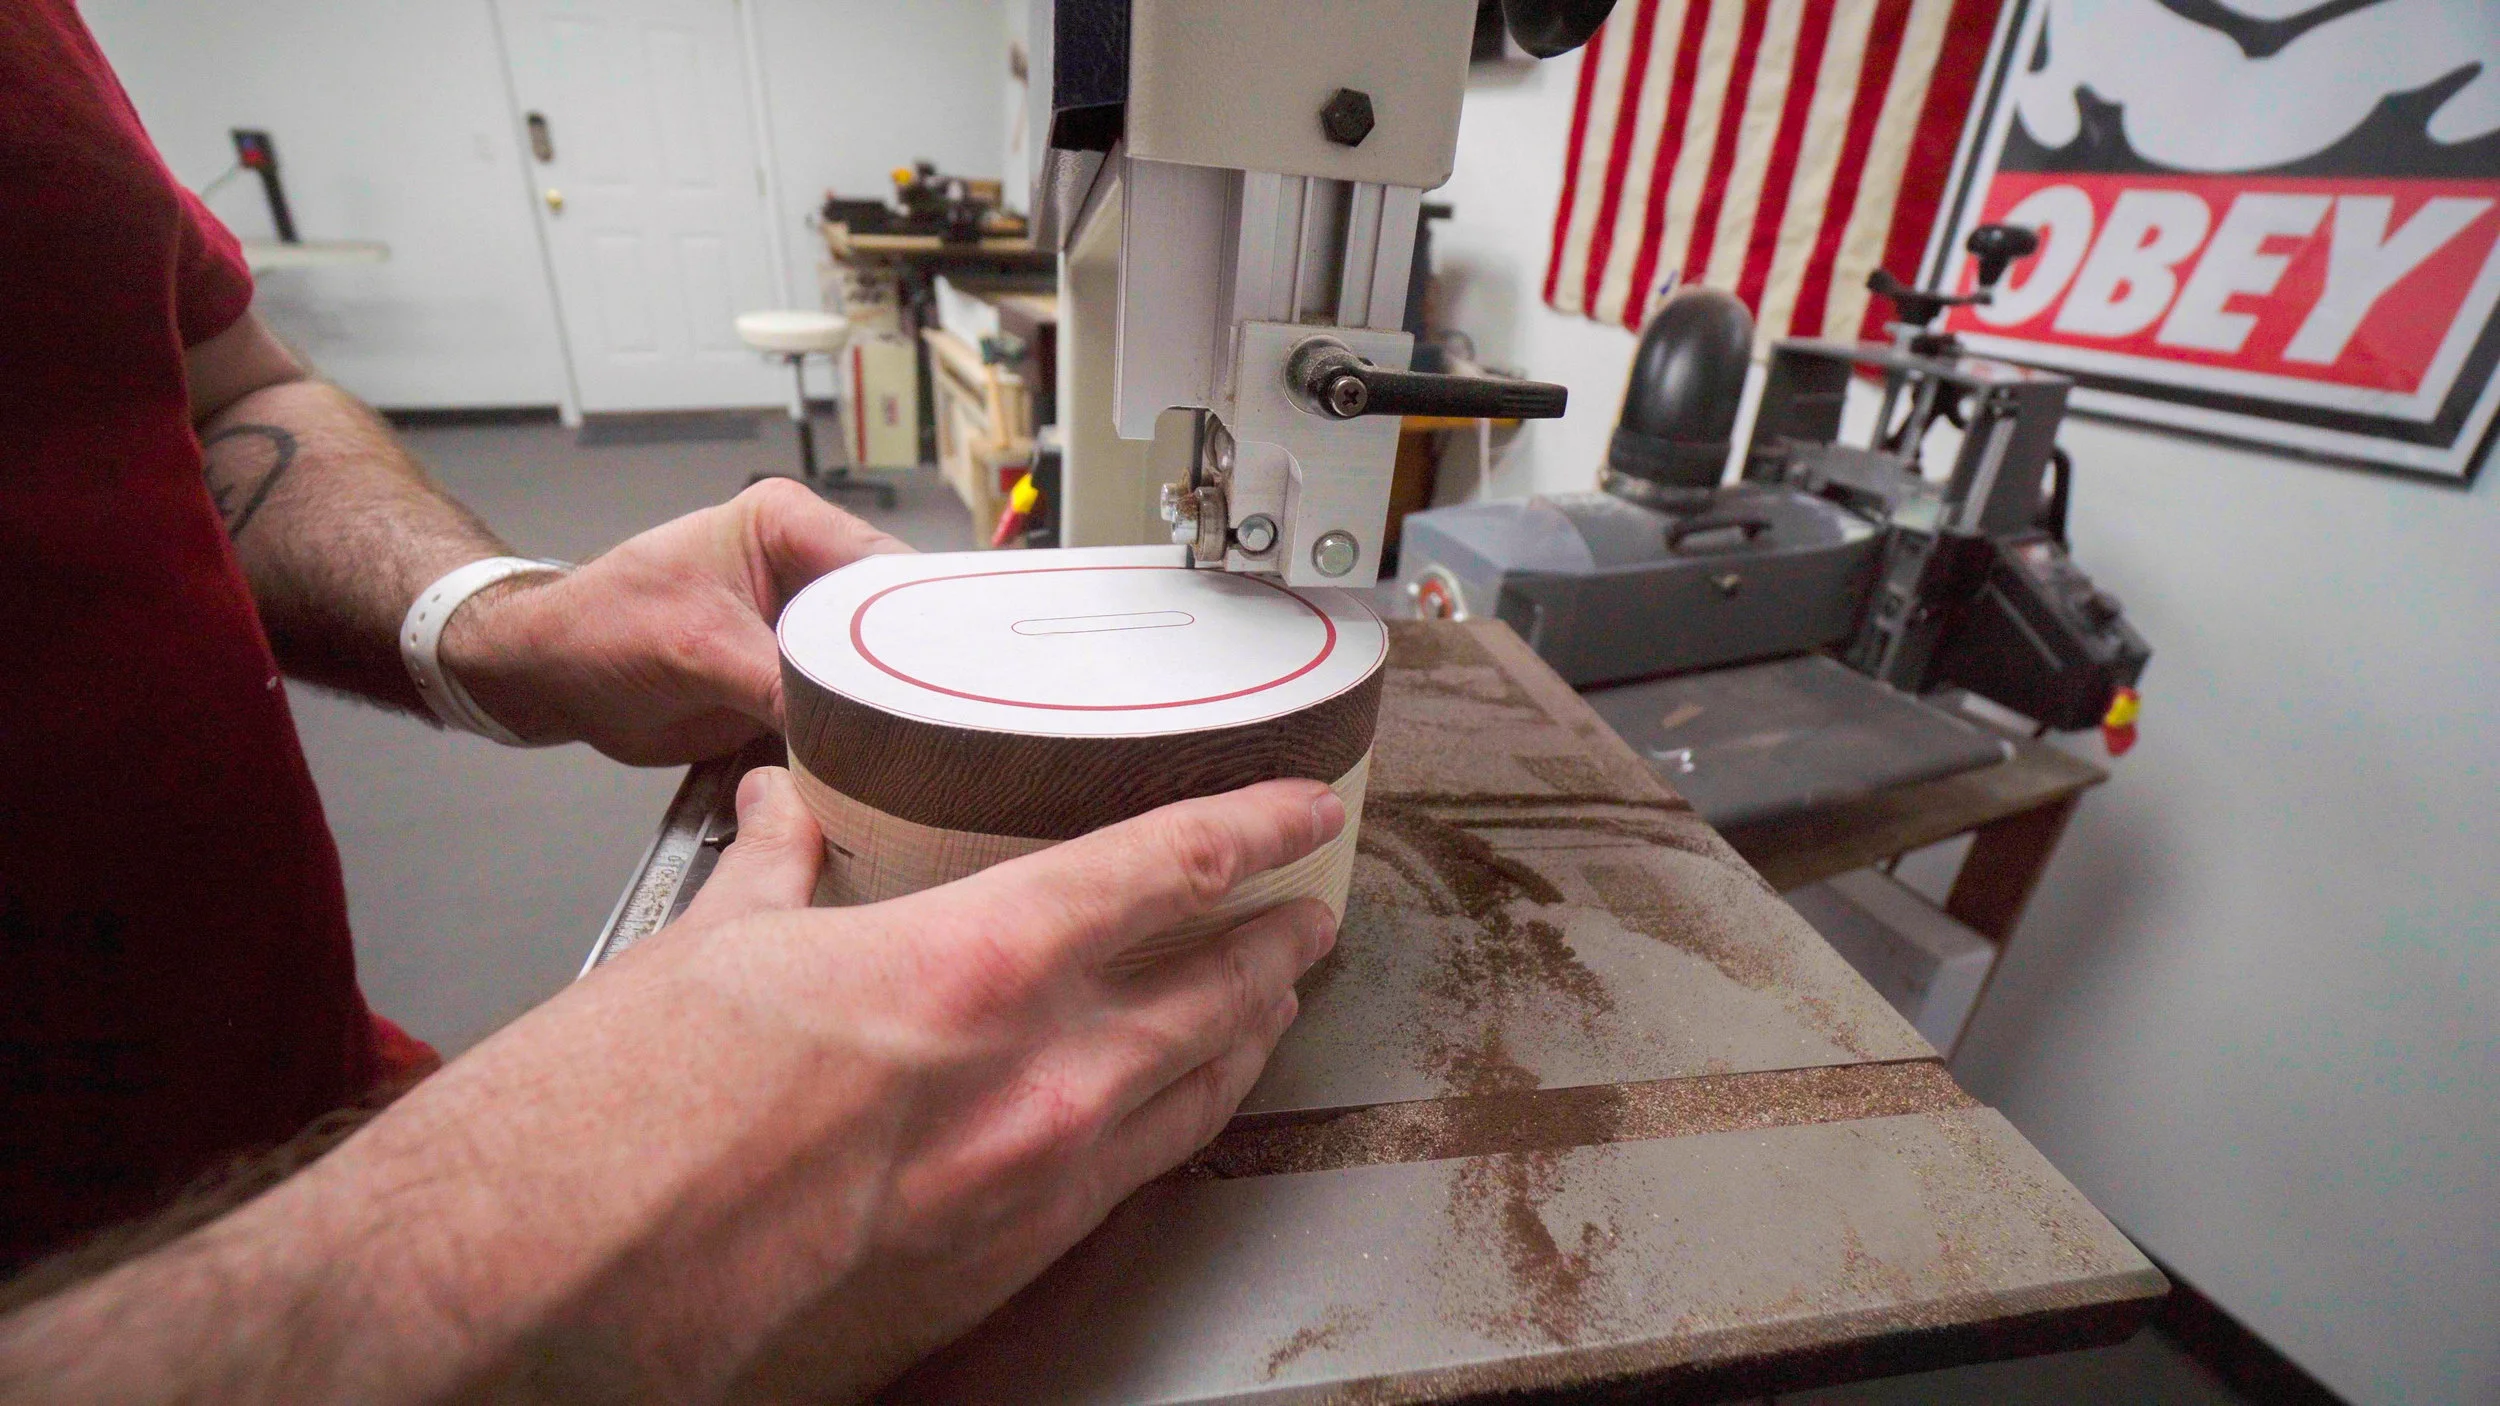
Step 4: Cutting the Bandsaw Box Shell
Next you'll cut the outside shape out on the bandsaw. Cut as close to the line as you can without touching it. In a later step we'll sand down to the line. Cut slow and let the blade do the work. You should not have to push hard if your blade is sharp. Don't worry how rough the cuts are at this point. We'll clean it up in a future step.
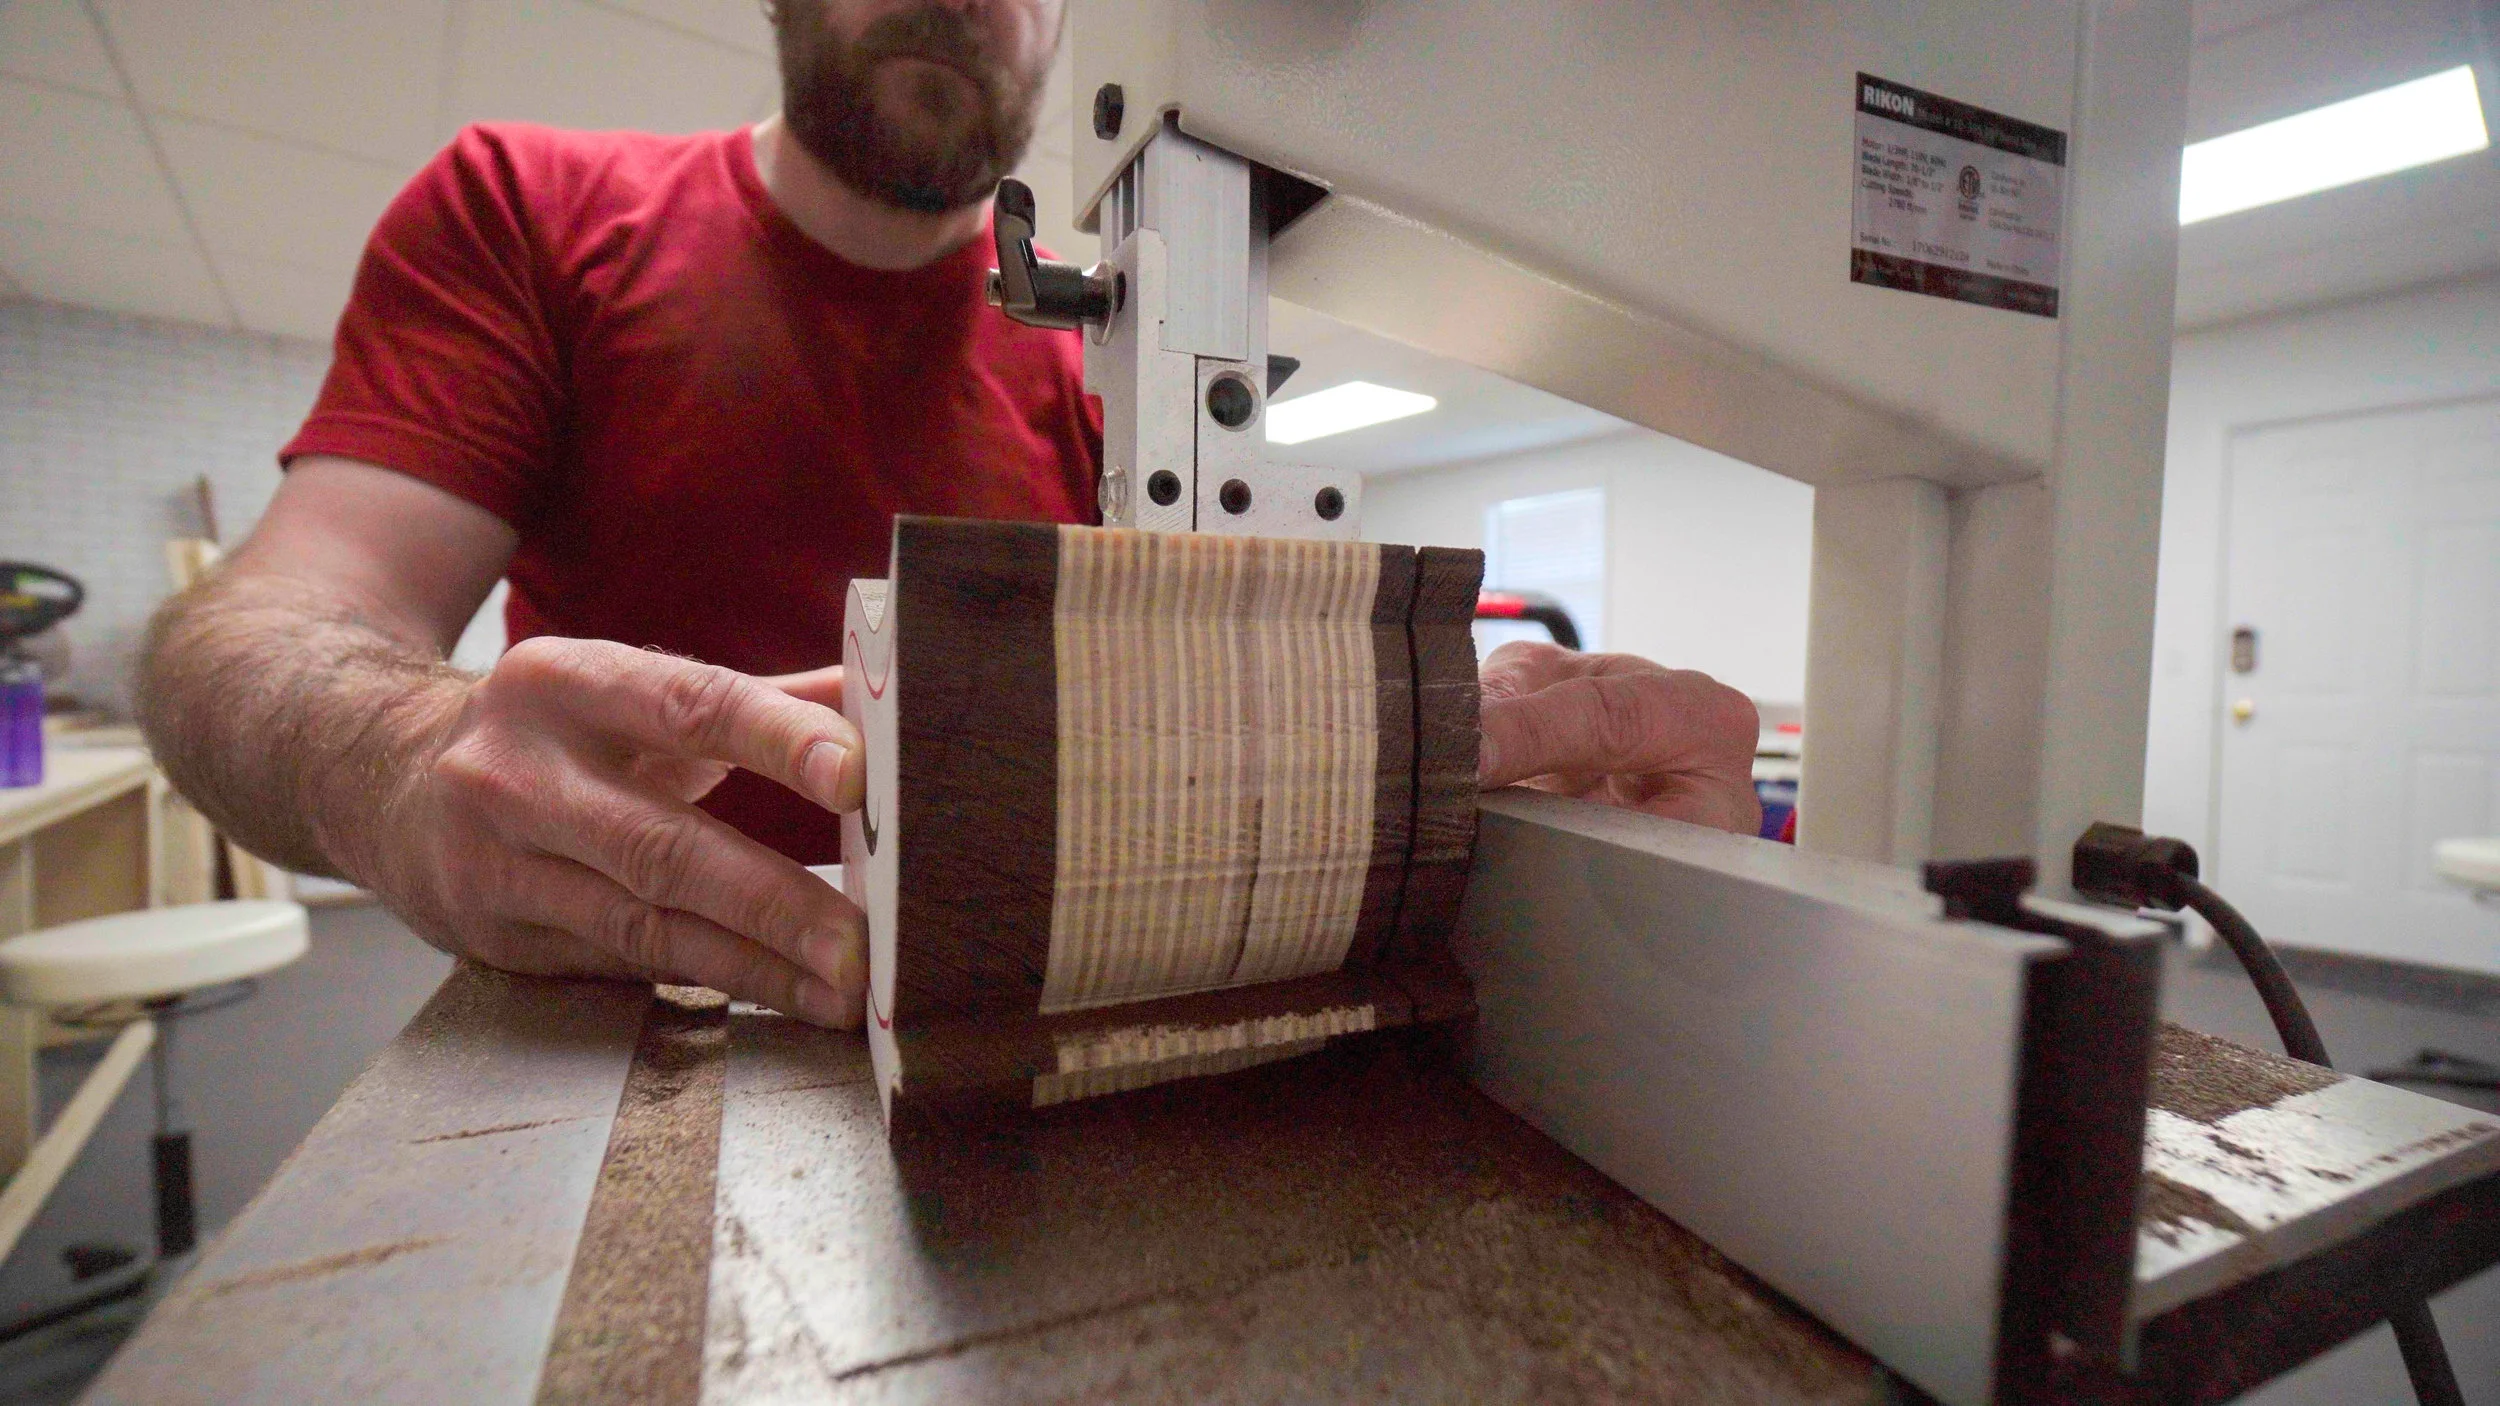
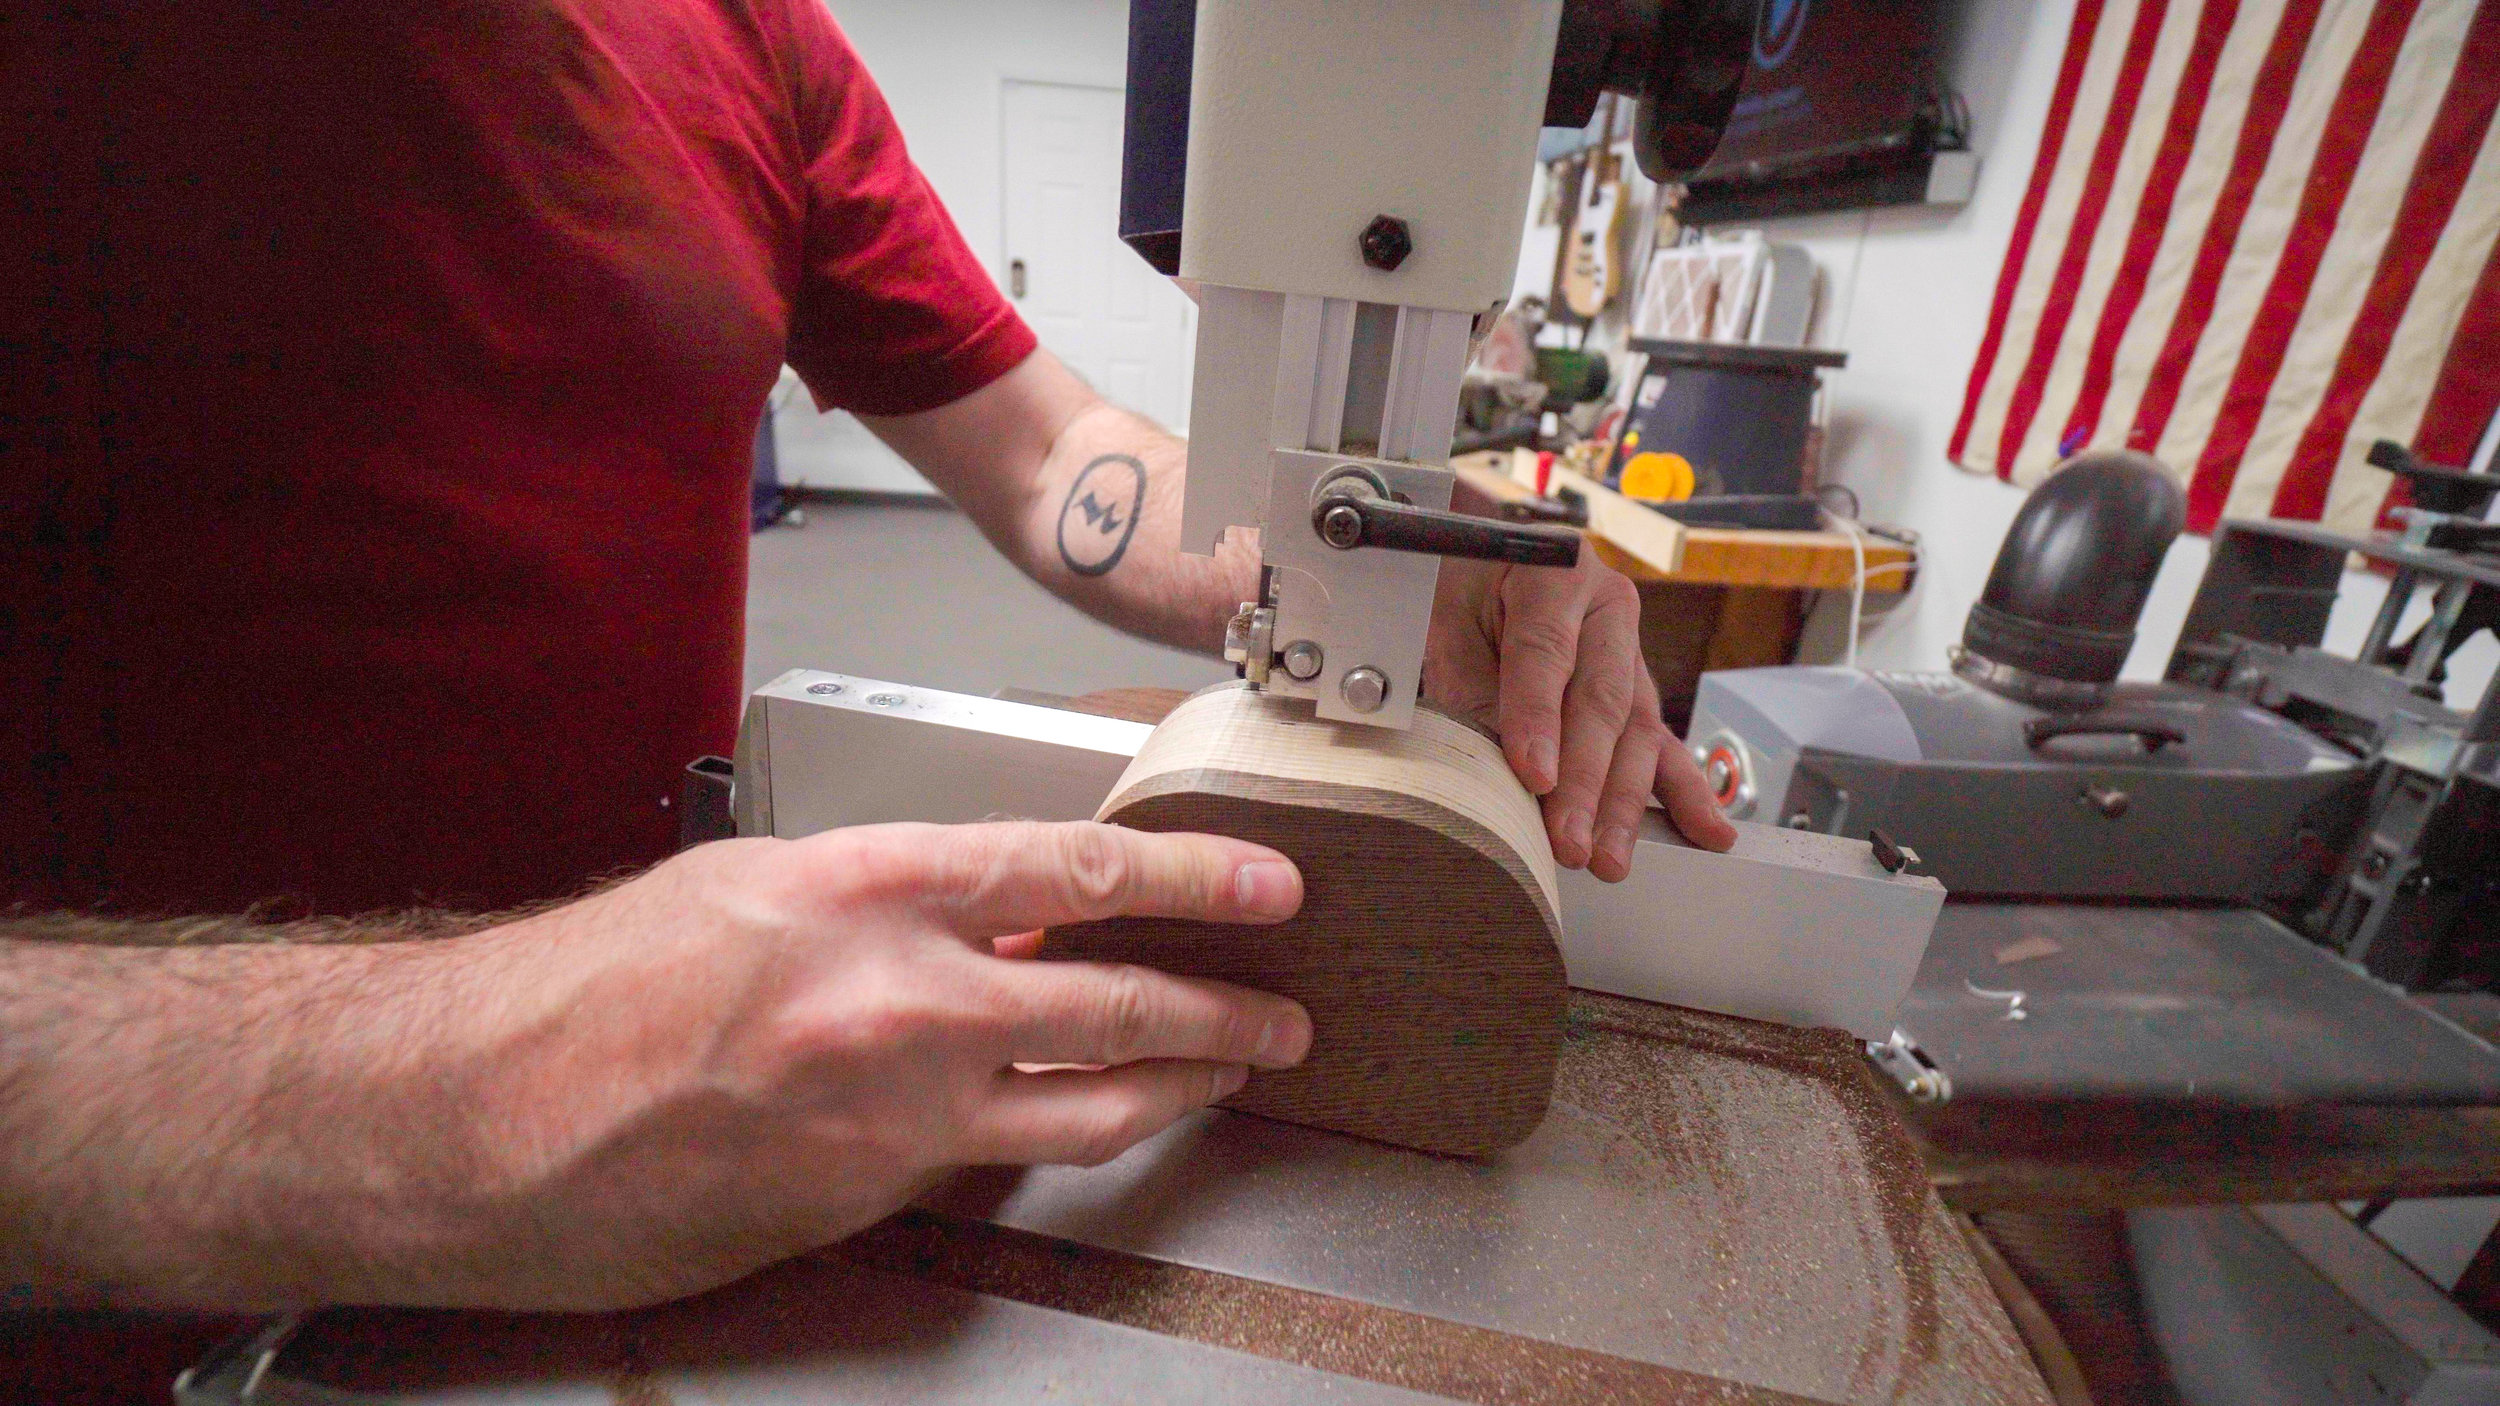
Step 5: Cutting the Bandsaw Box Back
Now you'll cut off the back using your bandsaw's fence set to about 1/2" from the blade. Again, take this cut very slow to allow the blade enough time to remove the waste.
Step 6: Cutting the Bandsaw Box Drawer
Set aside the back that you just cut off and we'll now cut out the drawer from the shell. Enter from the side as indicated in the template. This time you'll cut right down the middle of the thick line. Do your best to split this line in two. Take your time and let the blade do the work.
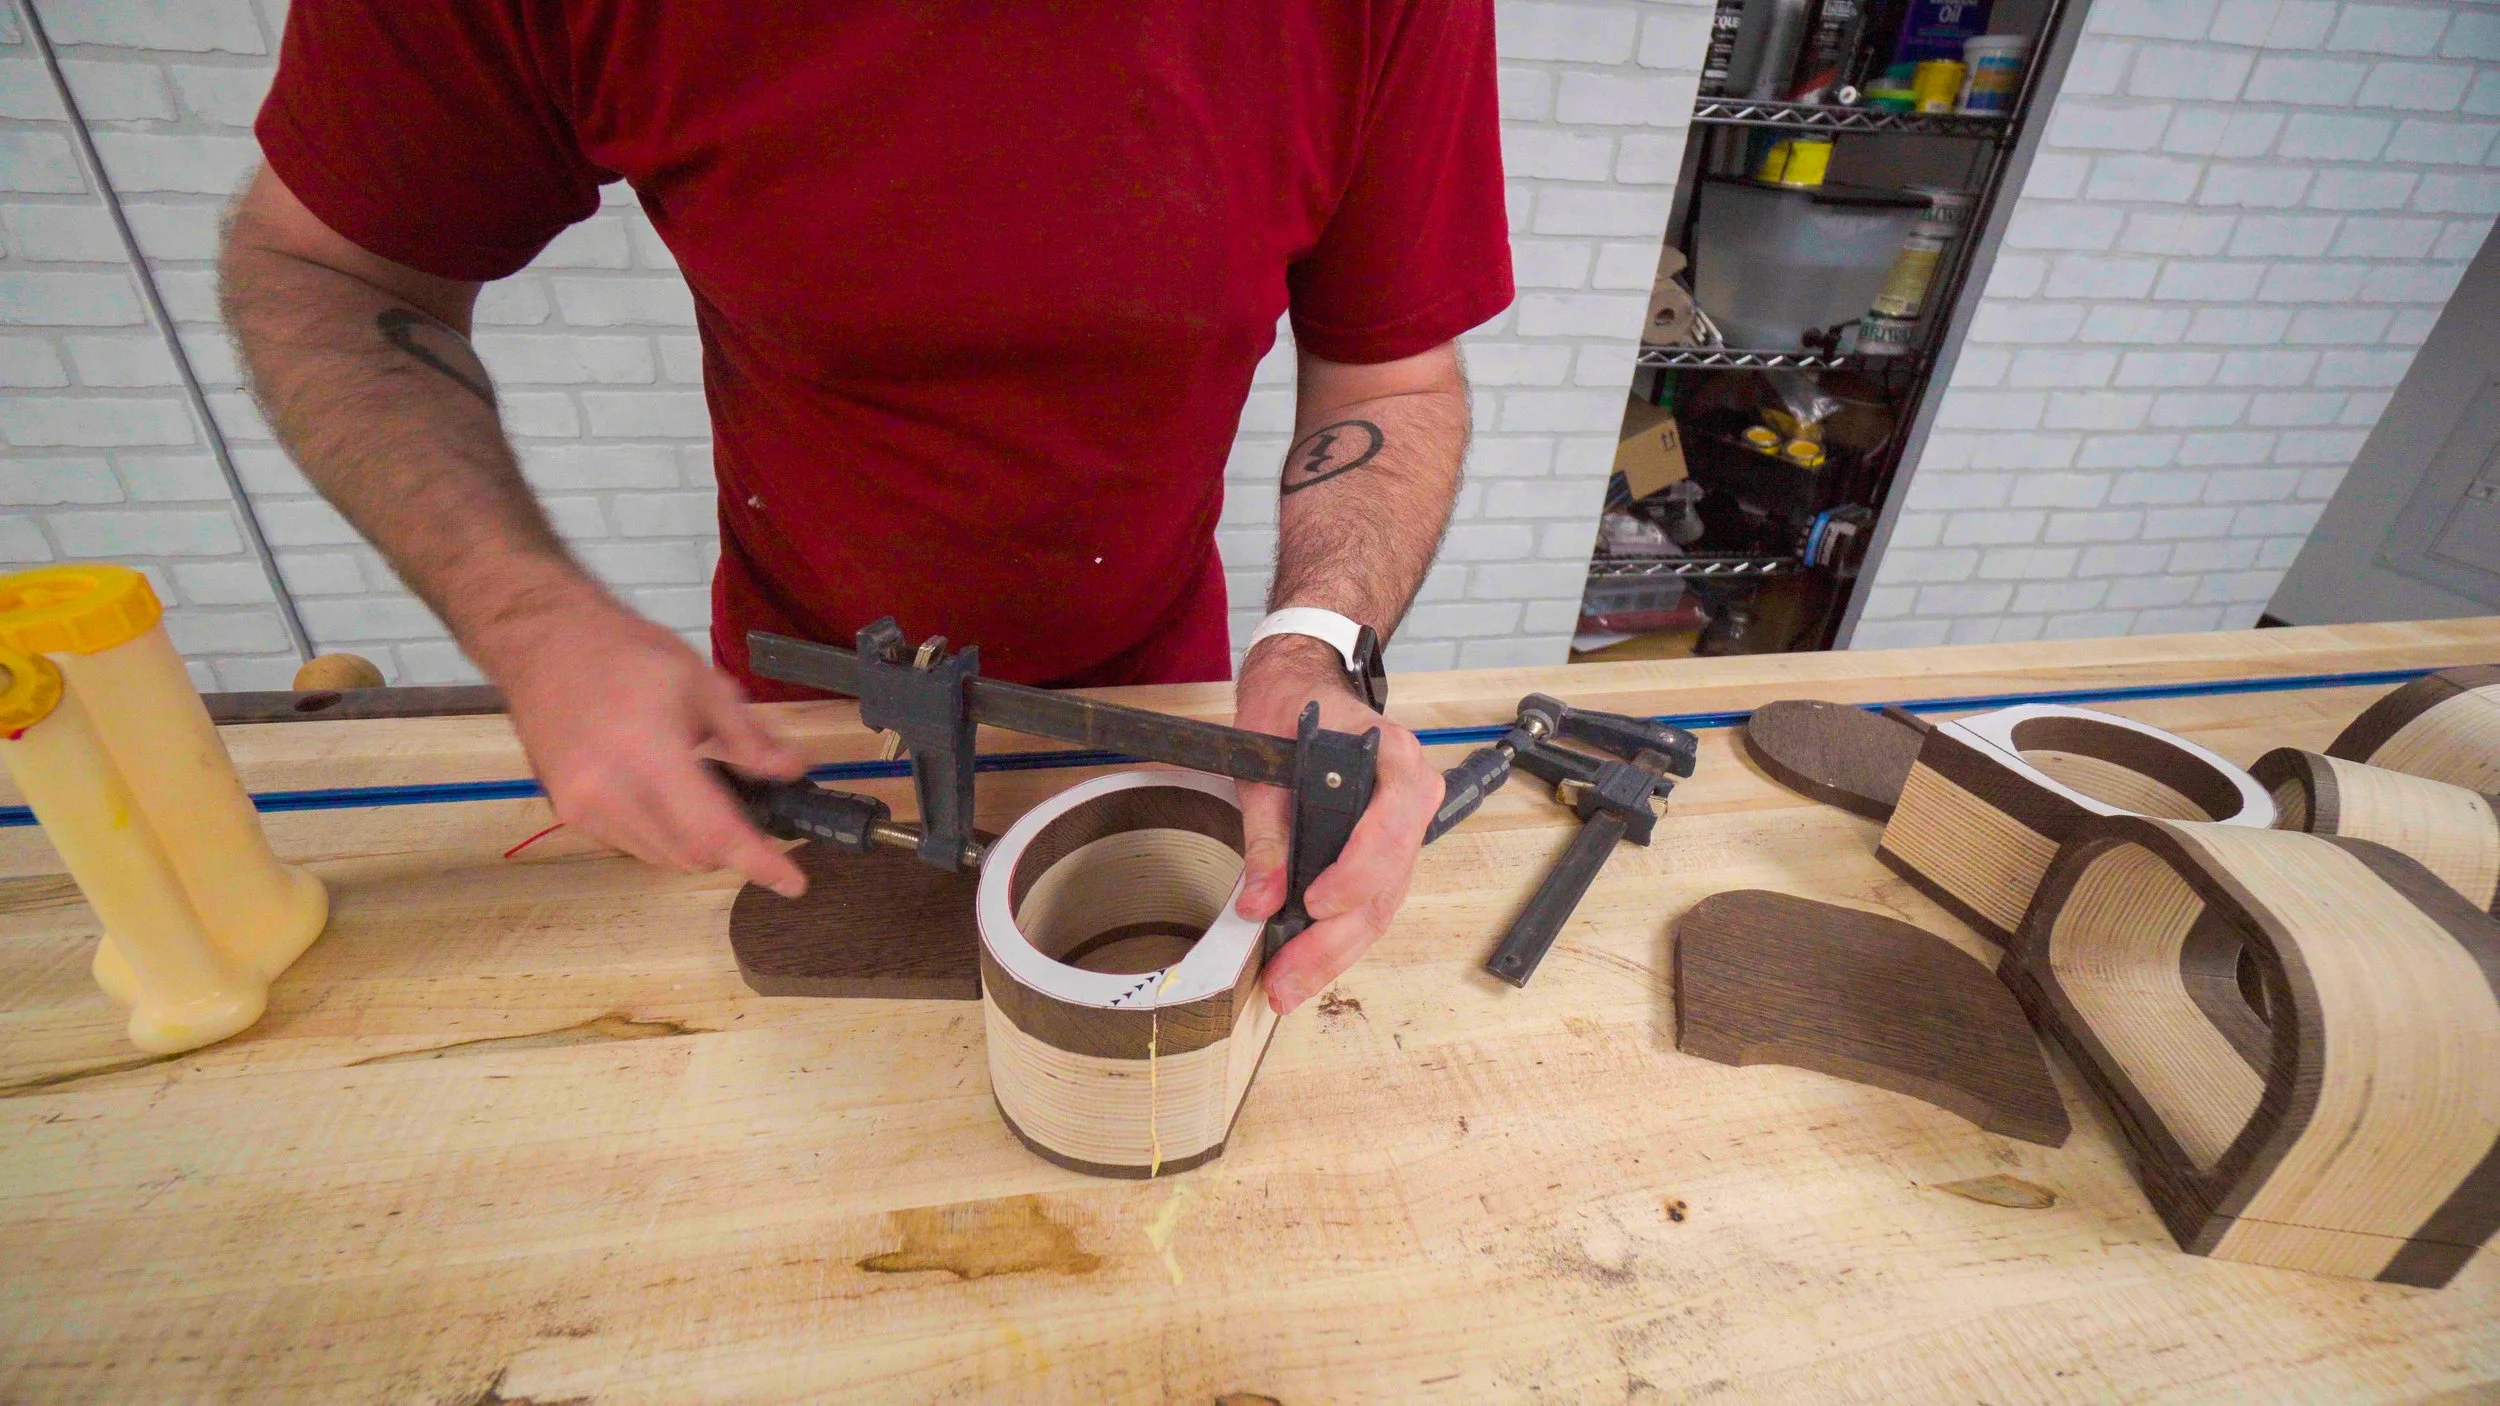
Step 7: Completing the Bandsaw Box Shell
With the drawer blank and shell back set aside, glue together the entrance cut with a couple of F-style clamps. Let this sit and dry for a couple of hours. Be sure to not remove the template just yet. Once the glue dries on the entrance cut you can glue on the back. Try to align the grain of the two pieces before tightening down the clamps. If properly aligned the seam will be invisible when dry. After the glued on the back is dry you can take off the clamps and sand the outside shape. This is easiest at the disc and spindle sanders. Sand down to the line. There's no need to sand inside the shell as we'll be covering that up with flocking. After this you can remove the papertemplates.
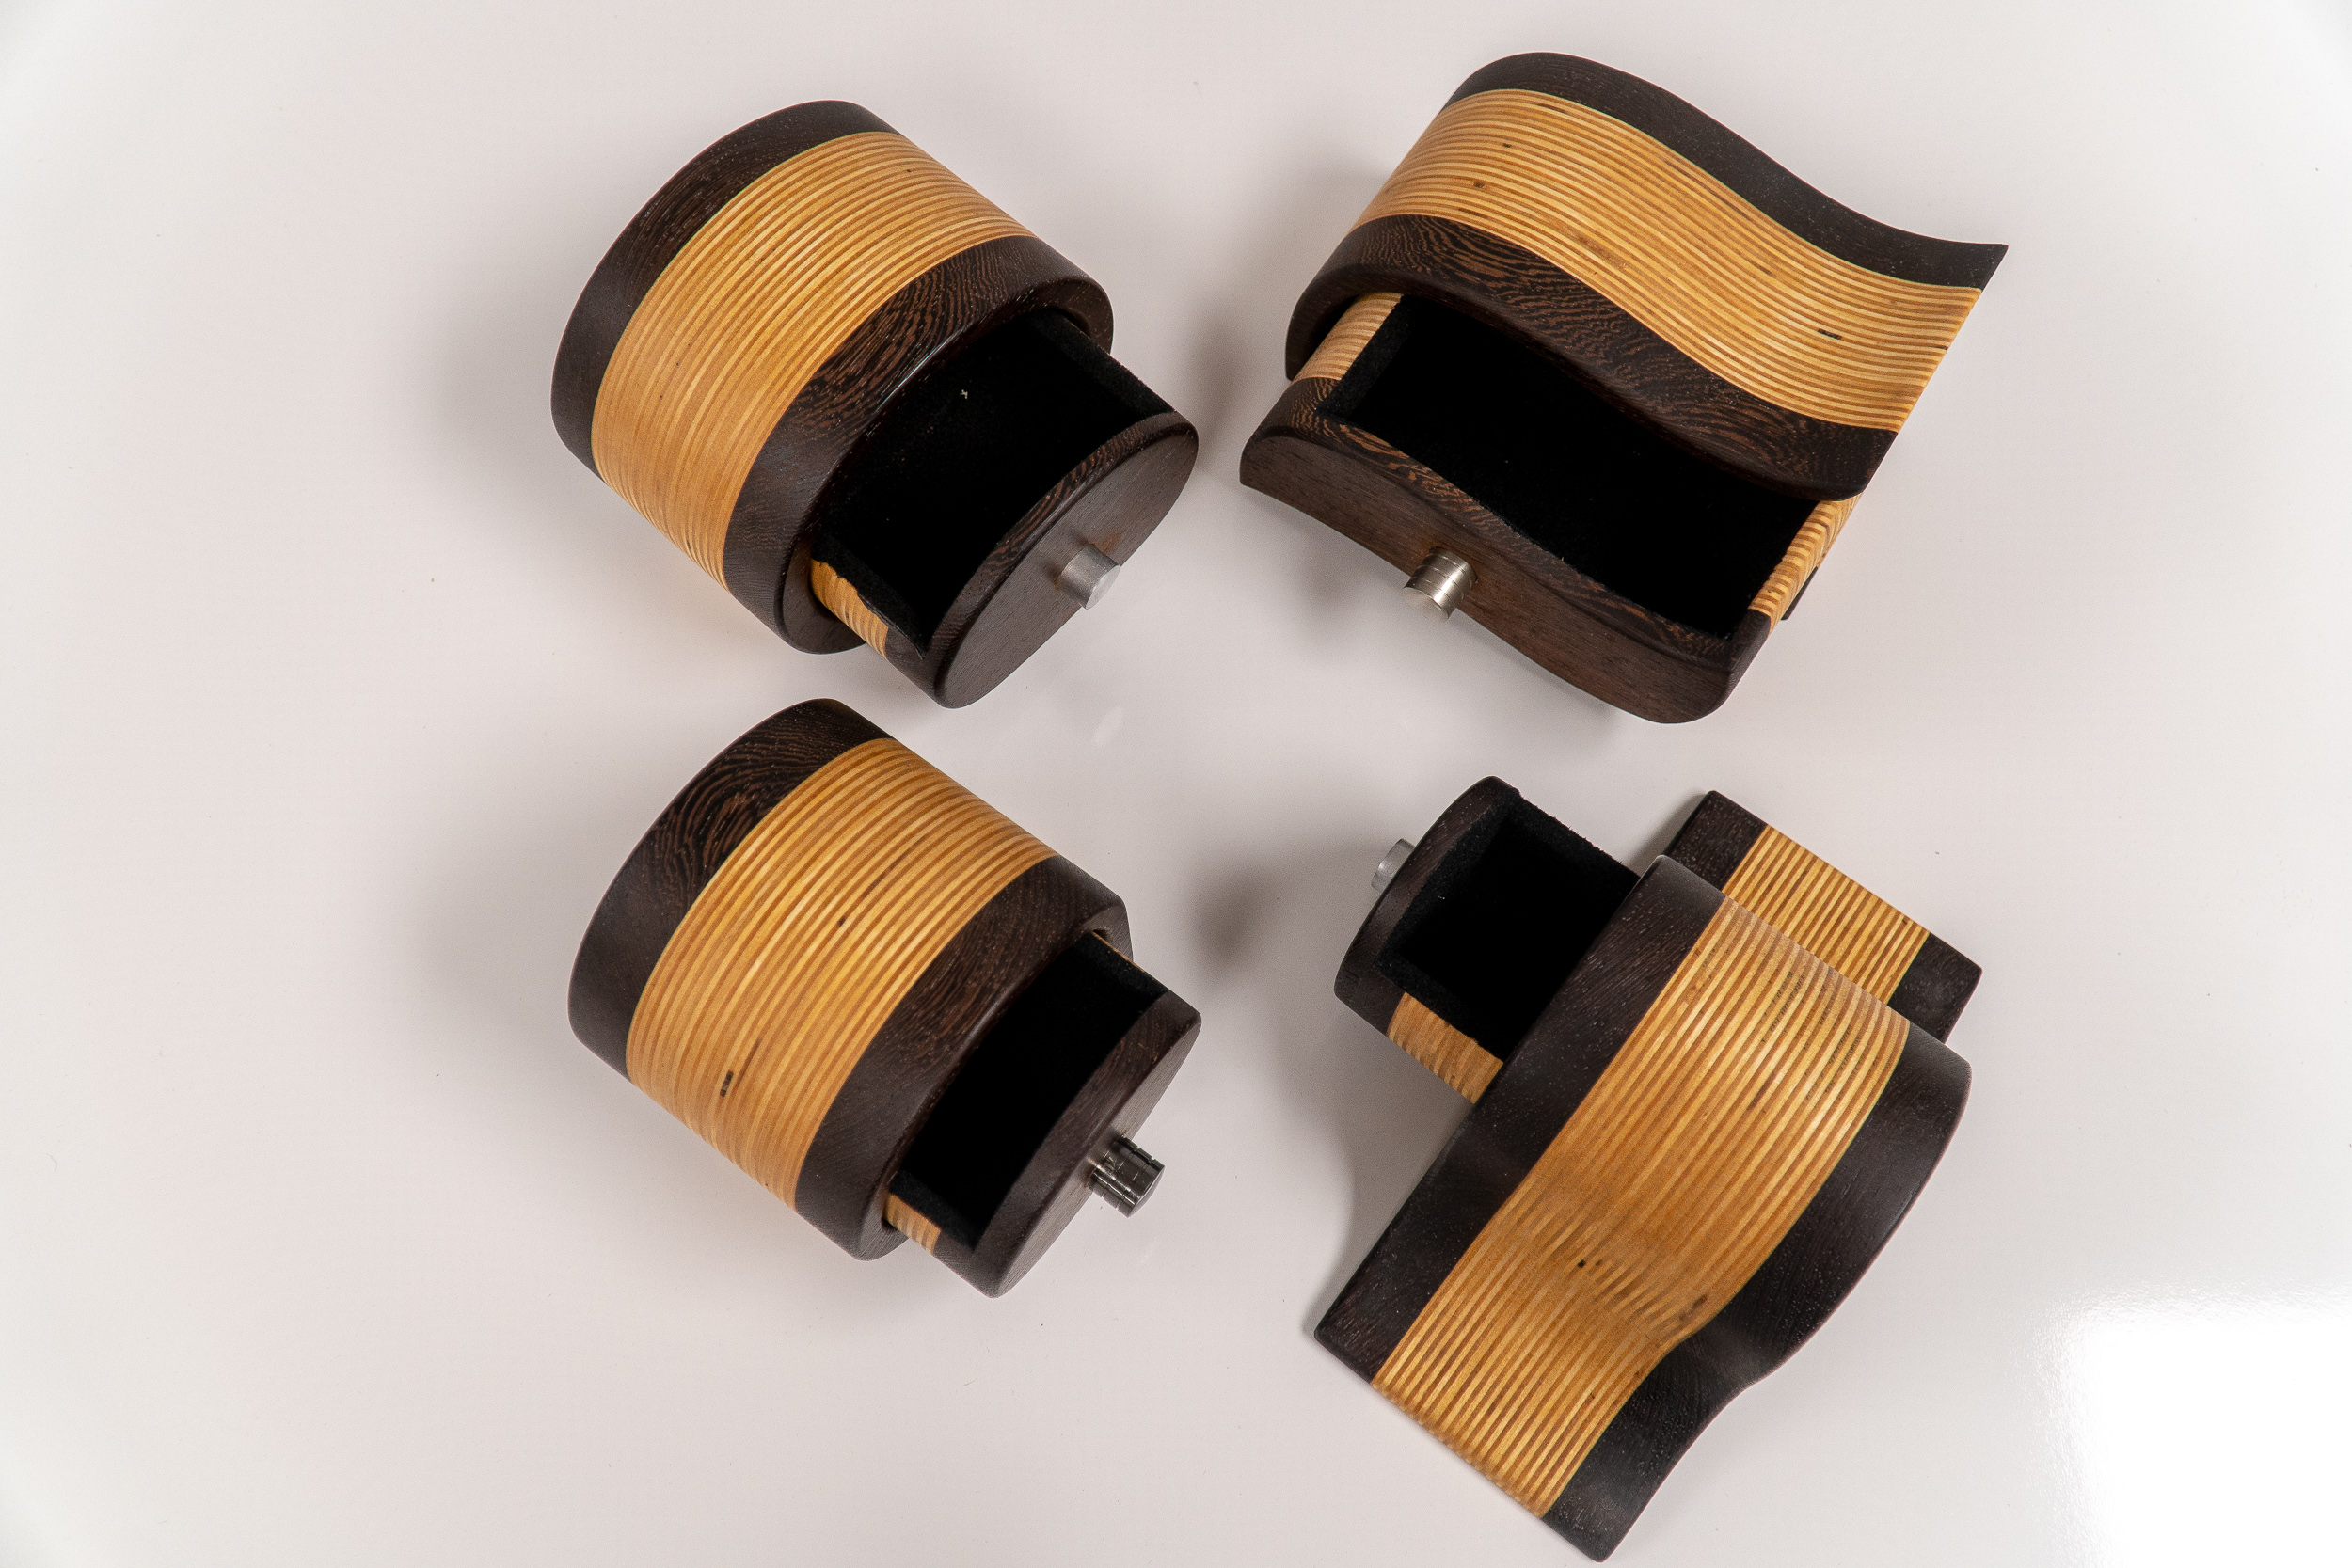
Step 8: Making the Bandsaw Box Drawer
Now take your drawer blank and cut the front face and back face off at the bandsaw. Set your bandsaw fence to about 1/2" from the blade and cut slow. Next you'll take that middle drawer piece and draw out the bottom and side walls. I like to use a black marker as it's easier to see the line. This wall should offset about 5/16". Then back at the bandsaw you'll cut this out. Like before, nice and slow and keep your fingers away from the blade!
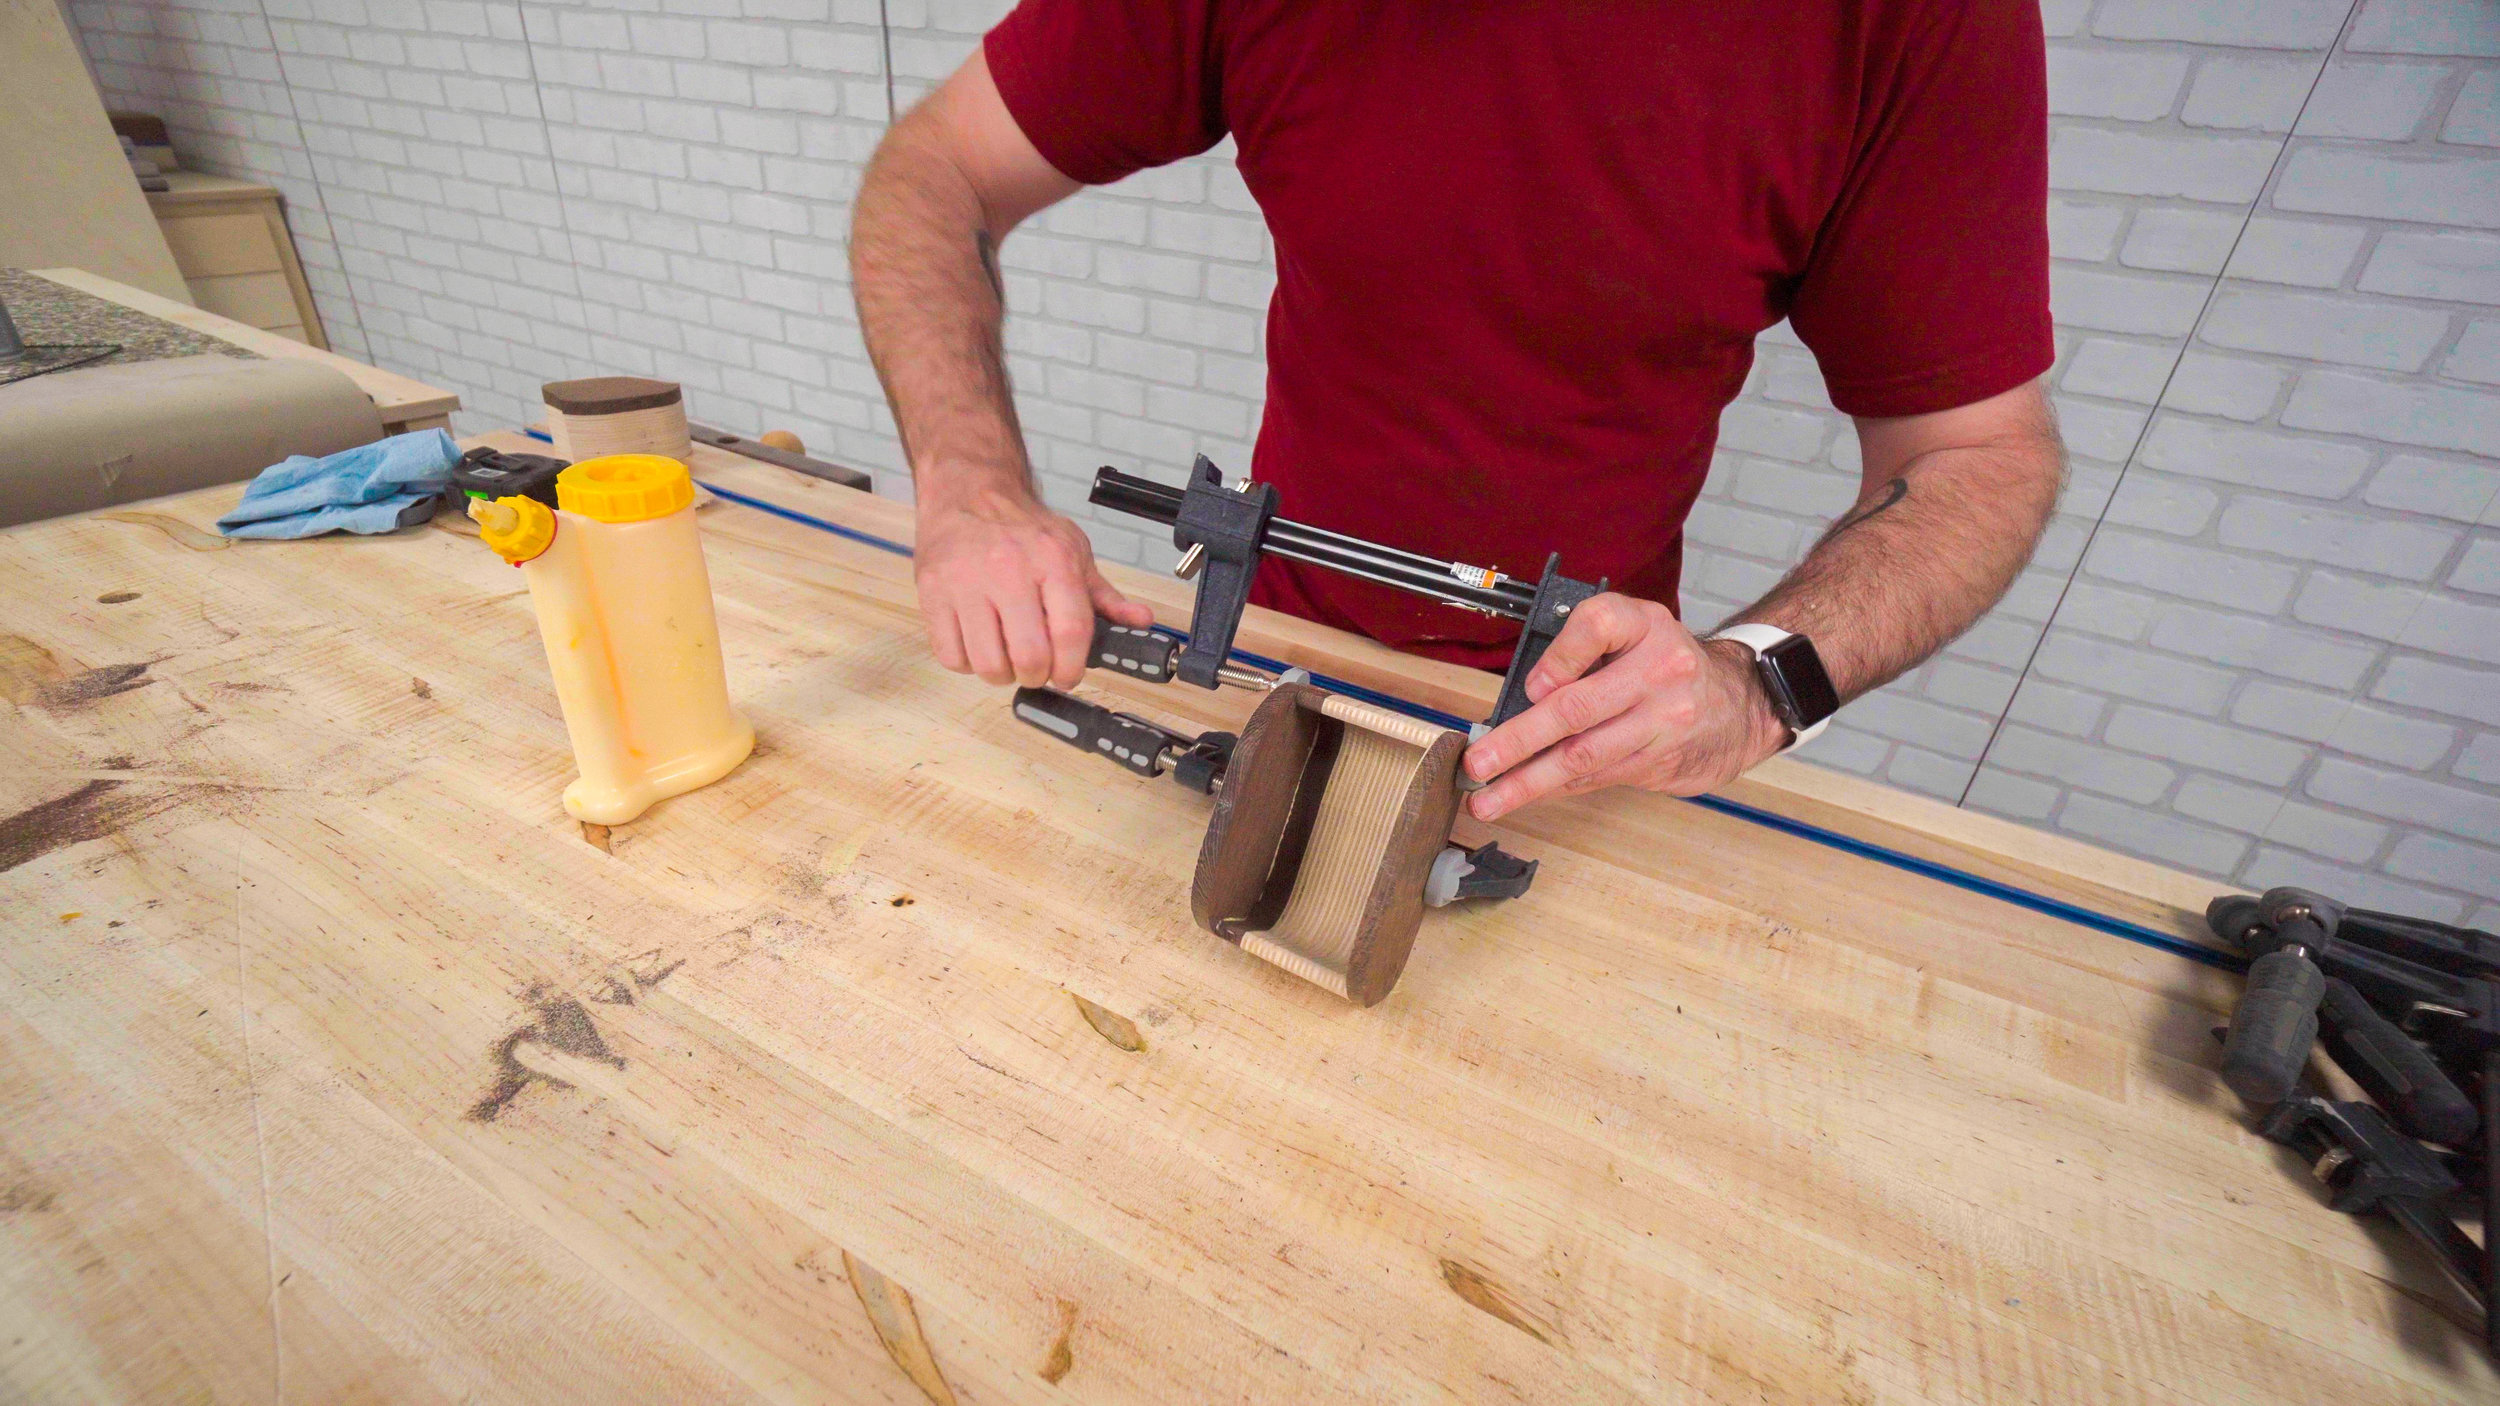
Step 9: Bandsaw Box Drawer Glue-up
You should now have three pieces to your drawer. Glue them up and clamp them with F-style clamps. Again be sure to align the grain to hide the seams. Once the glue dries you can then sand the drawer's outside shape. At this point there may not be template lines to follow so only sand off the bandsaw marks until smooth. Try to avoid sanding too much to maintain a tight fit into the shell.
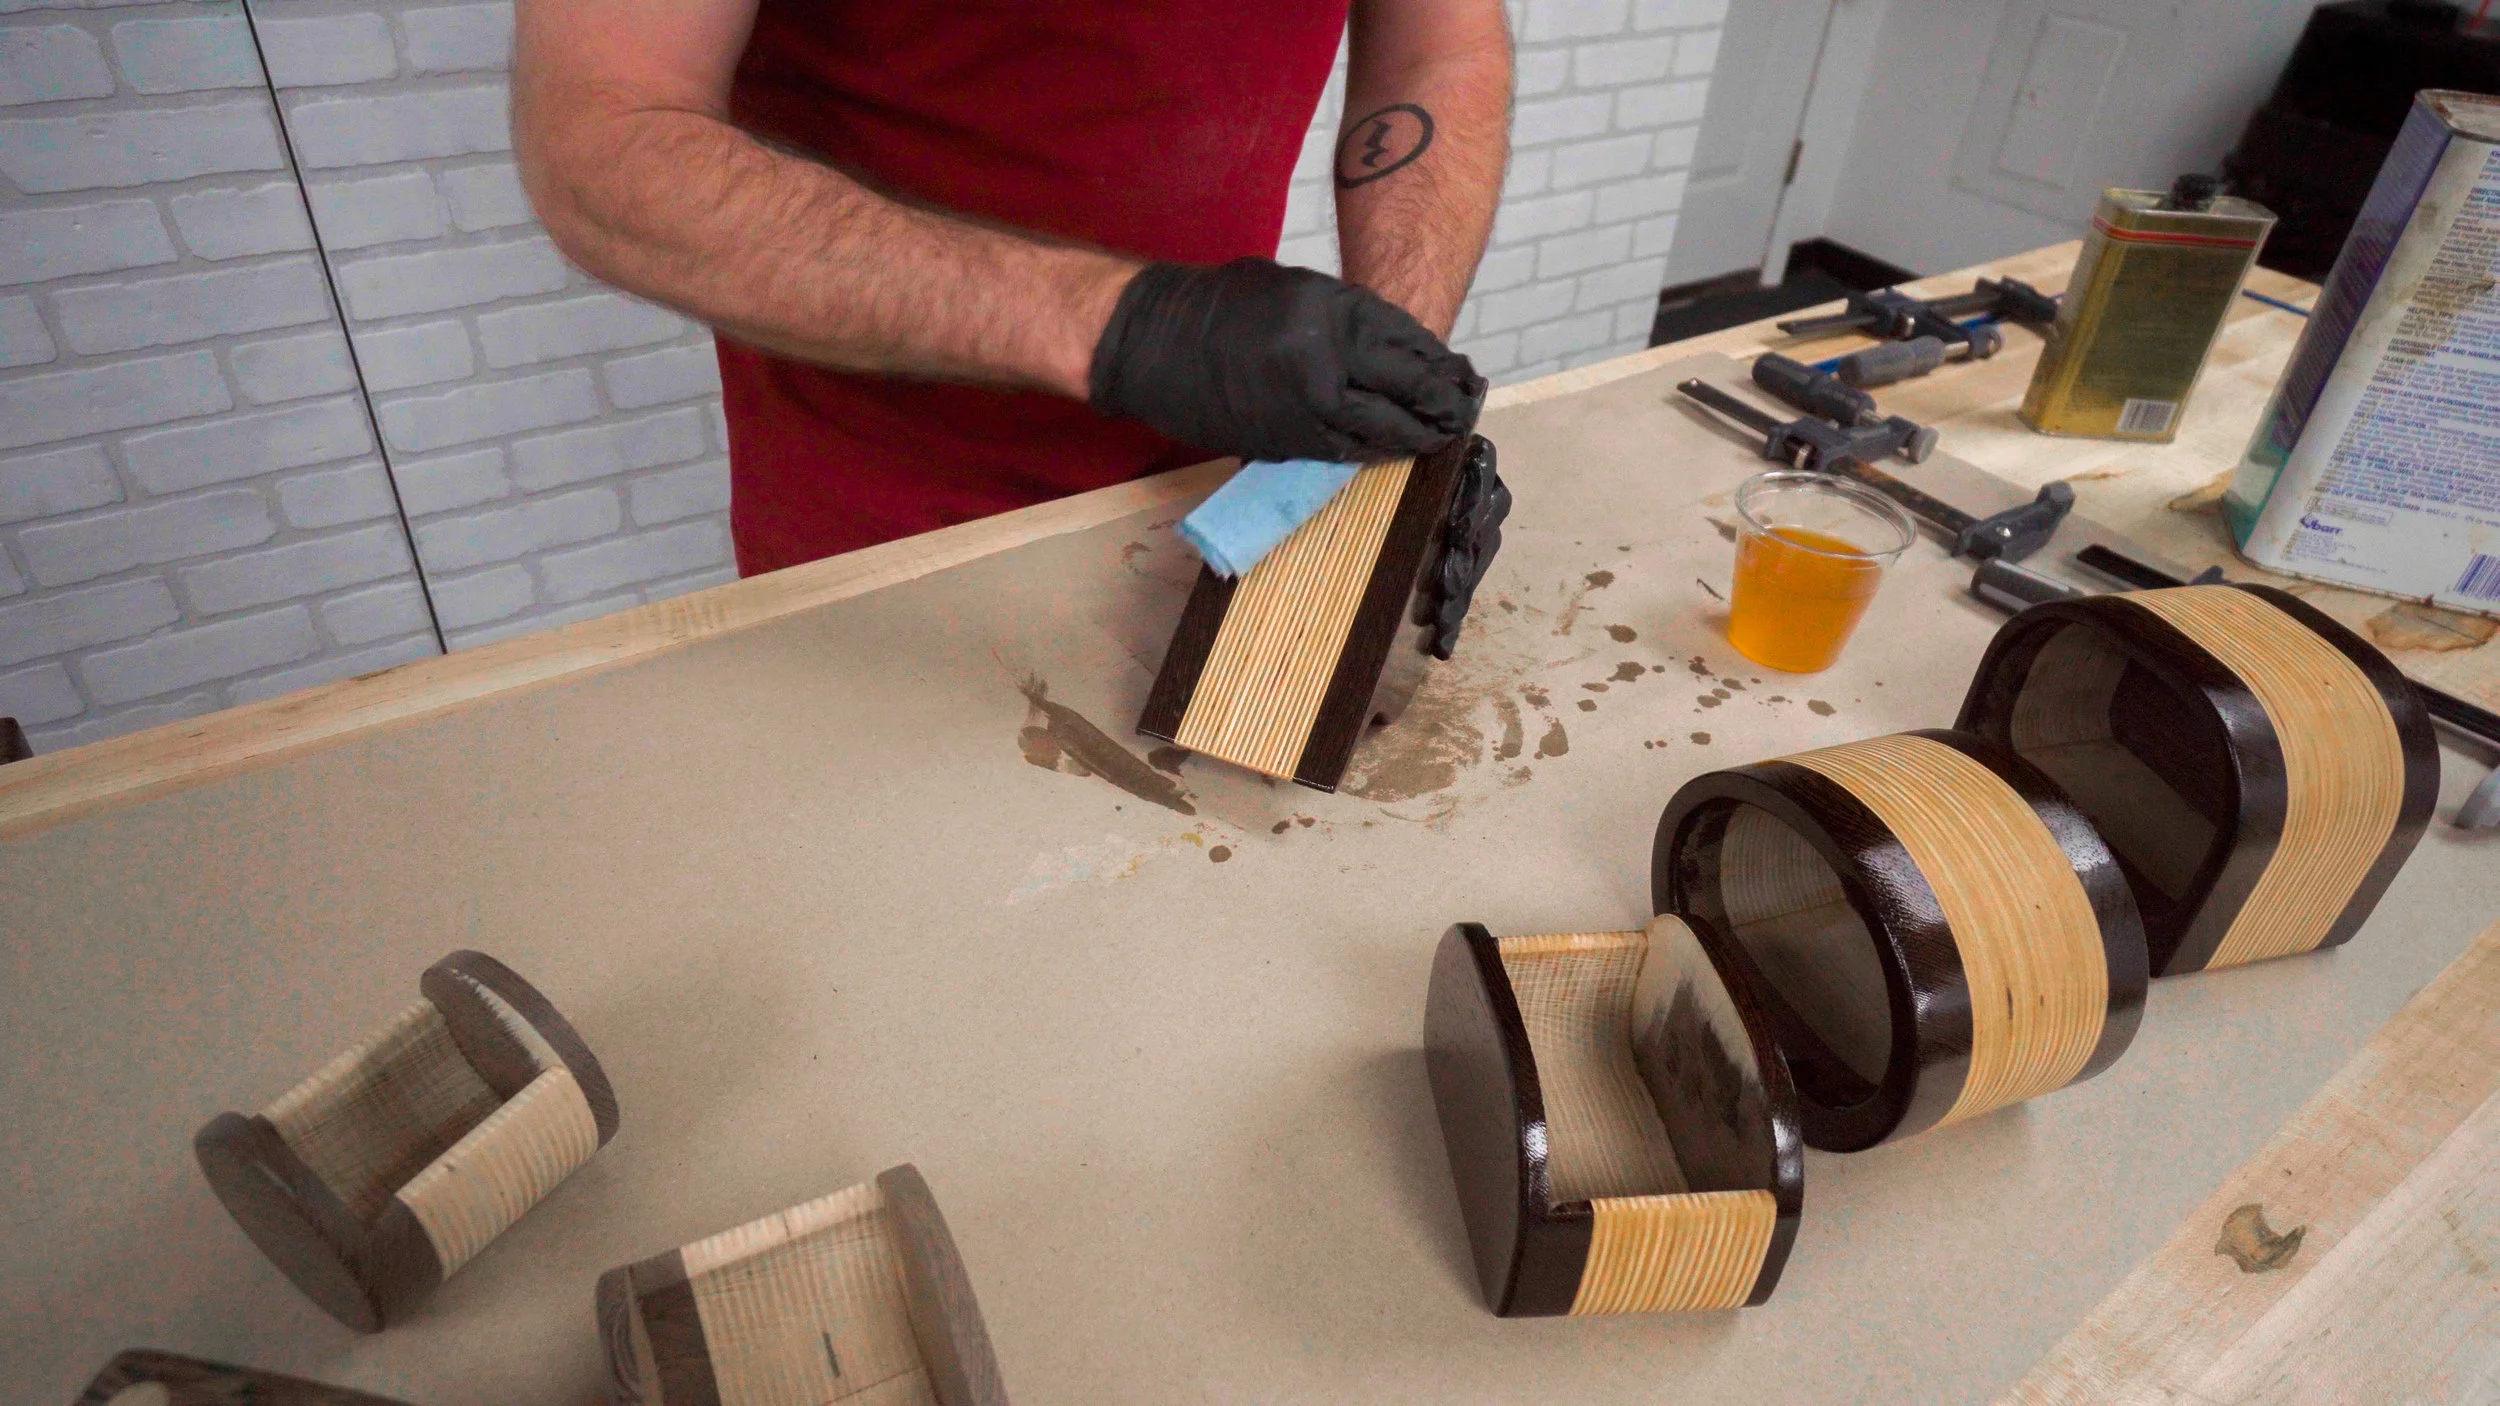
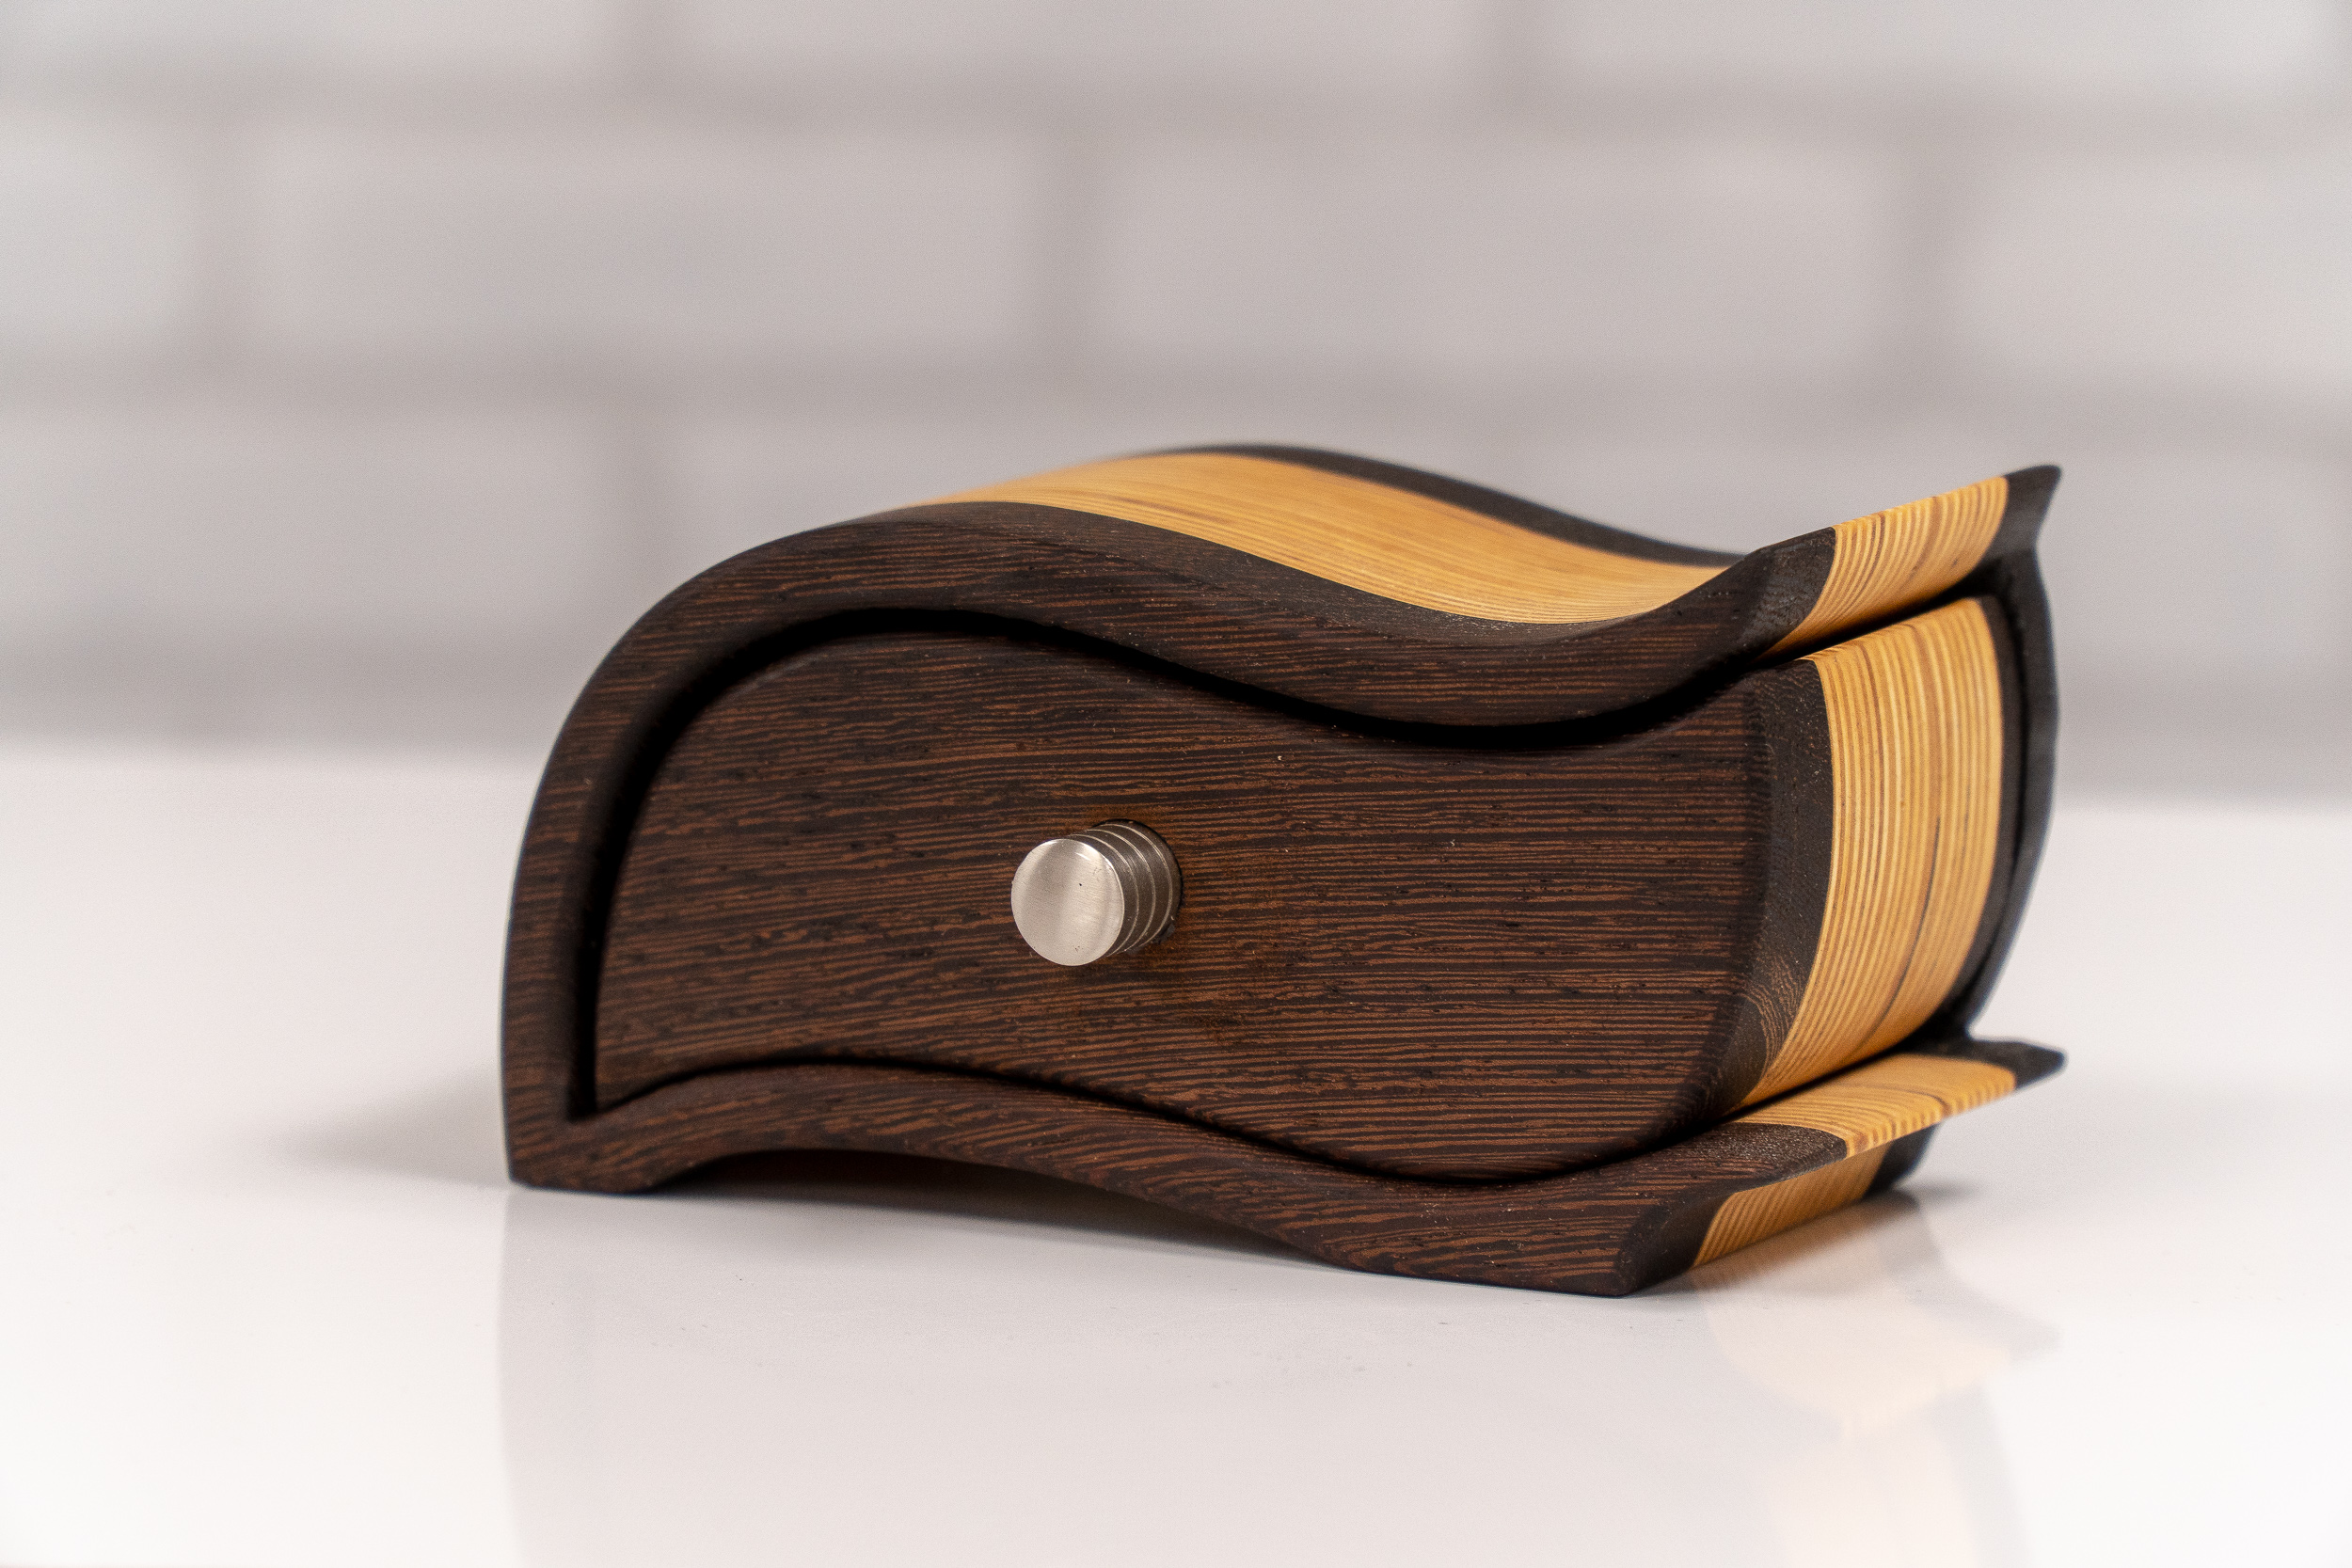
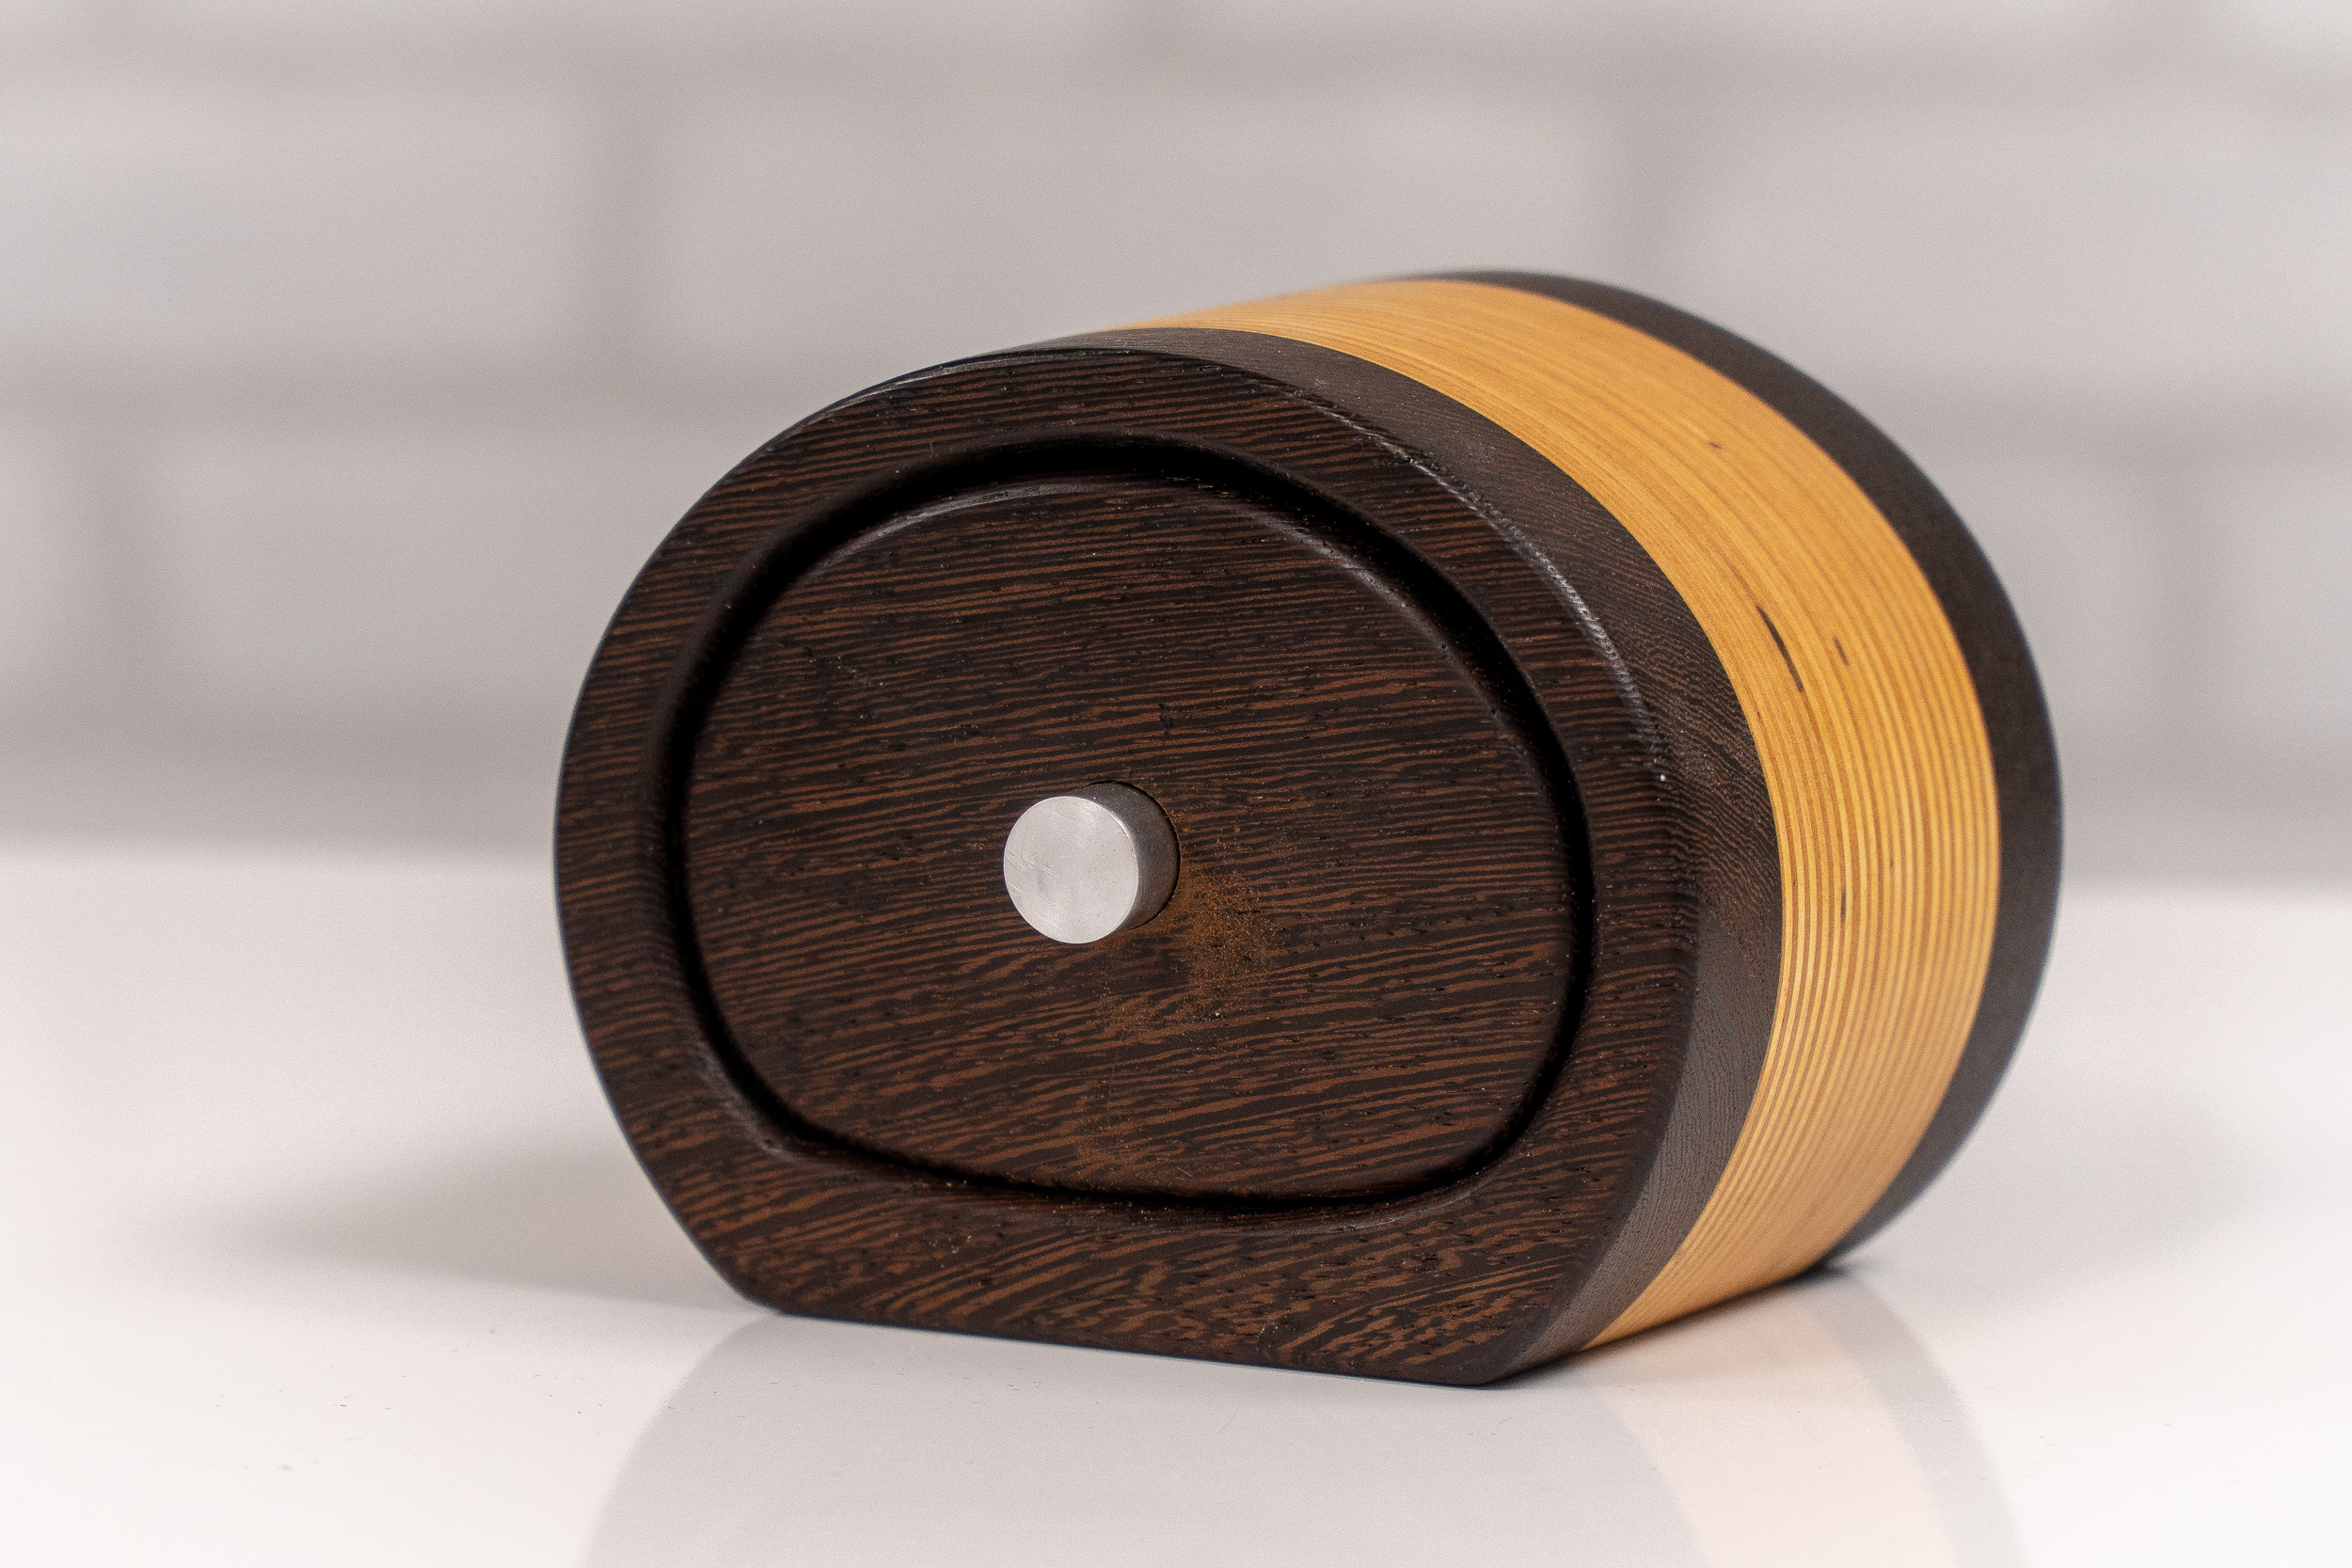
Step 10: Finishing Touches
For a finished look I like to round over the face of the drawer and all edges of the shell with a 1/8" round over bit. Sand the outside of the shell and the outside of the drawer and finish with a rub-on oil. Flock the inside of the drawer and shell and add a pull.


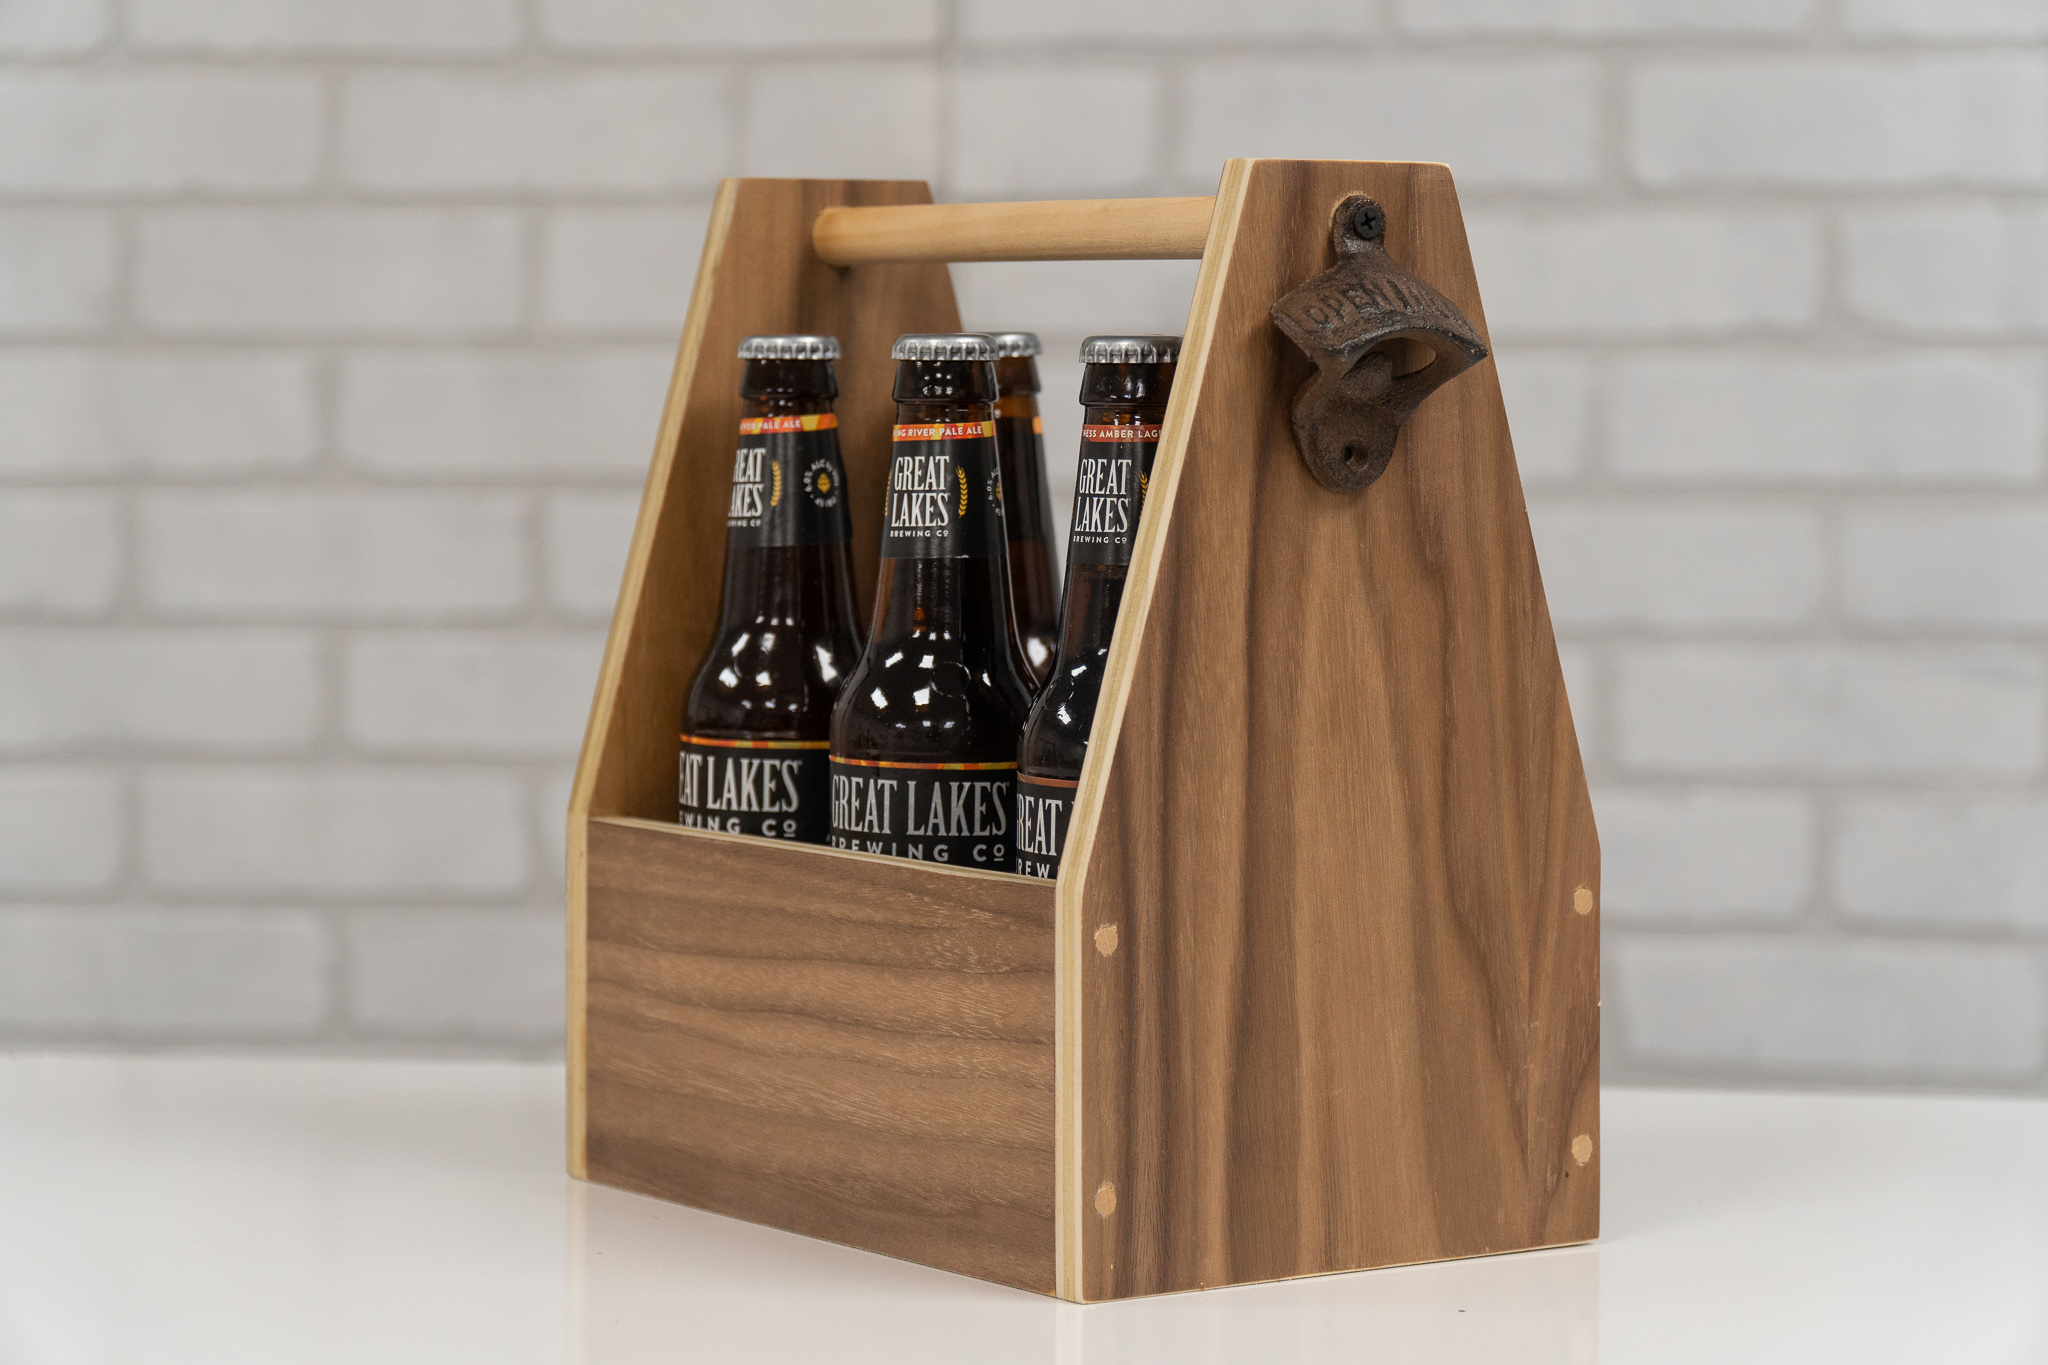
How to Make a Beer Tote / Beer Caddy
Easy woodworking project that you can make as gifts or sell at craft fairs!
Make Money Woodworking by Selling These Beer Totes at Craft Shows
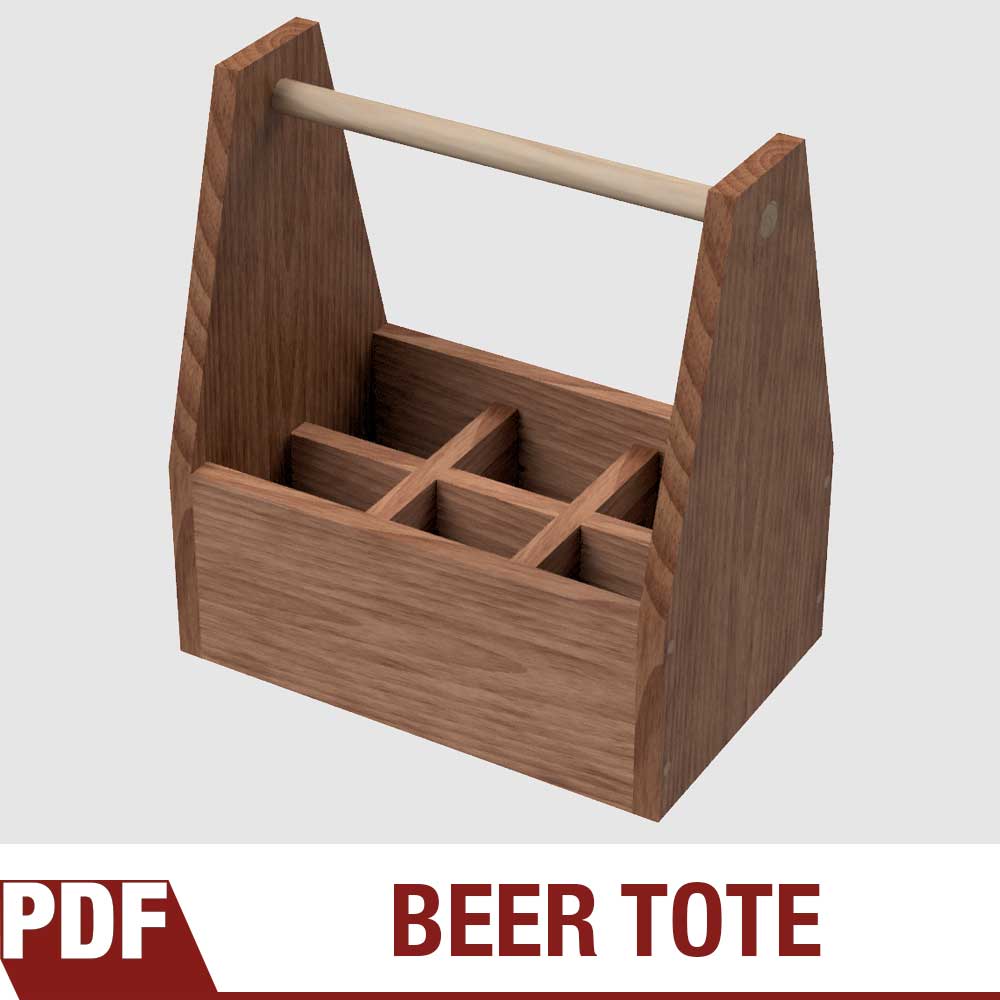
These beer totes are a quick fun woodworking project that anybody can make with a few basic woodworking tools. These are great for batching out and selling at craft shows or Etsy. Watch the tutorial video above to see how it's made. And if you want to make these yourself get the easy-to-follow plans to the right. I encourage everyone who buys my plans to batch these woodworking projects out and sell them at craft shows to earn a little bit of extra money!
Be safe and Make Something!
Tools & Supplies Used In This Woodworking Project


How To Make a Wood Cutting Board
Everything you need to know about making cutting boards from choosing woods to food safe finishes.
Ask a woodworker if they’ve made a cutting board and nearly all of them will say they have in the past and still do to this day. For many it’s their first woodworking project. For others it’s their go-to project when they’re looking for an excuse to get into the shop. Every kitchen needs a cutting board and nearly every shop is equipped to make them.
Cutting boards can be as simple as a single wood board or contain dozens of pieces with multiple wood species and shapes. Some require very few woodworking tools and others require a whole shop full of tools. The beauty of cutting boards is that no matter what your skill level or how many tools you have, you can make beautiful, useful cutting boards.
What You Need to Know About Making Cutting Boards
Cutting Board Book with 15 Projects for Woodworkers
Cutting Board Video Tutorials
Choosing The Best Wood for Cutting Boards
How to Finish a Cutting Board with Food Safe Finish
Get the Only Book on Making Cutting Boards! Includes 15 Projects You Can Make and Sell!
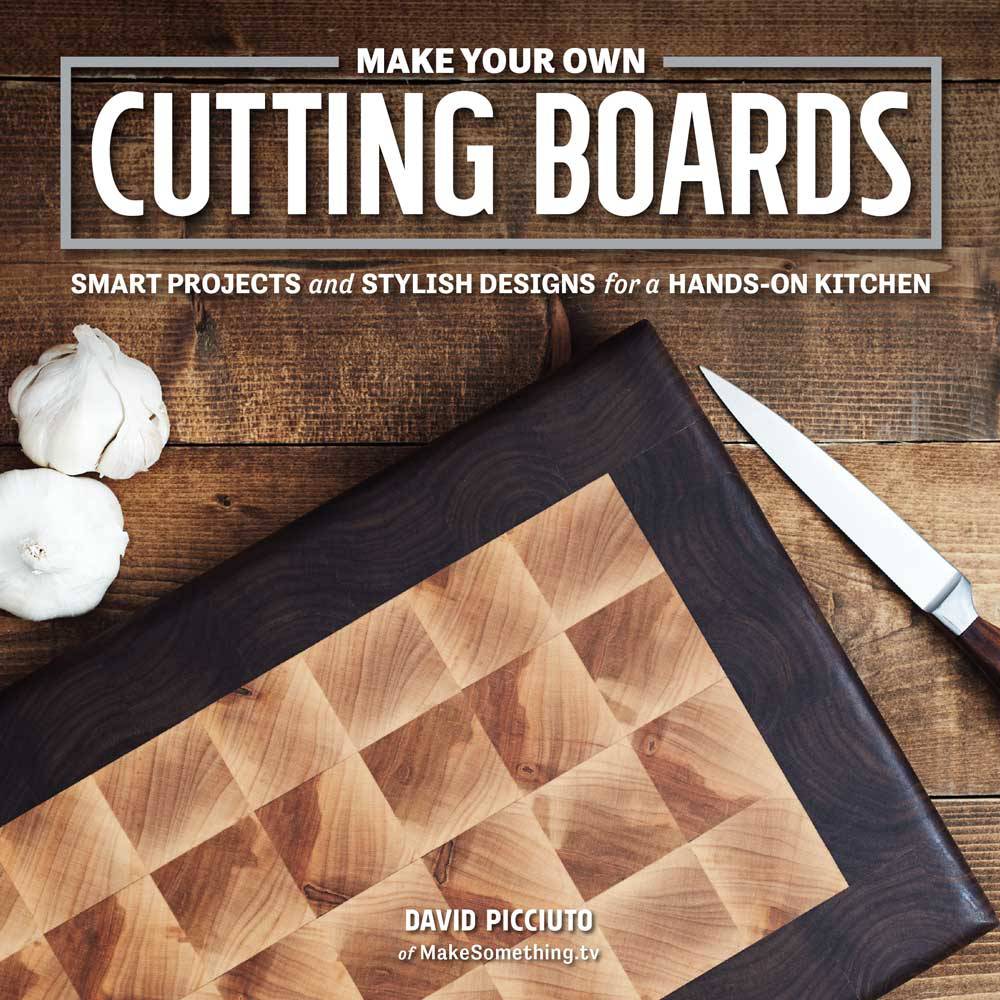
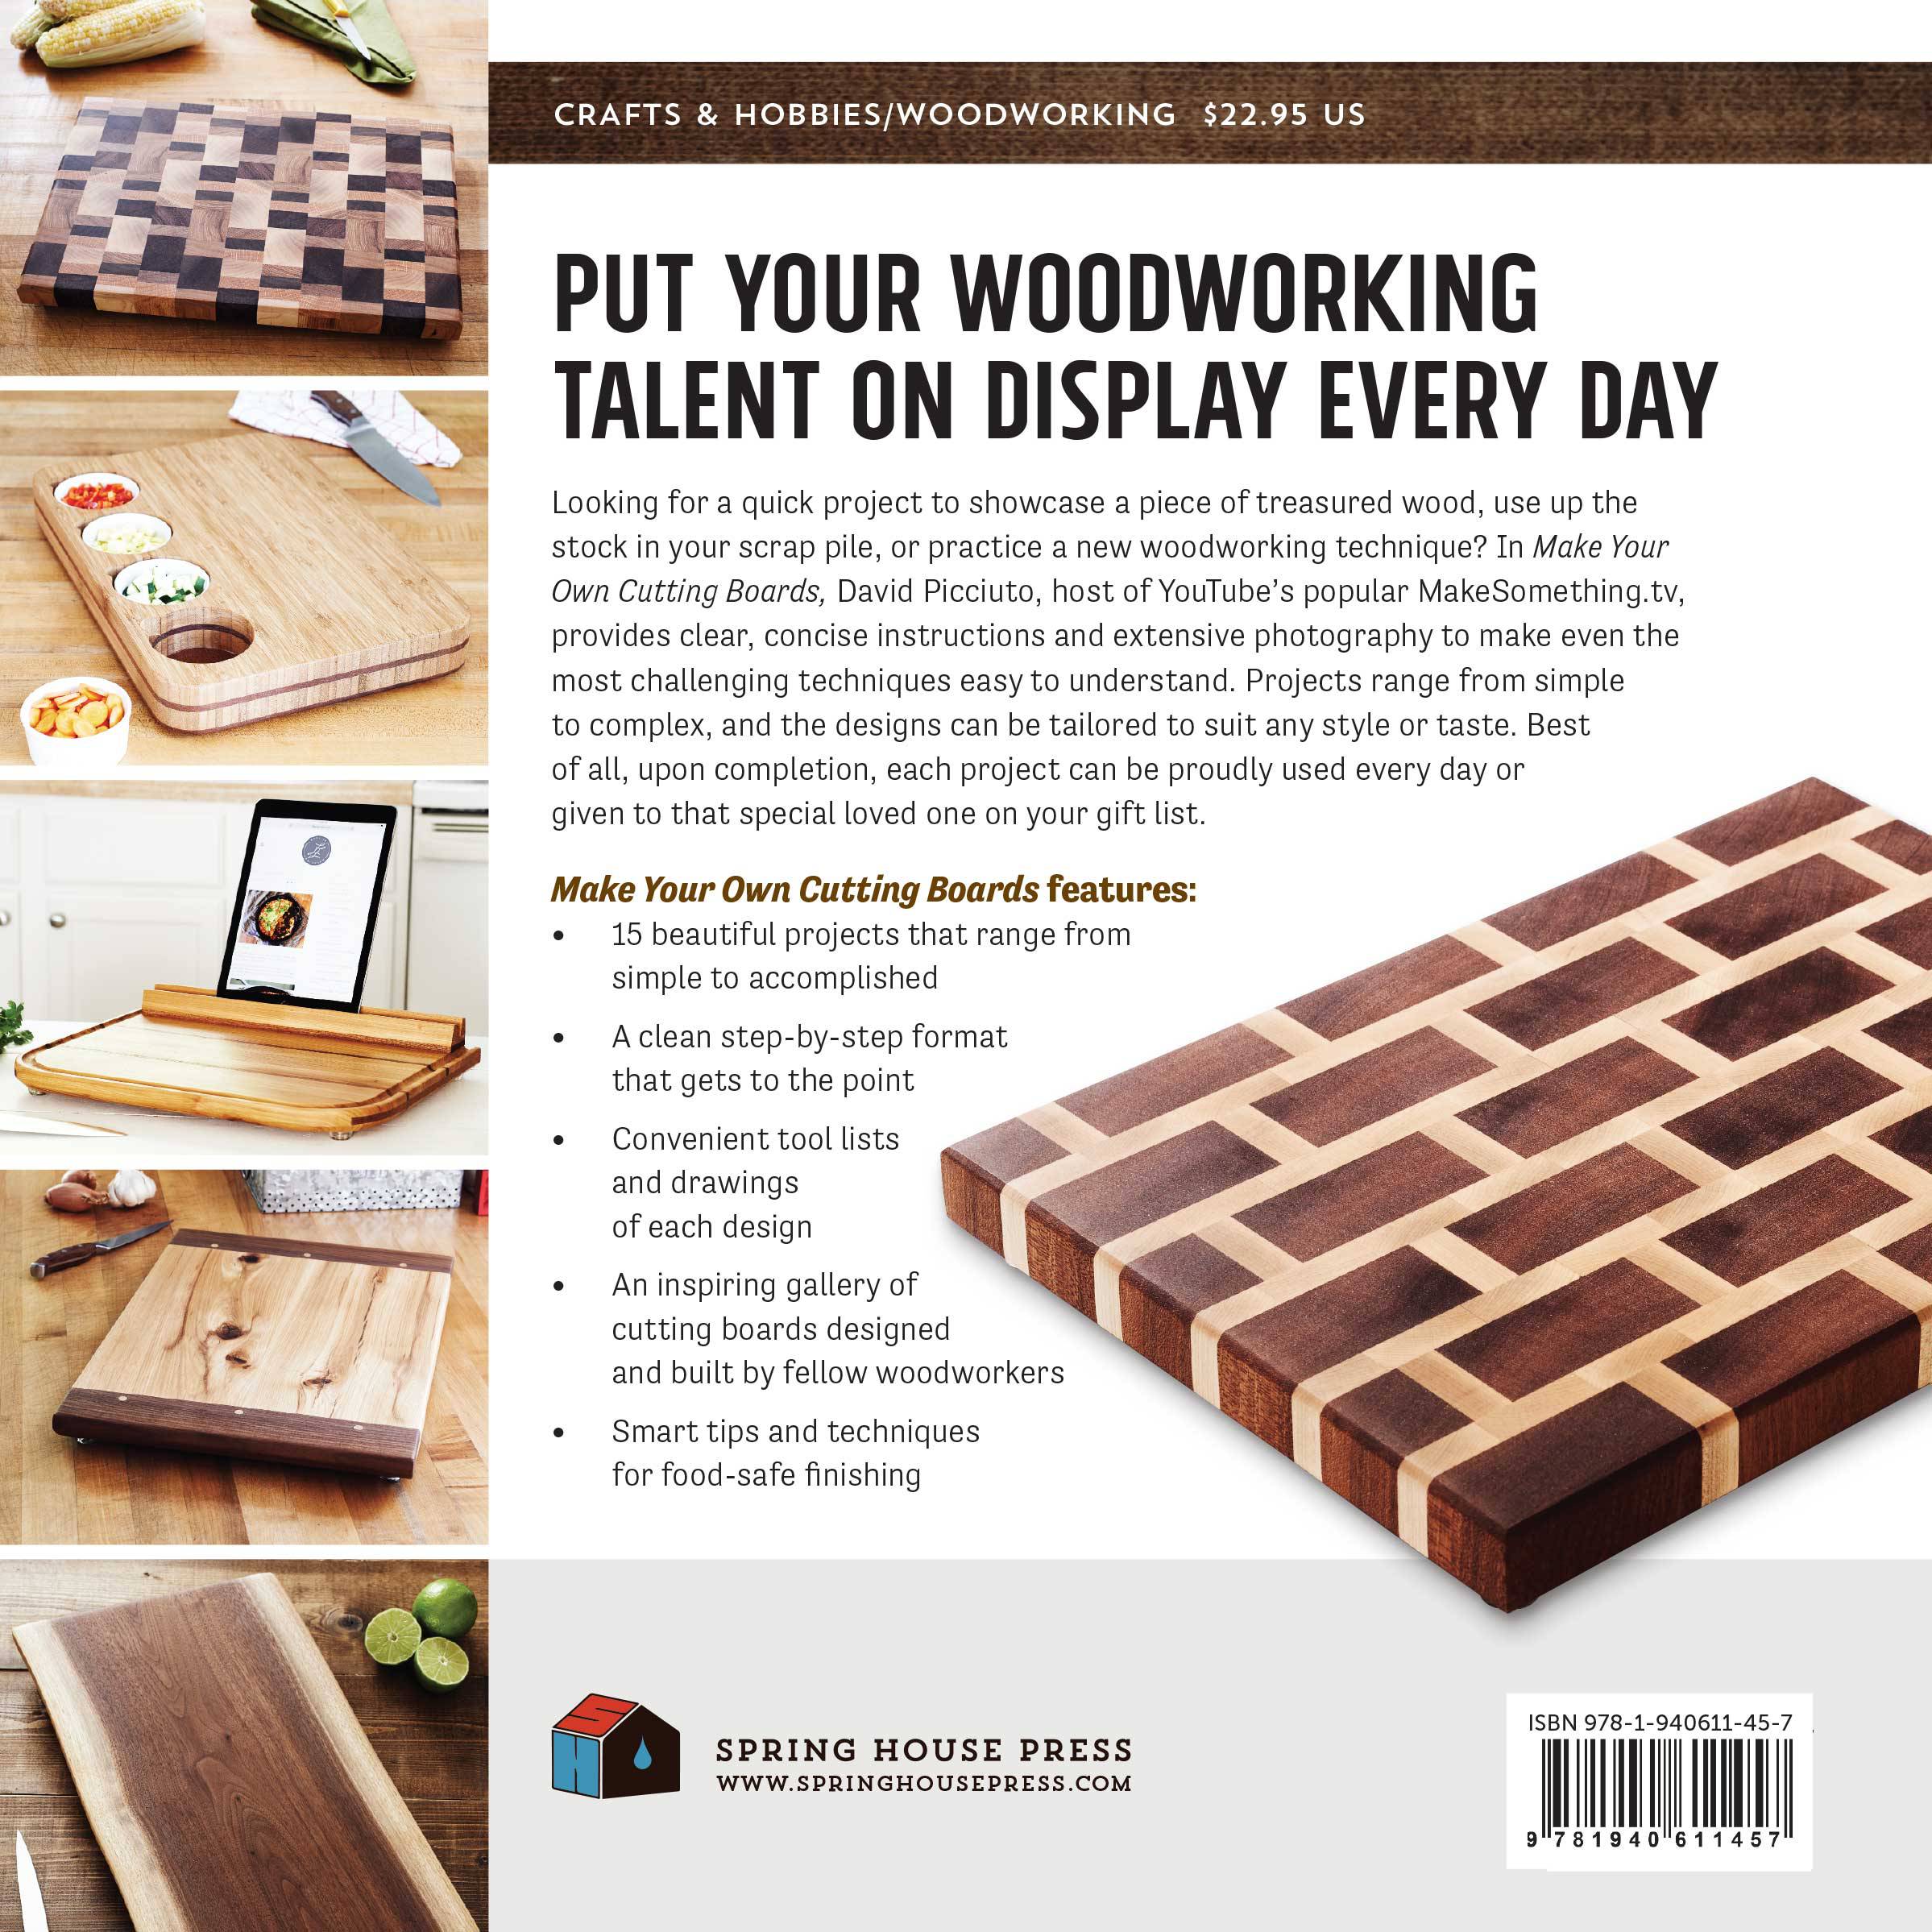


The projects in this book range from simple to complex and the finished designs can be tailored to suit any style or taste. Best of all, upon completion, each project can be proudly used or given to that special loved one on your gift list. Extensive photography and clear, concise instructions make even the most challenging techniques easy to understand and conquer. Each book is signed and shipped directly from me.
Cutting Board Video Tutorials
Making an end grain cutting board from scraps. This cutting board project comes from my book.
How to make a cutting board with a decorative inlay. It’s easier than you may think!
Easy to make cutting board with a cutout for a strainer. Perfect for using over your sink to cut vegetables and fruit.
Making an Alaskan ulu knife out of sheet metal and wood with a mating cutting board.
Choosing the Best Wood For Cutting Boards
When choosing woods for cutting boards, look for dense hardwoods, as they are more durable and can stand up to kitchen tasks. You should also lean toward woods that don’t contain an excess of natural oils. Some people have a sensitivity to these oils, and you don’t want your cutting board to alter the taste of your food.
Most people also stay away from spalted and reclaimed woods because you don’t always know what you’re dealing with. If you do use spalted or reclaimed woods, be sure to seal the surface so that it won’t a affect the food in any way. In general, North American hardwoods like maple, walnut, and cherry are commonly used in cutting boards, and rare exotic woods should be avoided. Whatever woods you choose, do your research on food safety before venturing into the unknown.
How to Finish a Cutting Board with a Food Safe Finish
Sand
Raise the Grain
Remove the Raised Grain
Oil the Cutting Board
Even More Oil
Melt Wax and Mix
Applying Wax Mixture
Buff
There are many ways to finish a cutting board and no finish is maintenance free. The more you use the cutting board, the more you’ll need to apply more finish. The finish I like to use takes a two-step process. The first step is applying mineral oil that seeps deep into the wood, and the second step adds a protective film on top of the surface.
1. Sanding Cutting Boards
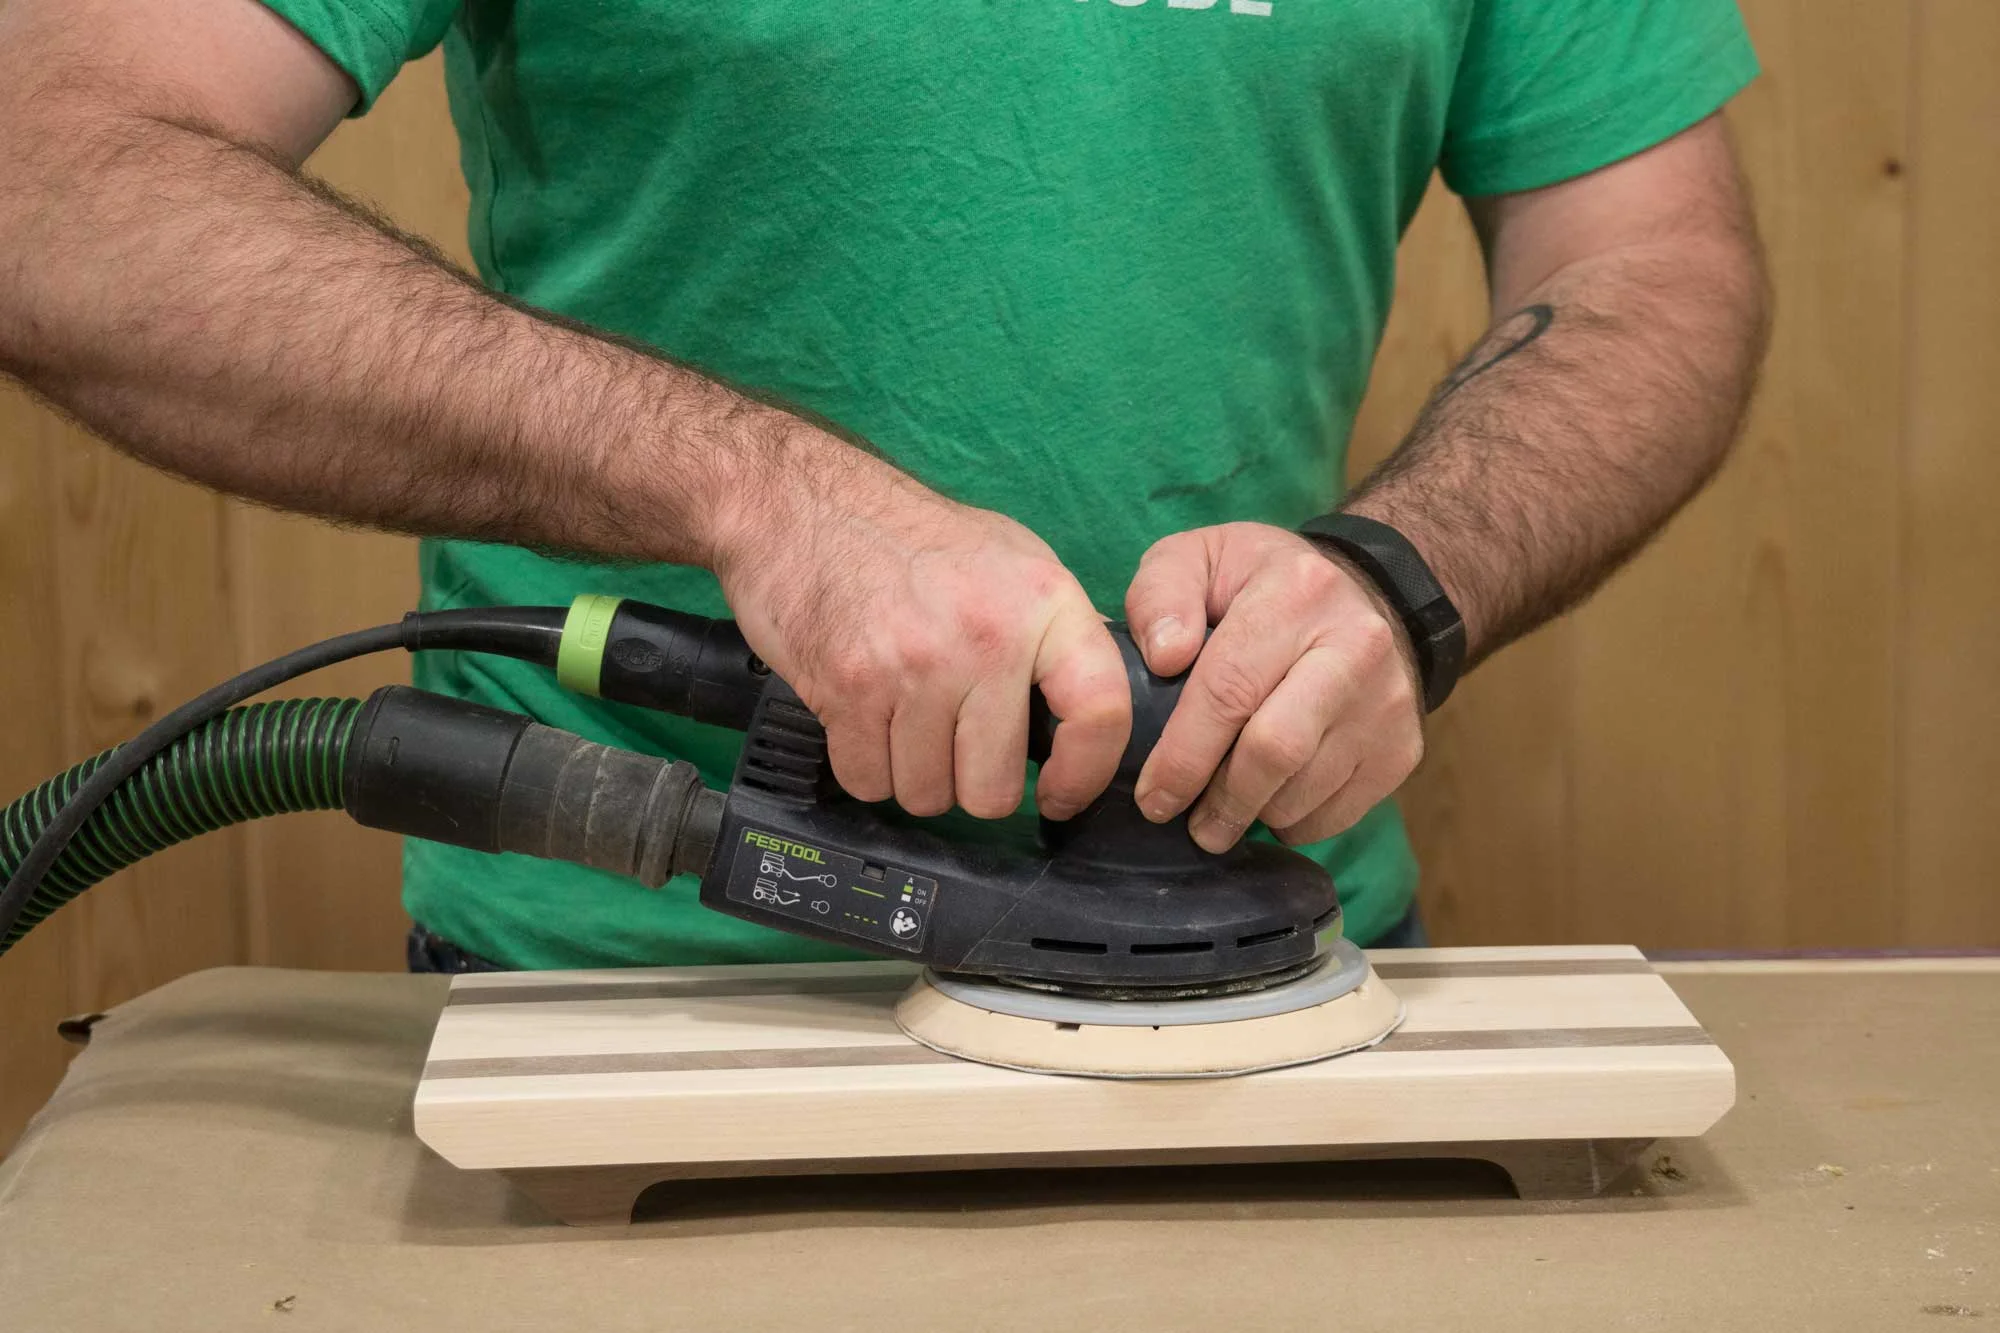
Start with smooth stock. Sand everything down to 220 grit. A good sanding job pays off well on small jobs that beg to be touched.
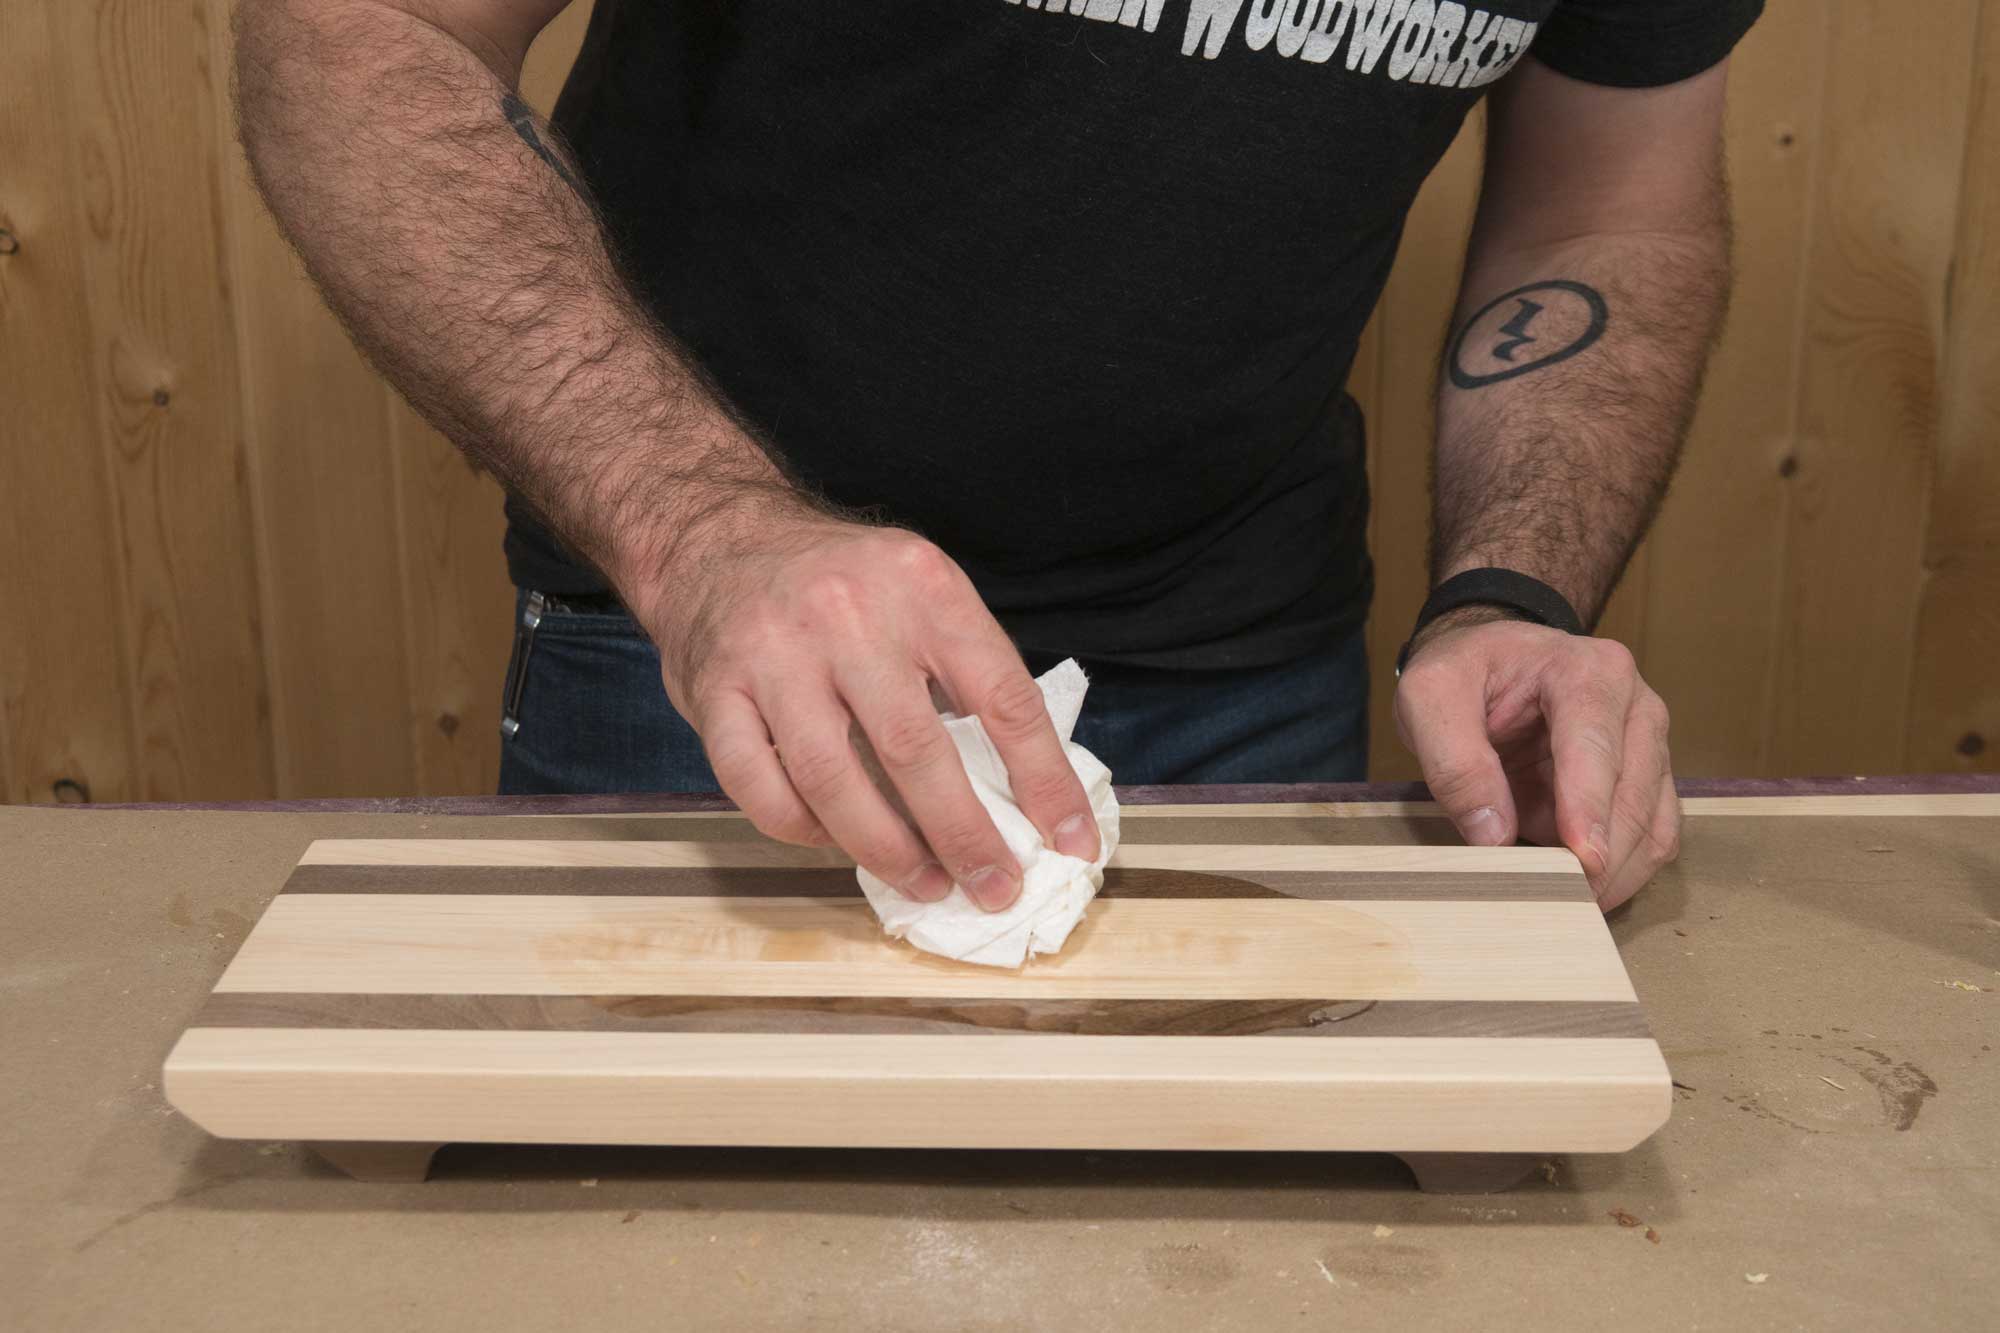
2. Raise the Grain

Use a wet paper towel to raise the grain. The moisture causes some of the wood fibers to swell.
3. Remove the Raised Grain.
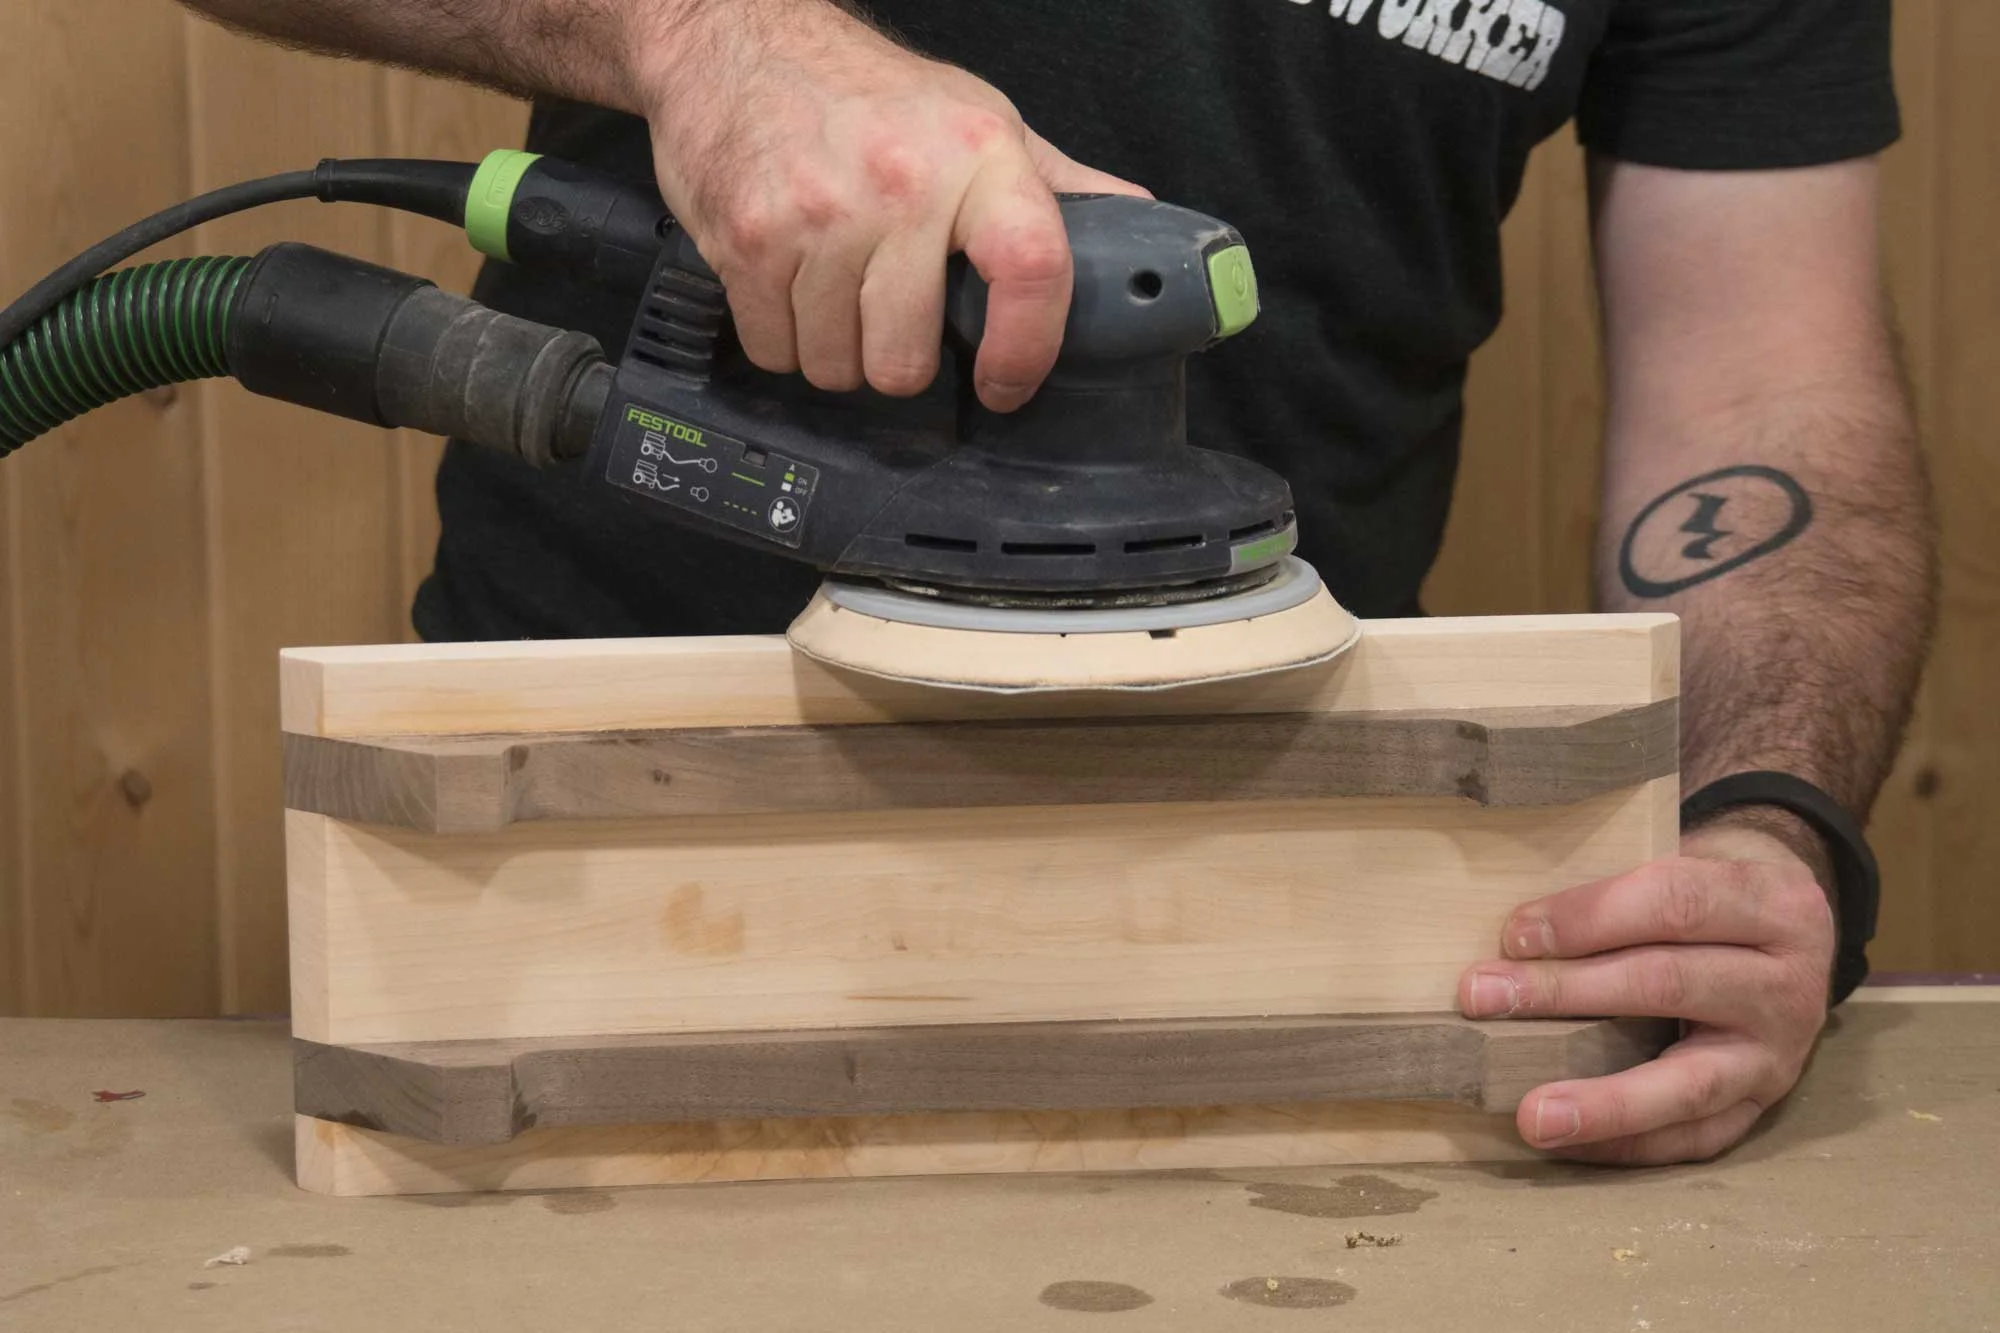
Go back and sand everything smooth again with 220-grit sandpaper. This second sanding won’t take long to smooth everything back out. This step will keep the cutting board smooth after use and washing.
4. Oiling the Cutting Board

Coat the entire cutting board with a heavy dose of white, food-grade mineral oil.
5. Even More Oil
And again . . . Some woods and all end grain cutting boards soak up a lot of mineral oil. Keep applying more and more until the oil sits on the surface. Allow the oil to sit for a couple of hours before wiping away any excess.
6. Melt Wax and Mix

For the second coat, melt paraffin wax on the stove using the lowest heat setting. As the wax melts add a bit of the white, food-grade mineral oil. You’ll want about a 50/50 mix.
7. Applying Wax Mixture
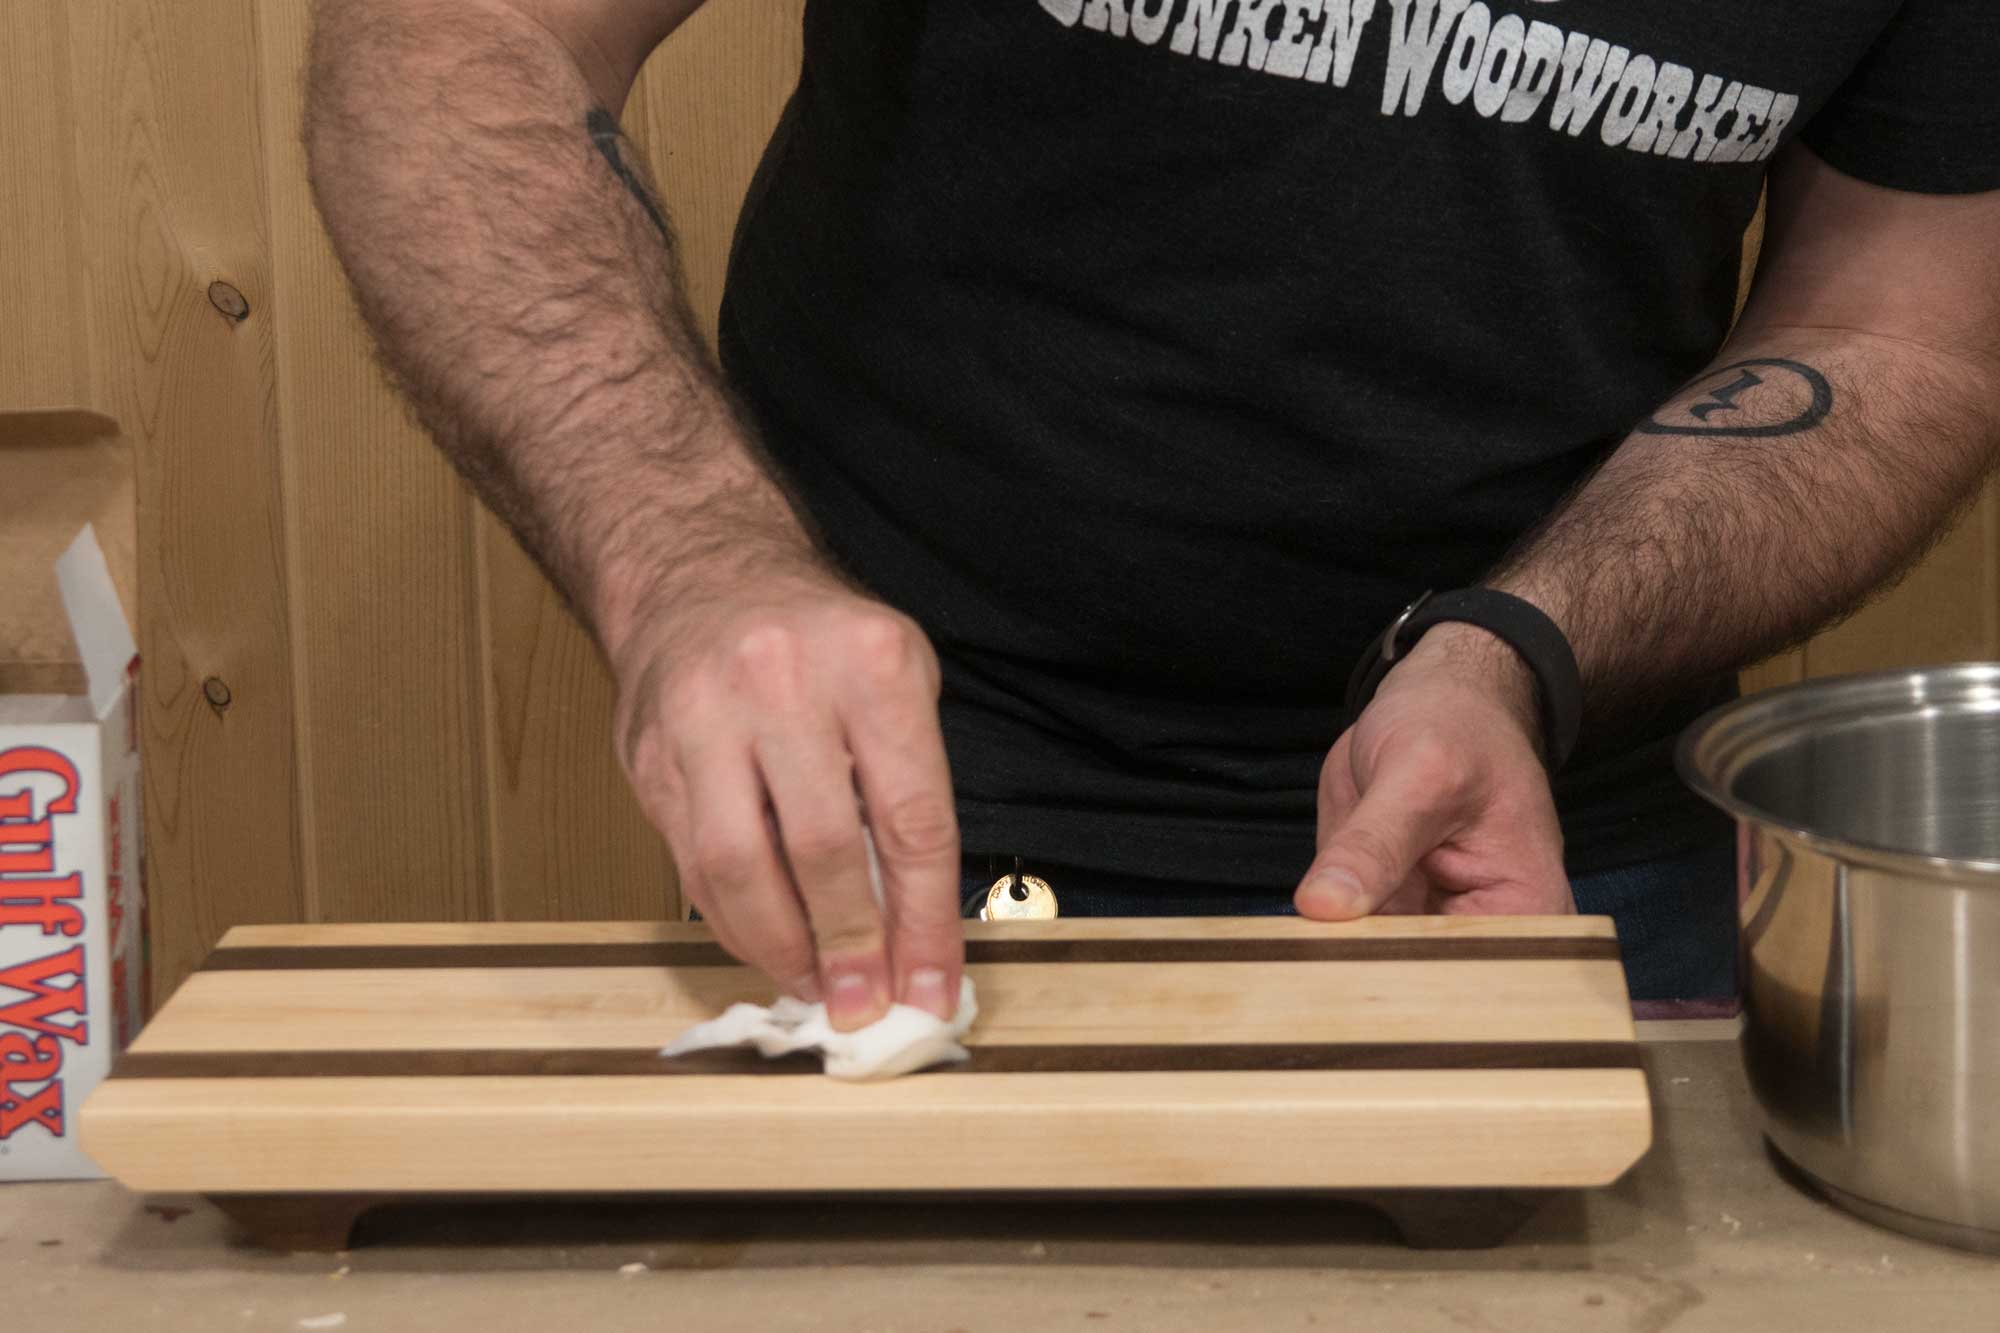
Finish while it’s hot. While the wax mixture is still warm, apply a heavy coat to the cutting board. Let the wax set for a couple of hours. This will leave a film on the surface but it’s easily removed later.
8. Buff it out.

Use a soft cloth to buff away the wax. This coat gives your cutting board a protective finish and a satin sheen.
Woodworking Books

Make Your Own Cutting Boards
15 cutting board projects to make as gifts or sell! Get your signed copy!

The New Bandsaw Box Book
8 bandsaw box projects you can make and sell at craft shows. Signed copies now available!