
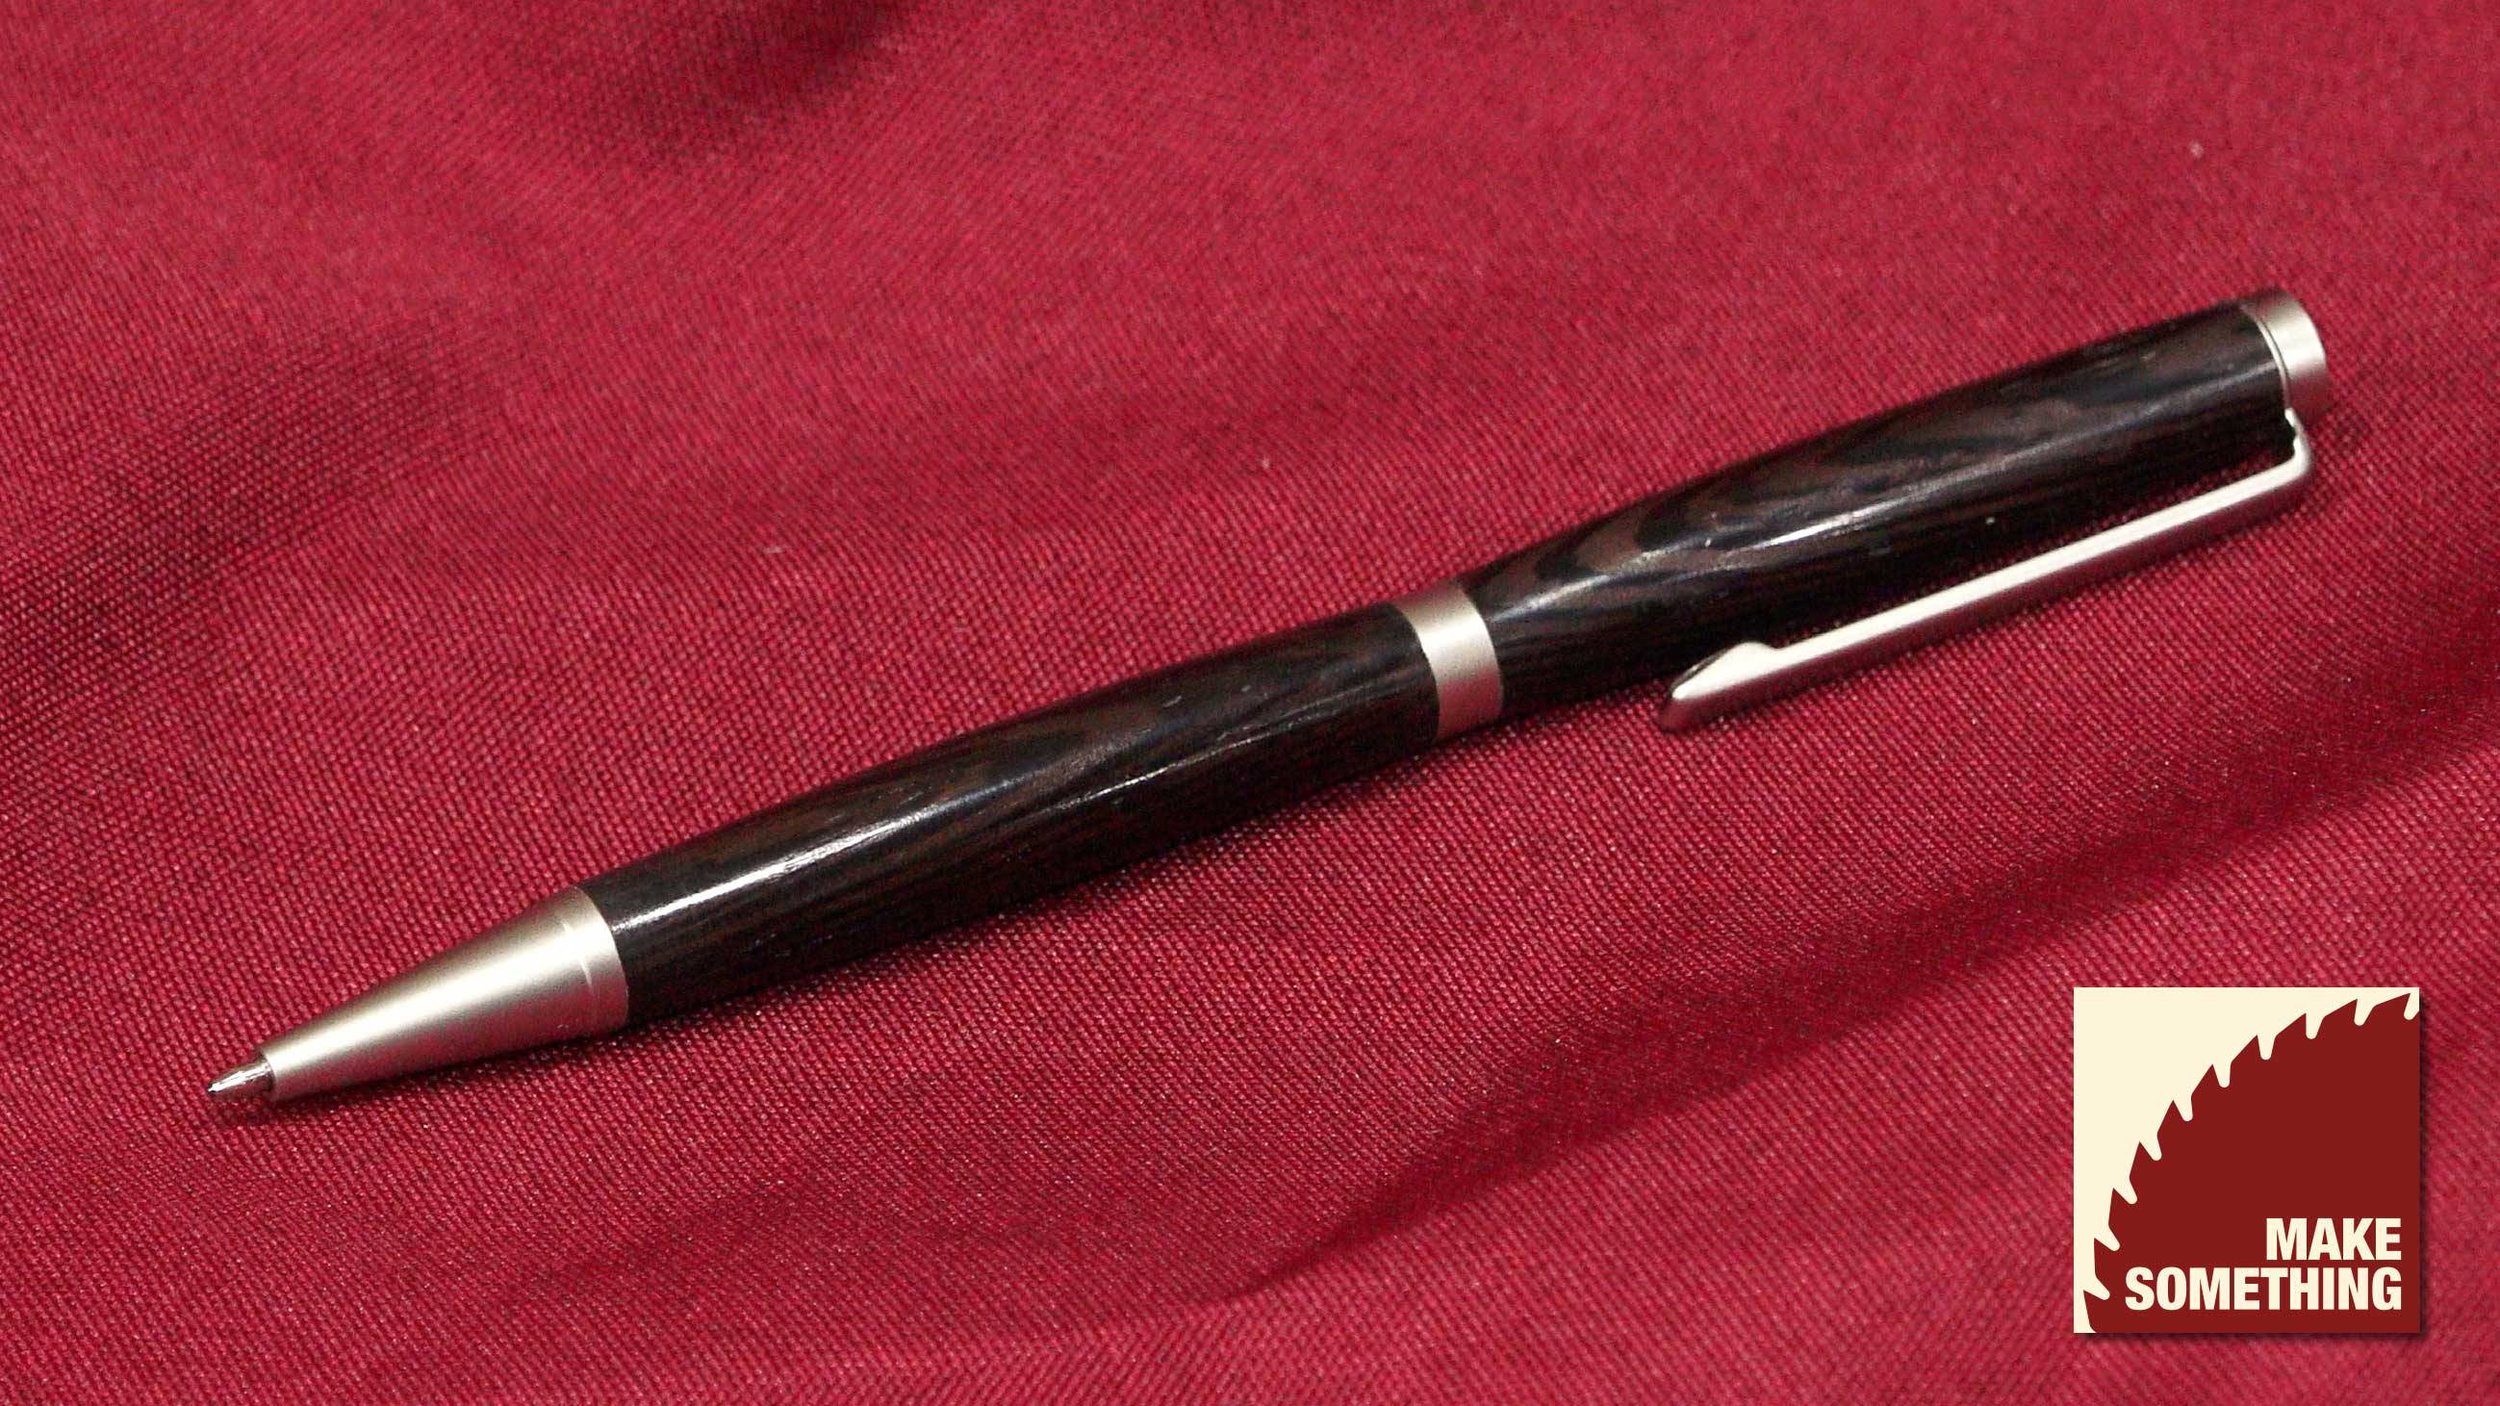
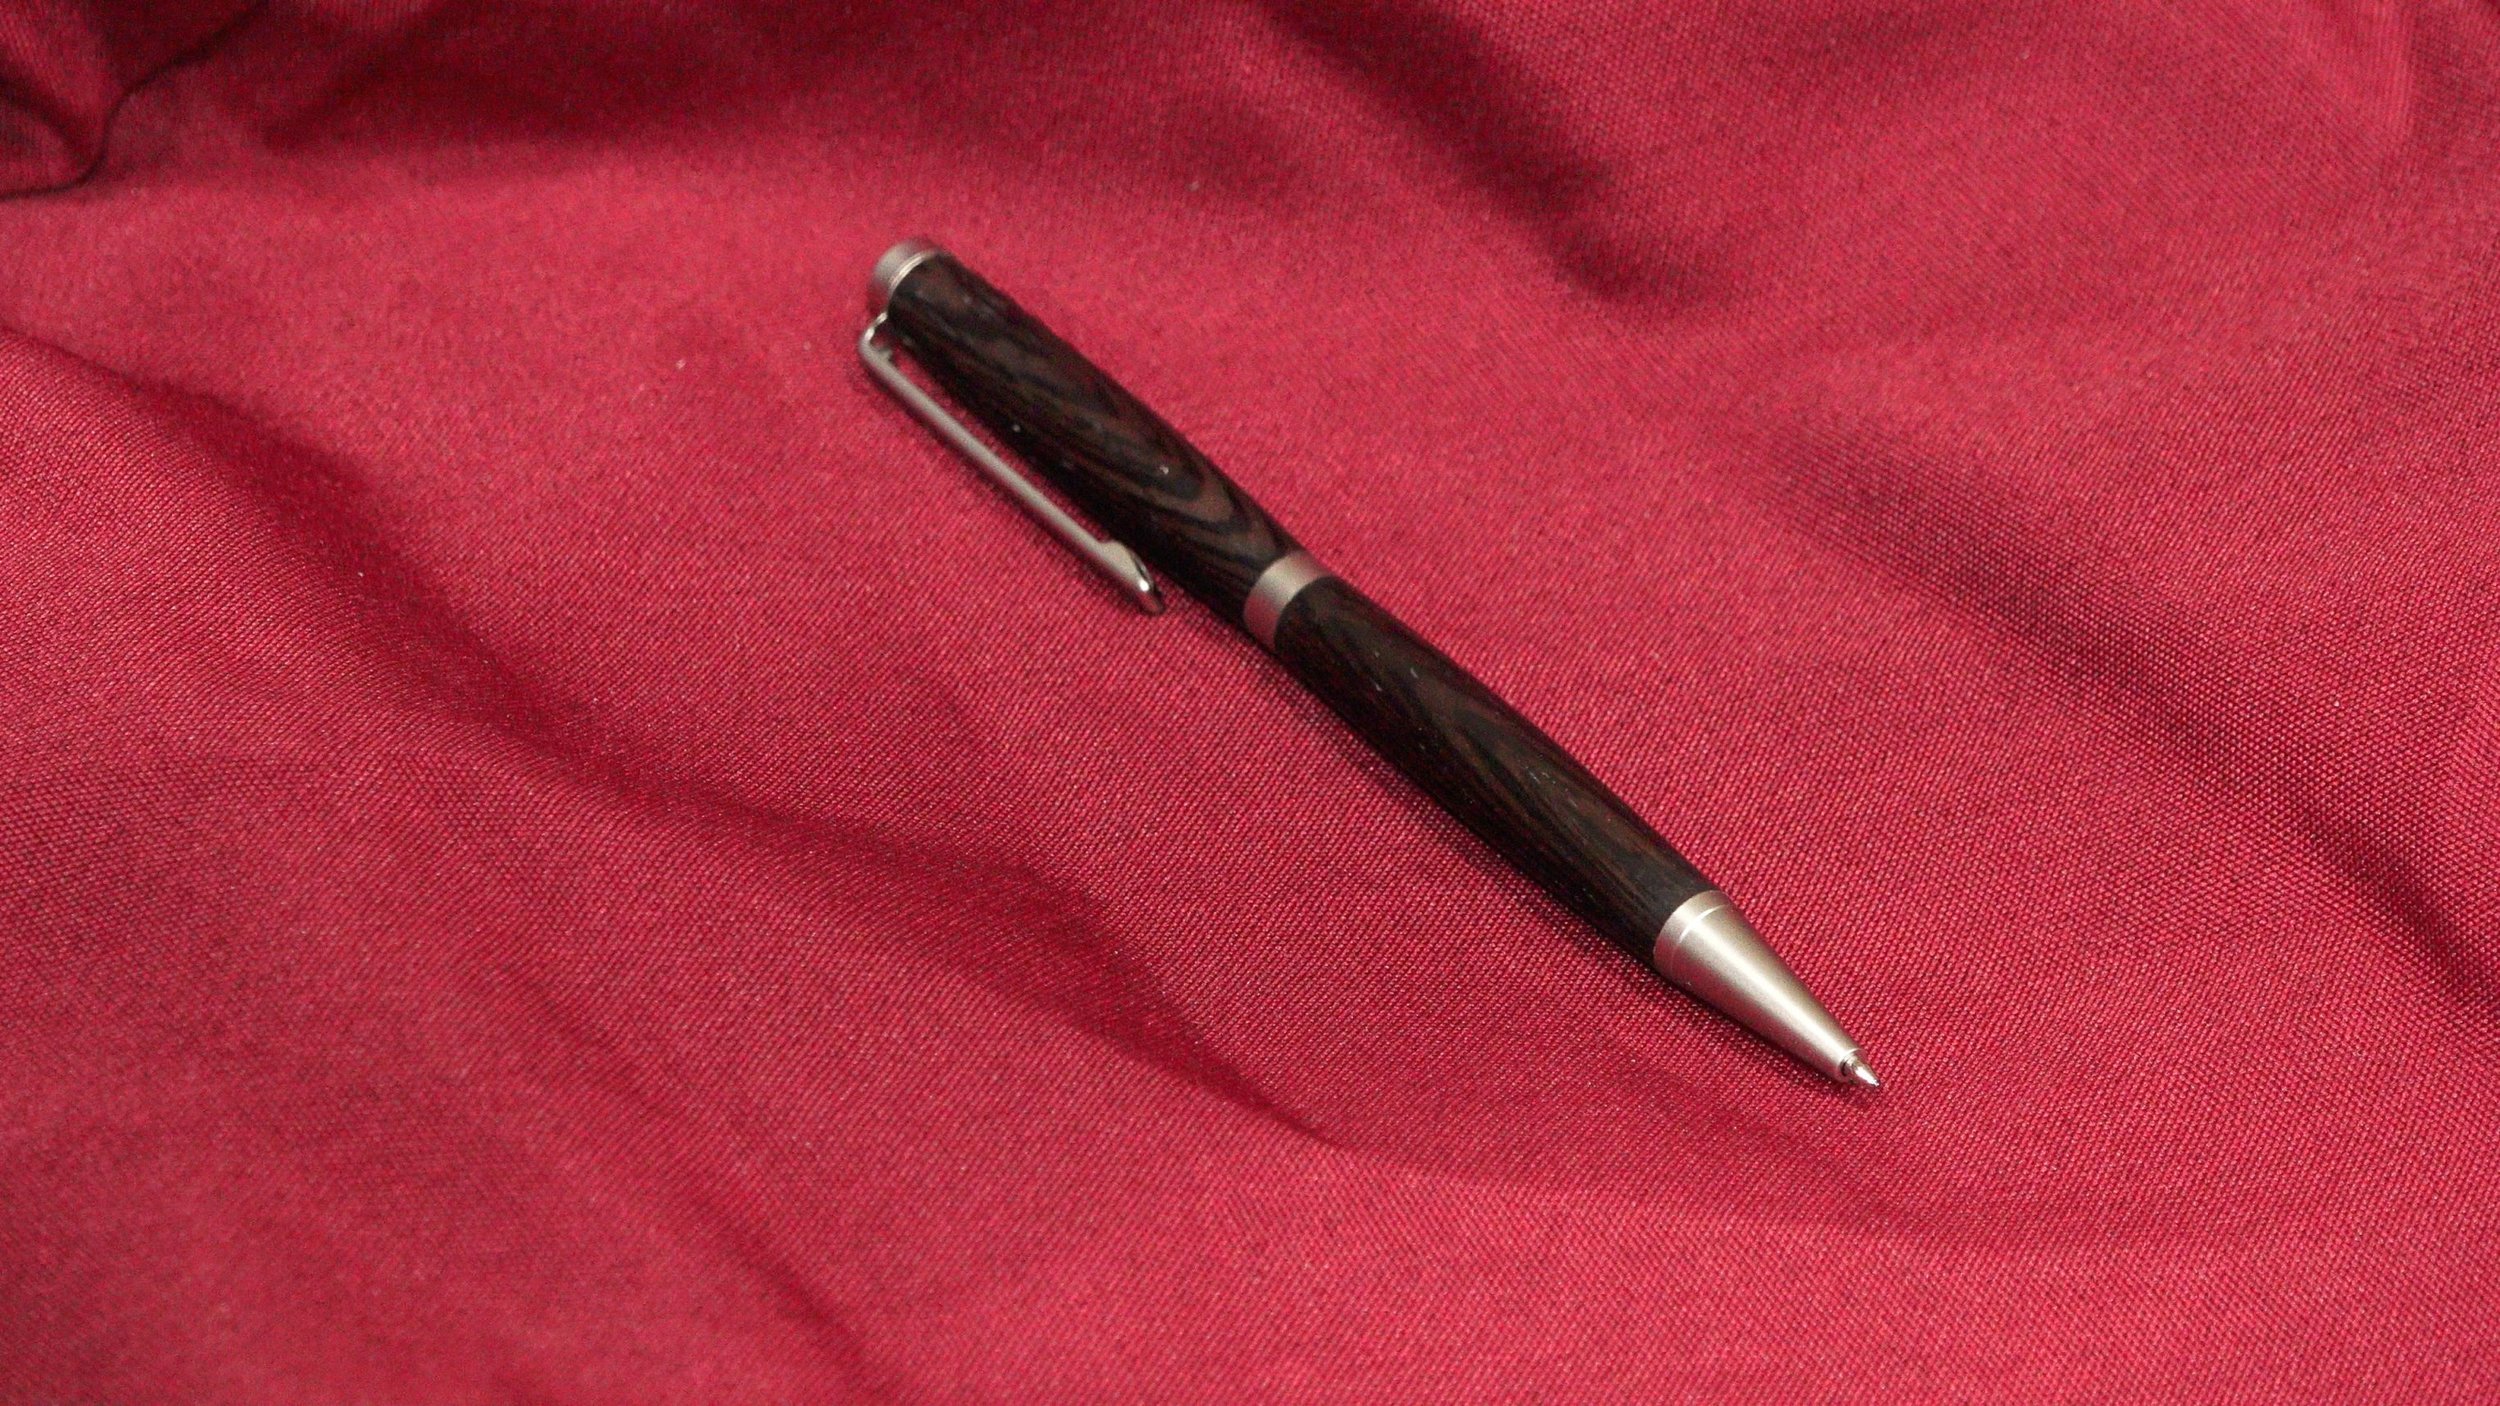
How to Turn a Slimline Pen
How to turn a slimline pen on the lathe. A quick and simple project that a great seller at craft shows.
Turning pens on a lathe is one of those addicting hobbies you come across in woodworking. They can be made from start to finish in about 30 minutes and can be very profitable at craft shows and also make great gifts that family and friends will love. There are a ton of gadgets available for pen turning which may be confusing. In the video above I simplify the process and break down what pen turning accessories you need and the ones you may not need for the slimline kits. The following steps are the basics in getting started in slimline pen turning. Once you have these down you can start to get into the more complicated pen kits and work with segmented pieces as well as acrylics and non traditional materials. I am by no means an expert turner so if you have any suggestions and pen turning tips, leave them in the comments below. As always, be safe, stay passionate and make something!
Pen Turning Supplies and Tools


Making a Box with Hidden Compartment
This box that we’re about to make has mitered corners that can easily be done on the table saw and reinforced with easy-to-make splines.
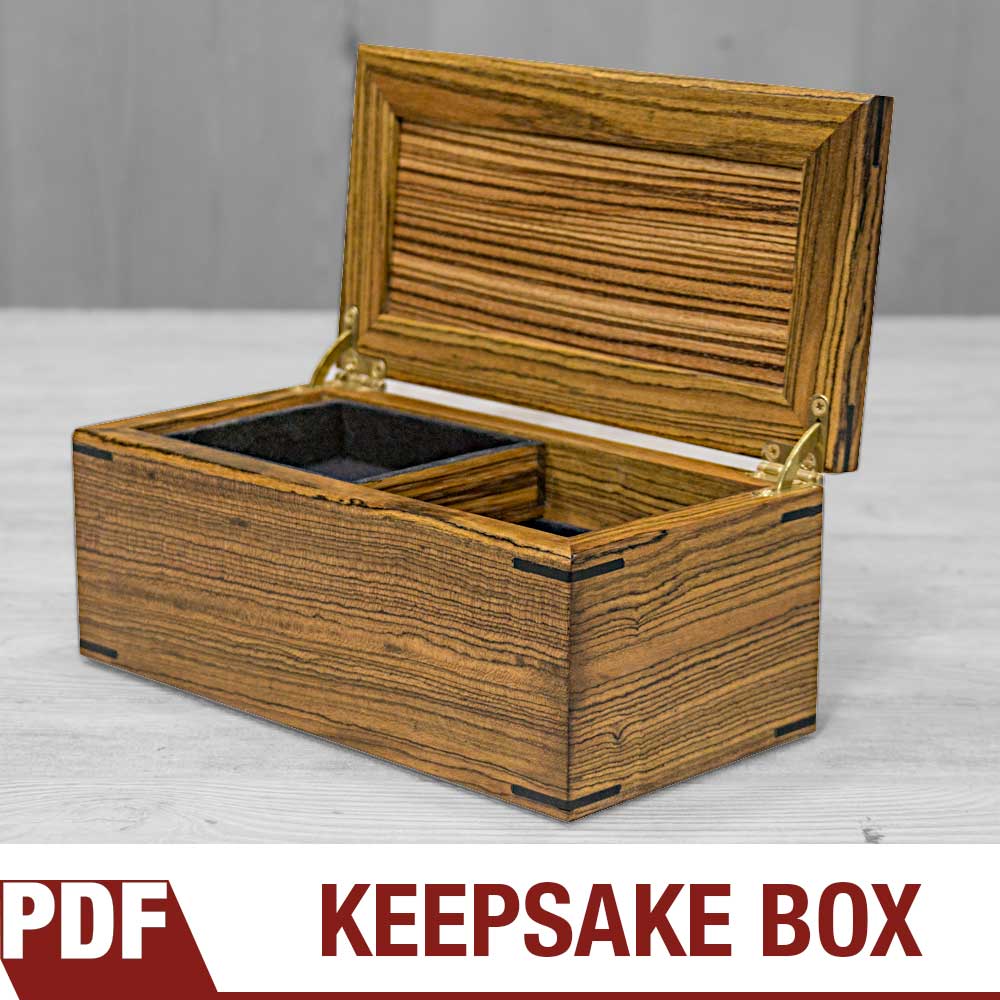
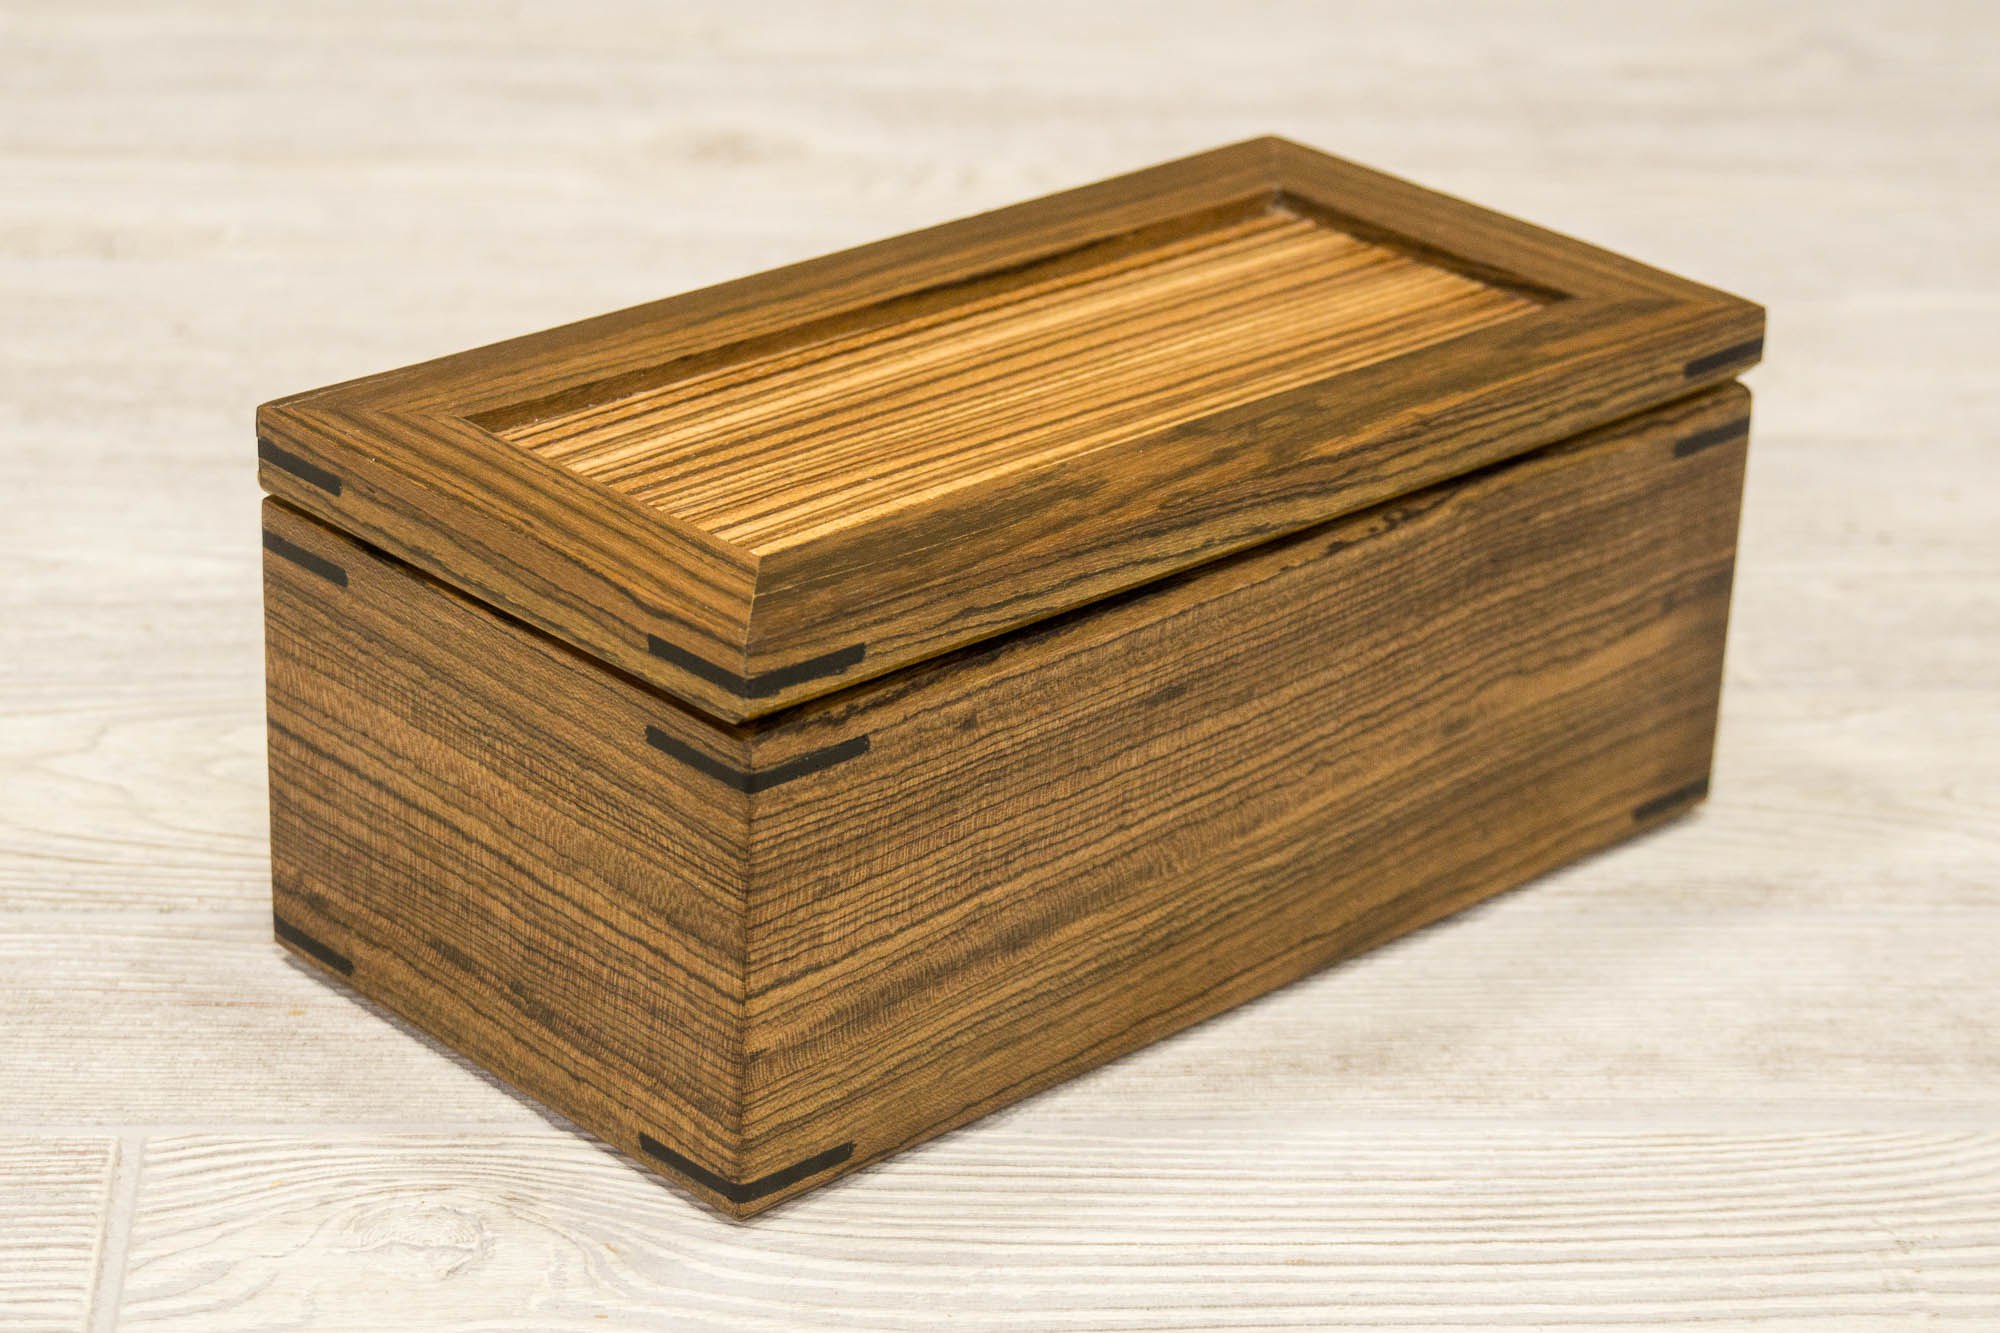
This box that we’re about to make has mitered corners that can easily be done on the table saw and reinforced with easy-to-make splines. The inside has a top sliding tray that when moved left and right reveals two trays below it. When all the trays are lifted out, a hidden compartment is revealed underneath to hide your valuables. All these trays are lined with a soft flocking that feels like velvet and I’m using solid brass quadrant hinges with lid support from Brusso Hardware. For this box I wanted to use special exotic woods so I went to Kencraft, my local hardwood dealer and picked out some Bocote for the sides, Zebrawood for the top and bottom and ebony for the splines.
Although I can’t give you an exact amount of hours it took to make this I can tell you that if well planned this could easily be made in two days. On day 1 all the pieces can be cut and glued together. On day 2 the splines, chamfers and hinges can be added. If you choose to use a lacquer finish you could also get multiple coats done on the second day as it will dry fast. The tri-blend finish I recommend on exotic woods takes 4 days but each day only requires a couple minutes of work with a full day to dry between coats. The price of wood can be very dynamic depending on the choice of woods and your location. I chose to get a little fancy and paid $73.58 for the wood used in this project without any leftovers. I also decided to use the well made Brusso hinges that come in at $49.99. Yes, the Brusso hinges cost a pretty penny but you can feel the difference in quality as soon as you hold them in your hand. They have high standards and a very good reputation for being the best in the business. So after taxes and shipping the total cost of materials was $135.62 which doesn’t include the flocking and finish.
I’m really happy with the way this box came out. The top tray slides effortlessly across the bottom tray and everything lifts out to reveal the hidden compartment. All of the joinery is mitered corners that are easily done on the tablesaw and reinforced with splines. And the solid brass hinges compliments the exotic woods and the the design. You learn more about the jigs I used as well as the flocking and finishing techniques in the links below. Plans are available in my store. I hope you enjoyed this video as I’ve got a lot more projects like this coming out as well as bigger builds and non-woodworking projects. As always, be safe, stay passionate and make something!
Tools and Supplies
- Micro Jig GB-1 GRR-Rip Block
- Micro Jig GRR-Ripper
- Brusso Solid Brass Quadrant Hinges
- Festool Random Orbit Sander
- SawStop Tablesaw
- Grizzly Bandsaw
- Blue Painters Tape
- TiteBond Glue
- Flush Trim Saw
- Suede-Tex Mini Flocker
- Suede-Tex Undercoat Adhesive – Black
- Flocking Fibers, 3 oz., Black
- Minwax Wipe-On Poly Polyurethane
- Mineral Spirits
- Boiled Linseed Oil
- Dewalt Plunge Router
- JIG IT Hinge Mortising System
- Bench Dog Router Table
Related Resources and Tutorials


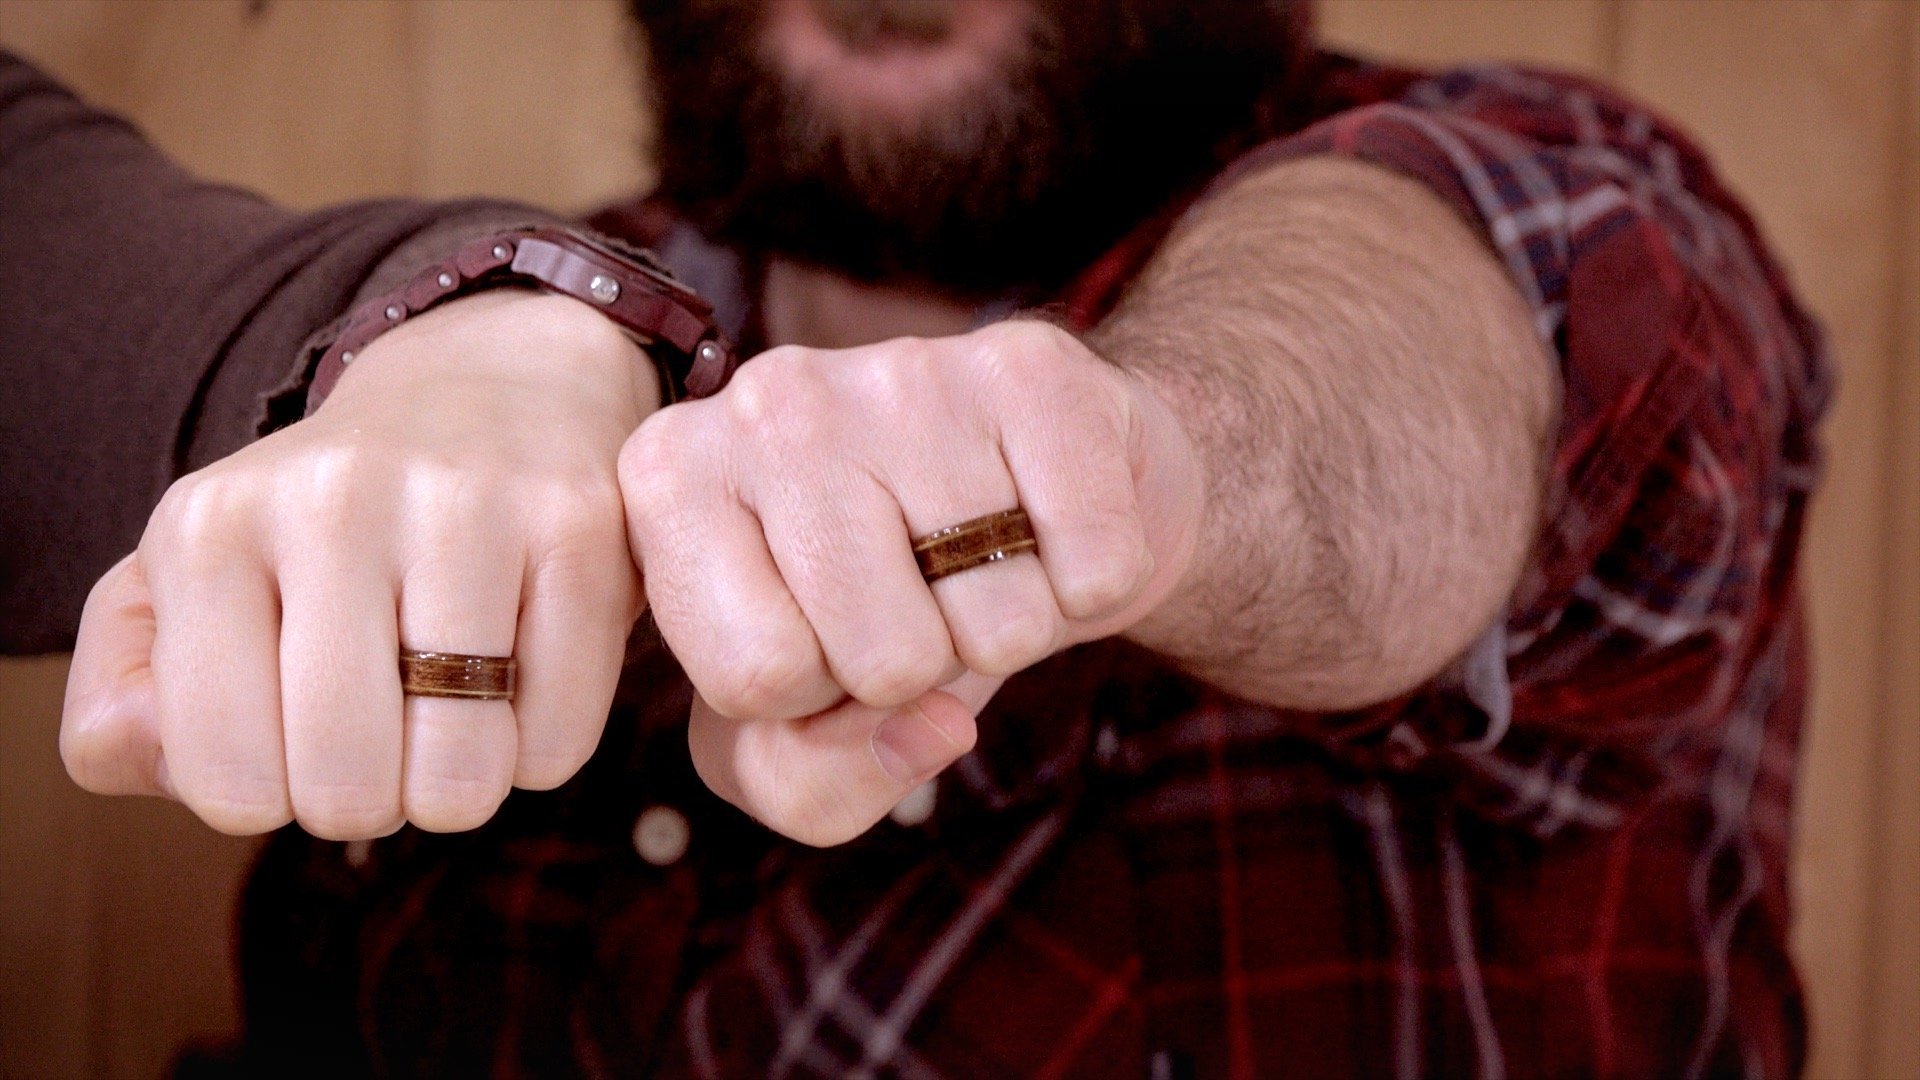
How to Make Wood Rings / Bentwood Rings
Making these wood rings is pretty simple and can be done without many tools.
Making these wood rings is pretty simple and can be done without many tools. Basically we’re going to take some veneer and boil it in water to make it more pliable. We’ll then coil the veneer onto itself and bonding it with CA glue. You’ll find these rings are much stronger than just drilling a hole into wood and cutting the outside shape. That’s because we won’t have any weak points with endgrain. There will be many layers with straight grain laminated with glue which will make them very strong and durable. I’ll also show you how I added these accent lines with a contrasting veneer between 3 coils. Let’s get started.
Items and Supplies Used


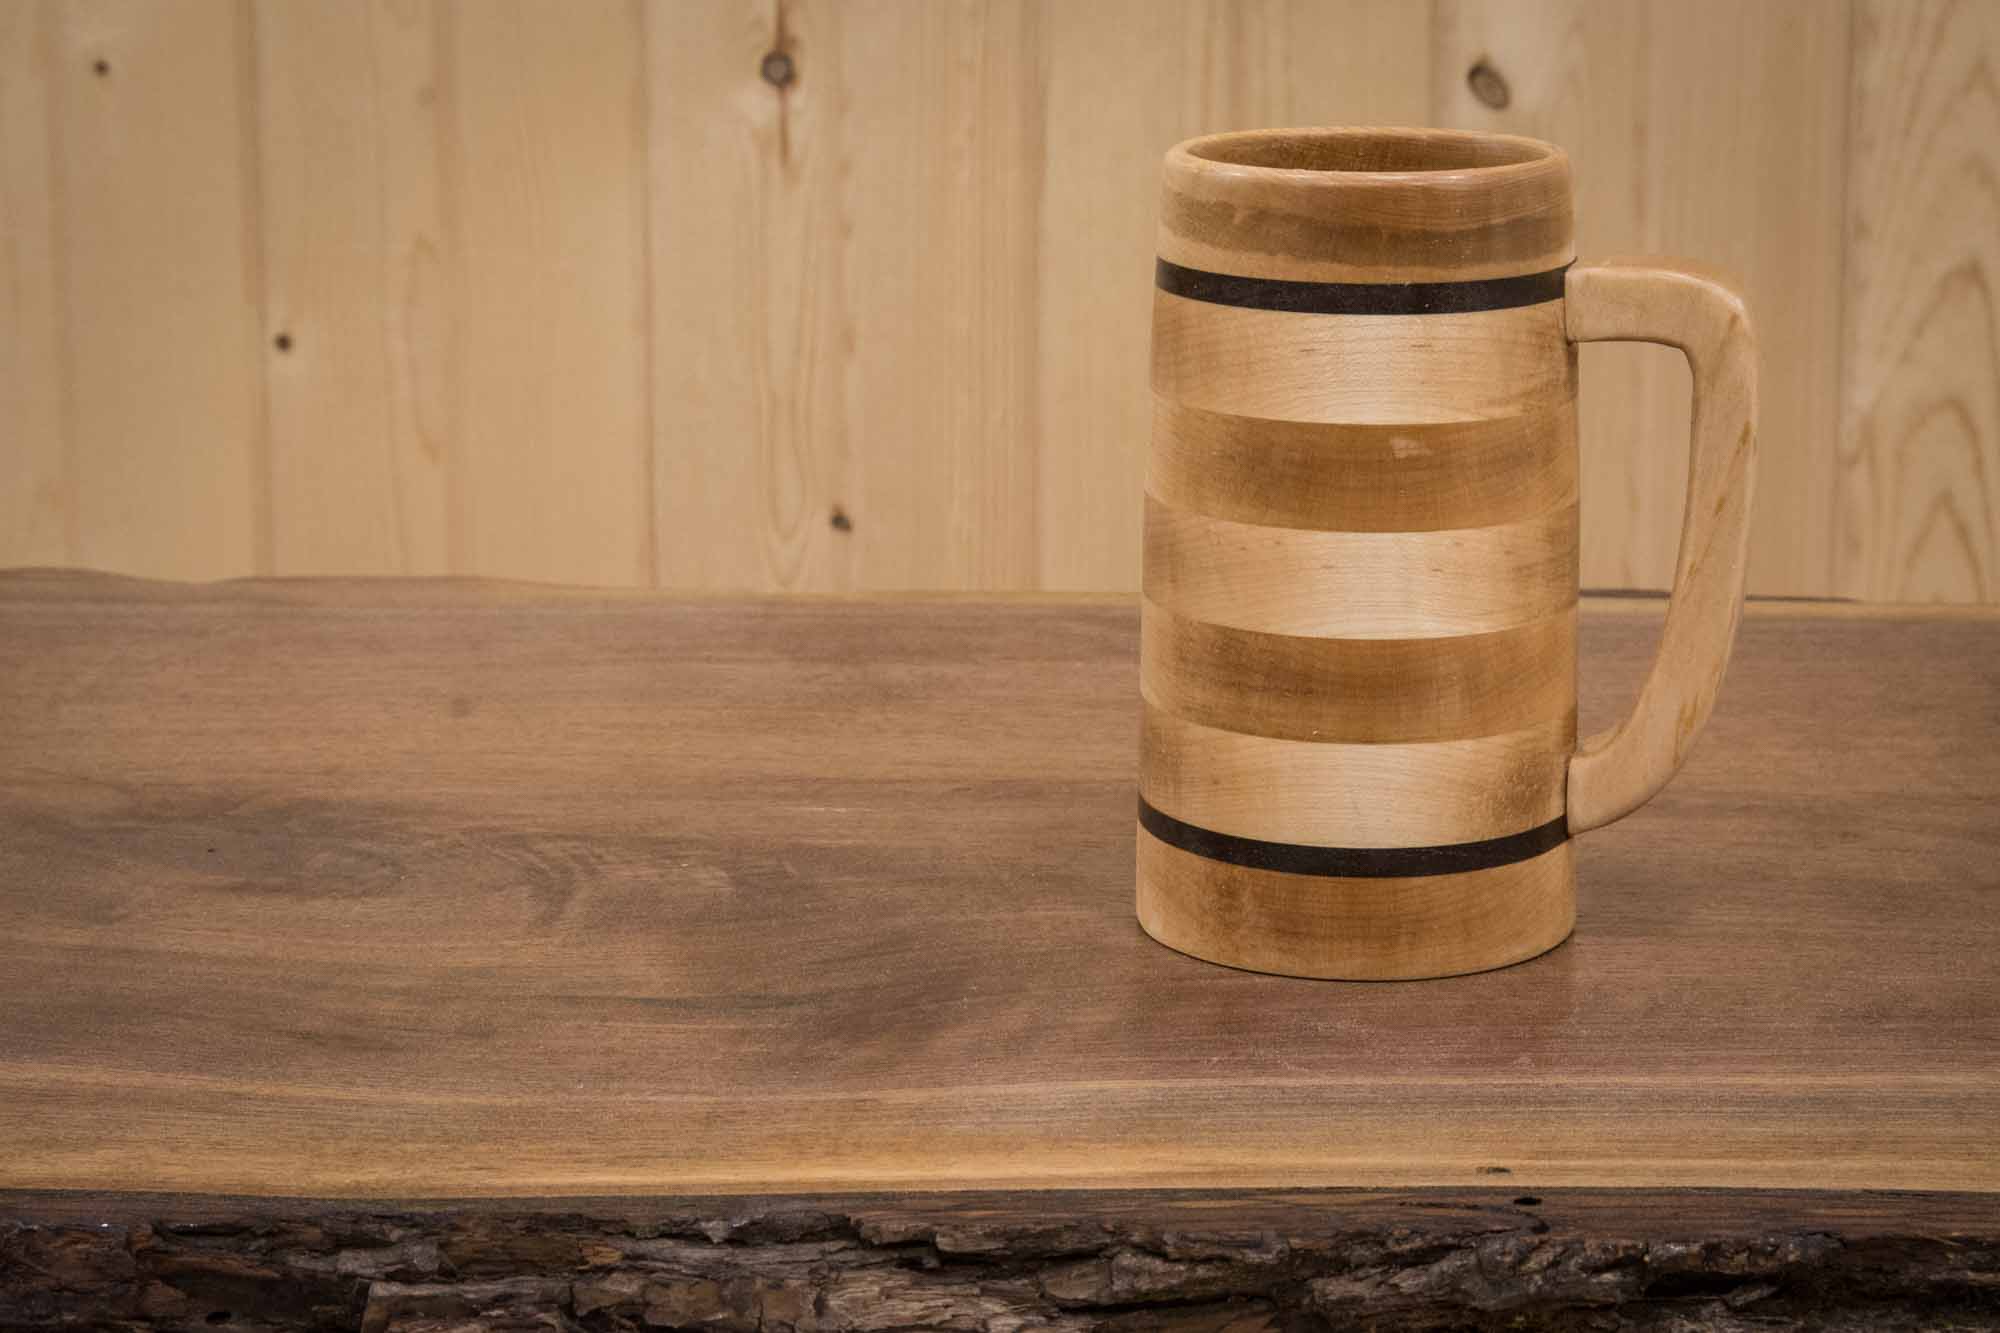
How to Make a Beer Mug on the Lathe
A fun weekend woodworking project on how to make a beer mug/beer tankard on the lathe.
Making a Beer Tankard
A fun weekend woodworking project on how to make a beer mug/beer tankard on the lathe. We’ll start by cutting up all the pieces on the tablesaw. Next we’ll glue and clamp them all up and once dry, mount it up on the lathe and start turning. The inside is hollowed out using a forstner bit which makes it a quick and clean cut. And finally we’ll coat the inside with epoxy making it water proof and ready for a nice cold beer.
This is one of those projects where you’ll want to make a few at a time because once your family and friends see it they’re going to want one as well!
Is Epoxy Food Safe?
That’s not an easy question to answer and there are very few epoxies that are labeled food safe. Acquiring that label is a long costly process that many companies just don’t bother with. I’ve found a few woodworking articles saying all finishes are food safe once fully cured. It is to my understanding that epoxy is fully cured and inert after 30 days and is not much different than using a plastic cup. There are a few people who say that the mix of the two-part epoxy must be the exact ratio for this to be true and if it is mixed correctly and fully cured must only be used to serve cold drinks and not be exposed to high temperatures like coffee or a dishwasher. From what I gathered I feel safe drinking beer out of these mugs using the epoxy I got from the Home Center. It is up to you to use your best judgement and research what will work for you.
Here’s What You’ll Need

How to Make a Wood Crate from a 2×6
Each crate is made from a single 2x6 that you can get at your local Home Depot or Lowes.
Making a Wood Crate
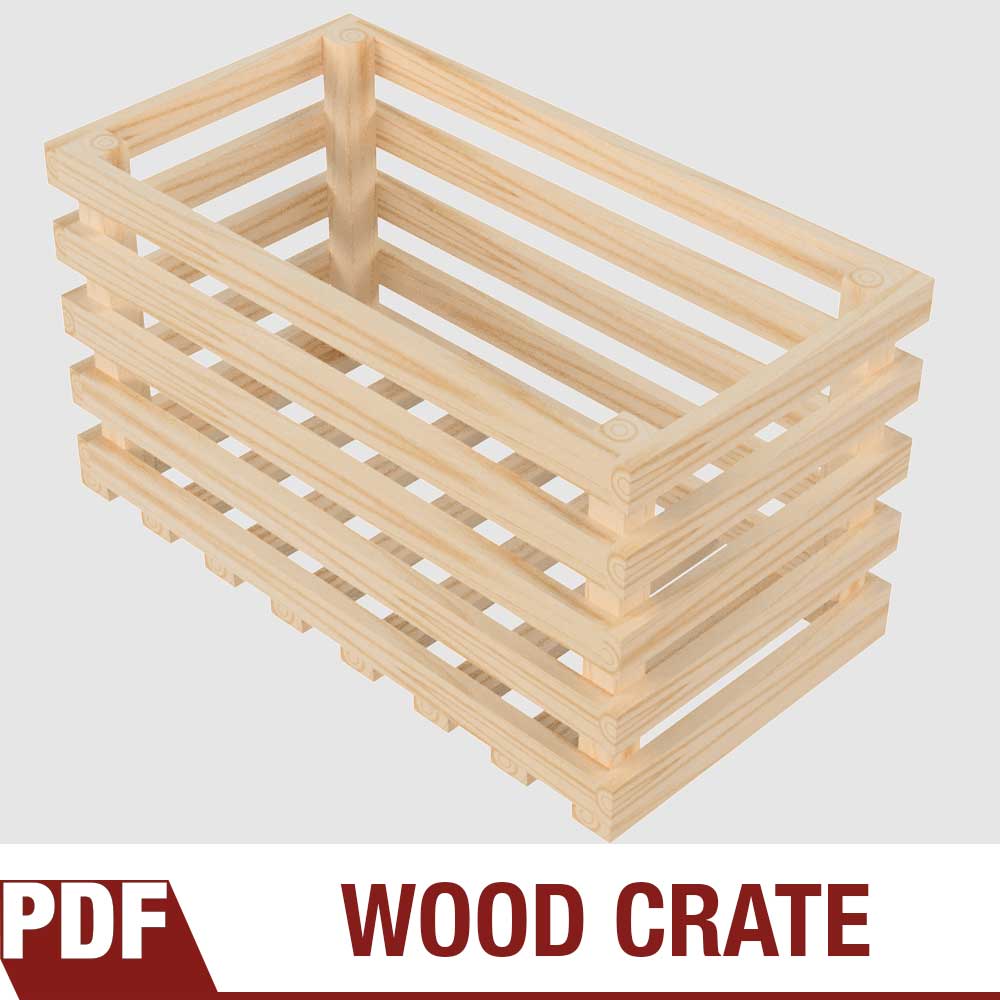
How to make a wood crate from a cheap home center 2×6. This is a super quick and simple process anyone can do with a tablesaw, some nails and glue. I like to take these crates on the road with me and use them for my display stand at craft and handmade shows. Back at home I stack them on their sides and use them like you would a book case. This is one of those projects where accuracy isn’t important and a single crate can be made in under an hour. And since I don’t worry about glue squeeze out and don’t use a finish on them, BOOM, they’re done! In fact I was able to batch out six of these crates in about two hours. Having a pin nailer surely will help save a lot of time but isn’t necessary. You could easily use a hammer or even just screws. Each wood crate is made from one 96” 2×6 and each 2×6 only costs $4 at my local Home Depot. Enjoy, be safe and make something!
Products Used


Craft Show Tips and Tricks
Craft show tips to help you succeed at selling your handmade items.

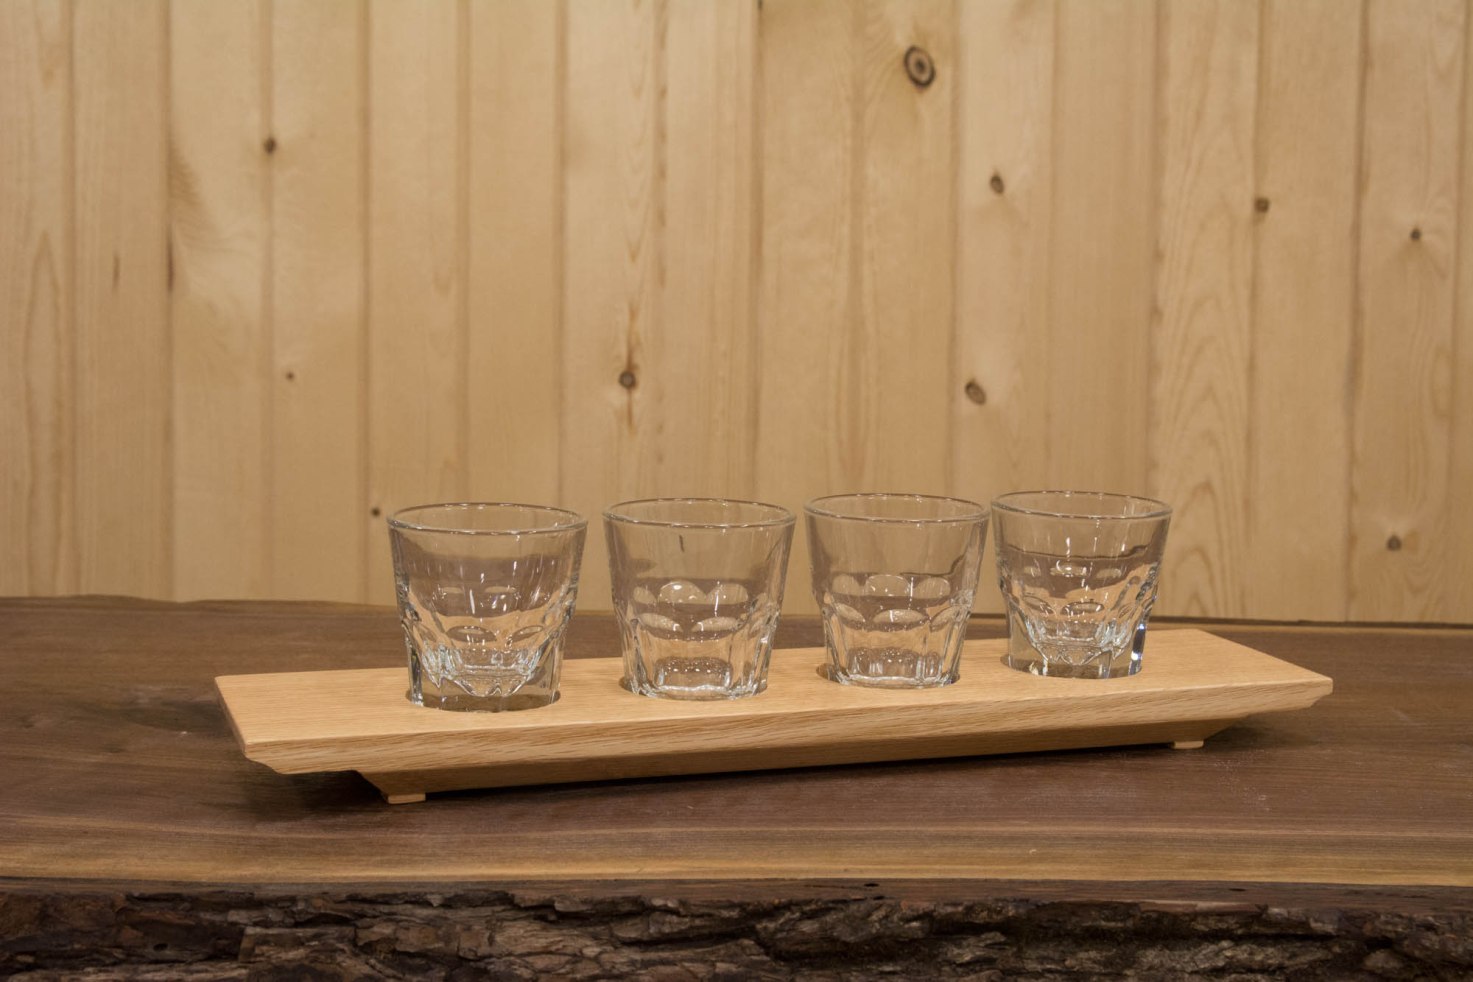
How to Make a Beer and Whiskey Flight
Impress your guest with these beer and whiskey flight trays. They also make great craft show items when paired up with glasses.
Making a Beer Flight
Here’s a quick and simple woodworking project that can be made in a day without a lot of fancy tools. This display could be used as a candle holder, beer flight or whiskey flight. Whichever one suits you best! In the example in the video I’m using hickory wood but I’ve also made them in red oak and walnut and look just as great. This is also one of those woodworking projects that can be easily modified to your own style.

As always I encourage you to come up with your own design or you can use the link below to purchase the plans and use my design. Please feel free to use, make and sell these online or at craft shows. If you do sell them please let me know how well they sell. I’m always looking for good feedback. I myself have sold a few of these at recent handmade shows for $40 which includes your choice of candle votives, mini pilsner glasses or whiskey glasses Enjoy, be safe and make something!
Products Used


How to Make a TV Remote Box with Hidden Dowel Joinery
How to make unique boxes using hidden dowel joinery.
Making a TV Remote Box
A great woodworking project where I show how I made these unique boxes using hidden dowel joinery out of hickory and mahogany woods. These boxes are the perfect size for storing and hiding all your TV remotes and would look great on any coffee table.
They don’t take much time to make and can be sold at craft fairs and online at places like Etsy. I encourage you to come up with your own design or even modify mine. You can also purchase the plans in the link down below. I’m giving you full permission to make, reproduce and sell these boxes at your next craft show or online. Be safe, stay passionate and make something!
Products Used


How to Make a Magnetic Bangle Bracelet
Making a Bangle Bracelet with Walnut, Maple and Rare Earth Magnets
Making a Bangle Bracelet with Walnut, Maple and Rare Earth Magnets
It’s a pretty simple process that starts by gluing up some contrasting wood and ripping 2” pieces on the tablesaw. I will then cut a groove on one piece and a tongue on the mating piece. After that I’ll drill a quarter inch hole with a forstner bit on each end a then glue in a rare earth magnet. Next I’ll take my printed template and attach it using spray adhesive and cut out the bracelets on the bandsaw and do some final shaping with the disc and spindle sanders. This is a quick project that can be done in a couple of hours.
Products Used:

How to Make a Serving Tray with Breadboard Ends
Step by step process on how to make a serving tray with through stub tenon breadboard ends out of padauk and maple.
Step by step process on how to make a serving tray with through stub tenon breadboard ends out of padauk and maple.


How to Make a Pencil & Business Card Holder
Quick and easy project for the office to hold your pens and business cards.


How to Make Succulent Planters. Easy Project!
A quick and easy project video on how to make succulent planters.
A quick and easy project video on how to make succulent planters.
Tools and Supplies Used in This Woodworking Project

Quick and Easy Wooden Pencil Holders
Quick and simple project anyone can do with some basic woodworking tools.
Quick and simple project anyone can do with some basic woodworking tools. This video shows two pencil holders, one for an artist’s 12 piece graphic pencil set and a general purpose home/office pencil holder. Made from walnut and plywood.
Tools and Supplies Used in this Woodworking Project


Woodworking Books

Make Your Own Cutting Boards
15 cutting board projects to make as gifts or sell! Get your signed copy!

The New Bandsaw Box Book
8 bandsaw box projects you can make and sell at craft shows. Signed copies now available!