
Laser Cutting Cardboard to Make a Human Skull
A fun project making 3D cardboard sculptures using a laser cutter.
A fun project making 3D cardboard sculptures using my Full Spectrum Laser cutter. I downloaded a free model of a human skull from Autodesk 123D. I then imported that model into 123D Make which lets you turn 3D models into 2D build plans and gives you step by step assembly instructions. Once you import your model you set the output size and the thickness of your material. The software quickly calculates how many sheets and parts you need based on your specs. I then used the outputted PDF to cut the cardboard sheets on my Full Spectrum Laser cutter. The Cardboard pieces were glued together using a bookbinding PVA glue which set quick allowing me to quickly move through the layers. I finished off the physical model using an air drying modeling clay. In a future video I plan on aging the skull to make it look old. If you have any suggestions on how to age it, let me know in the comments down below.
Tools and Materials Used


How to Make Wood Pencils
Make your own exotic wood pencils for no reason other than the fun of it!
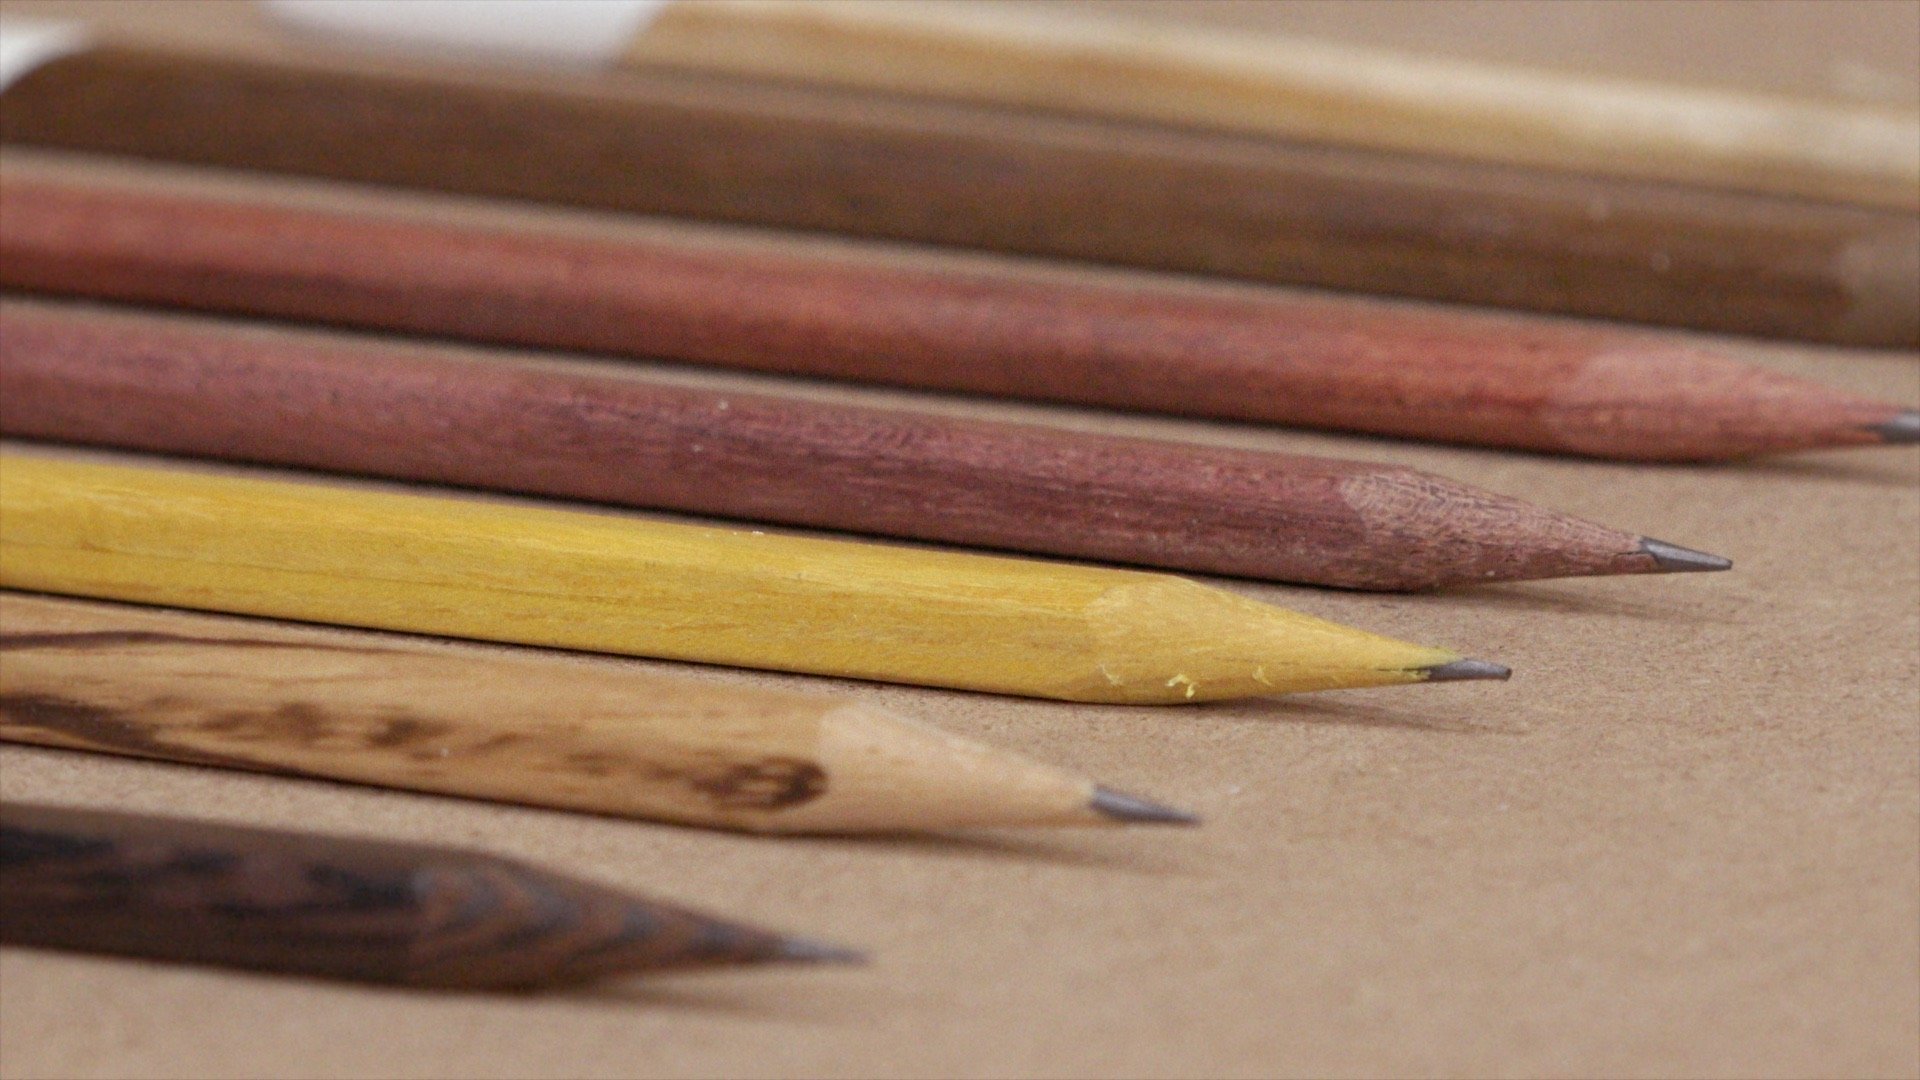
This is one of those projects I’ve been thinking about for a long time and really glad I followed through on. I couldn’t be happier with how they came out. These were made by routing a very small groove into two pieces of wood to hold the graphite and glued together. I tried to have continuous grain to hide the seam and it worked pretty well. I sanded a hexagon shape into each pencil but it’s not really noticeable because as I was doing some final sanding they rounded out. The shape is still there and the pencils don’t roll off the table but the shape is not as noticeable as I was expecting. I did want them to be super smooth and have a “fine woodworking” feel so I thought the final sanding was necessary. Adding polyurethane and dipping the end in paint was the icing on the cake.
All of these pencils were made in a day. After doing one batch I feel like I could make them even quicker the next time around. These would make a great craft show seller since a handful could be made all at once keeping the final price down and I think I could make them even more eye catching by choosing different color paints for the ends.
If you make any yourself be sure to Tweet some photos to me so I can share them with my audience. Be safe! Be Passionate and Make Something!
Tools and Supplies



How to Make Bent Laminated Spoon
Using bent lamination to create this wooden spoon for the kitchen.
Way back in 1992 when I was just a junior in high school, I made a bent laminated wooden spoon in shop class for a Mother’s Day gift. Now 24 years later I’m recreating the spoon for an updated gift to give to Mom this Mother’s Day. Bent lamination involves resawing the wood into thin bendable strips that can be placed in a mold and glued in place. Once the glue dries the spoon shaped can be cut out on the bandsaw with some final shaping done with the spindle and orbital sander. This is a quick and fun woodworking project that can be done in just a few hours. If you plan on using the spoon for cooking then you’ll need a food safe finish such as the butcher block conditioner I used in the video. As always, be passionate and Make Something!
Tools and Supplies Used


Upcycling a Clock from an Antique Store into Something New
Turn an old clock into something new and stylish in the upcycle project.
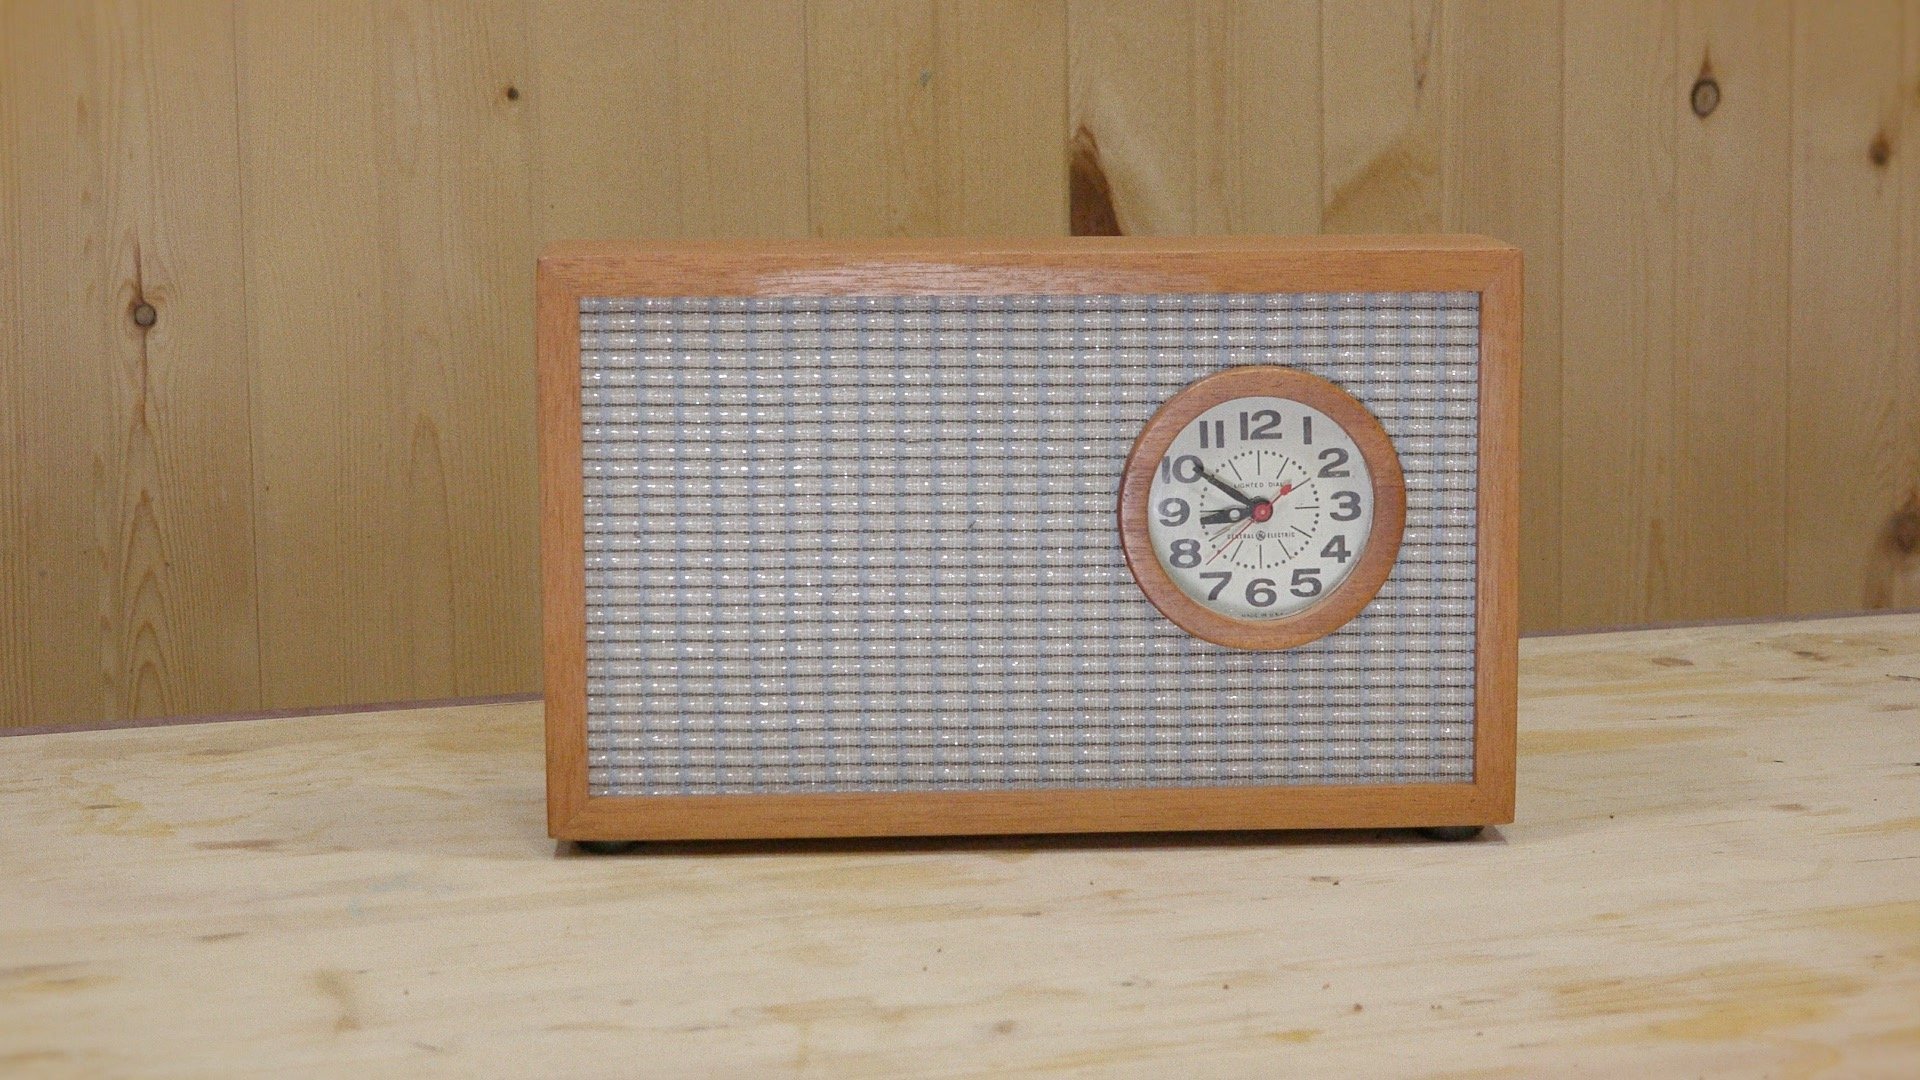
This was a fun project that involved one of my favorite hobbies and that’s going shopping at the antique store. I’m lucky enough to live close to a large antique mall in Maumee, Ohio and that’s where I found this old vintage clock I could upcycle into something new. What I liked about the clock is the face and the typography of the numbers so I decided to keep that and scrap the rest. I made a new case out of mahogany wood and guitar amp grill cloth. I liked the idea of having the clock offset with a lot of negative space and decided to fill that space with a piggy bank and removable money bag recycled from a Crown Royal sack.
I ended up donating the clock to my local Goodwill donation center in hopes that some stranger will find joy in this find. Inside the clock I left a note stating when it was made and to spread kindness.
I hope you found this build fun as I plan on doing more upcycle projects such as this in the future. As always, be passionate and make something!
Tools and Supplies Used


How to Turn a Slimline Pen
How to turn a slimline pen on the lathe. A quick and simple project that a great seller at craft shows.
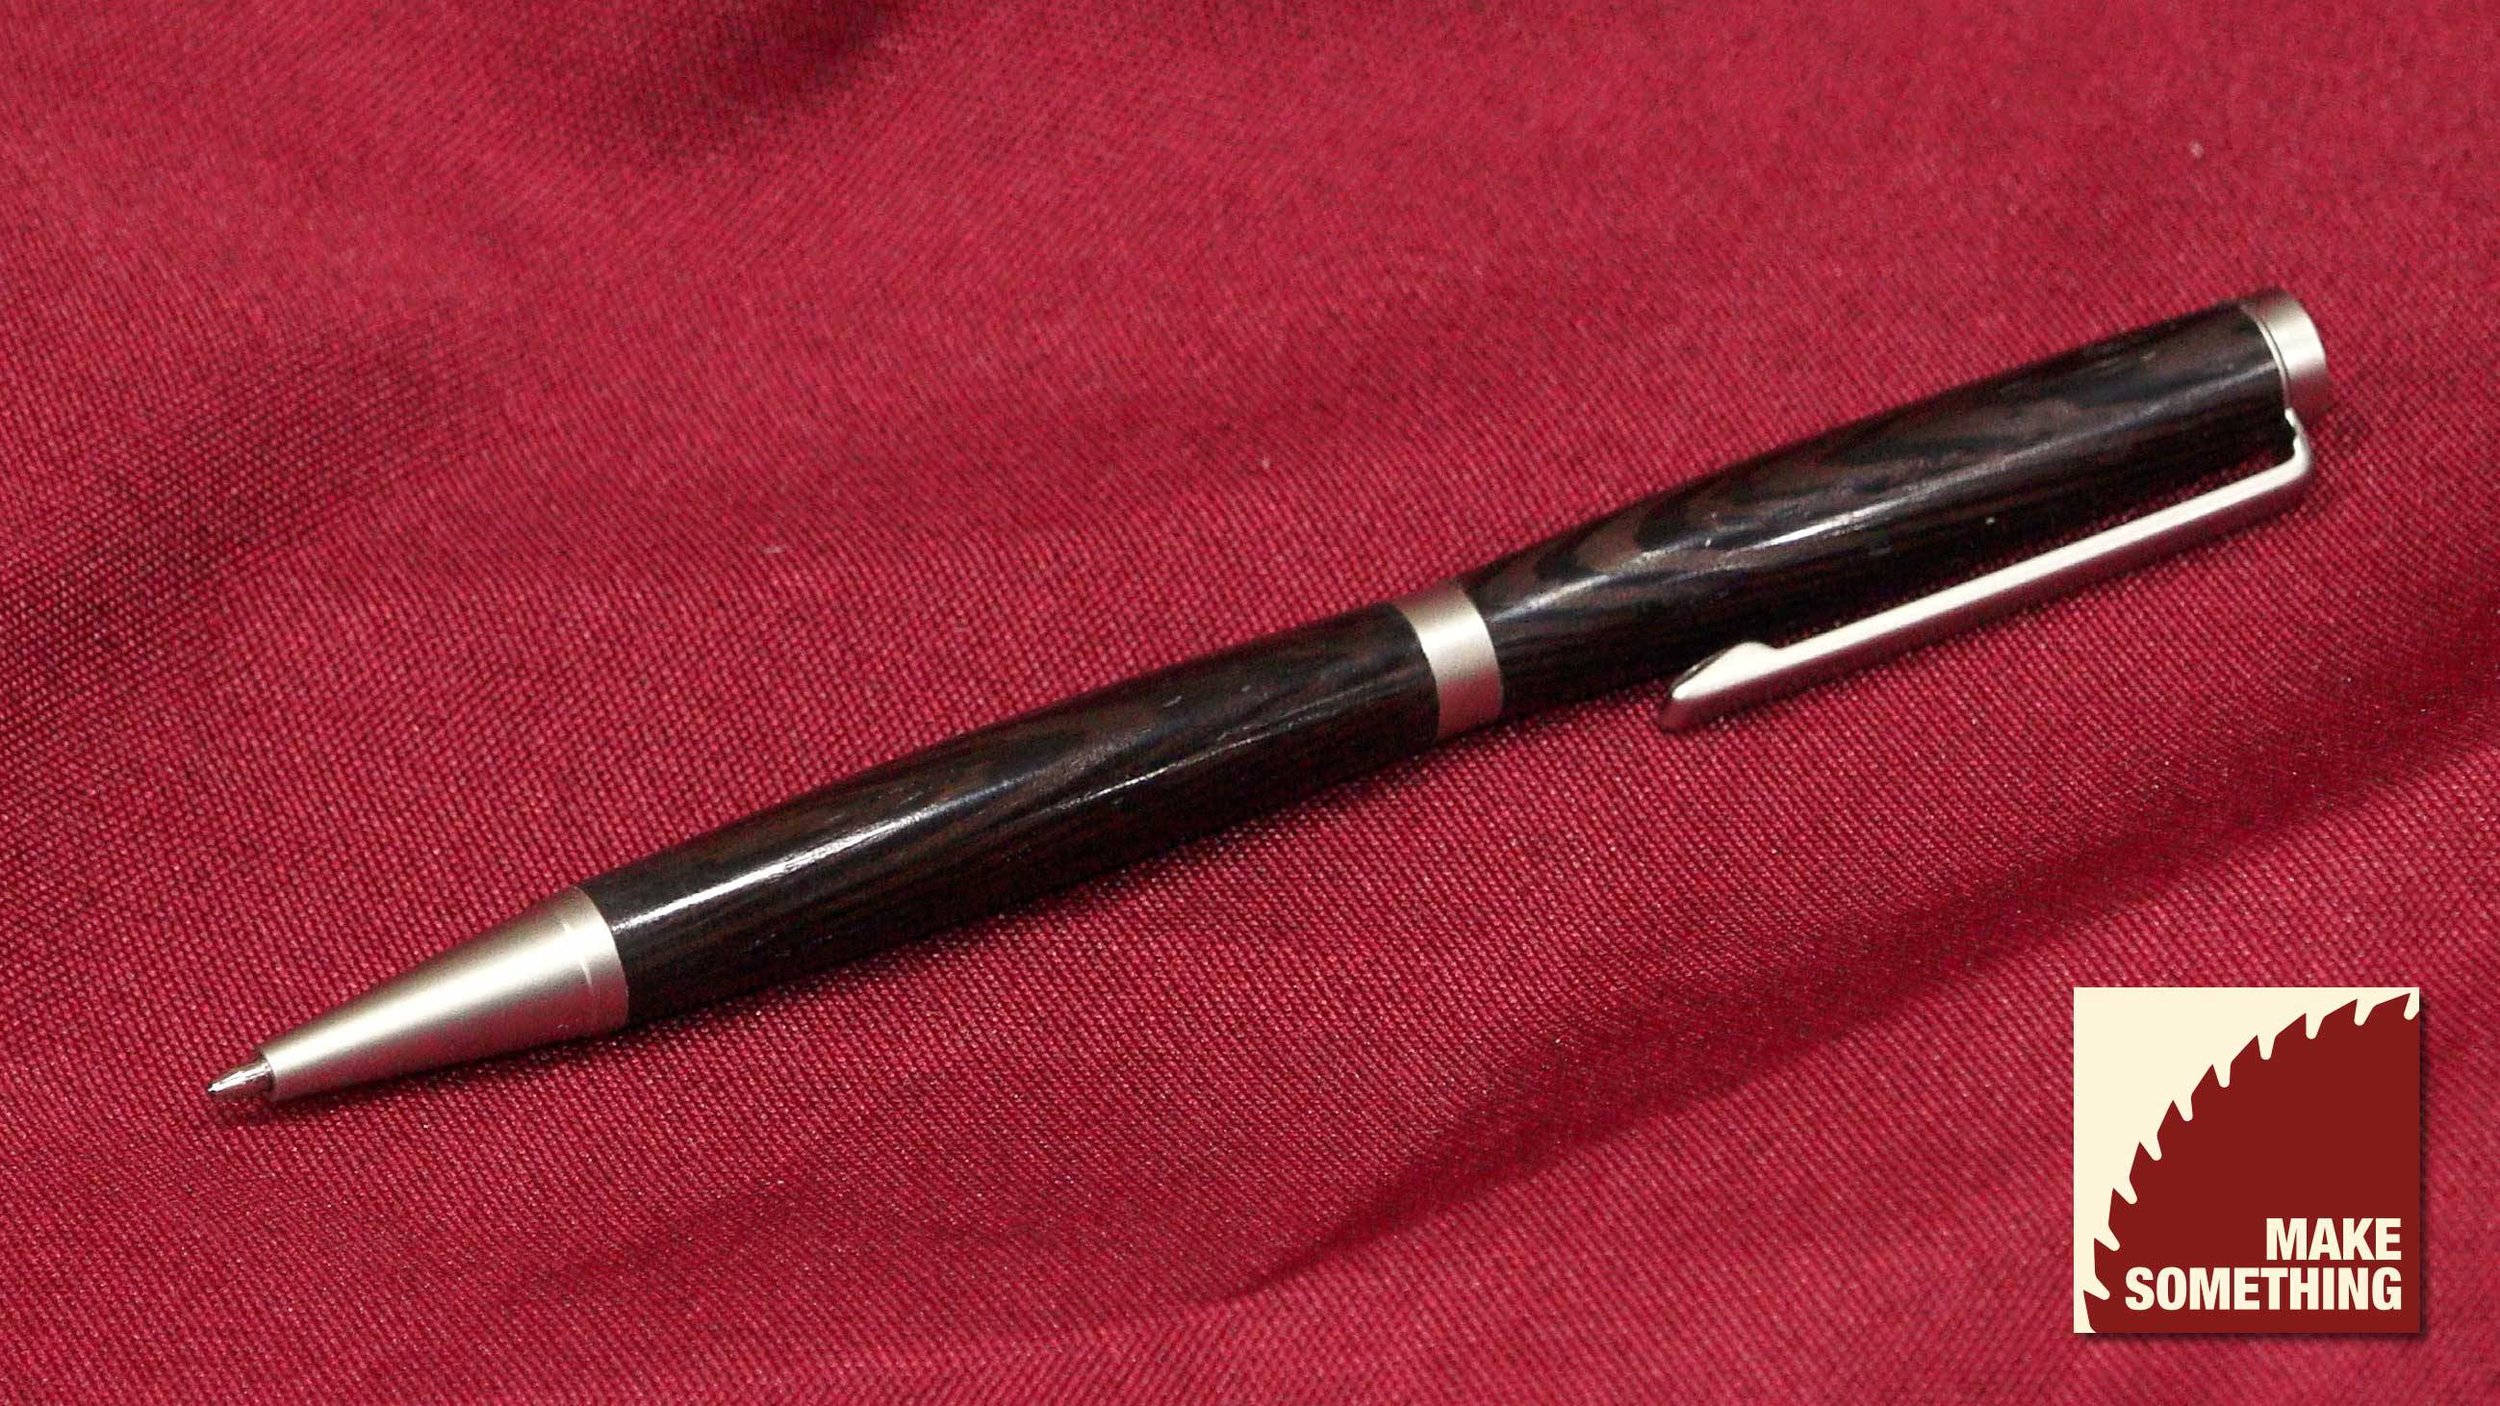
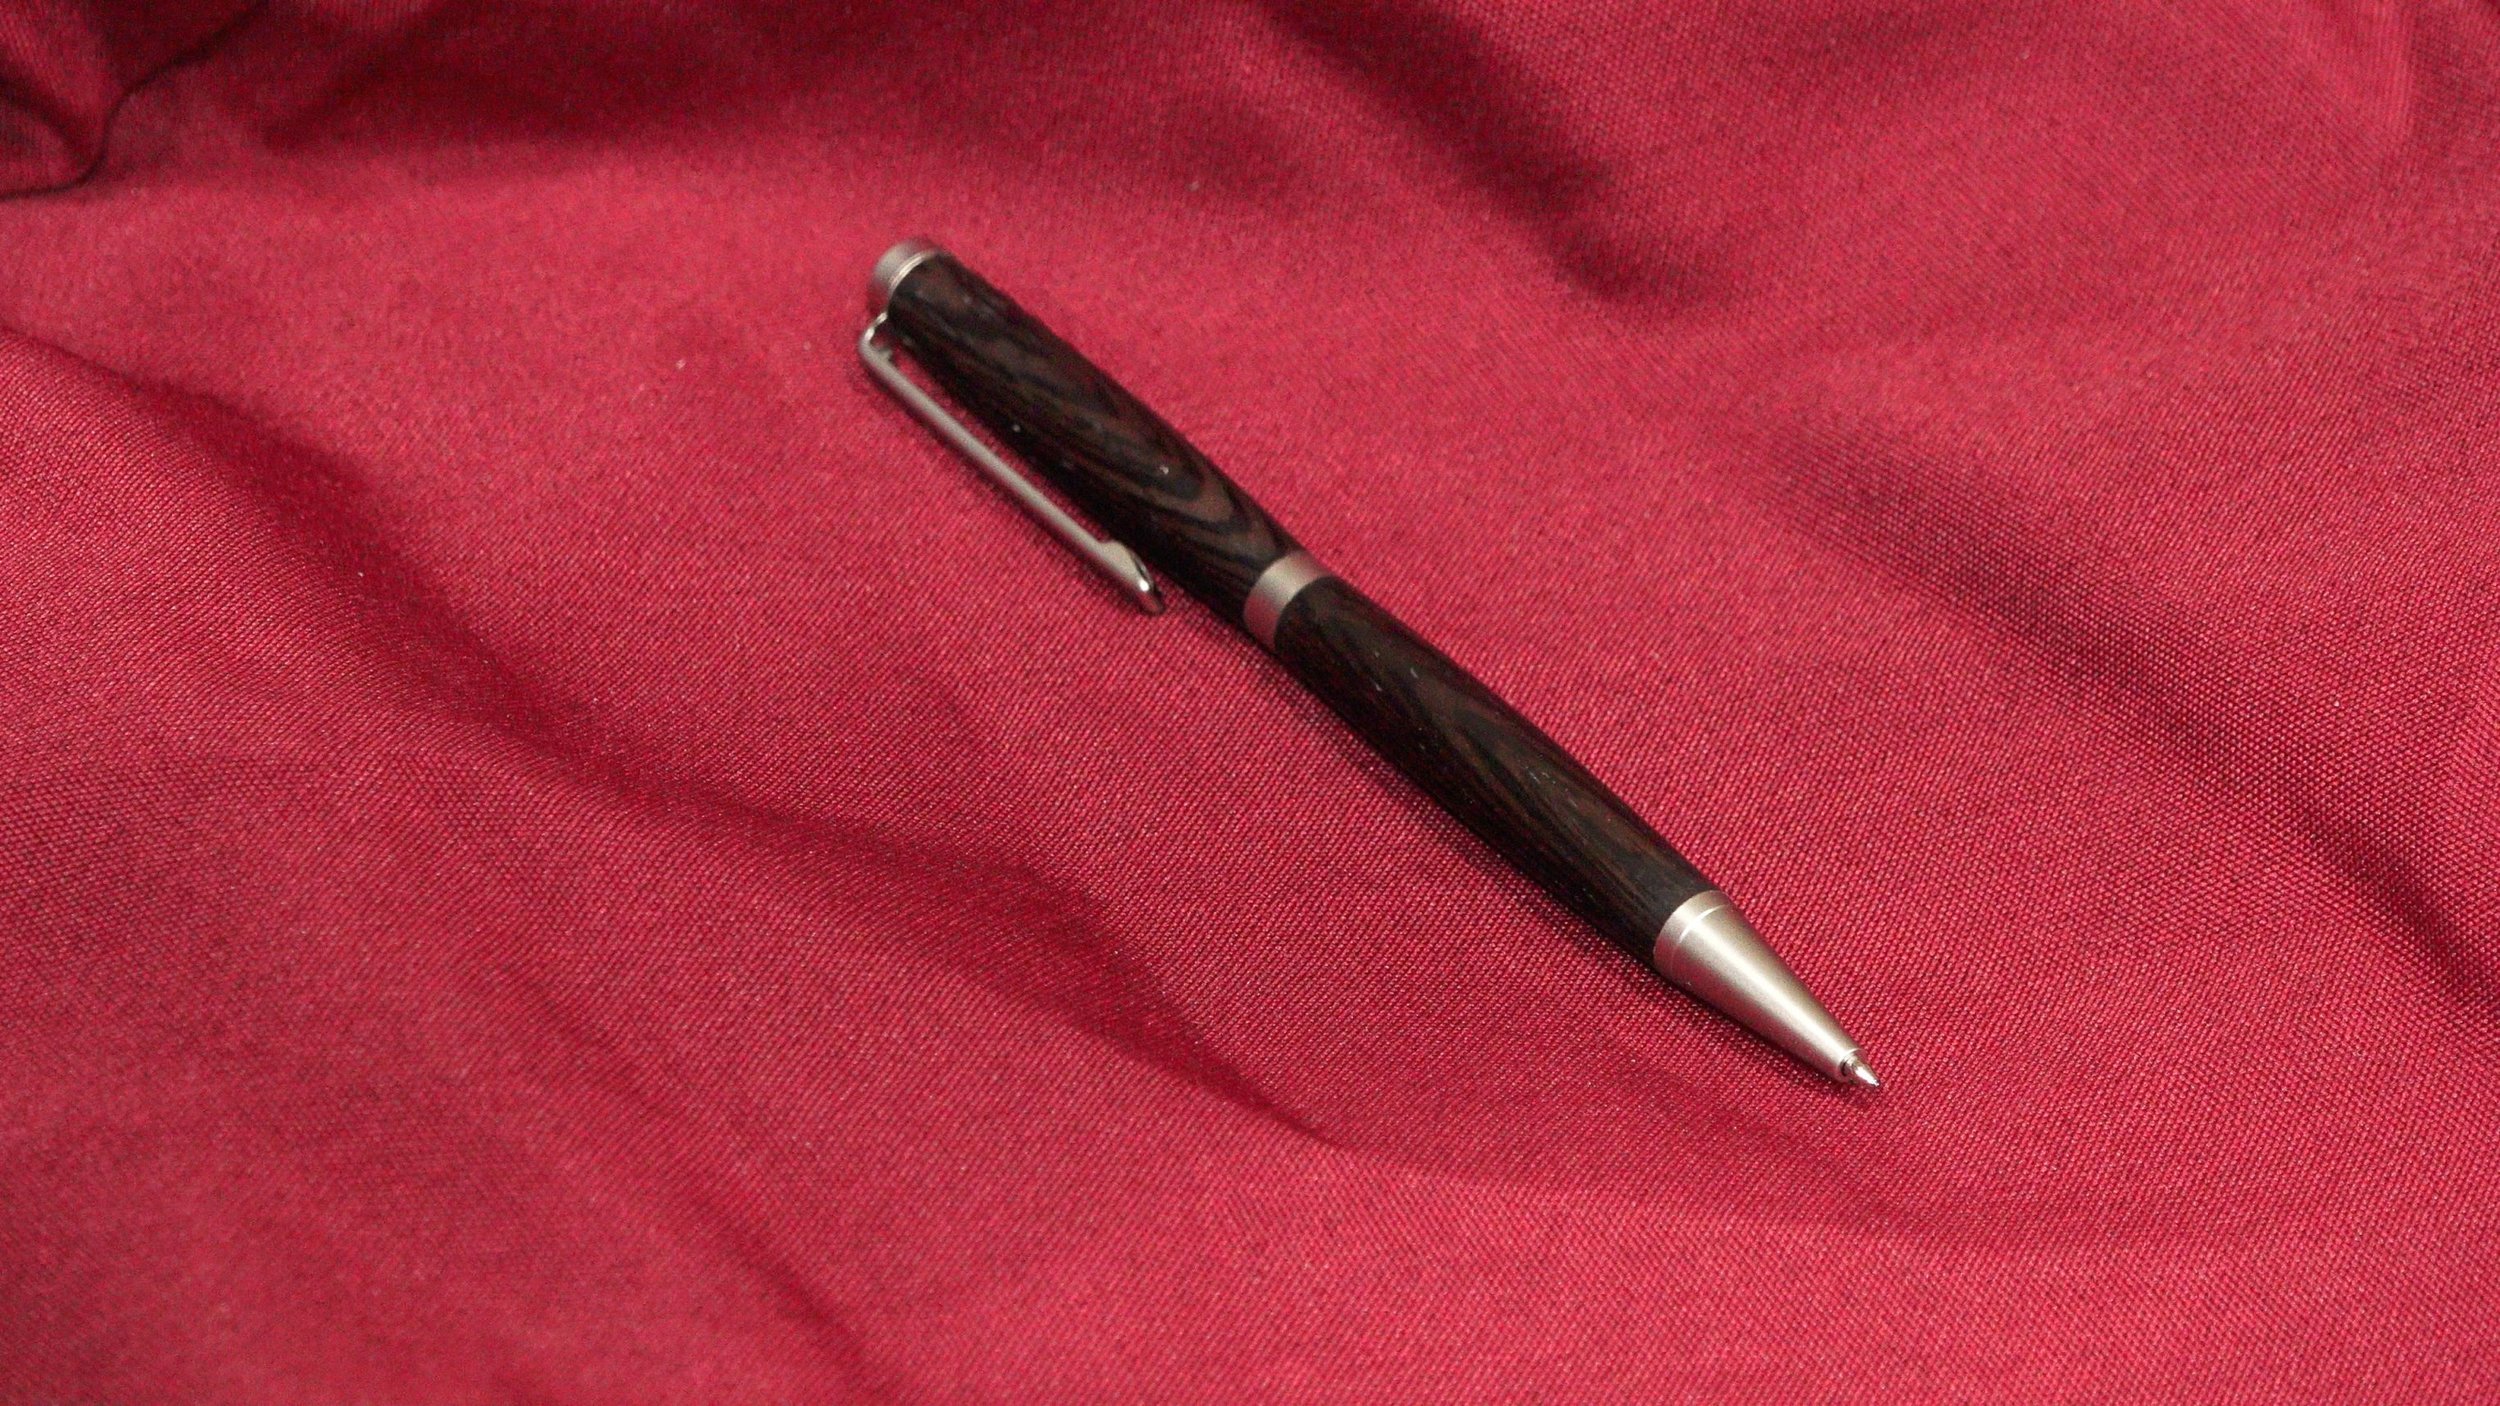
Turning pens on a lathe is one of those addicting hobbies you come across in woodworking. They can be made from start to finish in about 30 minutes and can be very profitable at craft shows and also make great gifts that family and friends will love. There are a ton of gadgets available for pen turning which may be confusing. In the video above I simplify the process and break down what pen turning accessories you need and the ones you may not need for the slimline kits. The following steps are the basics in getting started in slimline pen turning. Once you have these down you can start to get into the more complicated pen kits and work with segmented pieces as well as acrylics and non traditional materials. I am by no means an expert turner so if you have any suggestions and pen turning tips, leave them in the comments below. As always, be safe, stay passionate and make something!
Pen Turning Supplies and Tools


How to Make a Corner Cabinet
How to make a matching pair of corner cabinets with removable glass doors.
How to make a matching pair of corner cabinets with removable glass doors. A simplified woodworking project with tongue and groove joinery, face frame, flush glass doors with removable back panel and easy to make drawers. These two cabinets were made specifically for my music room to hold up my PA speakers. One cabinet has glass doors with a removable back panel and the other cabinet was made to hold my rack mountable music gear. The removable back panel behind the glass doors allows you to personalize the cabinet. In the video I experimented with three options; clear glass so you can see the contents of the cabinet, black counter laminate that shows of the etching of the glass and a baltic birch wood back that coordinates with the overall design.
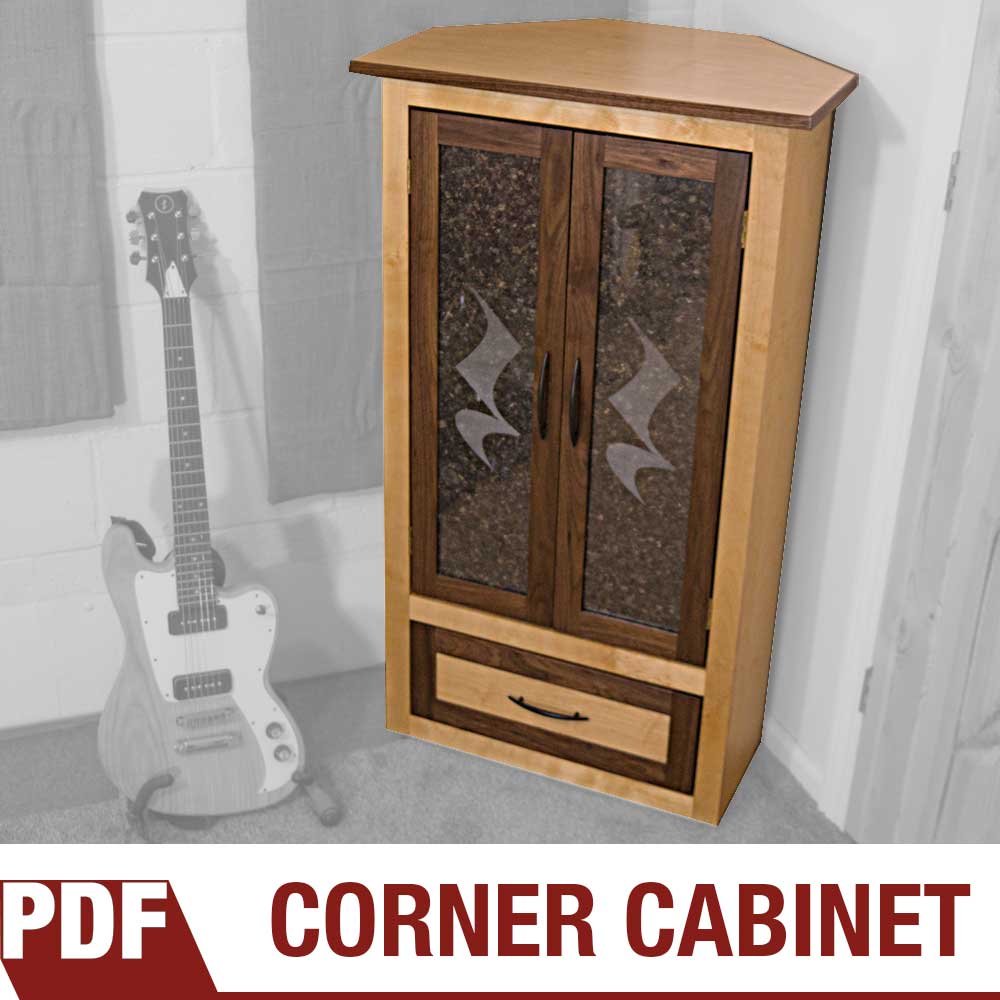
The PDF plans contains 21 pages of detailed step-by-step instructions on how to make a corner cabinet with removable glass doors. A simplified woodworking project with tongue and groove joinery, face frame, flush glass doors and easy to make drawers.


How to Make Masquerade Mask with a Laser Cutter
Designing and cutting a fox masquerade mask with Adobe Illustrator and a laser cutter.
This week on Make Something we’re going to make this fox masquerade mask out of veneers using a laser cutter. This mask will be made with several layers of veneer. We’ll start off with a layer of walnut topped with a layer of maple, just to give it some thickness and strength. Then I’ll add a layer of offset walnut to give the edges a border and top it off with some maple accent pieces. When I glue them together I’ll use a curved form so when it dries the mask will wrap around the face giving it a bit more dimension. This was a quick fun project. If you don’t have a laser cutter check your local library, art museum or maker space. Here in Toledo, Ohio we don’t have a maker space but our library does offer public access to their laser cutter and gives classes on how to use them. And you don’t even need a laser engraver or cutter to make this. You could do this by hand with an X-acto knife.
Products Used in This Video


How to Price Your Work. A Simple Technique
A simple formula for crafters and woodworkers to price your work.
What Should I Charge?
How to price your work. Whether you’re making a piece of furniture or monster pillows you sell at craft shows, you have to have a day rate. Everything takes at least one day to make. Your day rate will change over the course of time.
How Much Do You Value Yourself?
For example my day rate used to be $500 a day, now my day rate is $1000 a day. It’s how much value you want to put on yourself, what you do and what you know. So let’s apply this to a piece of furniture. Like I said before everything takes at least one day to make. If your day rate is $500 a day and it takes two days to make a bed, your going to charge $1000 plus the cost of materials. If you are making items for a craft show you have to figure out how many of those pieces you can make in one day.
Pricing Your Work for Craft Shows
When it comes to craft shows, batching out things it’s extremely important because it makes efficient use of your time. So I know I can make 30 of these wine displays in one day. If my day rate is $1000 a day, that comes out about $35 per wine display that includes the cost of materials. Someone else may have a lower price or a higher price depending on what value they give themselves and their time. That is how you come up with a starting point for your work. And after that then you can adjust the price based on how well it sells or if it doesn’t sell. If you sell out of a certain item very quickly then you know you need to raise your price. And if it doesn’t sell you may need to lower your price. It’s that simple. Not taking into consideration that your product may be complete crap. If it doesn’t sell and it is crap, time to rethink.
Do Not Charge By the Hour
If you charge by the hour you will screw yourself. Because you will forget the cost of gas, you’ll forget how much time it actually takes to go to the store and pick up the materials, or you won’t factor in a mistake that you might possibly make. Charging by the hour and estimating hours will lead to you getting screwed. Plus having a day rate makes the math very simple and understandable for your client. They’ll know up front what it’s going to cost them. Employees charge their employer by the hour. Craftsmen and artists charge by the day. How do you come up with a day rate? Let’s start with a time value per hour.
Stop Screwing Yourself
For someone creating and making things with their skill and knowledge then you should never value yourself under $50 an hour. $50 per hour times a ten hour workday is $500. Start there and work your way up over time. Or start higher if you’re worth it. $500 a day for someone who has spent their lifetime building up their skills and knowledge is nothing. High end craftsmen and artist can charge $5000 a day because they have built up a reputation and a portfolio. Stop screwing yourself over and charge what you are worth.

Making a Box with Hidden Compartment
This box that we’re about to make has mitered corners that can easily be done on the table saw and reinforced with easy-to-make splines.
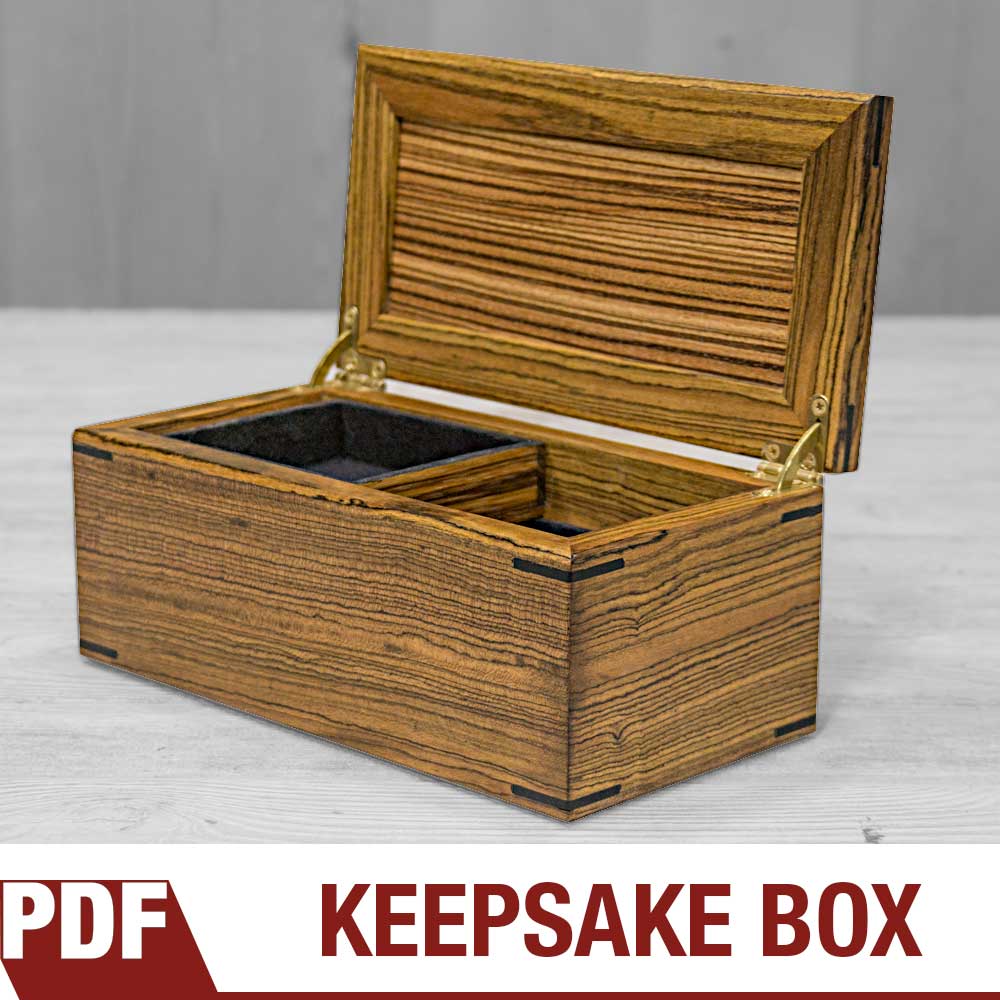
Detailed, step-by-step instructions on how to make this keepsake box.This box has mitered corners that can easily be done on the table saw and reinforced with easy-to-make splines. The inside has a top sliding tray that when moved left and right reveals two trays below it. When all the trays are lifted out, a hidden compartment is revealed underneath to hide your valuables.
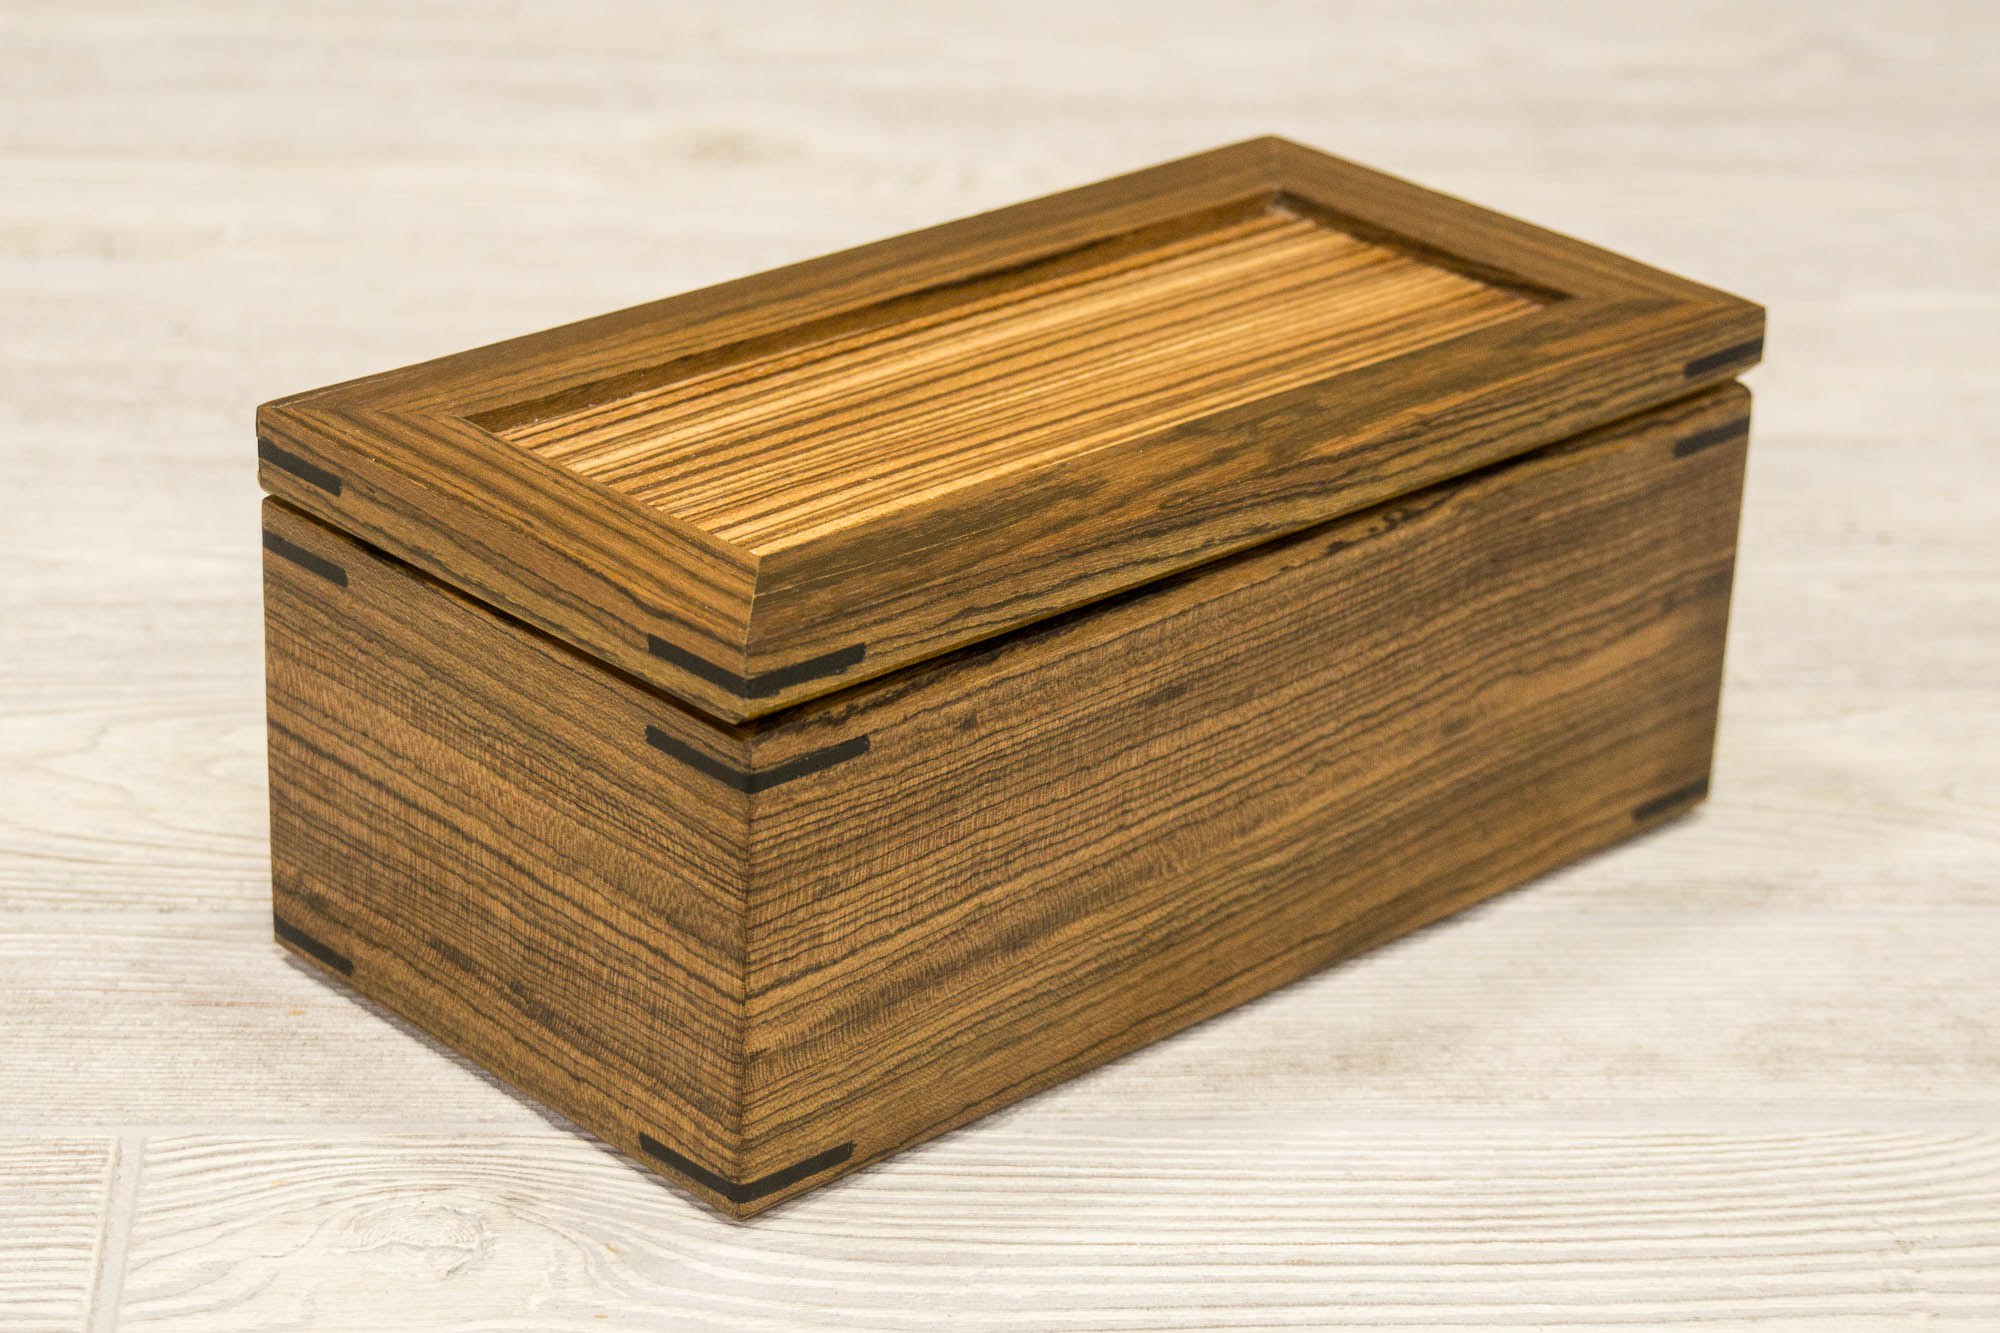
This box that we’re about to make has mitered corners that can easily be done on the table saw and reinforced with easy-to-make splines. The inside has a top sliding tray that when moved left and right reveals two trays below it. When all the trays are lifted out, a hidden compartment is revealed underneath to hide your valuables. All these trays are lined with a soft flocking that feels like velvet and I’m using solid brass quadrant hinges with lid support from Brusso Hardware. For this box I wanted to use special exotic woods so I went to Kencraft, my local hardwood dealer and picked out some Bocote for the sides, Zebrawood for the top and bottom and ebony for the splines.
Although I can’t give you an exact amount of hours it took to make this I can tell you that if well planned this could easily be made in two days. On day 1 all the pieces can be cut and glued together. On day 2 the splines, chamfers and hinges can be added. If you choose to use a lacquer finish you could also get multiple coats done on the second day as it will dry fast. The tri-blend finish I recommend on exotic woods takes 4 days but each day only requires a couple minutes of work with a full day to dry between coats. The price of wood can be very dynamic depending on the choice of woods and your location. I chose to get a little fancy and paid $73.58 for the wood used in this project without any leftovers. I also decided to use the well made Brusso hinges that come in at $49.99. Yes, the Brusso hinges cost a pretty penny but you can feel the difference in quality as soon as you hold them in your hand. They have high standards and a very good reputation for being the best in the business. So after taxes and shipping the total cost of materials was $135.62 which doesn’t include the flocking and finish.
I’m really happy with the way this box came out. The top tray slides effortlessly across the bottom tray and everything lifts out to reveal the hidden compartment. All of the joinery is mitered corners that are easily done on the tablesaw and reinforced with splines. And the solid brass hinges compliments the exotic woods and the the design. You learn more about the jigs I used as well as the flocking and finishing techniques in the links below. Plans are available in my store. I hope you enjoyed this video as I’ve got a lot more projects like this coming out as well as bigger builds and non-woodworking projects. As always, be safe, stay passionate and make something!
Tools and Supplies
- Micro Jig GB-1 GRR-Rip Block
- Micro Jig GRR-Ripper
- Brusso Solid Brass Quadrant Hinges
- Festool Random Orbit Sander
- SawStop Tablesaw
- Grizzly Bandsaw
- Blue Painters Tape
- TiteBond Glue
- Flush Trim Saw
- Suede-Tex Mini Flocker
- Suede-Tex Undercoat Adhesive – Black
- Flocking Fibers, 3 oz., Black
- Minwax Wipe-On Poly Polyurethane
- Mineral Spirits
- Boiled Linseed Oil
- Dewalt Plunge Router
- JIG IT Hinge Mortising System
- Bench Dog Router Table
Related Resources and Tutorials


How to Make Wood Rings from Veneer
How to make wooden rings out of veneer. This is a great project that doesn’t require many tools.
Bentwood Rings Tutorial
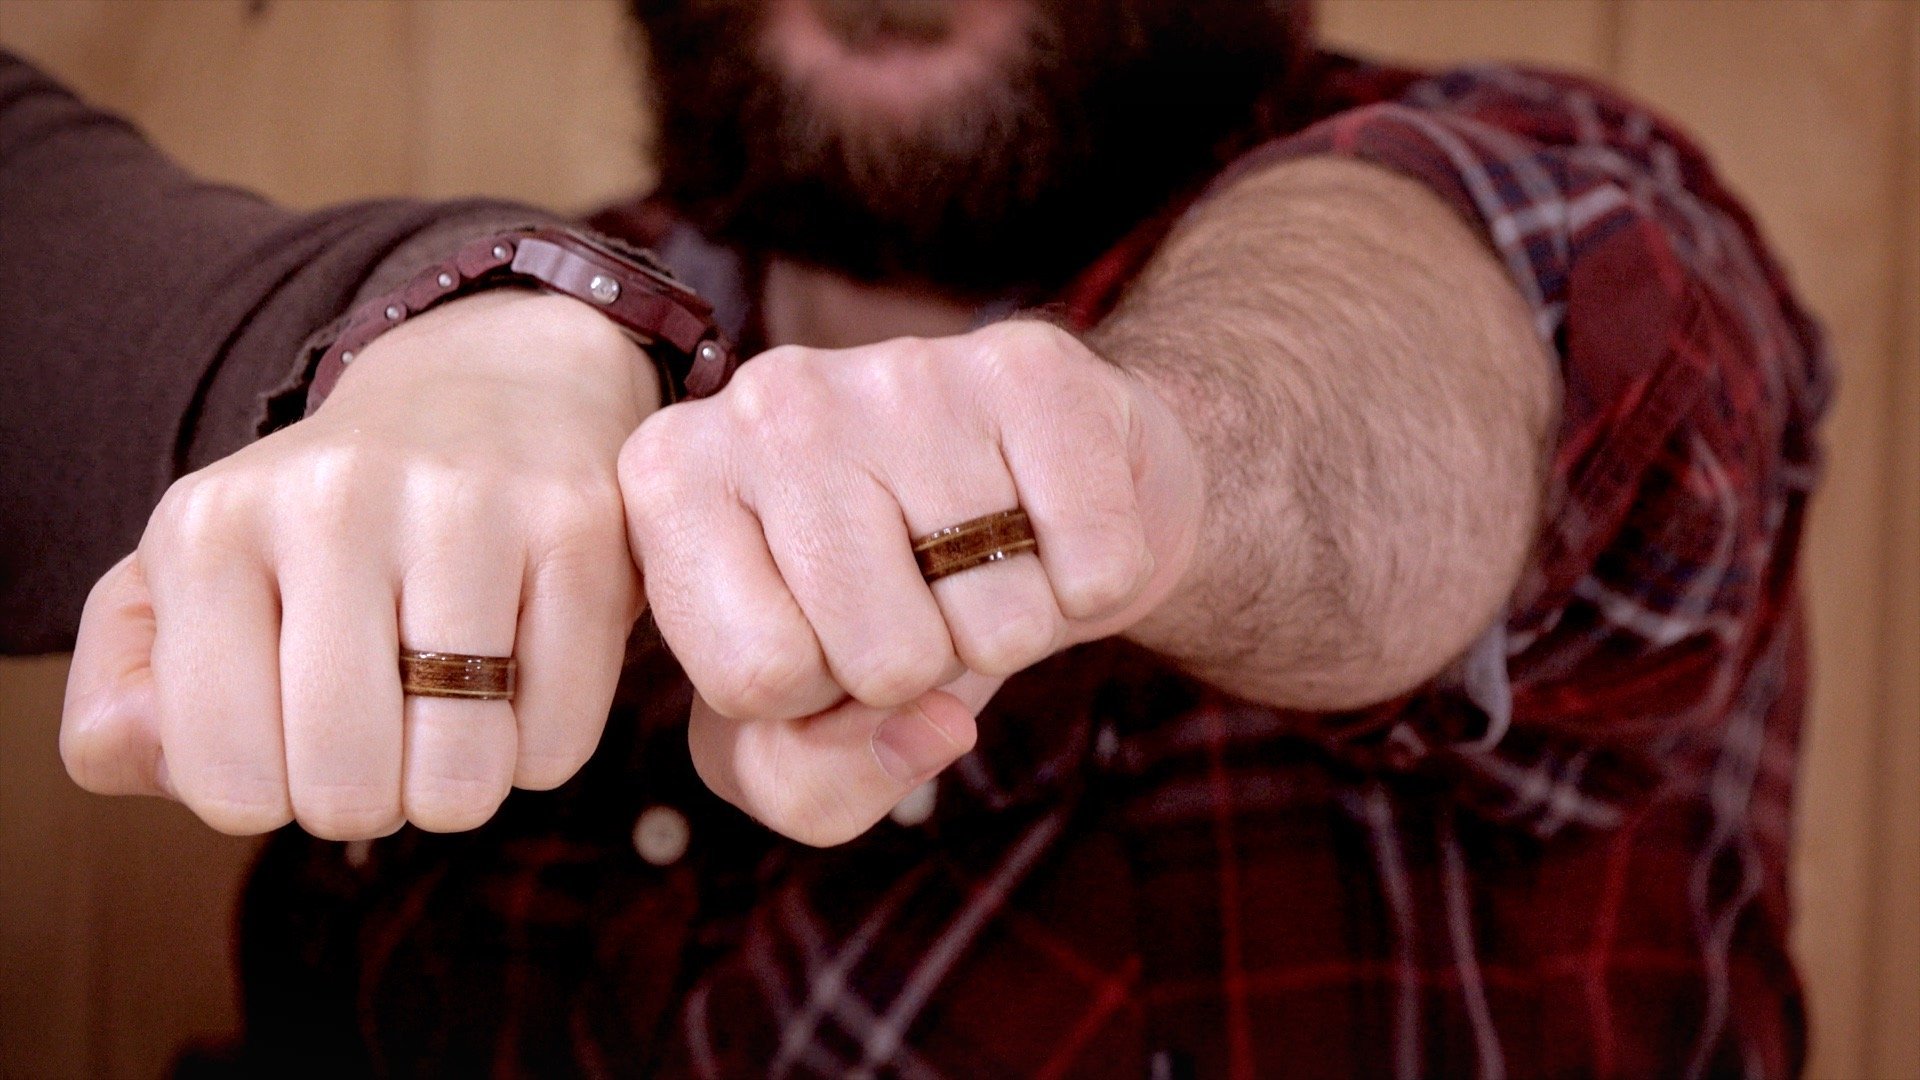
In this tutorial video I show how to make wooden rings out of veneer. This is a great project that doesn’t require many tools. In fact all you really need is some super glue, a knife, sandpaper and some tape. Having a lathe or a drill will most definitely help speed up the process. Even if you’re not a woodworker you probably already have all the tools necessary for this quick and simple project. I did find that the first couple rings I made were a bit sloppy but by the time you make your third one you’ll get the hang of it and make some beautiful bentwood rings. I used this technique to make my own wedding rings for myself and my wife. It’s a very rewarding project and suggest you give it a try yourself! If you’re using a drill bit as your template you’ll need to find the equivalent bit size in MM. Ring sizes in MM can be found here.
Here’s What You’ll Need


How to Duplicate a Record
Duplicating a vinyl record using silicon and and resin. A fun lesson in mold making!
Listen to the audio ripped from the duplicated record below.
One of my most fun projects to date! I take a Johnny Cash reissue 7” vinyl record and duplicate it with a silicone rubber mold and liquid plastic. To be quite honest I was surprised on how much detail the mold can handle as the duplicated record played almost perfectly. You can listen to the ripped audio above. There was a few more pops and clicks than the original record and I’m guessing that’s from dust or not cleaning the original enough beforehand. Obviously pirating and duplicating any copyrighted material is prohibited but in the spirit of making and experimentation this was a fun project.
A couple of fun facts about this 7” single: Get Rhythm was the 1956 a-side of this record but it was the b-side that became the huge hit for Johnny Cash. I Walk the Line was the first number one single for Johnny Cash and sold over 2 million copies in it’s original pressing. The copy that I own is a reissue put out by one of my favorite record labels, Third Man Records owned and operated by Jack White.
Original music in the video by Lance Neil Hulsey, Toledo, Ohio
Items Used


Making Acoustic Panels
How to make decorative acoustic panels for your home office or studio.
I record the audio for my podcast and all my voice over work in my office. I recently removed a couch from this room and noticed a significant difference in the audio quality. I was getting a lot more reflection from the walls into my microphone so I’m making these acoustic panels to absorb some of the room sound. I purchased some acoustic foam panels from Amazon and decided to class them up a little bit with a nice wood frame and burlap face. The frame uses a simple picture frame construction with mitered corners reinforced with splines. The face consists of a burlap sack glued to a mitered frame and then screwed on to the base. I purposely exposed the screws and chose to use pocket hole screws for the way they look and how they sit on the surface.
In the video I decided to not voice over the steps but instead talk about how I got to be a YouTuber and all the career changes I’ve made. Making YouTube videos and blogging is a combination of many skills including photography, videography, branding, marketing, audio engineering, graphic design and copy writing.
Please feel free to ask me any questions you may have in the comment section below.
Items and Tools Used


How to Make Wood Rings / Bentwood Rings
Making these wood rings is pretty simple and can be done without many tools.
Making these wood rings is pretty simple and can be done without many tools. Basically we’re going to take some veneer and boil it in water to make it more pliable. We’ll then coil the veneer onto itself and bonding it with CA glue. You’ll find these rings are much stronger than just drilling a hole into wood and cutting the outside shape. That’s because we won’t have any weak points with endgrain. There will be many layers with straight grain laminated with glue which will make them very strong and durable. I’ll also show you how I added these accent lines with a contrasting veneer between 3 coils. Let’s get started.
Items and Supplies Used


How to Make a Coffee Table with Lift Top
How to make a coffee table with a lift top mechanism.
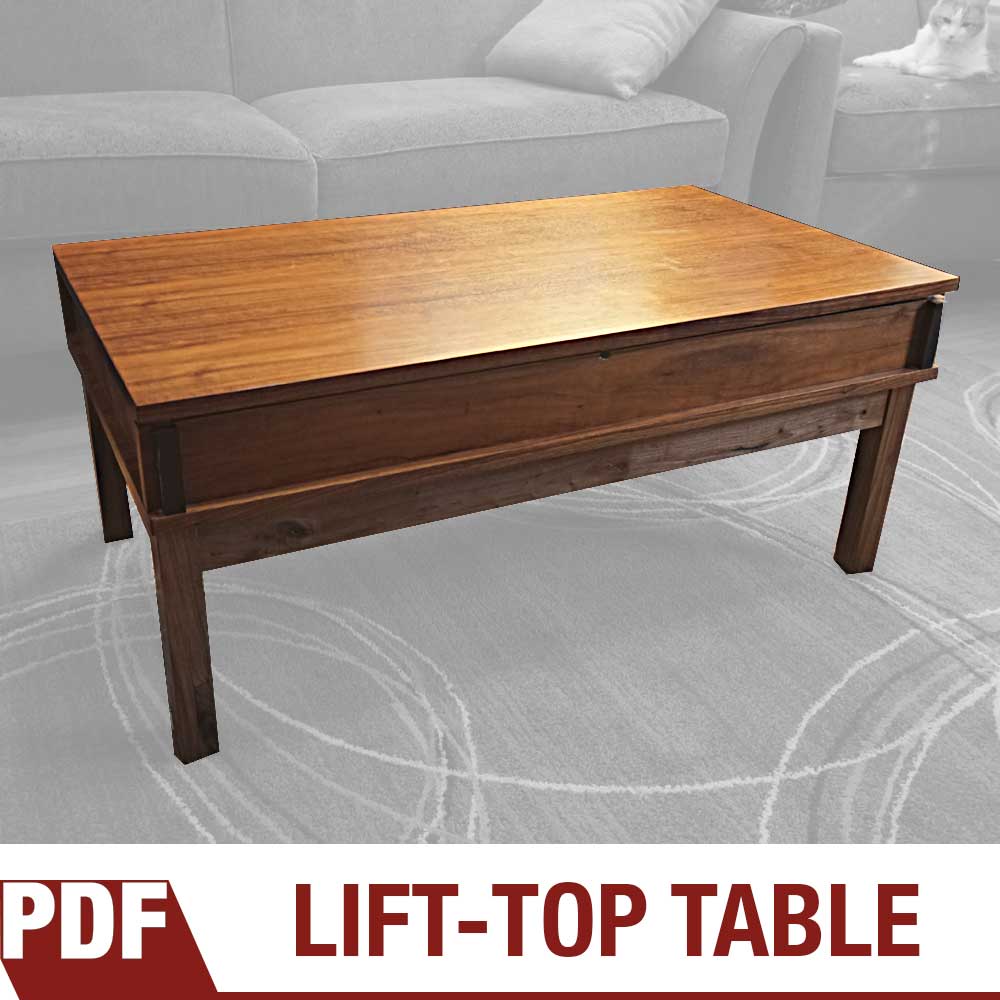
Downloadable PDF with step by step instructions on how to make this coffee table with a lift-up top and aluminum legs base. The top in this example is made from walnut plywood and the aluminum base is made from soldering aluminum tubing together. No need for a welder! Just a blow torch and some brazing rods that can be found at your local home center. Watch the video below for a build overview.
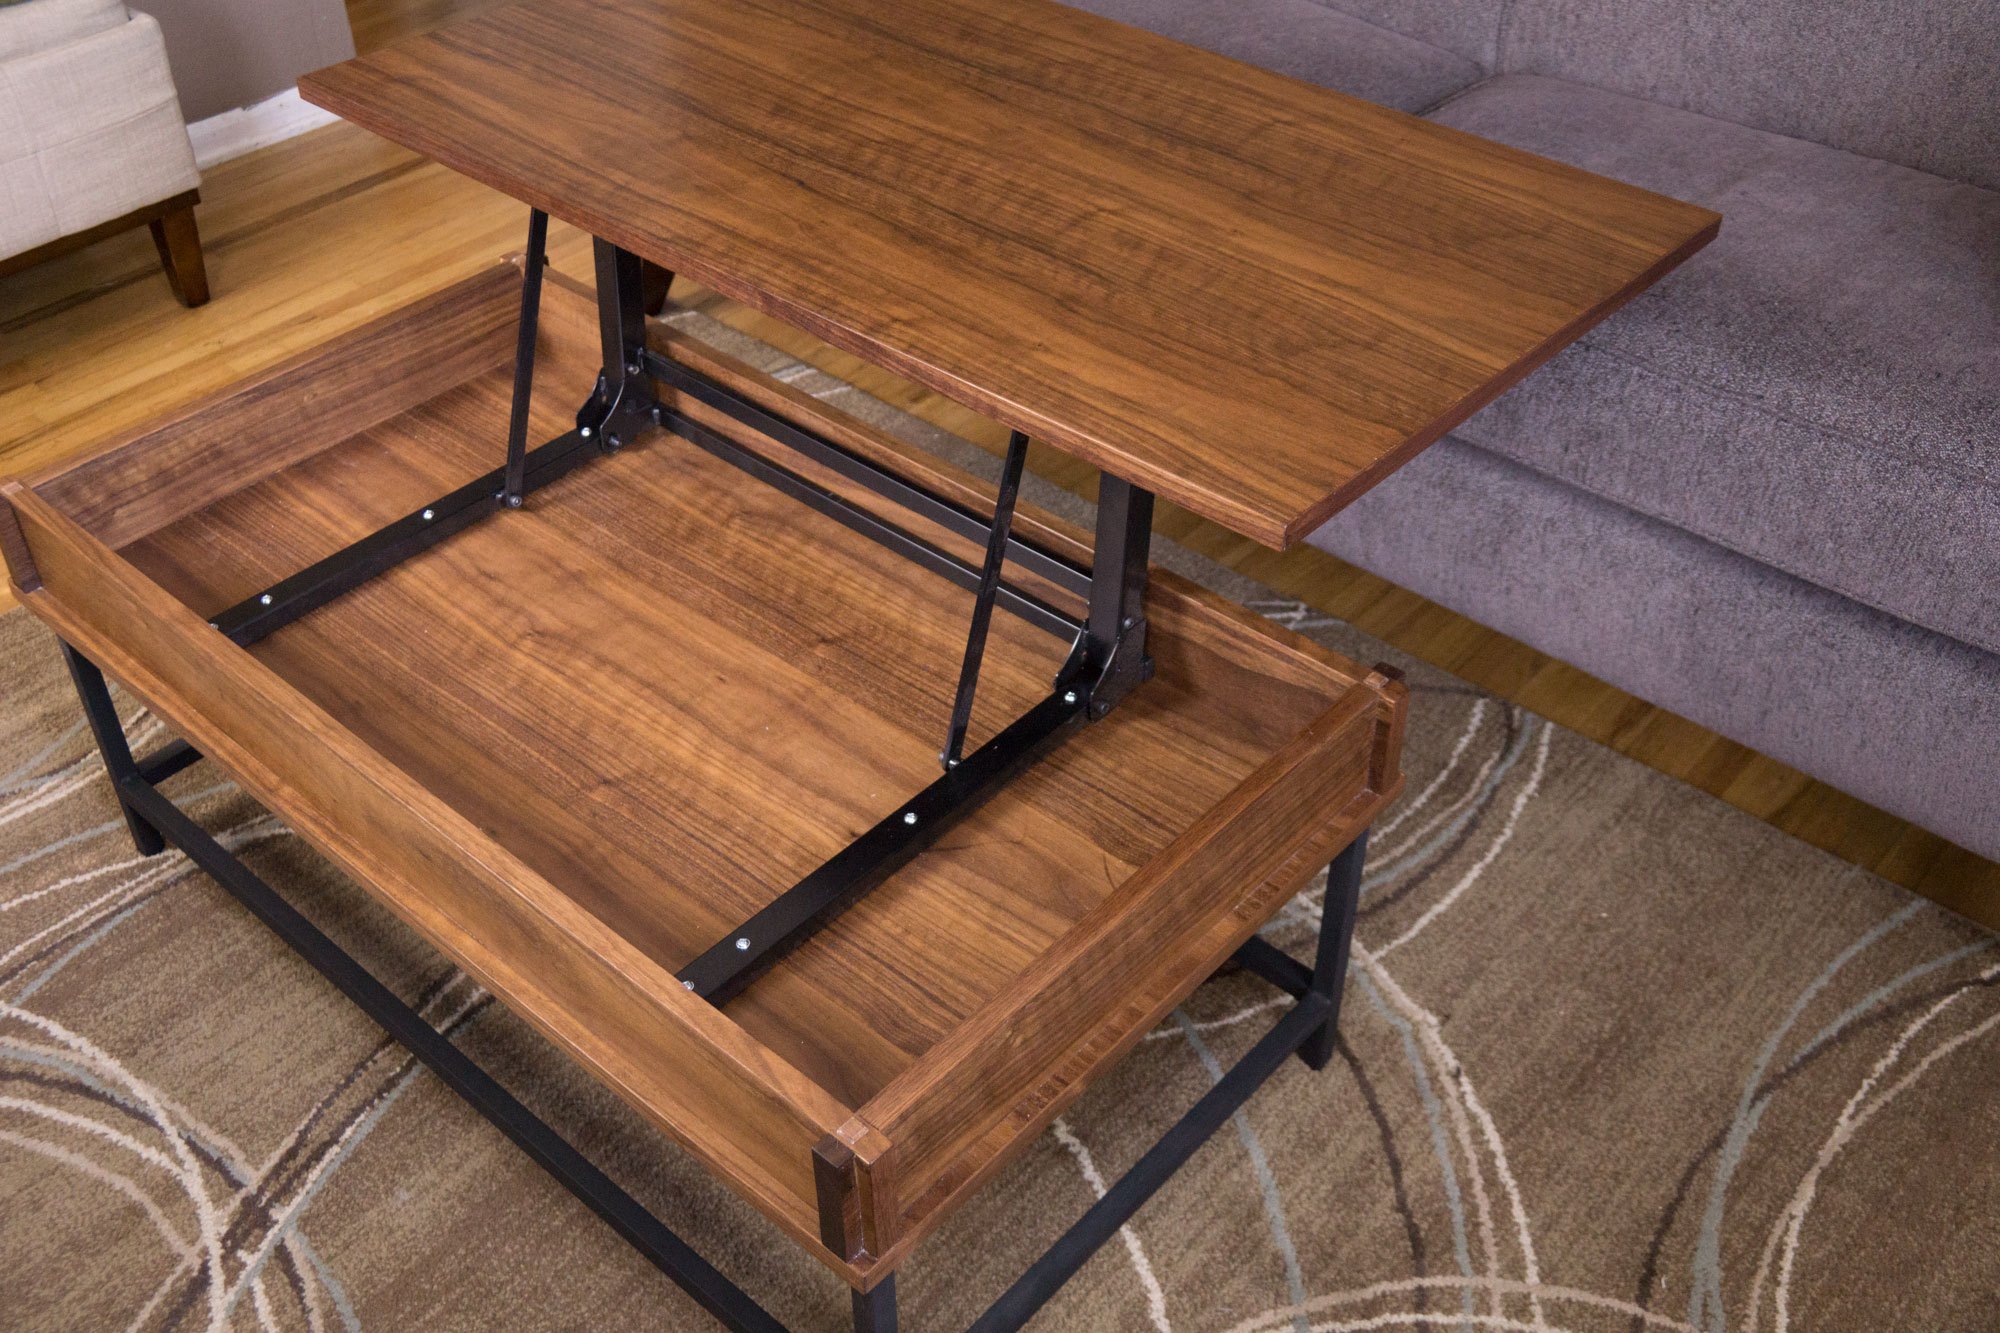
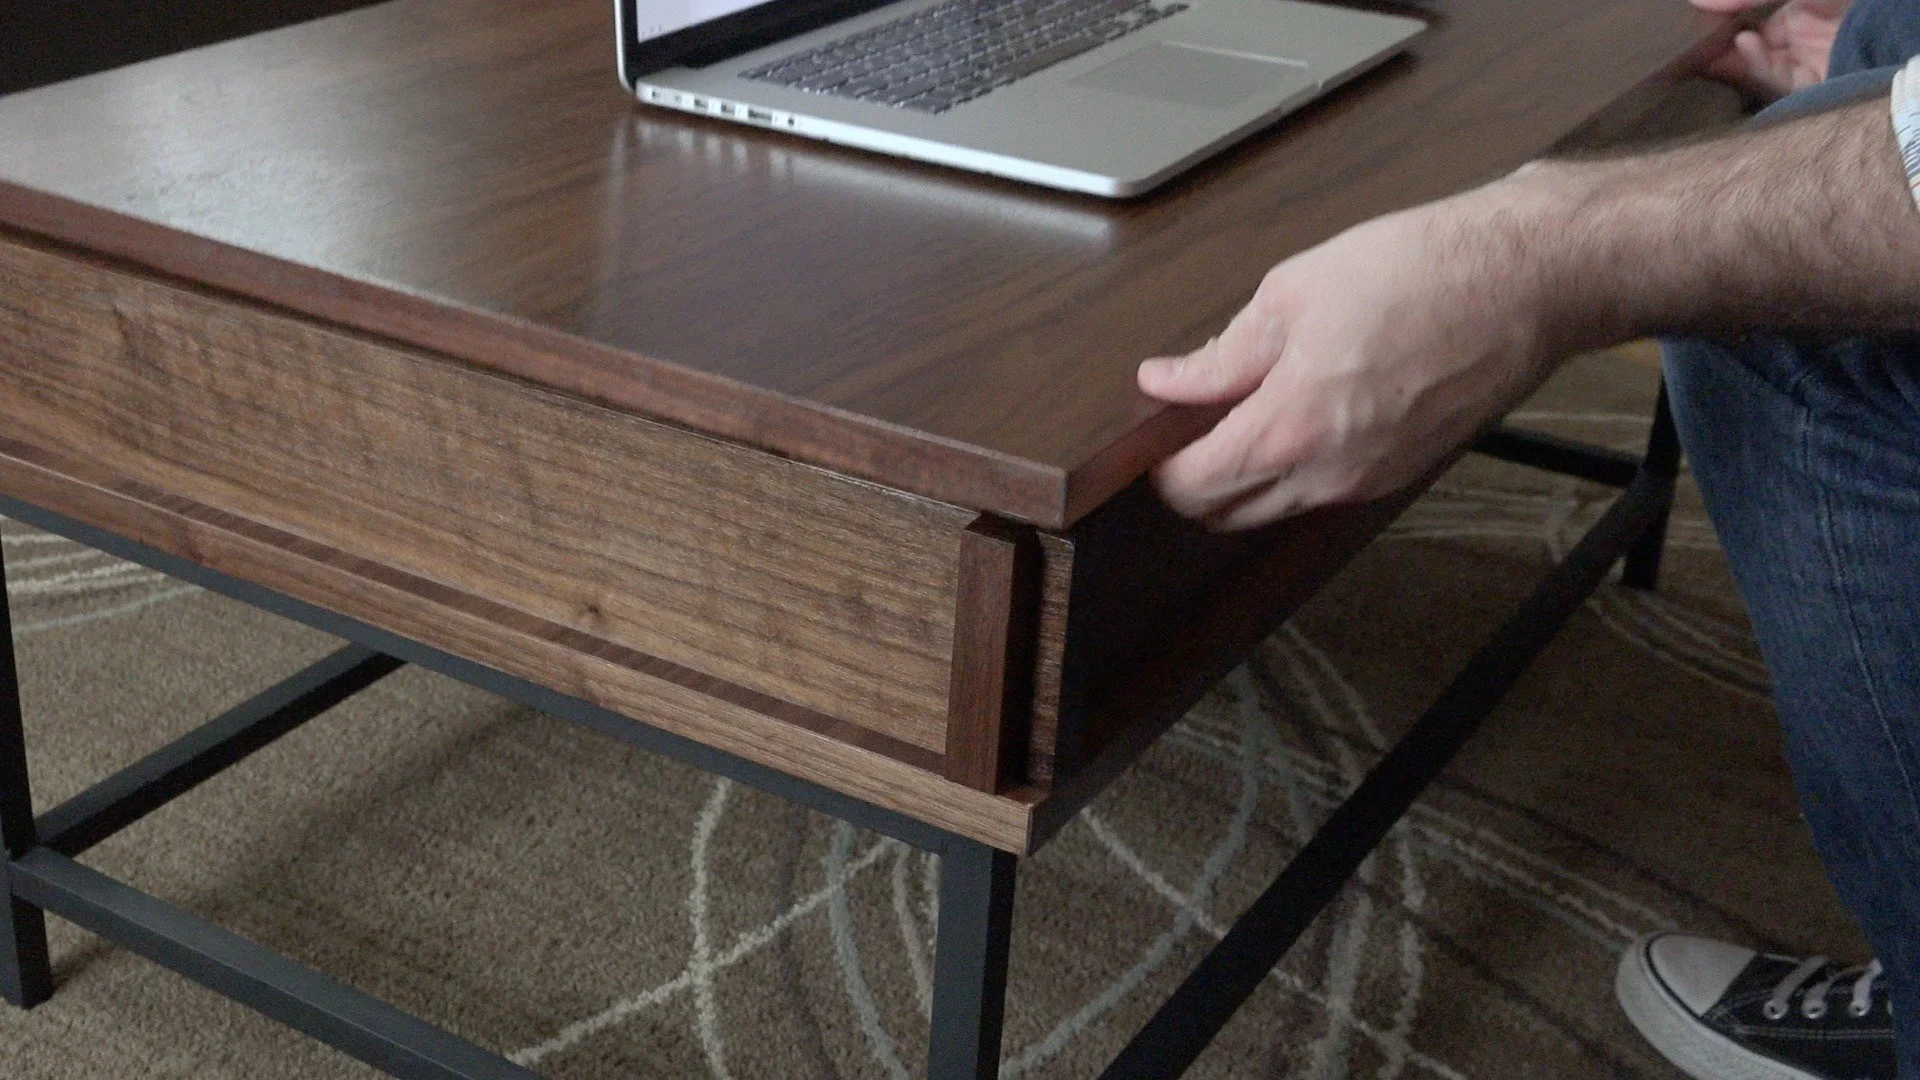
For this easy woodworking project I’m making a coffee table with a lift top mechanism and aluminum legs. The lift-top allows for bringing the table up to perfect height for dining in front of the television or bringing your laptop up to an ergonomic position. This was my first time soldering and brazing aluminum tubing and I’m very happy with the results. The great thing about this brazing technique is there is no need for a welder. All you need is a blow torch and some brazing rods. The lift-up table mechanism from Rockler raises the table 6 1/2 inches and has a forward travel of 17 inches. The top is made mostly from one sheet of 3/4 inch walnut plywood except for the corner accents and the edge banding which is made from solid walnut. I finished the table with one coat of boiled linseed oil to bring out the beauty and 4 coats of polyurethane to add a layer of protection. Links to all the tools and supplies are below along with detailed plans to make this yourself. Purchasing through the provided links helps support the content I provide. If you have any questions or comments please leave them in the comment section below. Learn more about the Bora Saw Plate and Clamp Edge used in the video.
Items Used




Preventing Tear-out When Crosscutting Plywood
Crosscutting plywood with a combination blade almost always results in tear out and I find the easiest way to prevent that is just cover the plywood with painters tape.
Crosscutting plywood with a combination blade almost always results in tear out and I find the easiest way to prevent that is just cover the plywood with painters tape. The tear out tends to happen more so on the bottom side but I like to play it safe and cover both sides before running it through the saw. And that’s how you get a perfect edge with crosscutting veneered plywood on the tablesaw.


DIY Speaker Build
How to make a speaker cabinet from a wire kit.
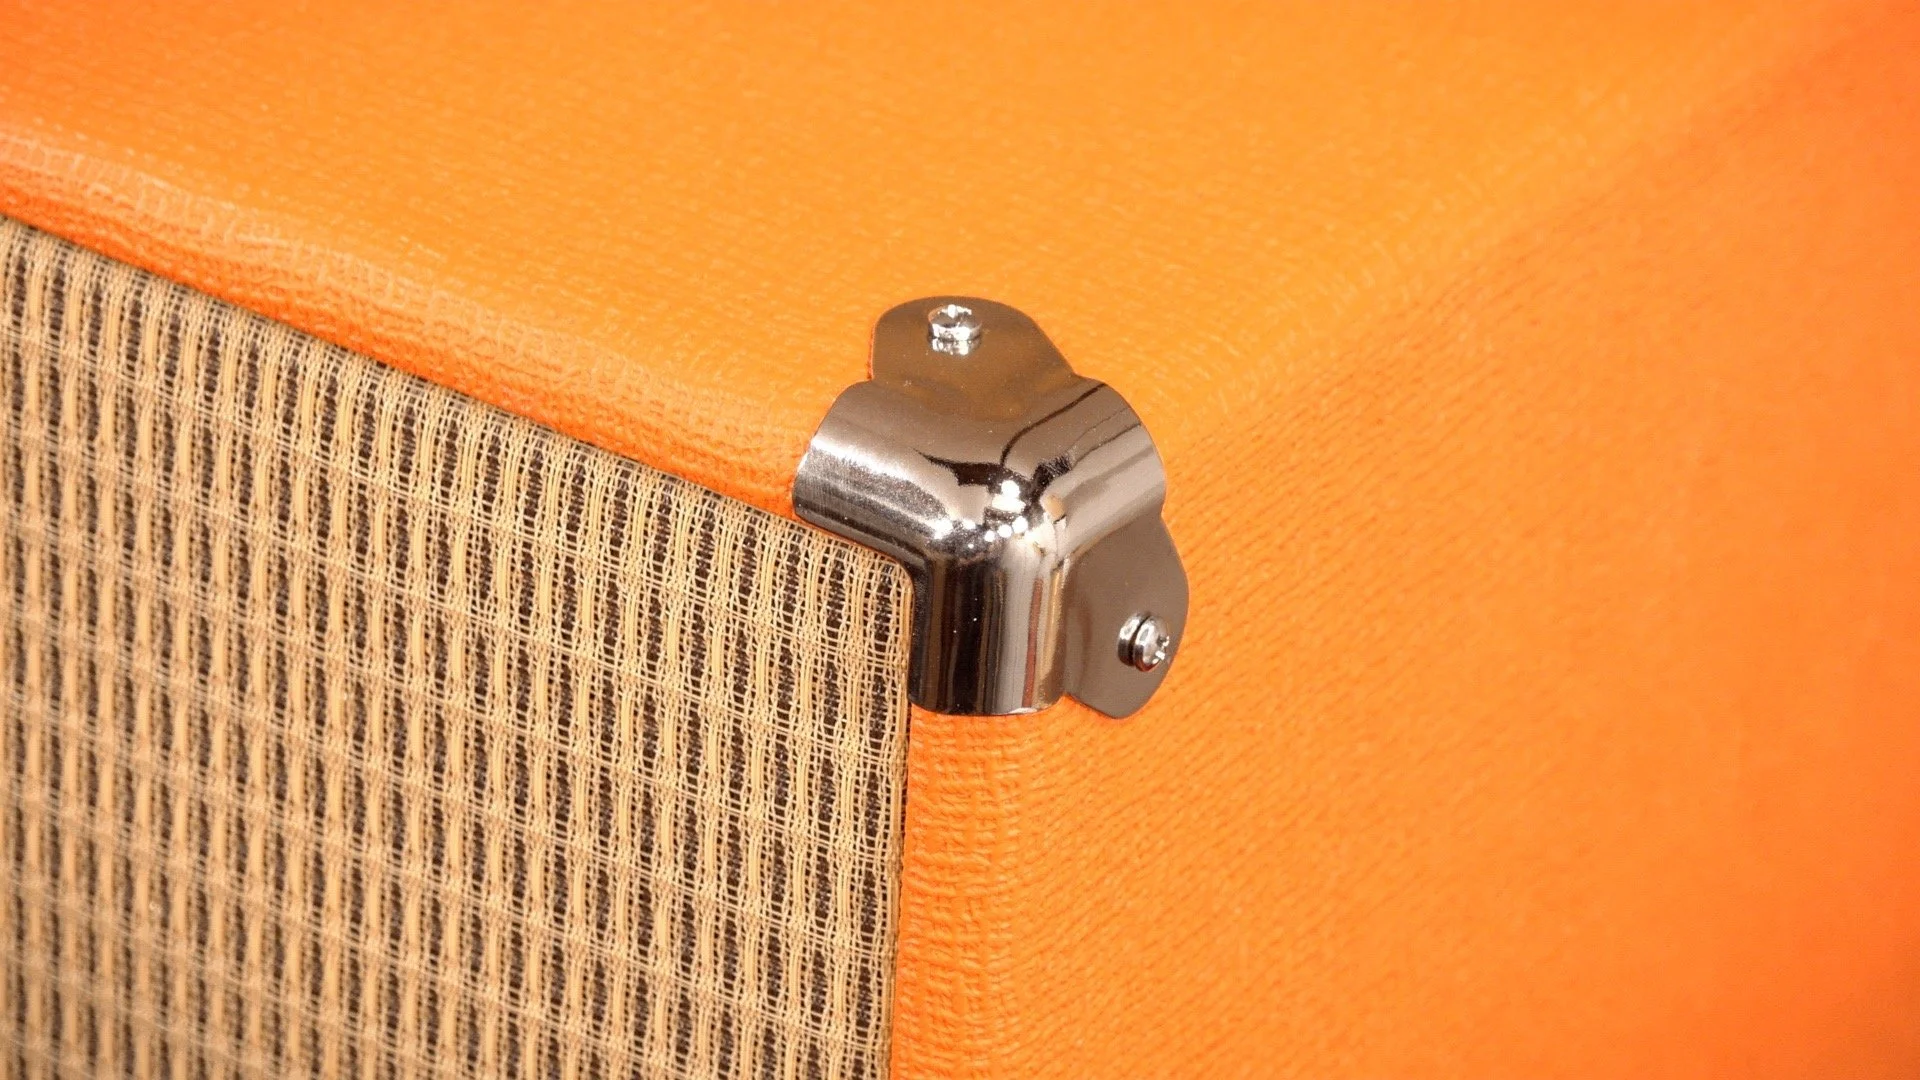
In this DIY speaker build I’m using 1/2” baltic birch plywood to make a pair of stereo speakers to look like vintage guitar amps. I’m using orange Tolex on the outside with grill cloth for the face and chrome corner protectors on all the edges. The speaker kit comes from Rockler Woodworking and Hardware and includes all the wiring, base ports, speaker and internal dimension plans. If you want to build the exact same speakers as you see in the video, I have plans for sale in my store and there are links down below to all the supplies needed. You can easily change the look of these speakers but choosing a different color Tolex and grill cloth. This was a really fun and pretty simple project to build. Don’t be intimidated with the speaker wiring. If you purchase the kits from Rocker the plans are easy to follow and don’t take any special tools.
Supplies Needed
- 1/2” Baltic Birch Plywood
- Orange Tolex
- Grill Cloth
- Velcro Squares
- 6 1/2” Speaker Kit
- Front Corner Protectors
- Rear Corner Protectors
- Rubber Feet
- Speaker Wire
Tools Needed



Cheap and Easy to Make Planter Boxes
A quick an easy DIY project making window planters.
Earlier this year we had a new front deck installed and we thought it was time to replace all the old planter boxes in the front of the house to go along with the new porch. To make these planters I’m using $6 common board pine from Home Depot. One $6 board is enough for one planter box. This is a real quick and easy project that anybody with a few basic woodworking tools can do.
Products Used


How to Make a Guitar with a CNC Machine
Step by step instructions on how to make a solid body guitar on the CNC using parts from a cheap Epiphone Les Paul.
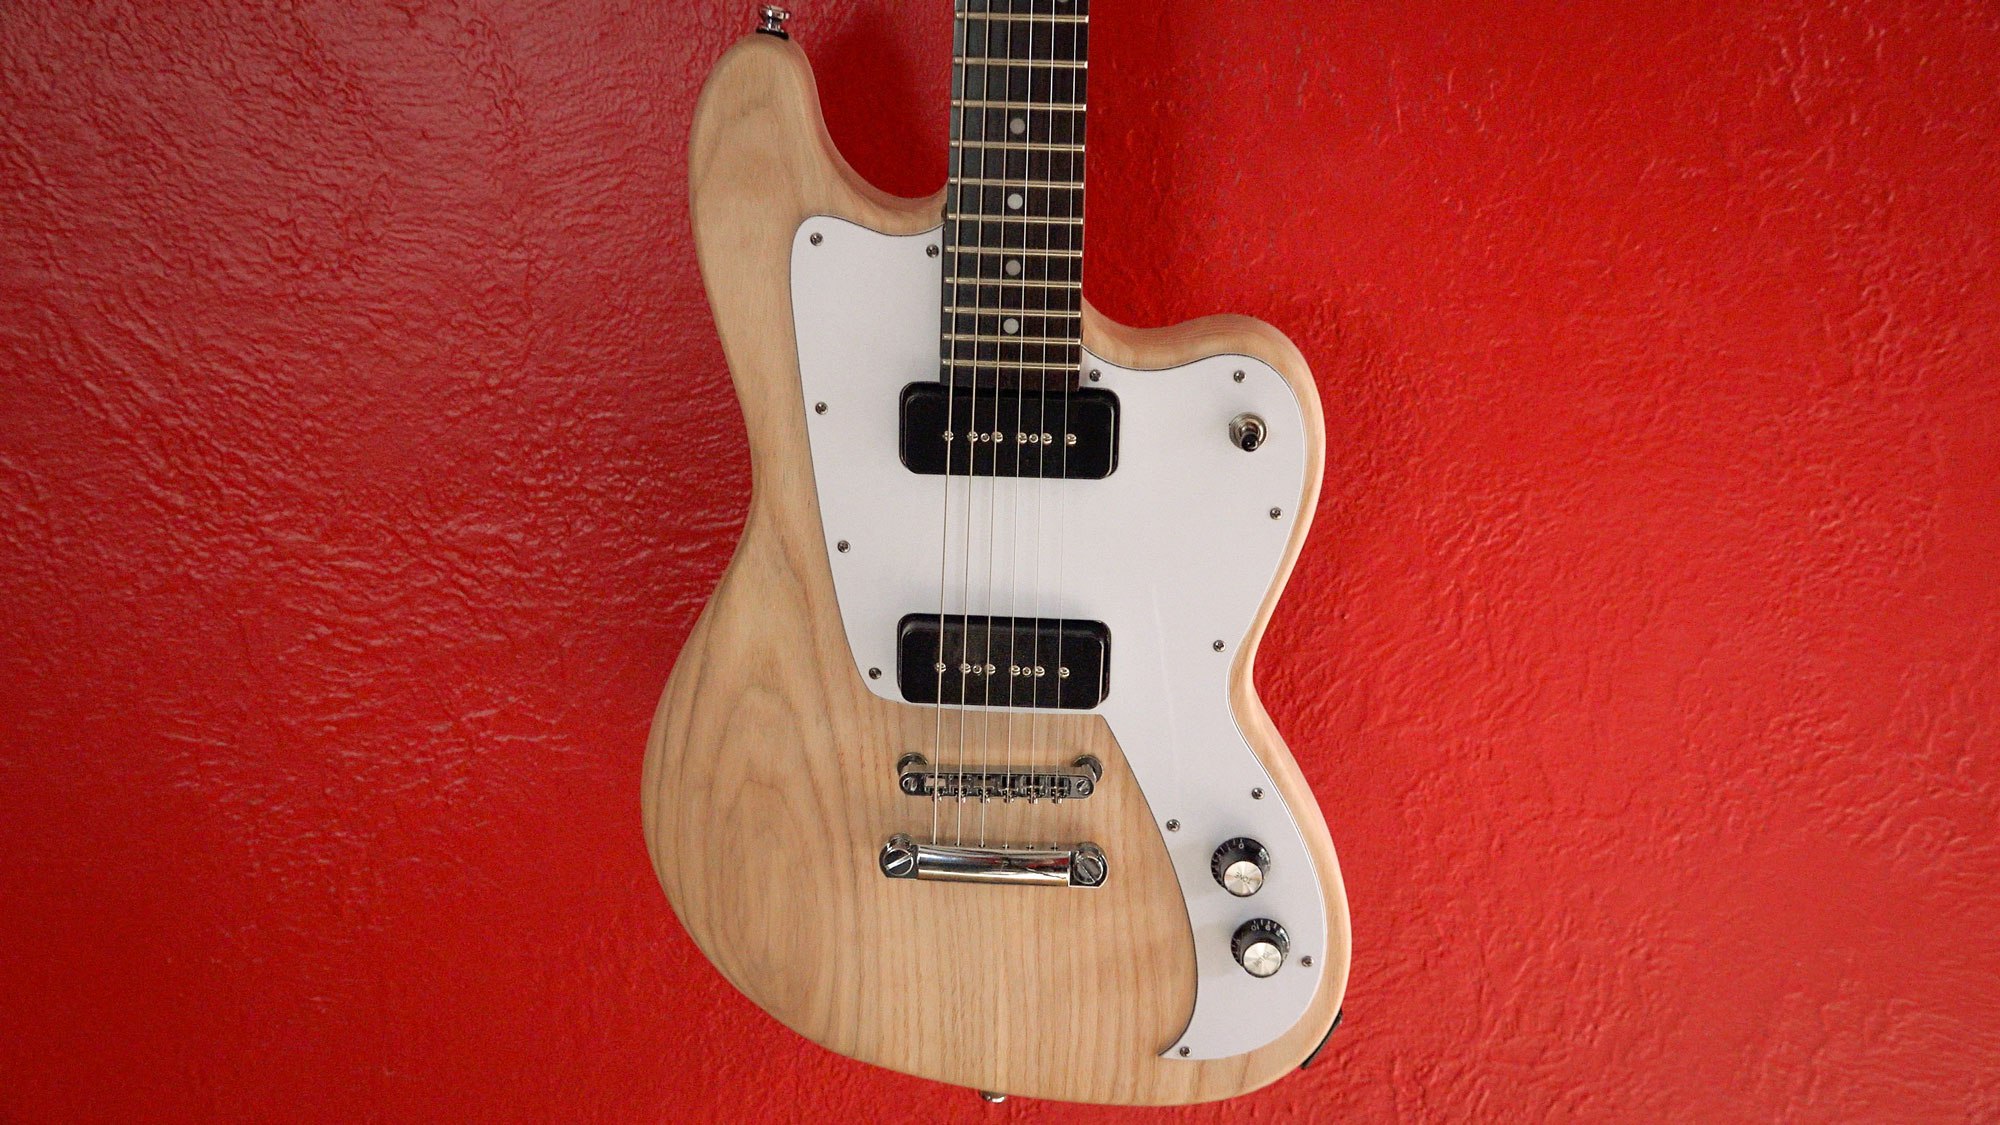
Step by step instructions on how to make a solid body guitar on the CNC using parts from a cheap Epiphone Les Paul. I purchased my Epiphone Les Paul online for only $120 just to gut it for the electronics, hardware and neck. I used some 8/4 ash for the body and carved out the neck pocket, pickup and electronics cavities on the X-Carve CNC. With an angle grinder and TurboPlane blade I did some final shaping. The pick guard, headstock laminate and truss rod cover was also cut out on the X-Carve CNC using carbide bits from ToolsToday. I’m very please with this guitar build and plan on filming a follow-up video answering your questions as well as discuss what I’d do differently for the next guitar build.
Products Used


Use Flocking to Enhance Your Boxes!
Use flocking on the inside of your drawers to enhance the look and feel of your boxes.
I show you a technique called flocking. This is commonly used in lining the drawers of boxes and cases. It leaves a soft velvety feel and adds a touch of class to your projects. The fibers used in the process are very small and lightweight so I highly suggest proper air filtration and a dusk mask. I flock all the drawers of my bandsaw boxes and sometimes I will flock the cavity the drawer slides into. I really like the look and feel of flocking fibers.
Tool and Supplies Used


Endgrain Cutting Board with Epoxy Inlay
Endgrain cutting boards are supposed to be easier on your knives than long grain cutting boards because the wood fibers open up and close as the knife passes through.
Endgrain cutting boards are supposed to be easier on your knives than long grain cutting boards because the wood fibers open up and close as the knife passes through. The cutting board we’ll be making is made from soft maple and measures 10.5” x 17” inches. It has some rubber feet and a hamburger inlay that I designed carved out on my X-Carve and filled in with a food safe epoxy. The finish I chose leaves a film on top. If you’re looking for more of a natural finish you could mix up some mineral oil and paraffin wax. Although that type of finish needs to be reapplied more often than this salad bowl finish. In an upcoming video I’m going to make another engrain cutting board but but use a contrasting wood as the inlay instead of epoxy.
Products Used

Woodworking Books

Make Your Own Cutting Boards
15 cutting board projects to make as gifts or sell! Get your signed copy!

The New Bandsaw Box Book
8 bandsaw box projects you can make and sell at craft shows. Signed copies now available!