Everything You Need to Know on Making Bandsaw Boxes
Making bandsaw boxes is what got me excited about woodworking! You can make them out of scraps in a day and they make for a great handmade gift. There are endless possibilities in shapes and sizes and you don't need and entire shop full of expensive tools or years of experience.
Bandsaw Box Templates and Plans
Looking to get started in making bandsaw boxes? I’ve got PDF templates for 4 simple but elegant bandsaw box designs as well as a book full of unique styles. You can find the book in all major book stores and public libraries or you can get a signed book directly from me!

These bandsaw box plans includes templates for 4 unique bandsaw boxes and has step-by-step instructions to guide you through the entire process.

NOTE: If you order multiple products they may ship separately.
A collection of beautiful boxes that can be easily made with a bandsaw. Each project is presented in a modern and crisp step-by-step format that makes learning easy while David’s engaging tone keeps the premium information accessible. To celebrate a job well-done, David concludes by “raising a glass” with the perfect craft beer to compliment the wood or style of each project.
The Best Blade For Making Bandsaw Boxes

I’ve made dozens of bandsaw boxes in my day and I’ve tried many blades. You need a blade small enough to cut tight curves. Generally the more teeth per inch the smoother the cut you’ll get. But when it comes to making bandsaw boxes a smooth cut is not necessary. What’s more important is large gullets between the teeth to remove all the waste dust that’s created when cutting a big 4" thick bandsaw box blank. If you have too many teeth you’ll have issues with burning and not being able to cut the curves because of all the saw dust trapped between the blade and the wood. I’ve come to the conclusion that a 3/16" blade for 4 teeth per inch is the perfect blade for these bandsaw boxes. I like this 3/16", 4 TPI, Skip Tooth blade from Highland Woodworking.

Step 1: Bandsaw Box Blank
The first thing you need to do is cut up the boards that'll make up your bandsaw box blank. The height and width will depend on which template you choose to work with. The depth can vary but I like mine to be about 4" thick. In this example I'm using Baltic birch plywood as my core with an exotic wood on the faces. You'll glue up all the pieces with wood glue on the faces of each piece. Use plenty of wood glue make sure the entire surface is covered.

Step 2: Bandsaw Box Glue-up
Now you'll clamp everything up with plenty
of F-style clamps. You should see some glue squeeze out all around. Let this sit and dry for a few hours.
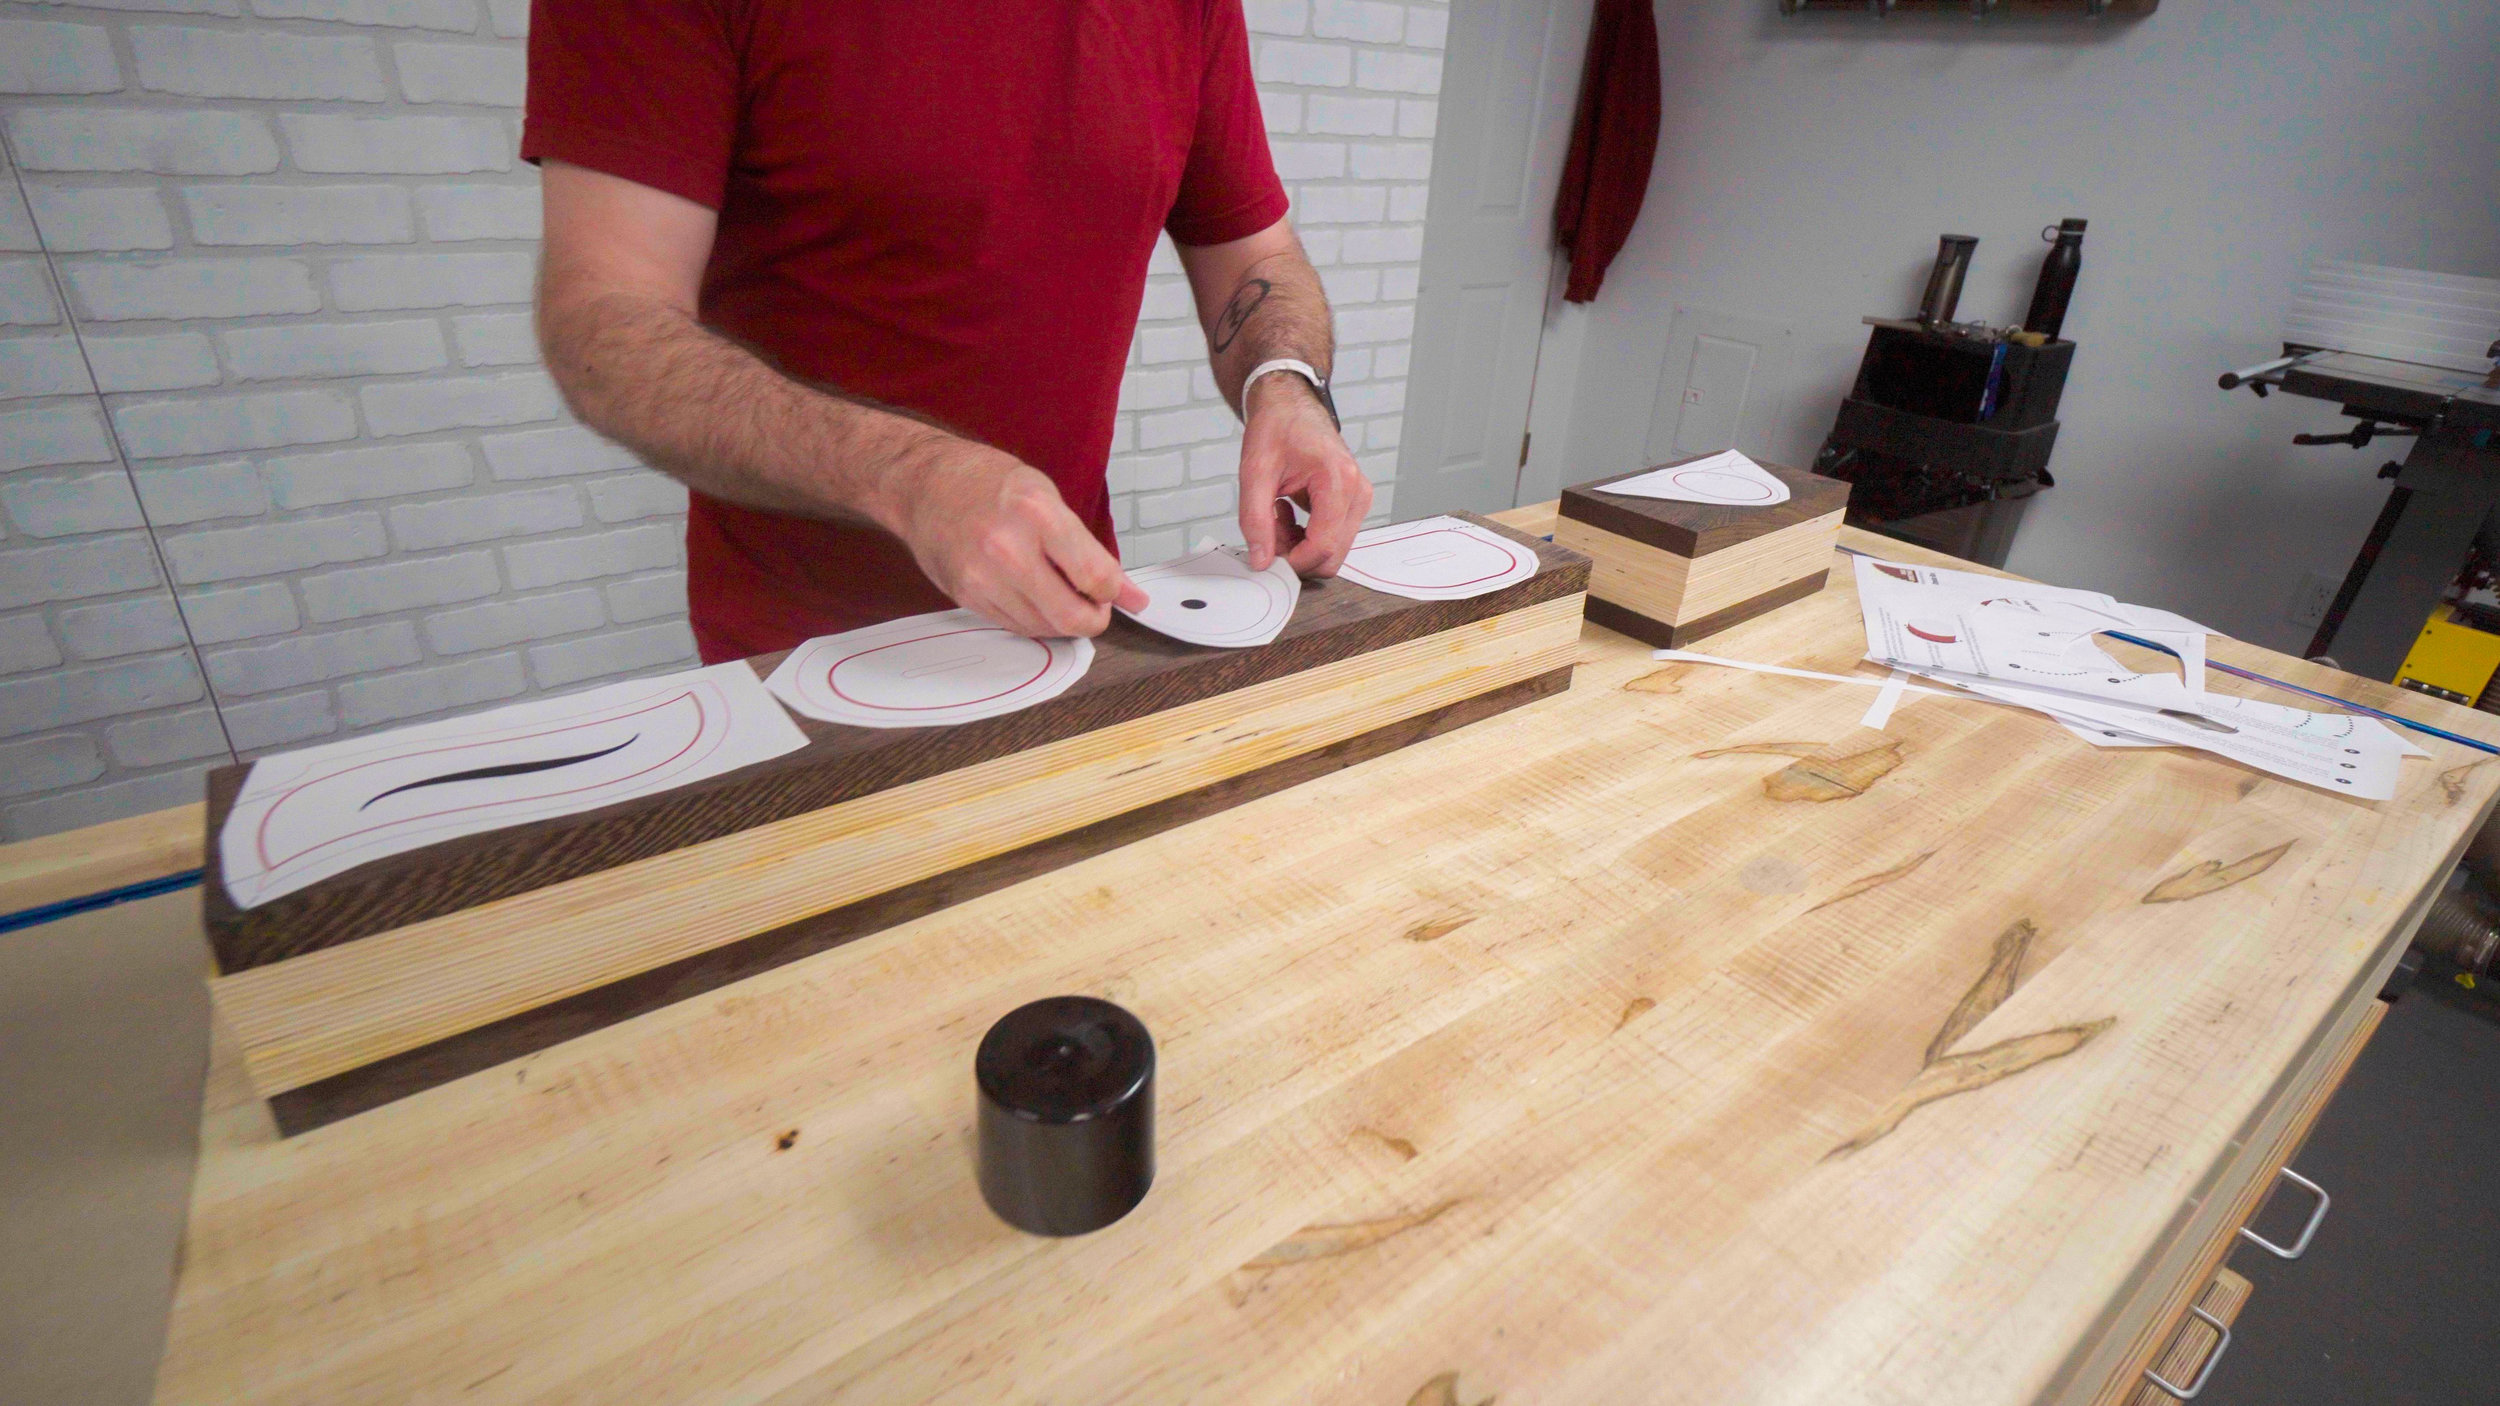
Step 3: Bandsaw Box Templates
Print out your template at 100% size (do not fit to scale) and spray the back with spray adhesive. A light even coat is all that's needed. Let it sit and get tacky for 60 seconds. Place your template and push out any air bubbles.
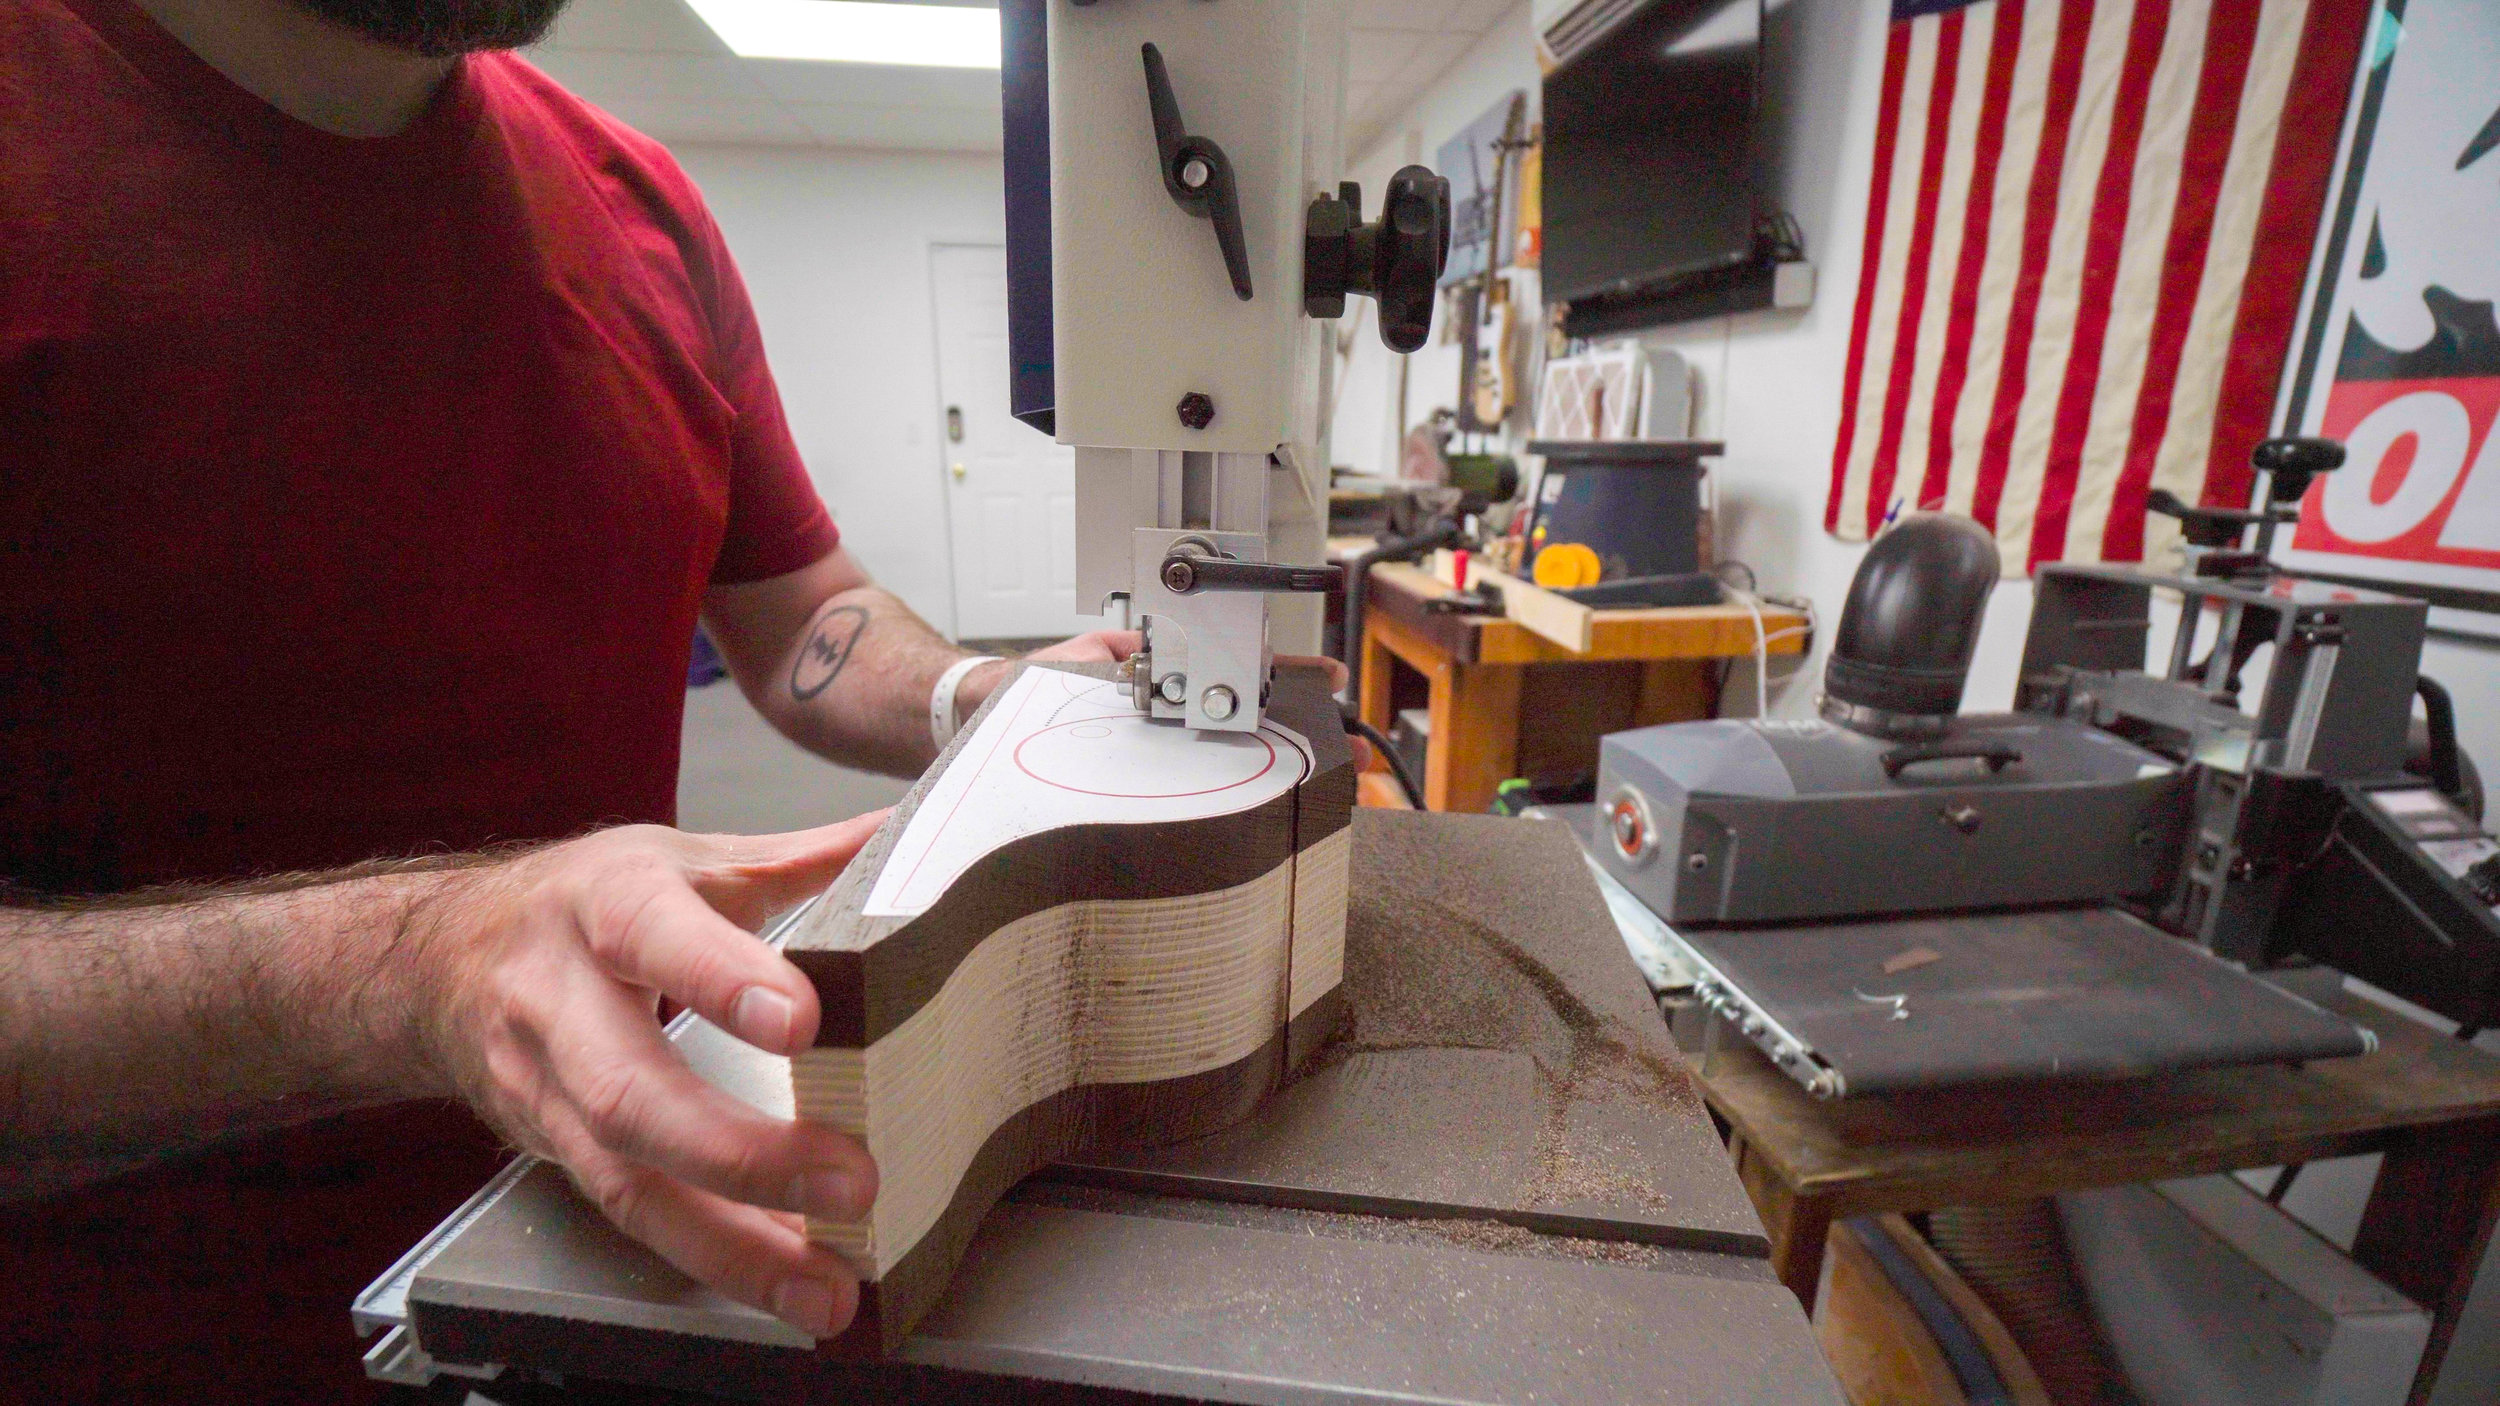
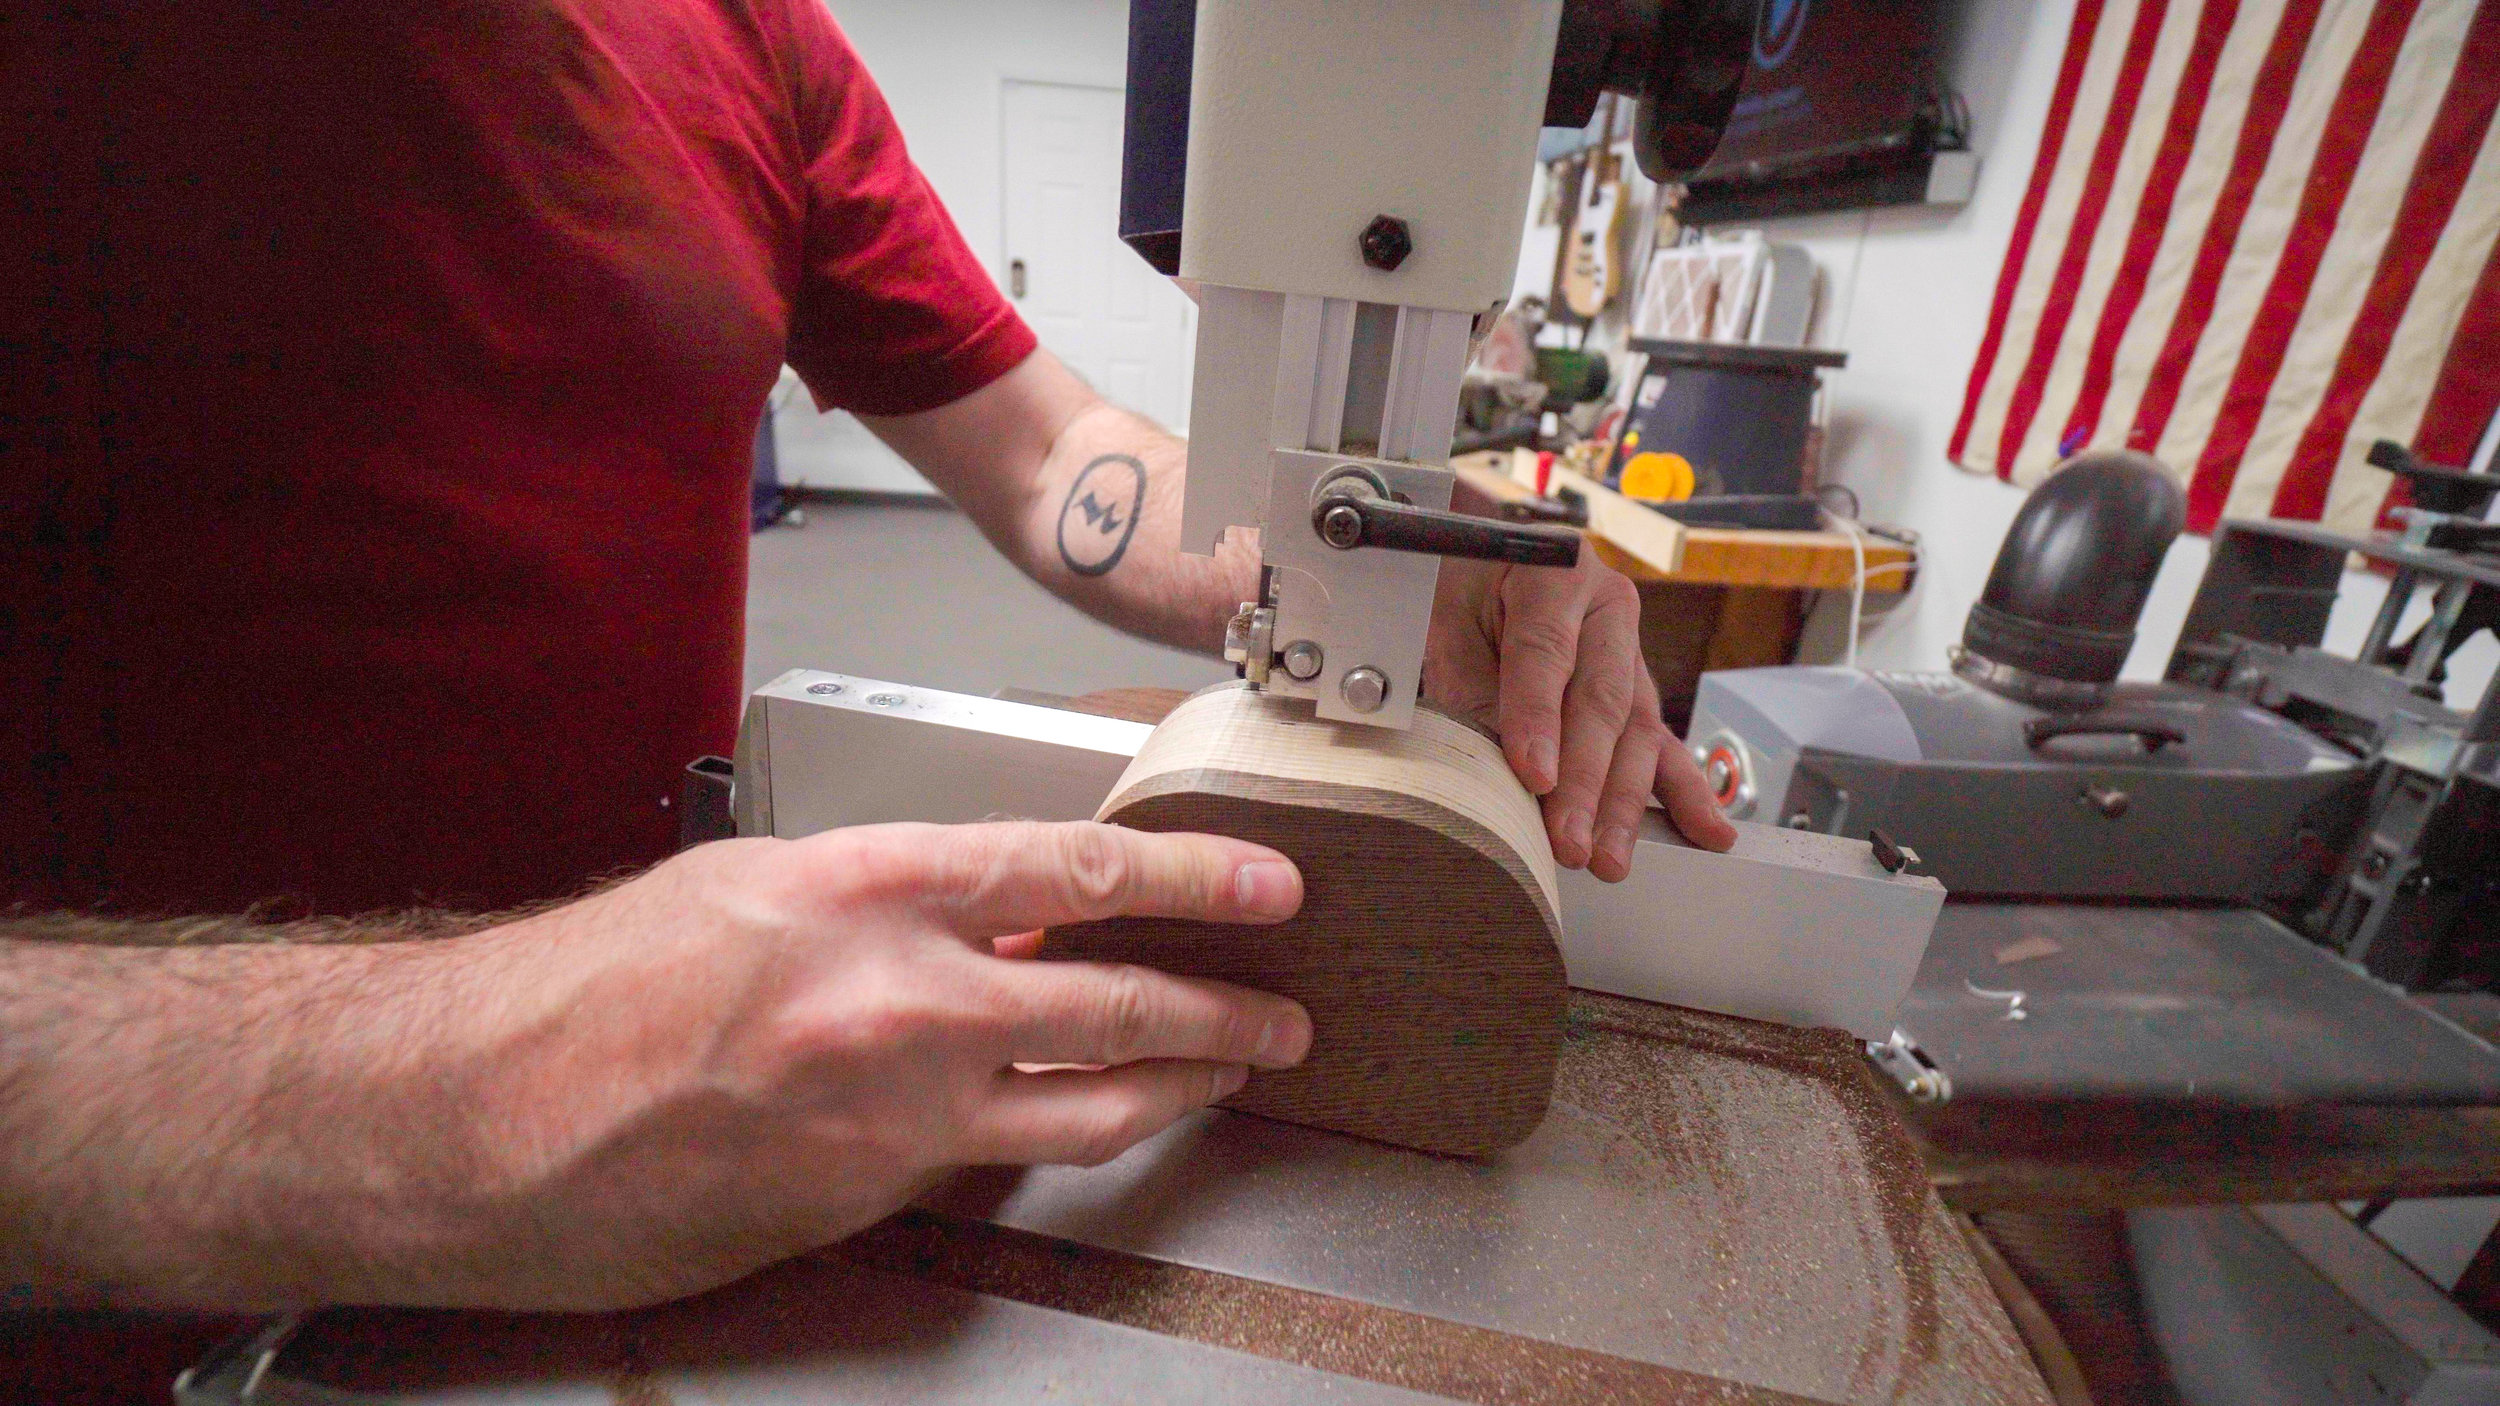
Step 4: Cutting the Bandsaw Box Shell
Next you'll cut the outside shape out on the bandsaw. Cut as close to the line as you can without touching it. In a later step we'll sand down to the line. Cut slow and let the blade do the work. You should not have to push hard if your blade is sharp. Don't worry how rough the cuts are at this point. We'll clean it up in a future step.
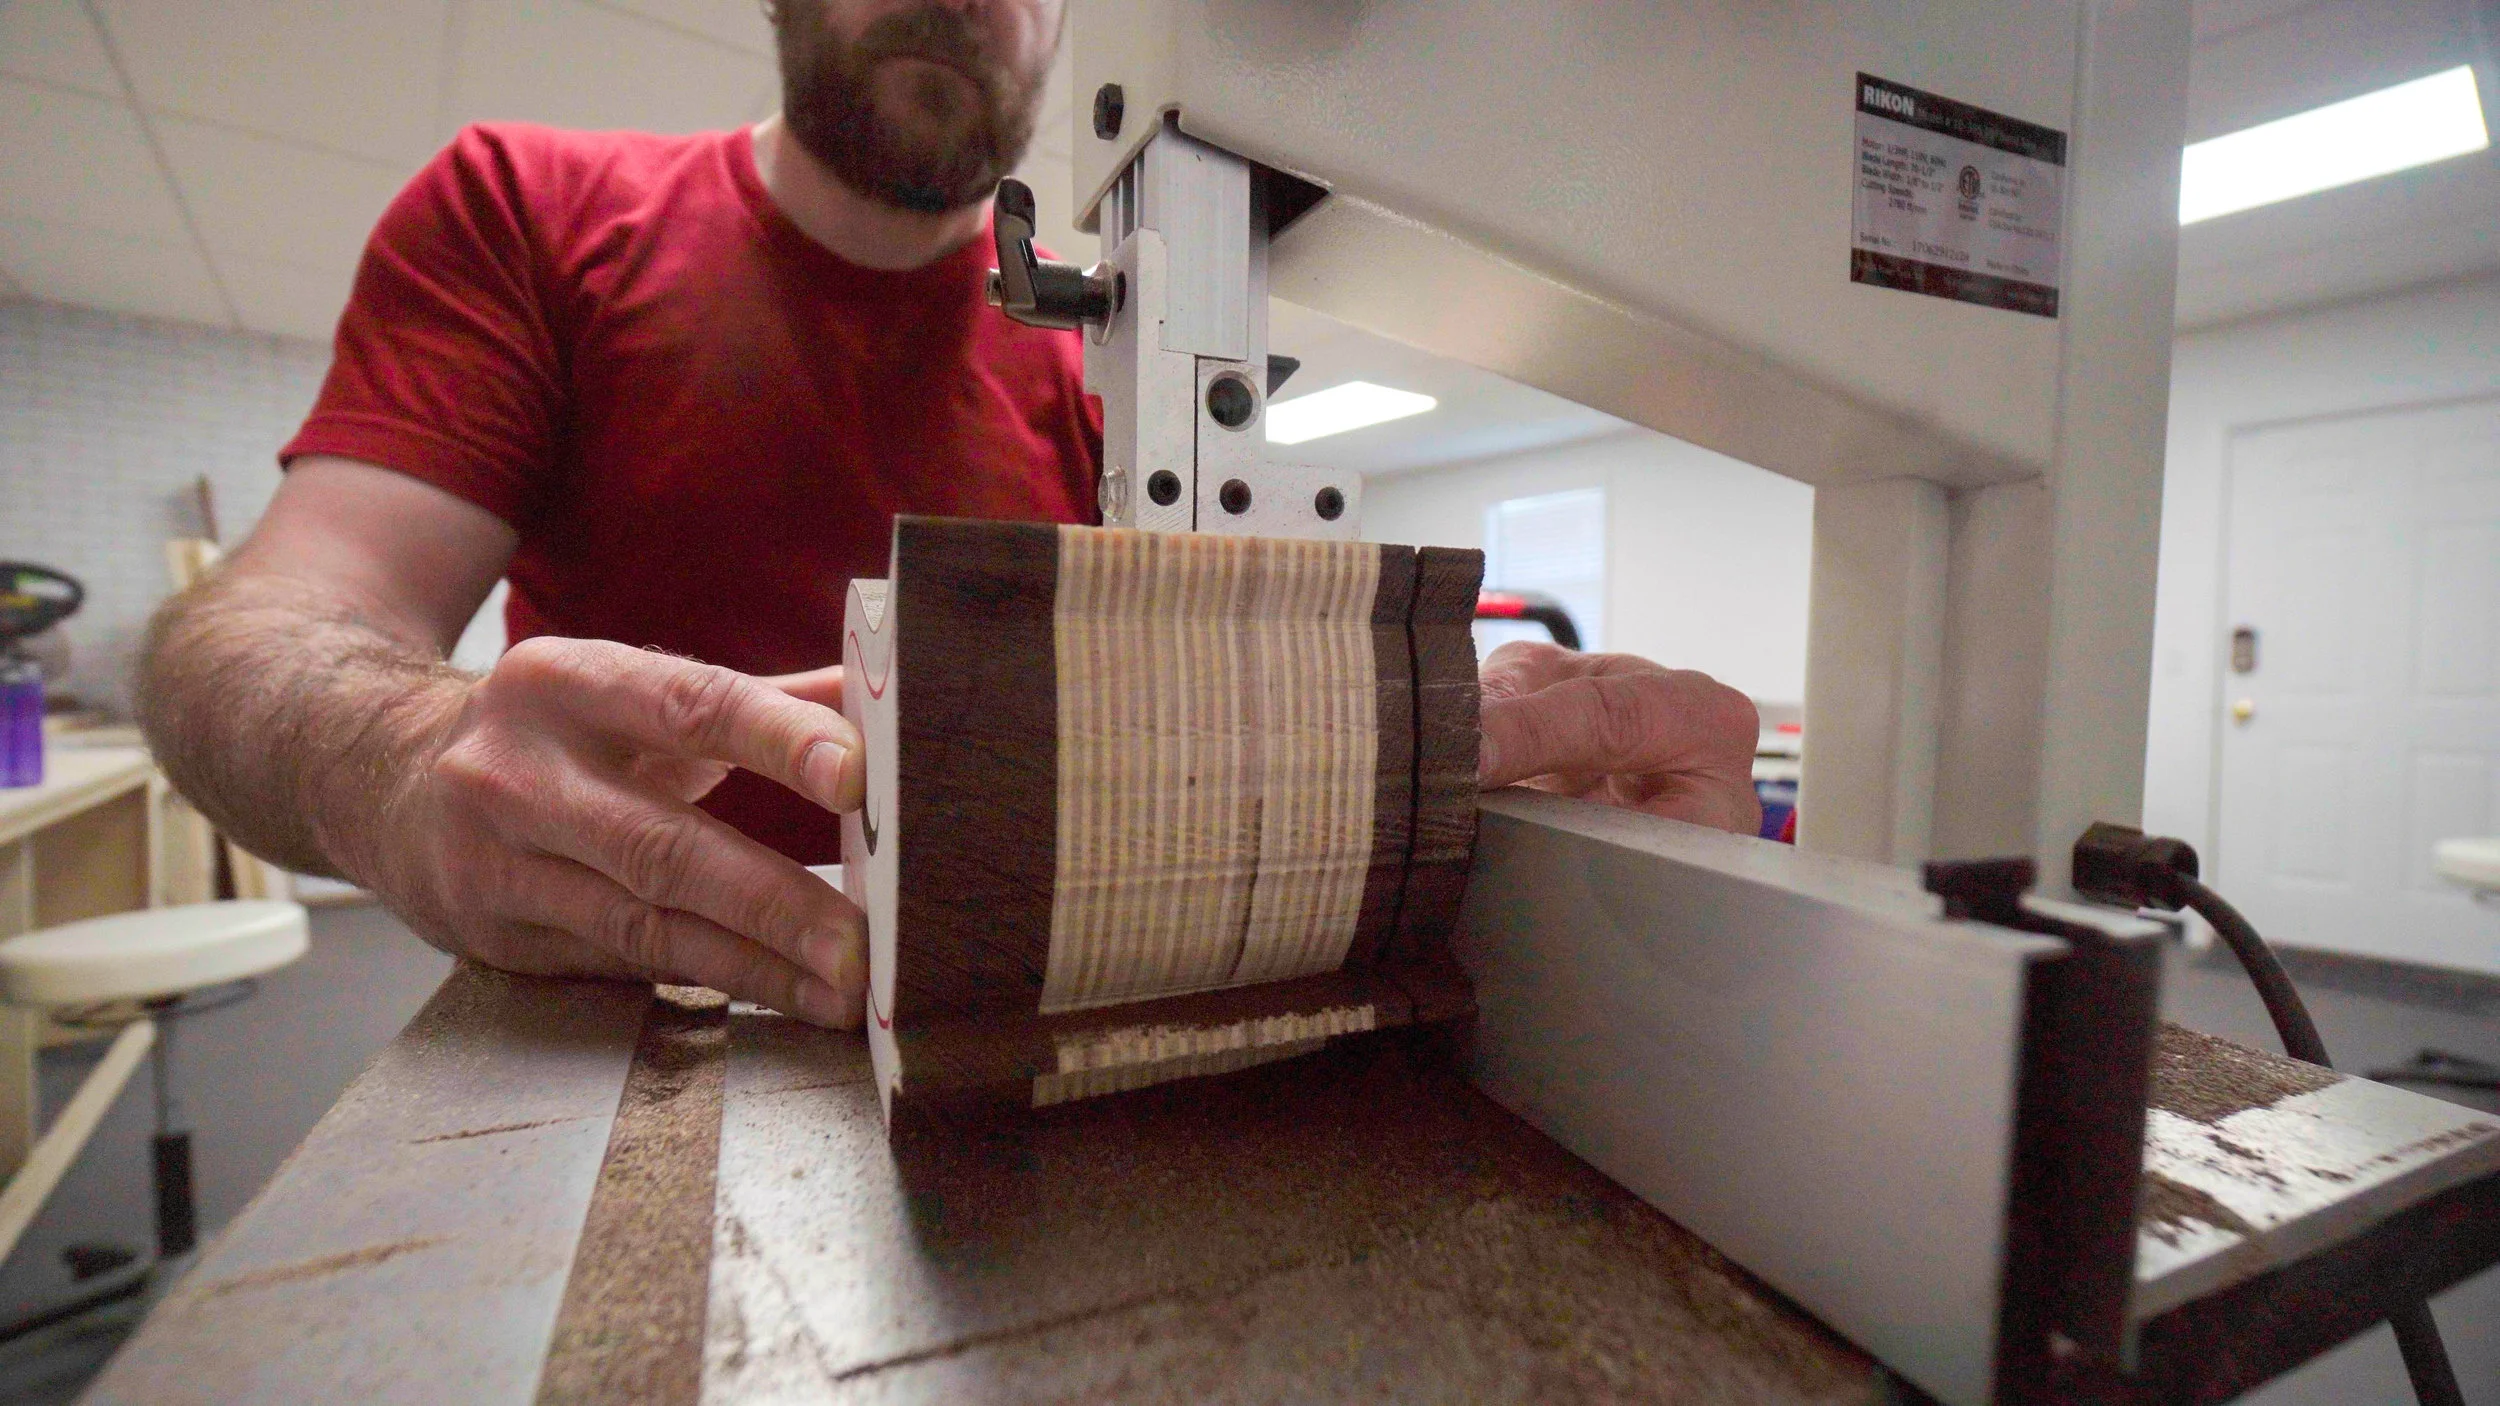
Step 5: Cutting the Bandsaw Box Back
Now you'll cut off the back using your bandsaw's fence set to about 1/2" from the blade. Again, take this cut very slow to allow the blade enough time to remove the waste.
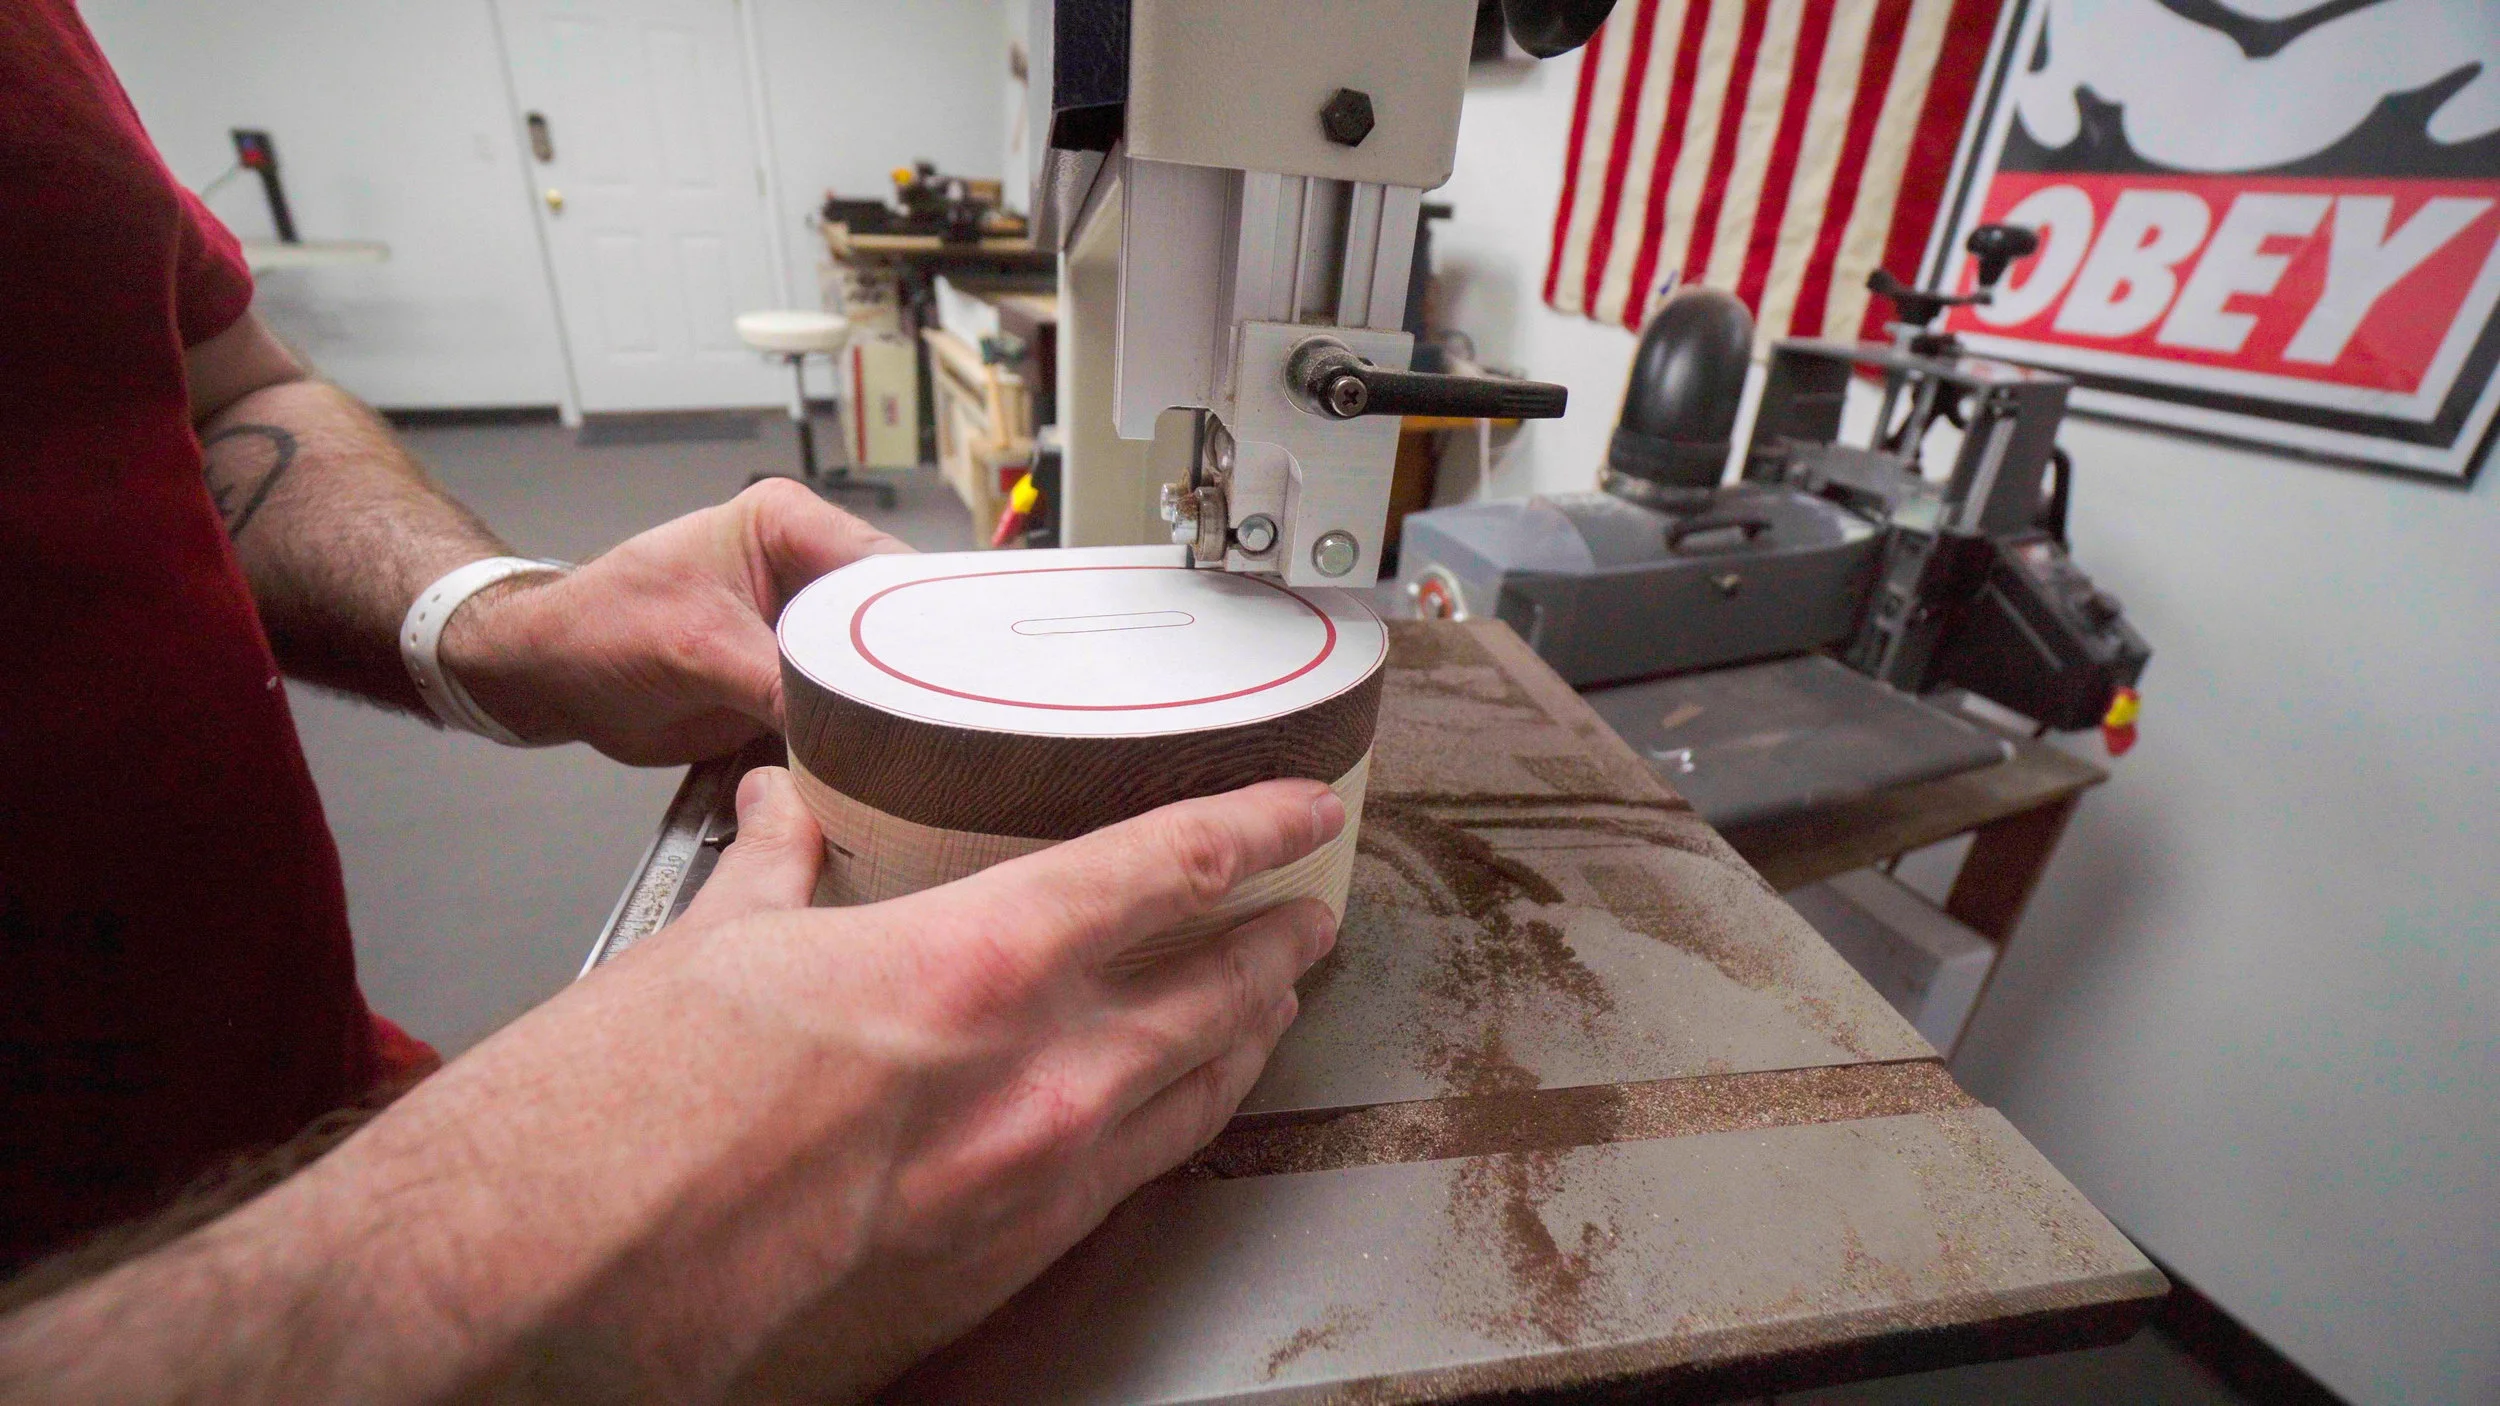
Step 6: Cutting the Bandsaw Box Drawer
Set aside the back that you just cut off and we'll now cut out the drawer from the shell. Enter from the side as indicated in the template. This time you'll cut right down the middle of the thick line. Do your best to split this line in two. Take your time and let the blade do the work.
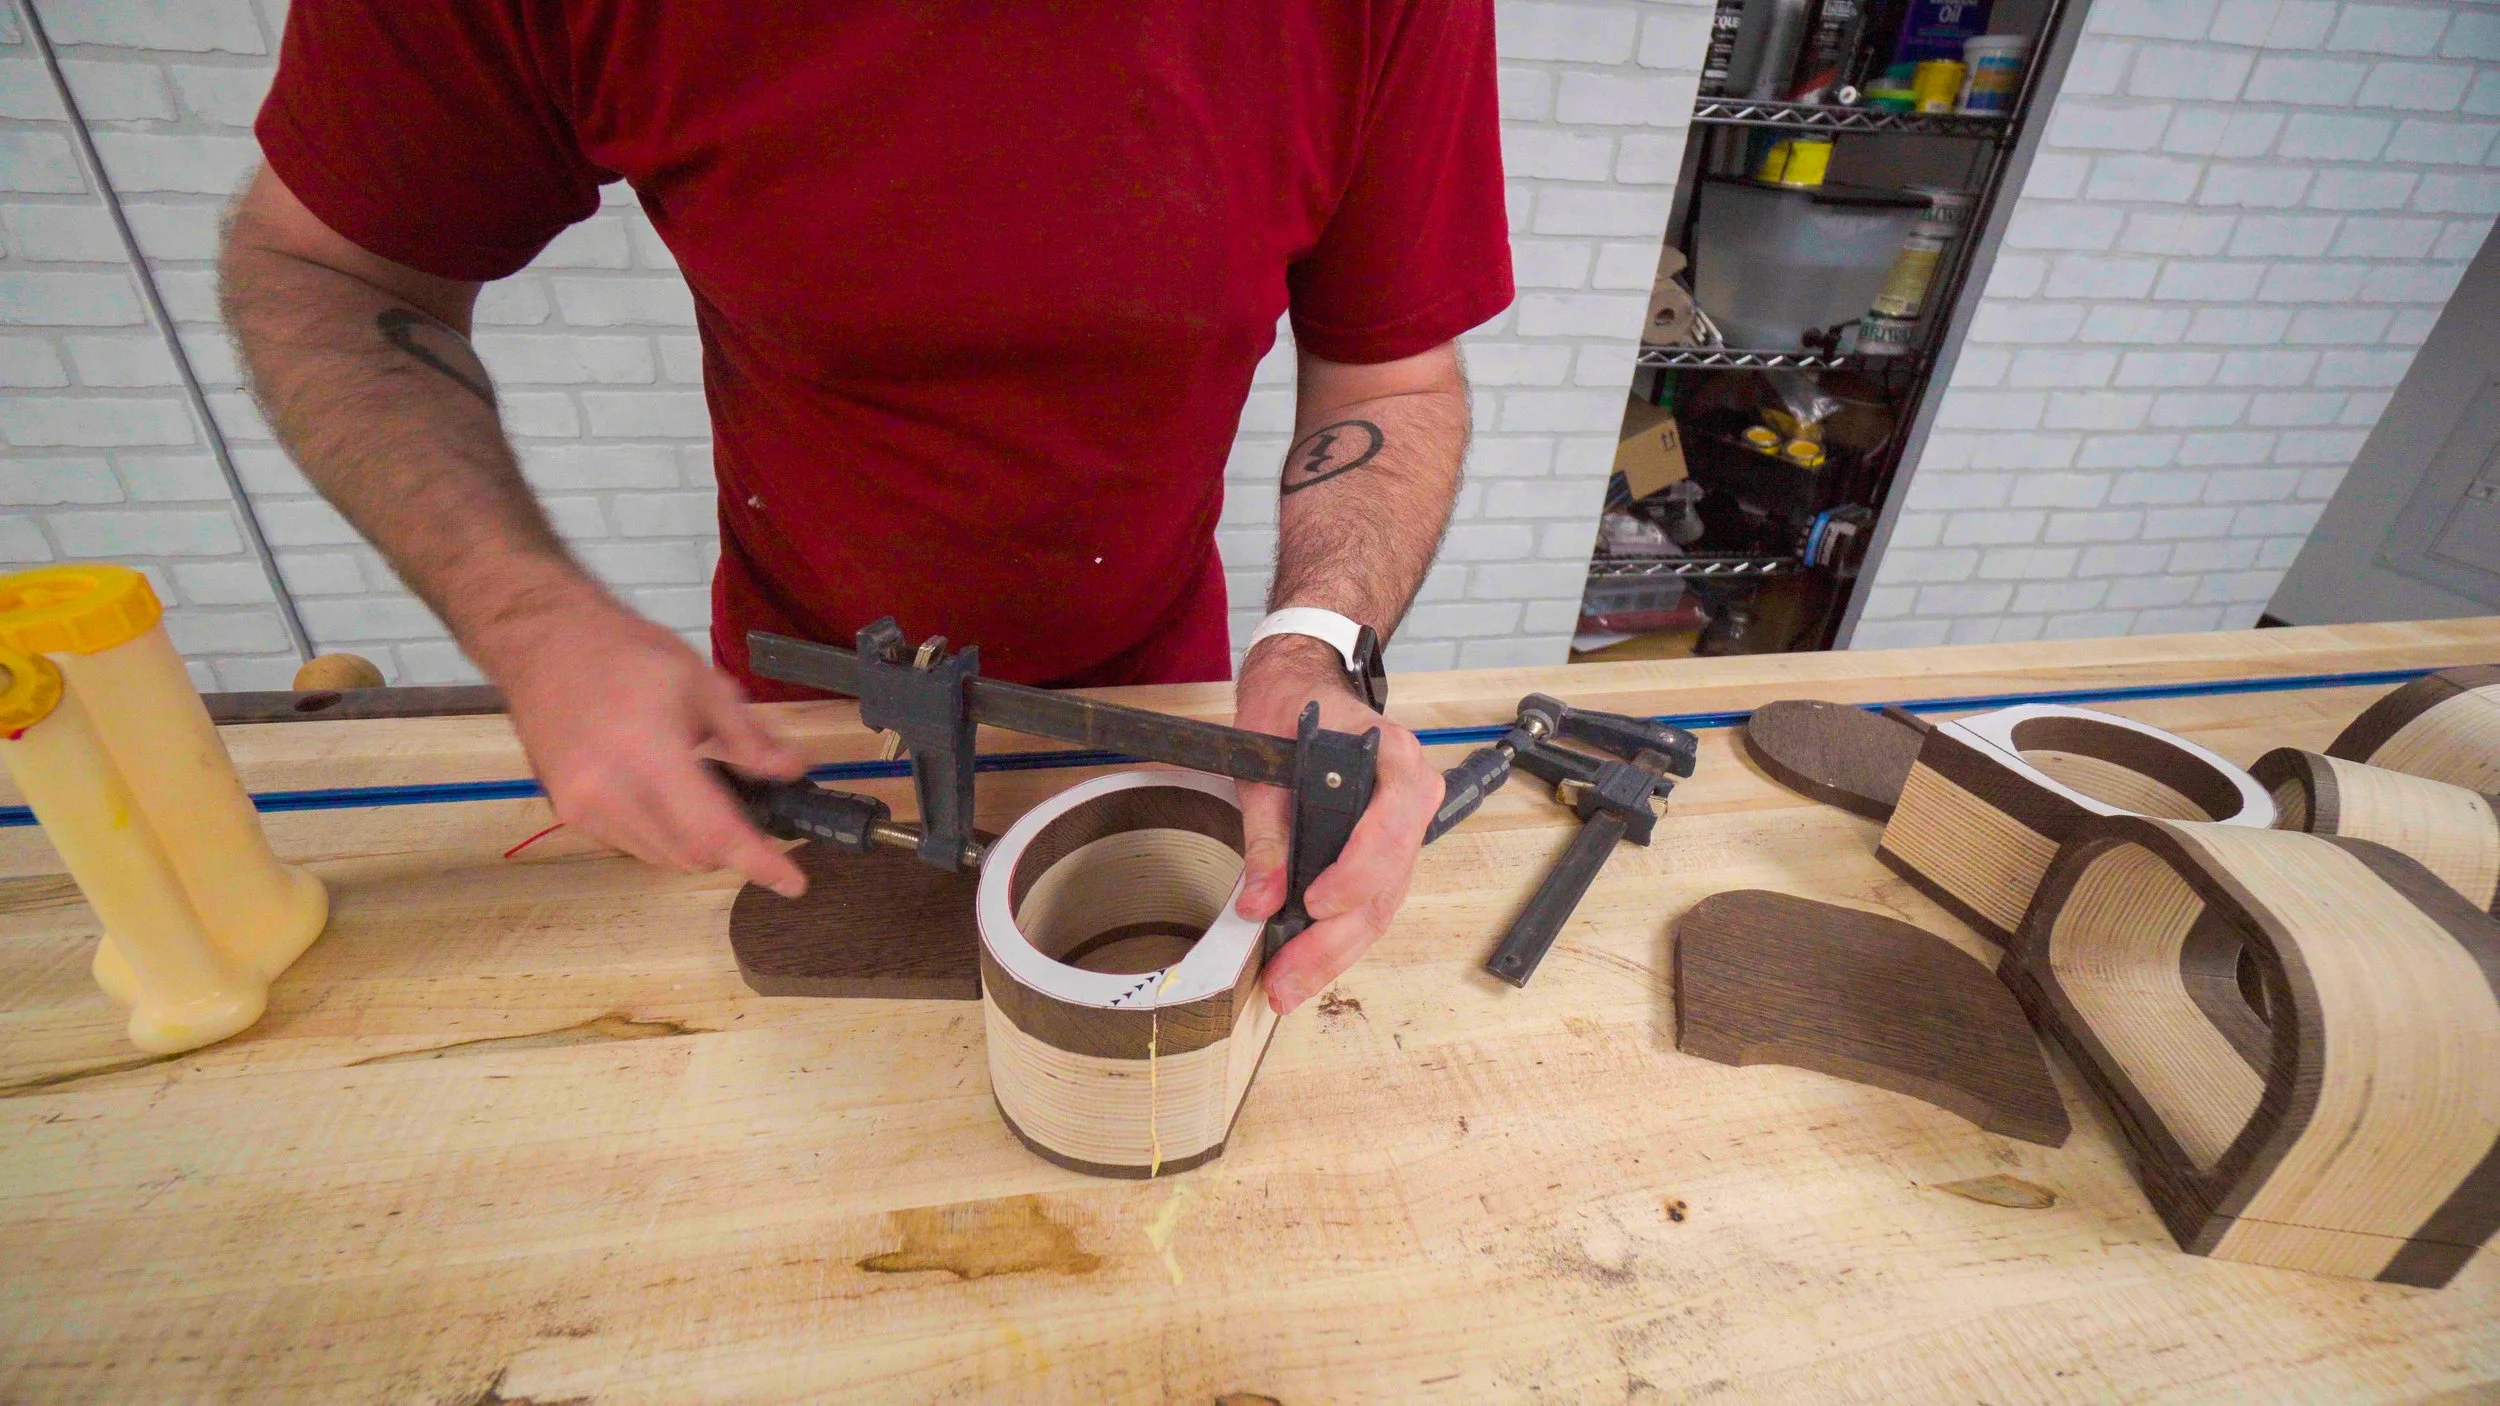
Step 7: Completing the Bandsaw Box Shell
With the drawer blank and shell back set aside, glue together the entrance cut with a couple of F-style clamps. Let this sit and dry for a couple of hours. Be sure to not remove the template just yet. Once the glue dries on the entrance cut you can glue on the back. Try to align the grain of the two pieces before tightening down the clamps. If properly aligned the seam will be invisible when dry. After the glued on the back is dry you can take off the clamps and sand the outside shape. This is easiest at the disc and spindle sanders. Sand down to the line. There's no need to sand inside the shell as we'll be covering that up with flocking. After this you can remove the papertemplates.
Step 8: Making the Bandsaw Box Drawer
Now take your drawer blank and cut the front face and back face off at the bandsaw. Set your bandsaw fence to about 1/2" from the blade and cut slow. Next you'll take that middle drawer piece and draw out the bottom and side walls. I like to use a black marker as it's easier to see the line. This wall should offset about 5/16". Then back at the bandsaw you'll cut this out. Like before, nice and slow and keep your fingers away from the blade!
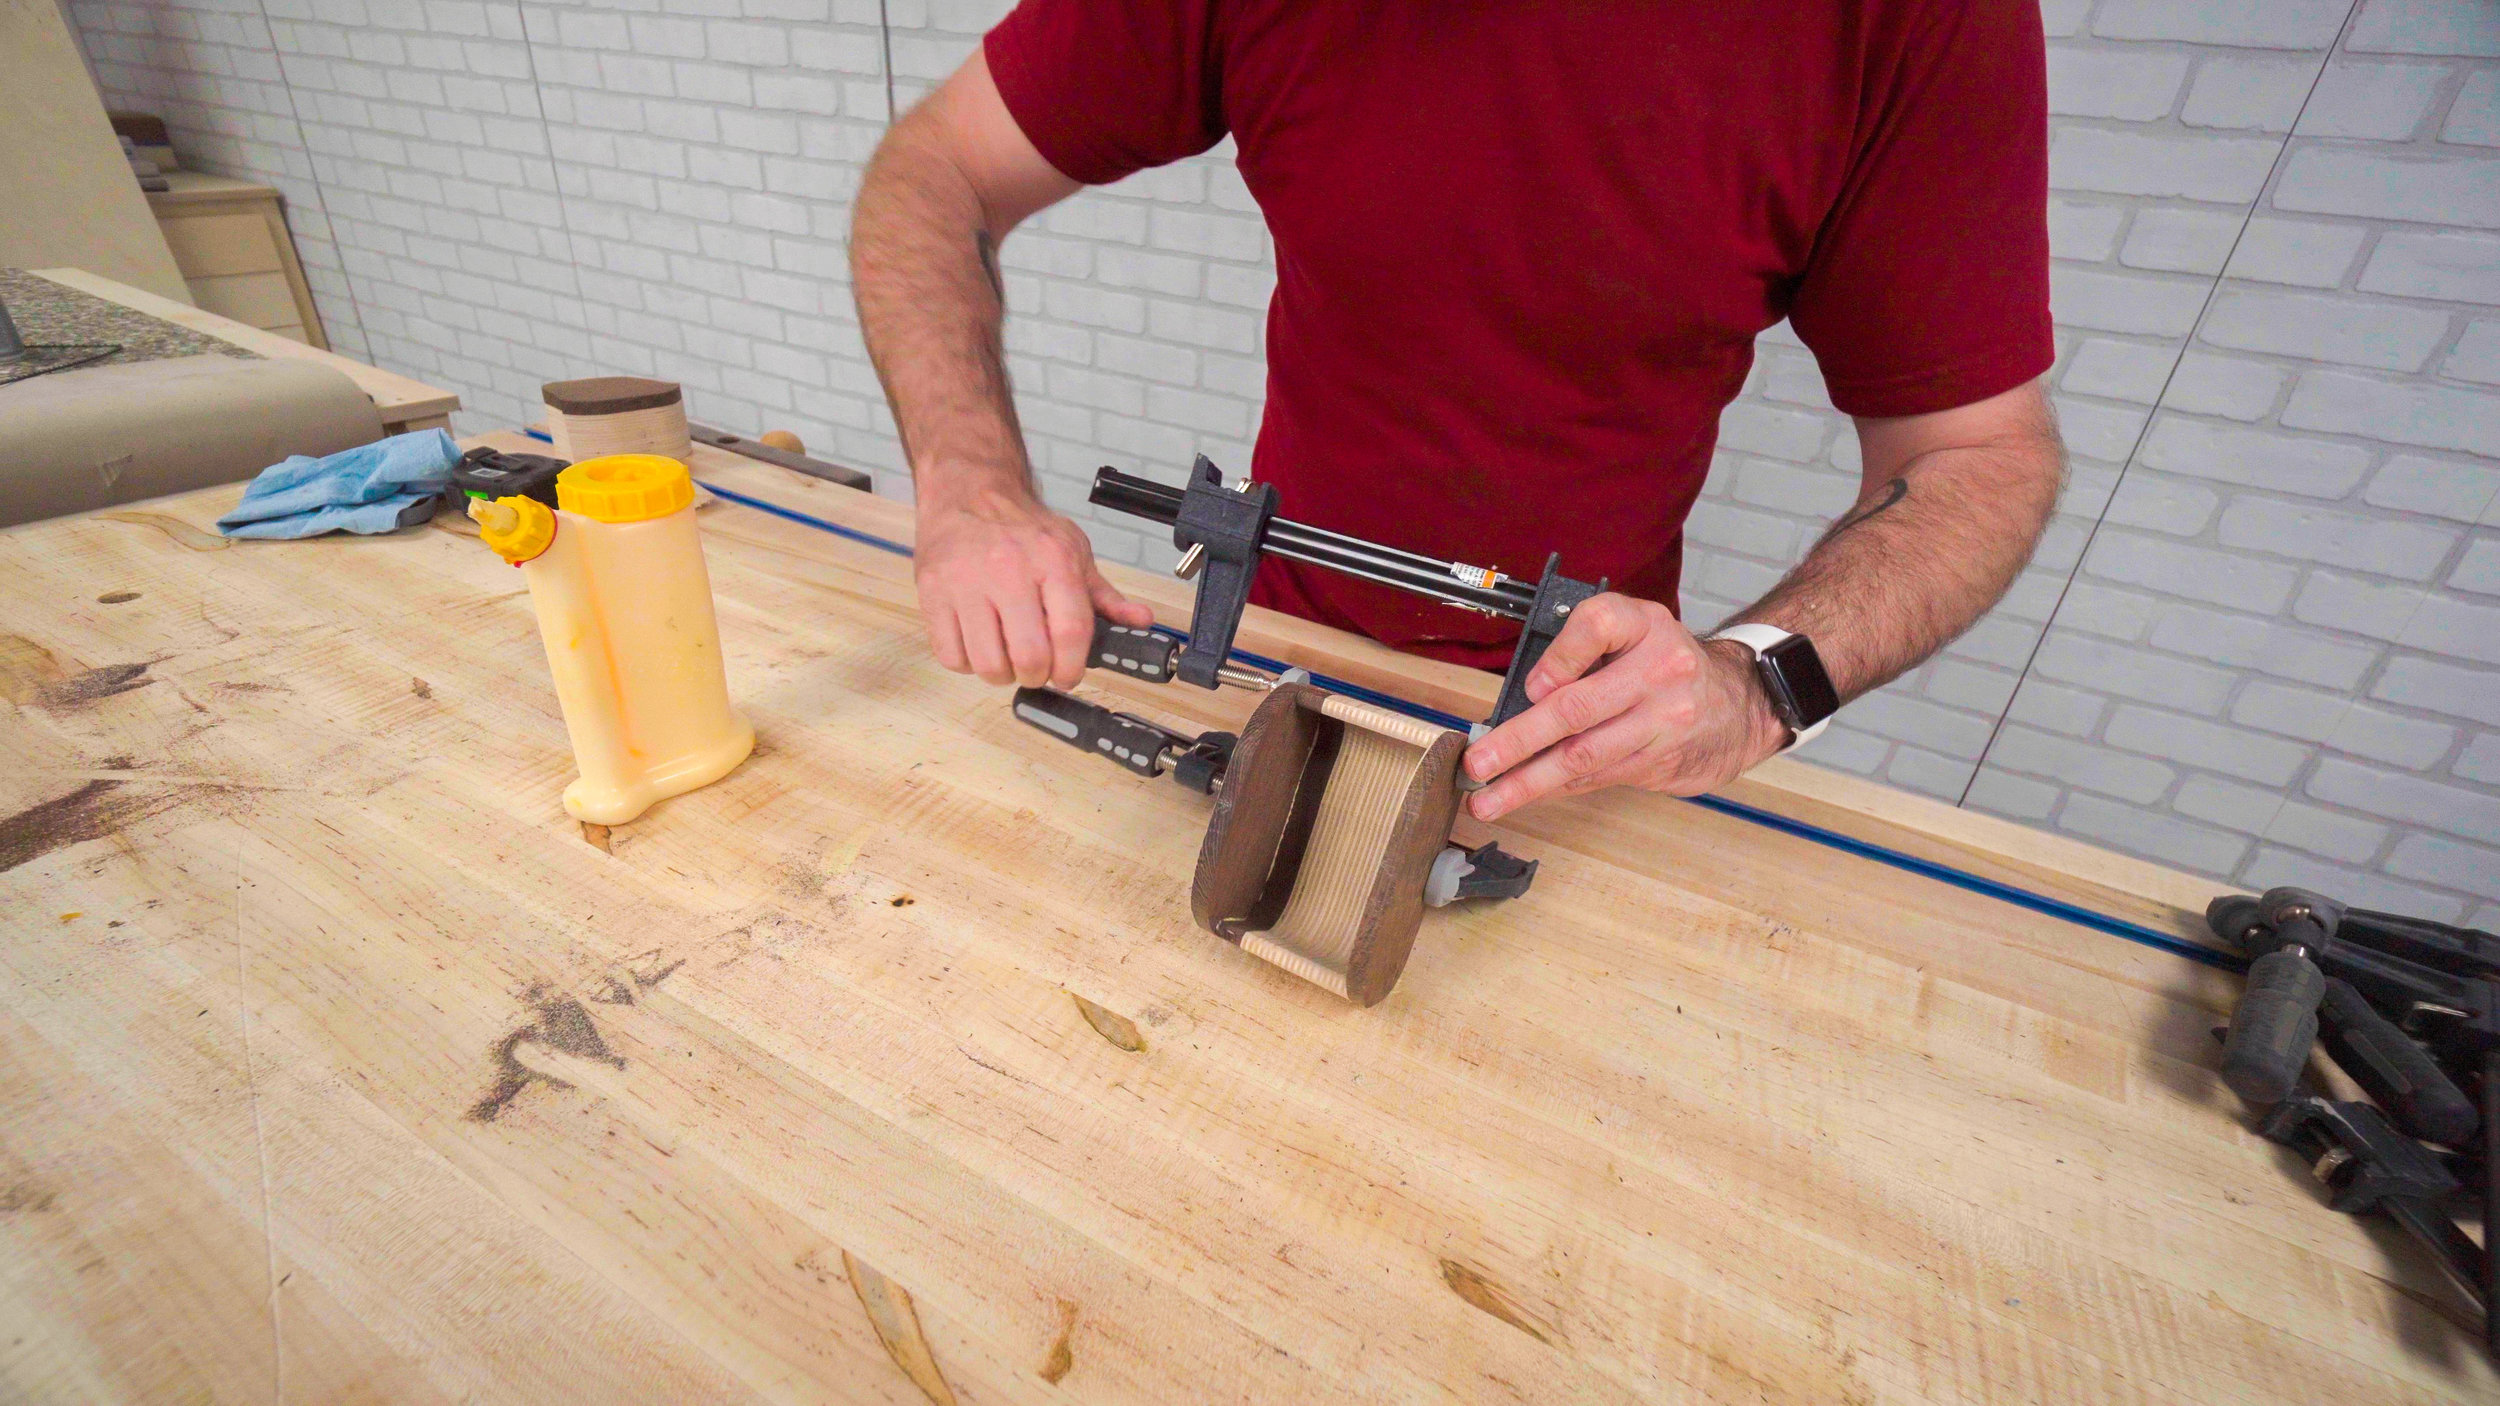
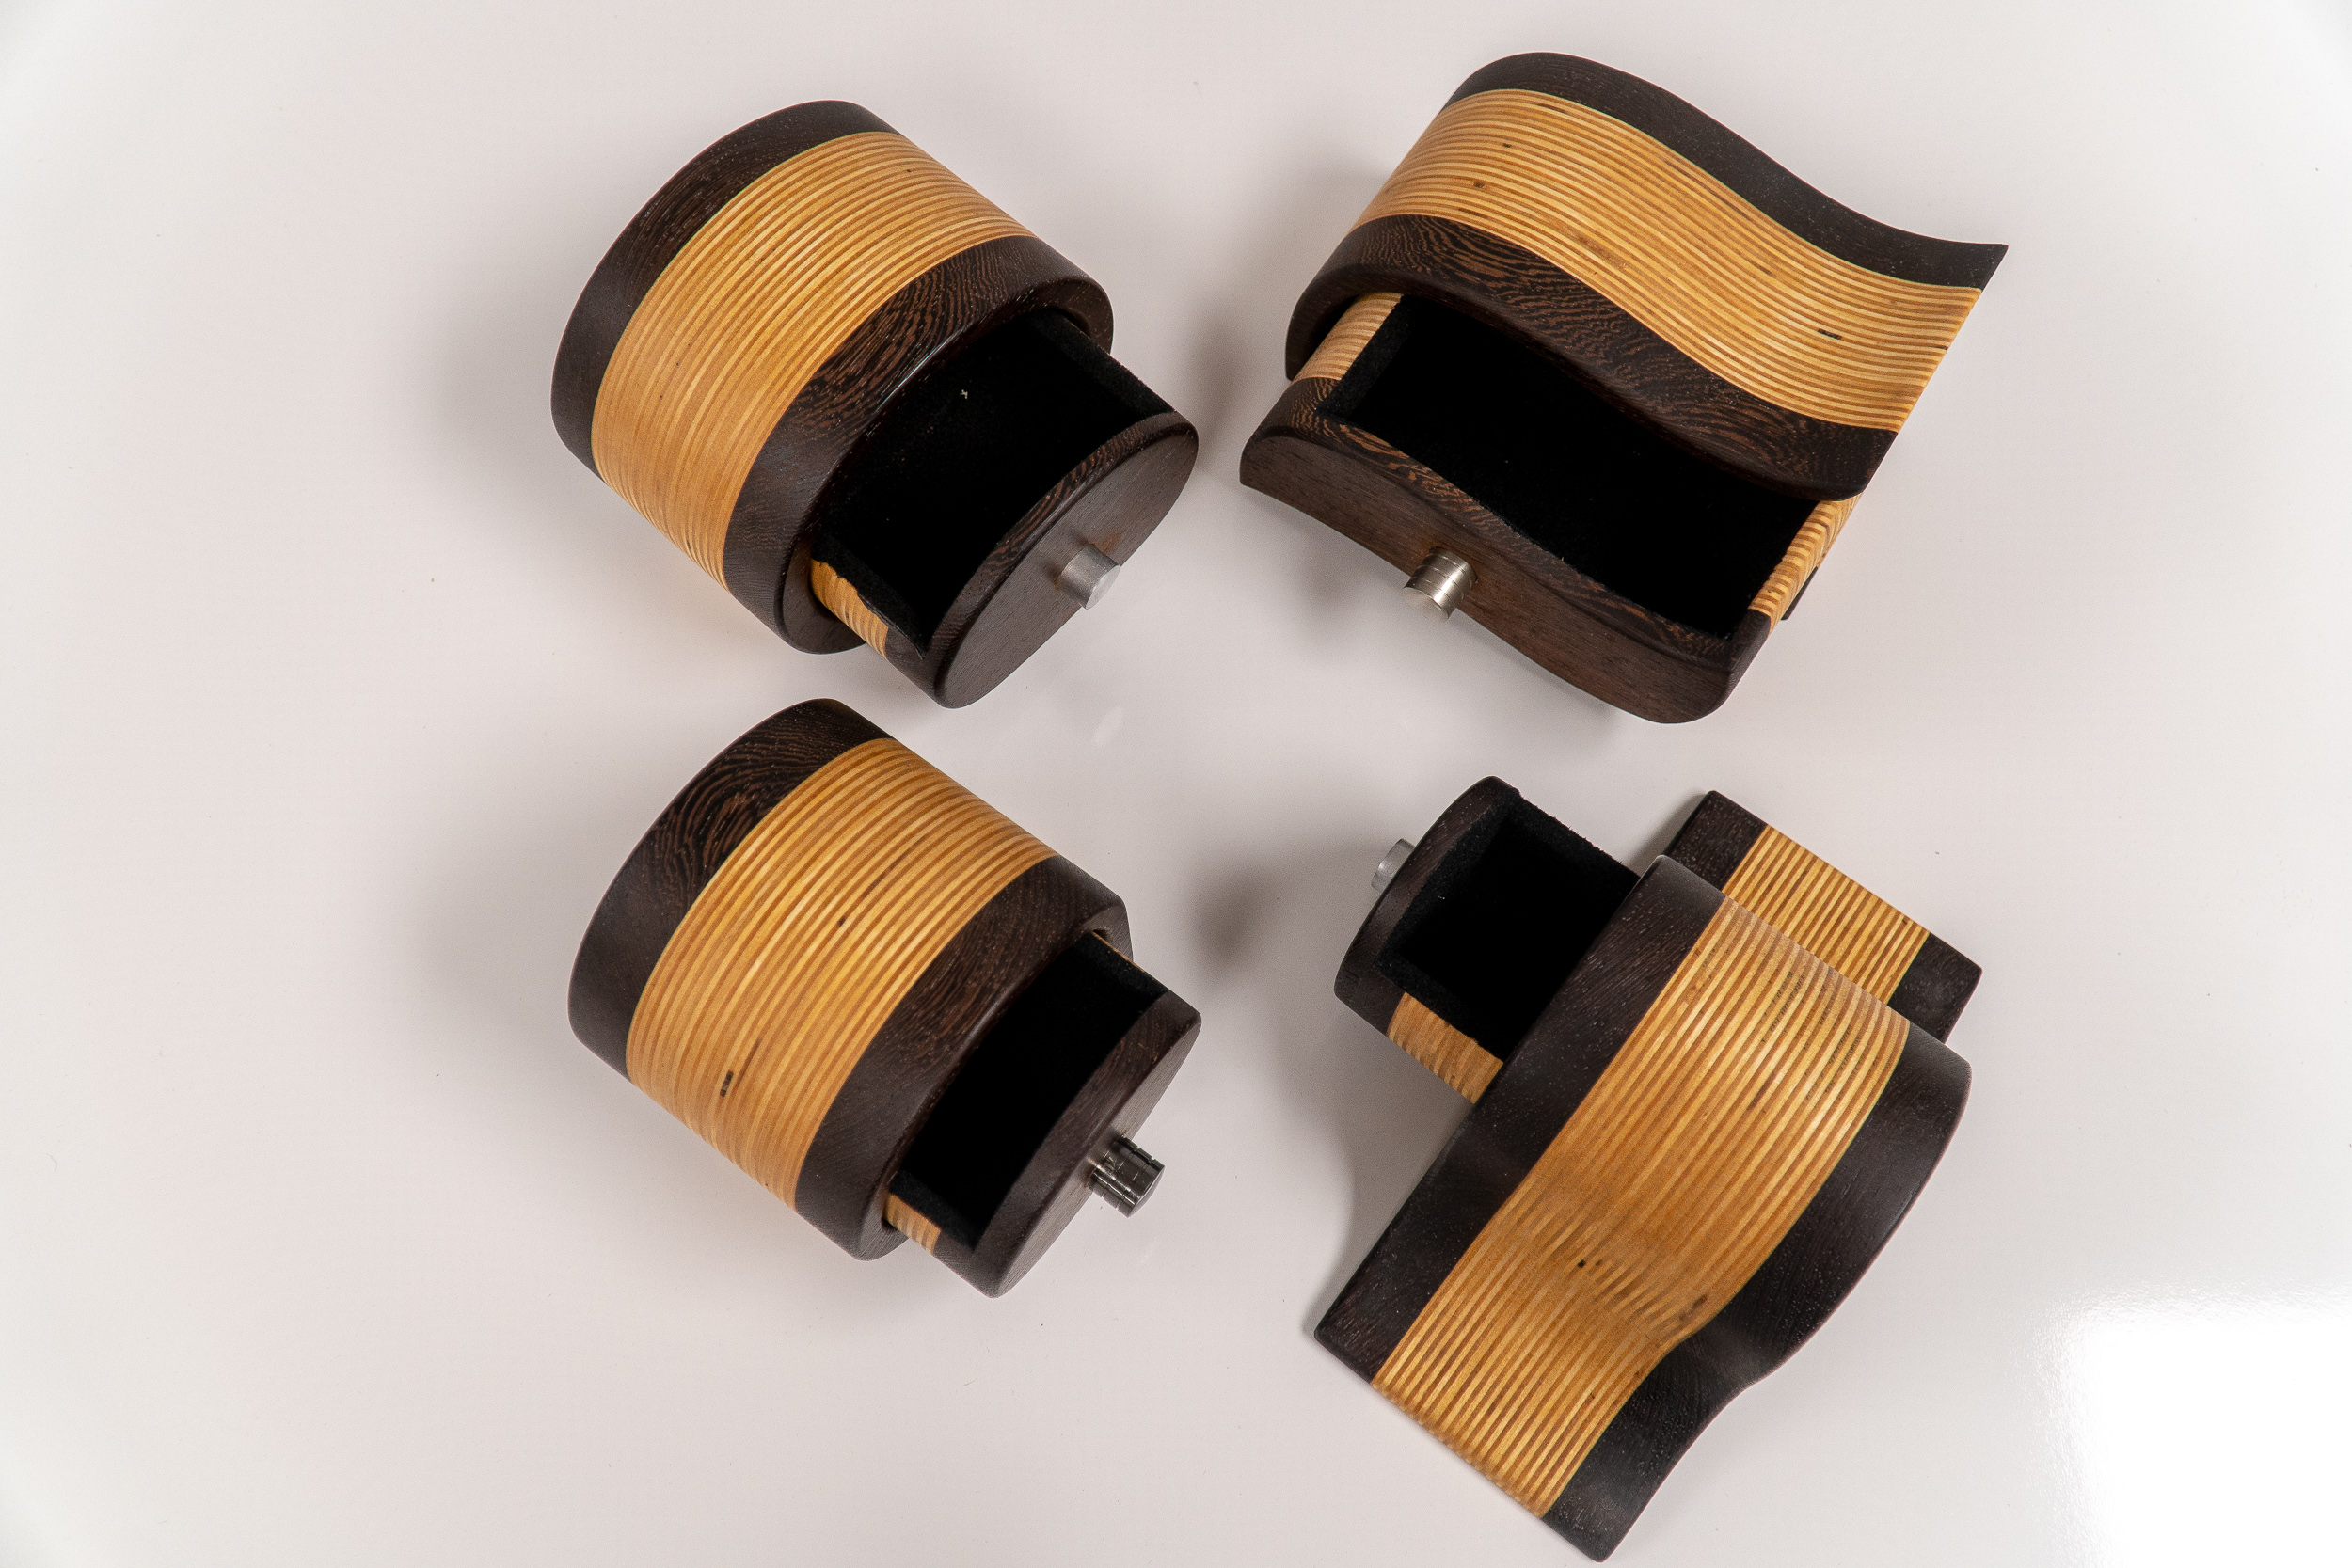
Step 9: Bandsaw Box Drawer Glue-up
You should now have three pieces to your drawer. Glue them up and clamp them with F-style clamps. Again be sure to align the grain to hide the seams. Once the glue dries you can then sand the drawer's outside shape. At this point there may not be template lines to follow so only sand off the bandsaw marks until smooth. Try to avoid sanding too much to maintain a tight fit into the shell.
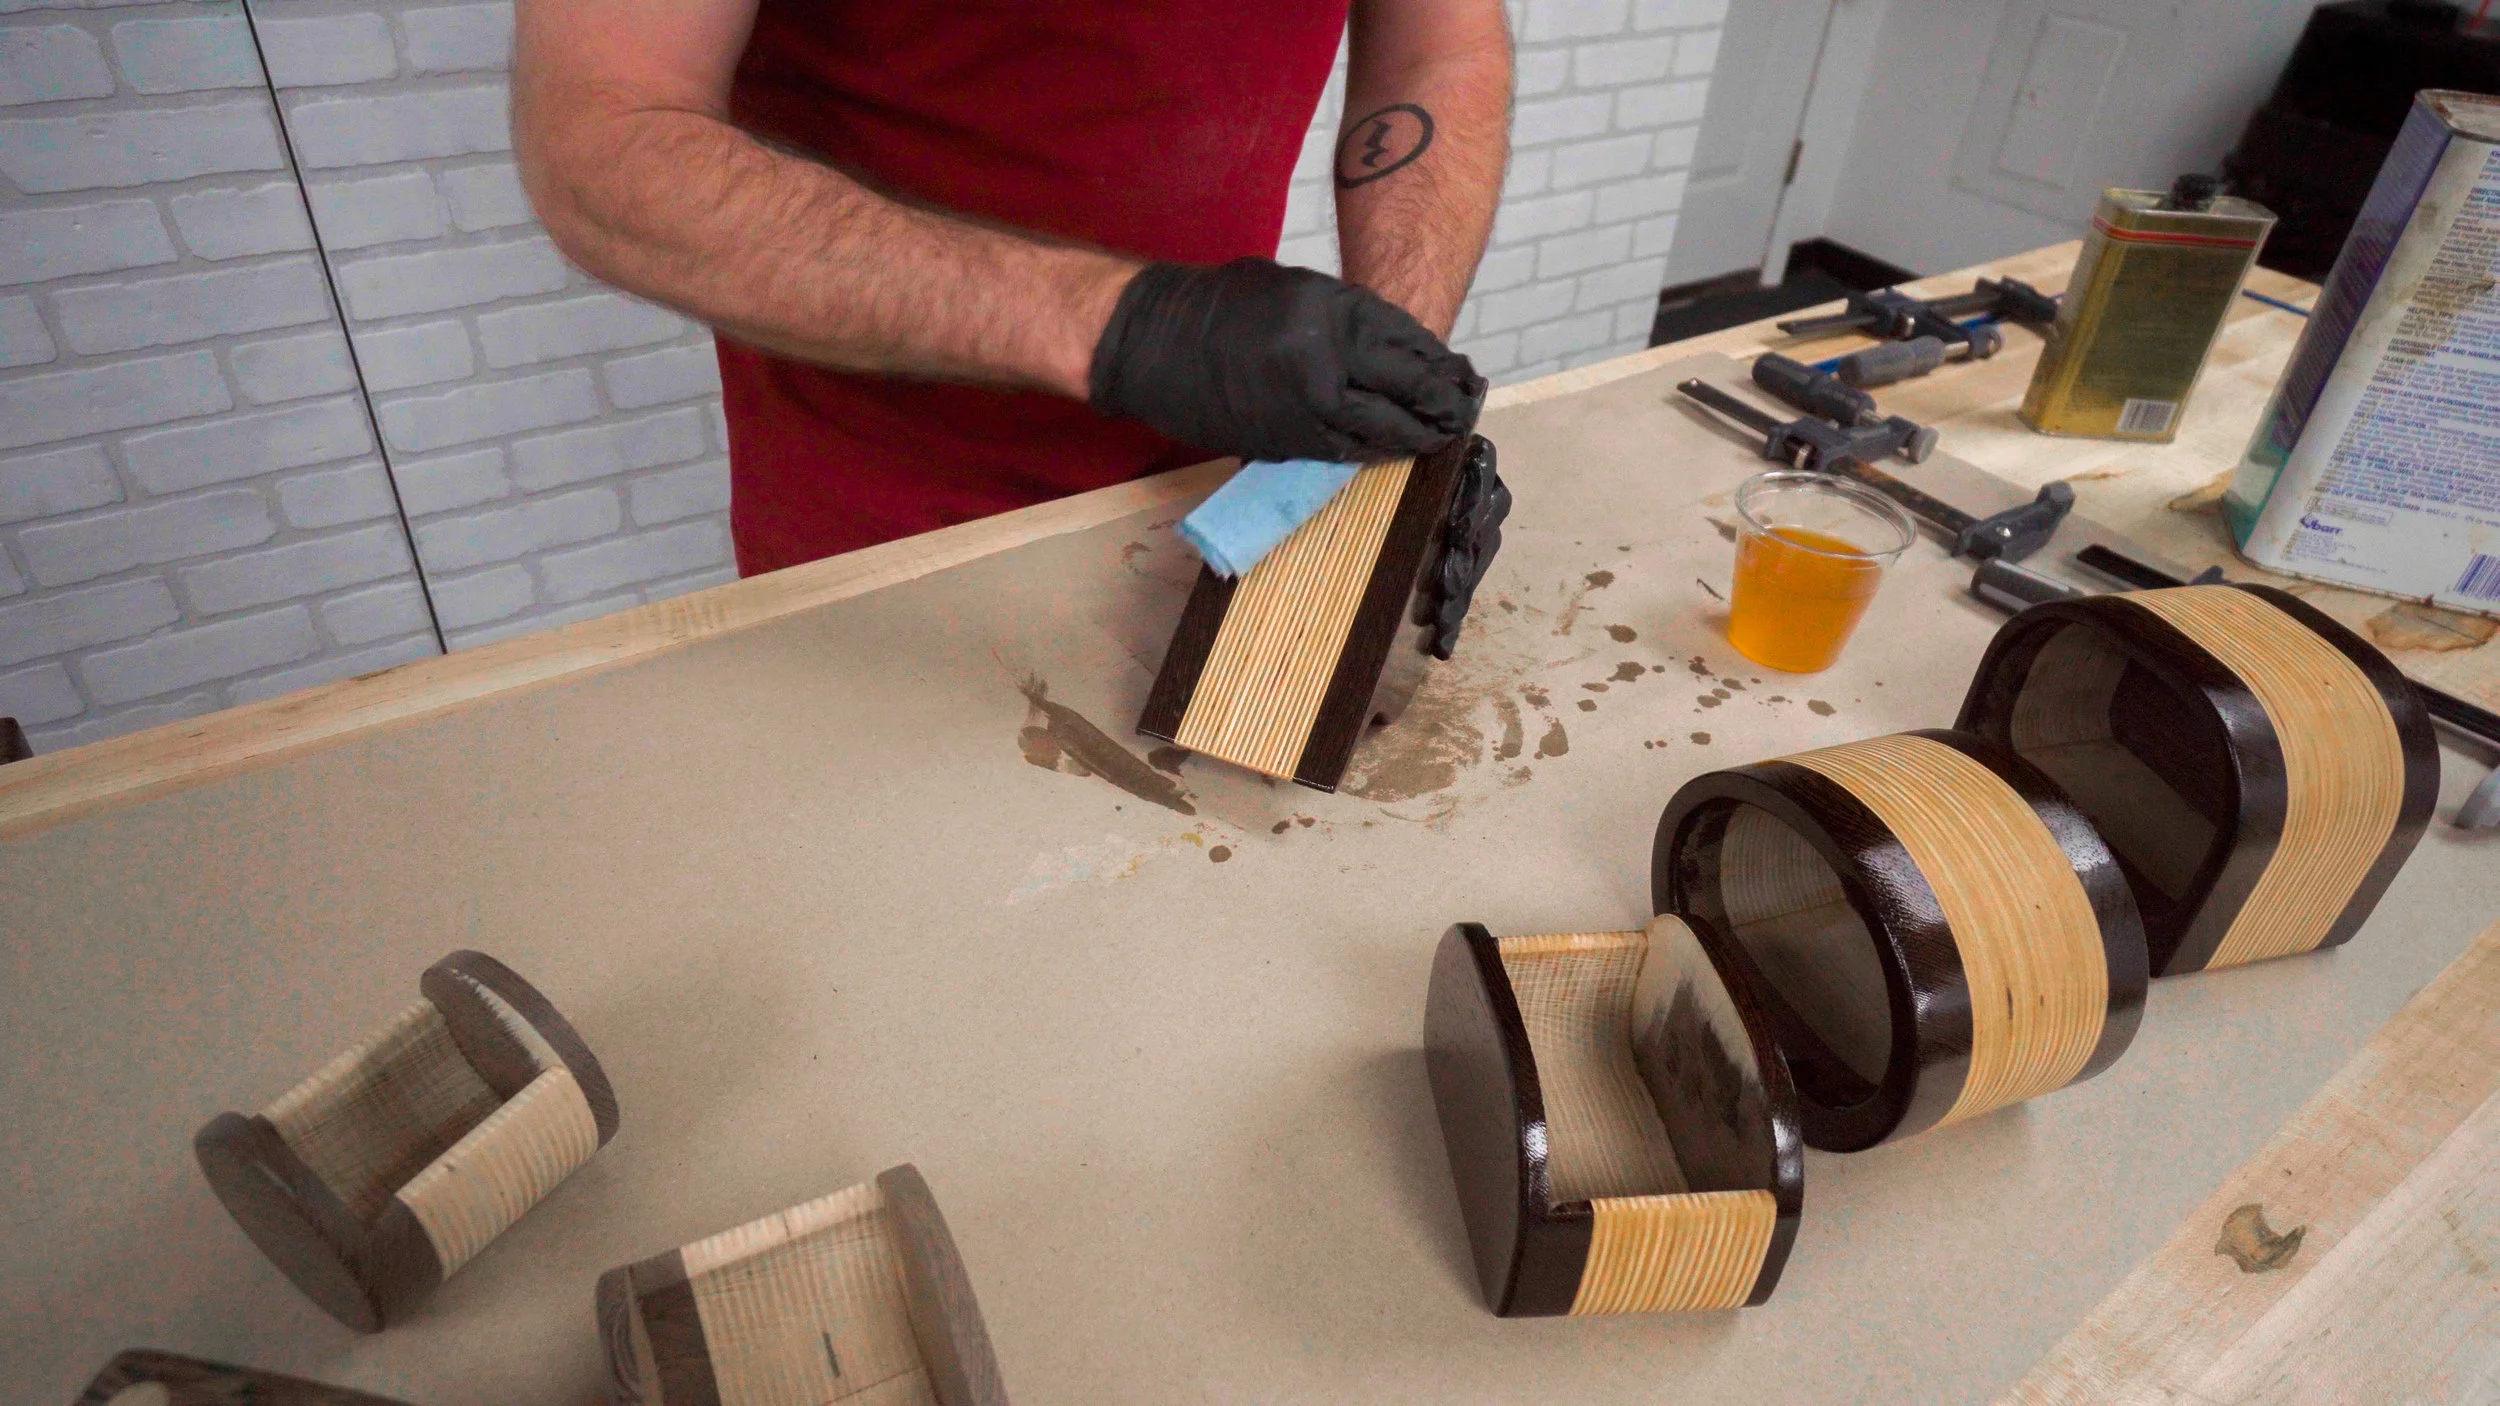
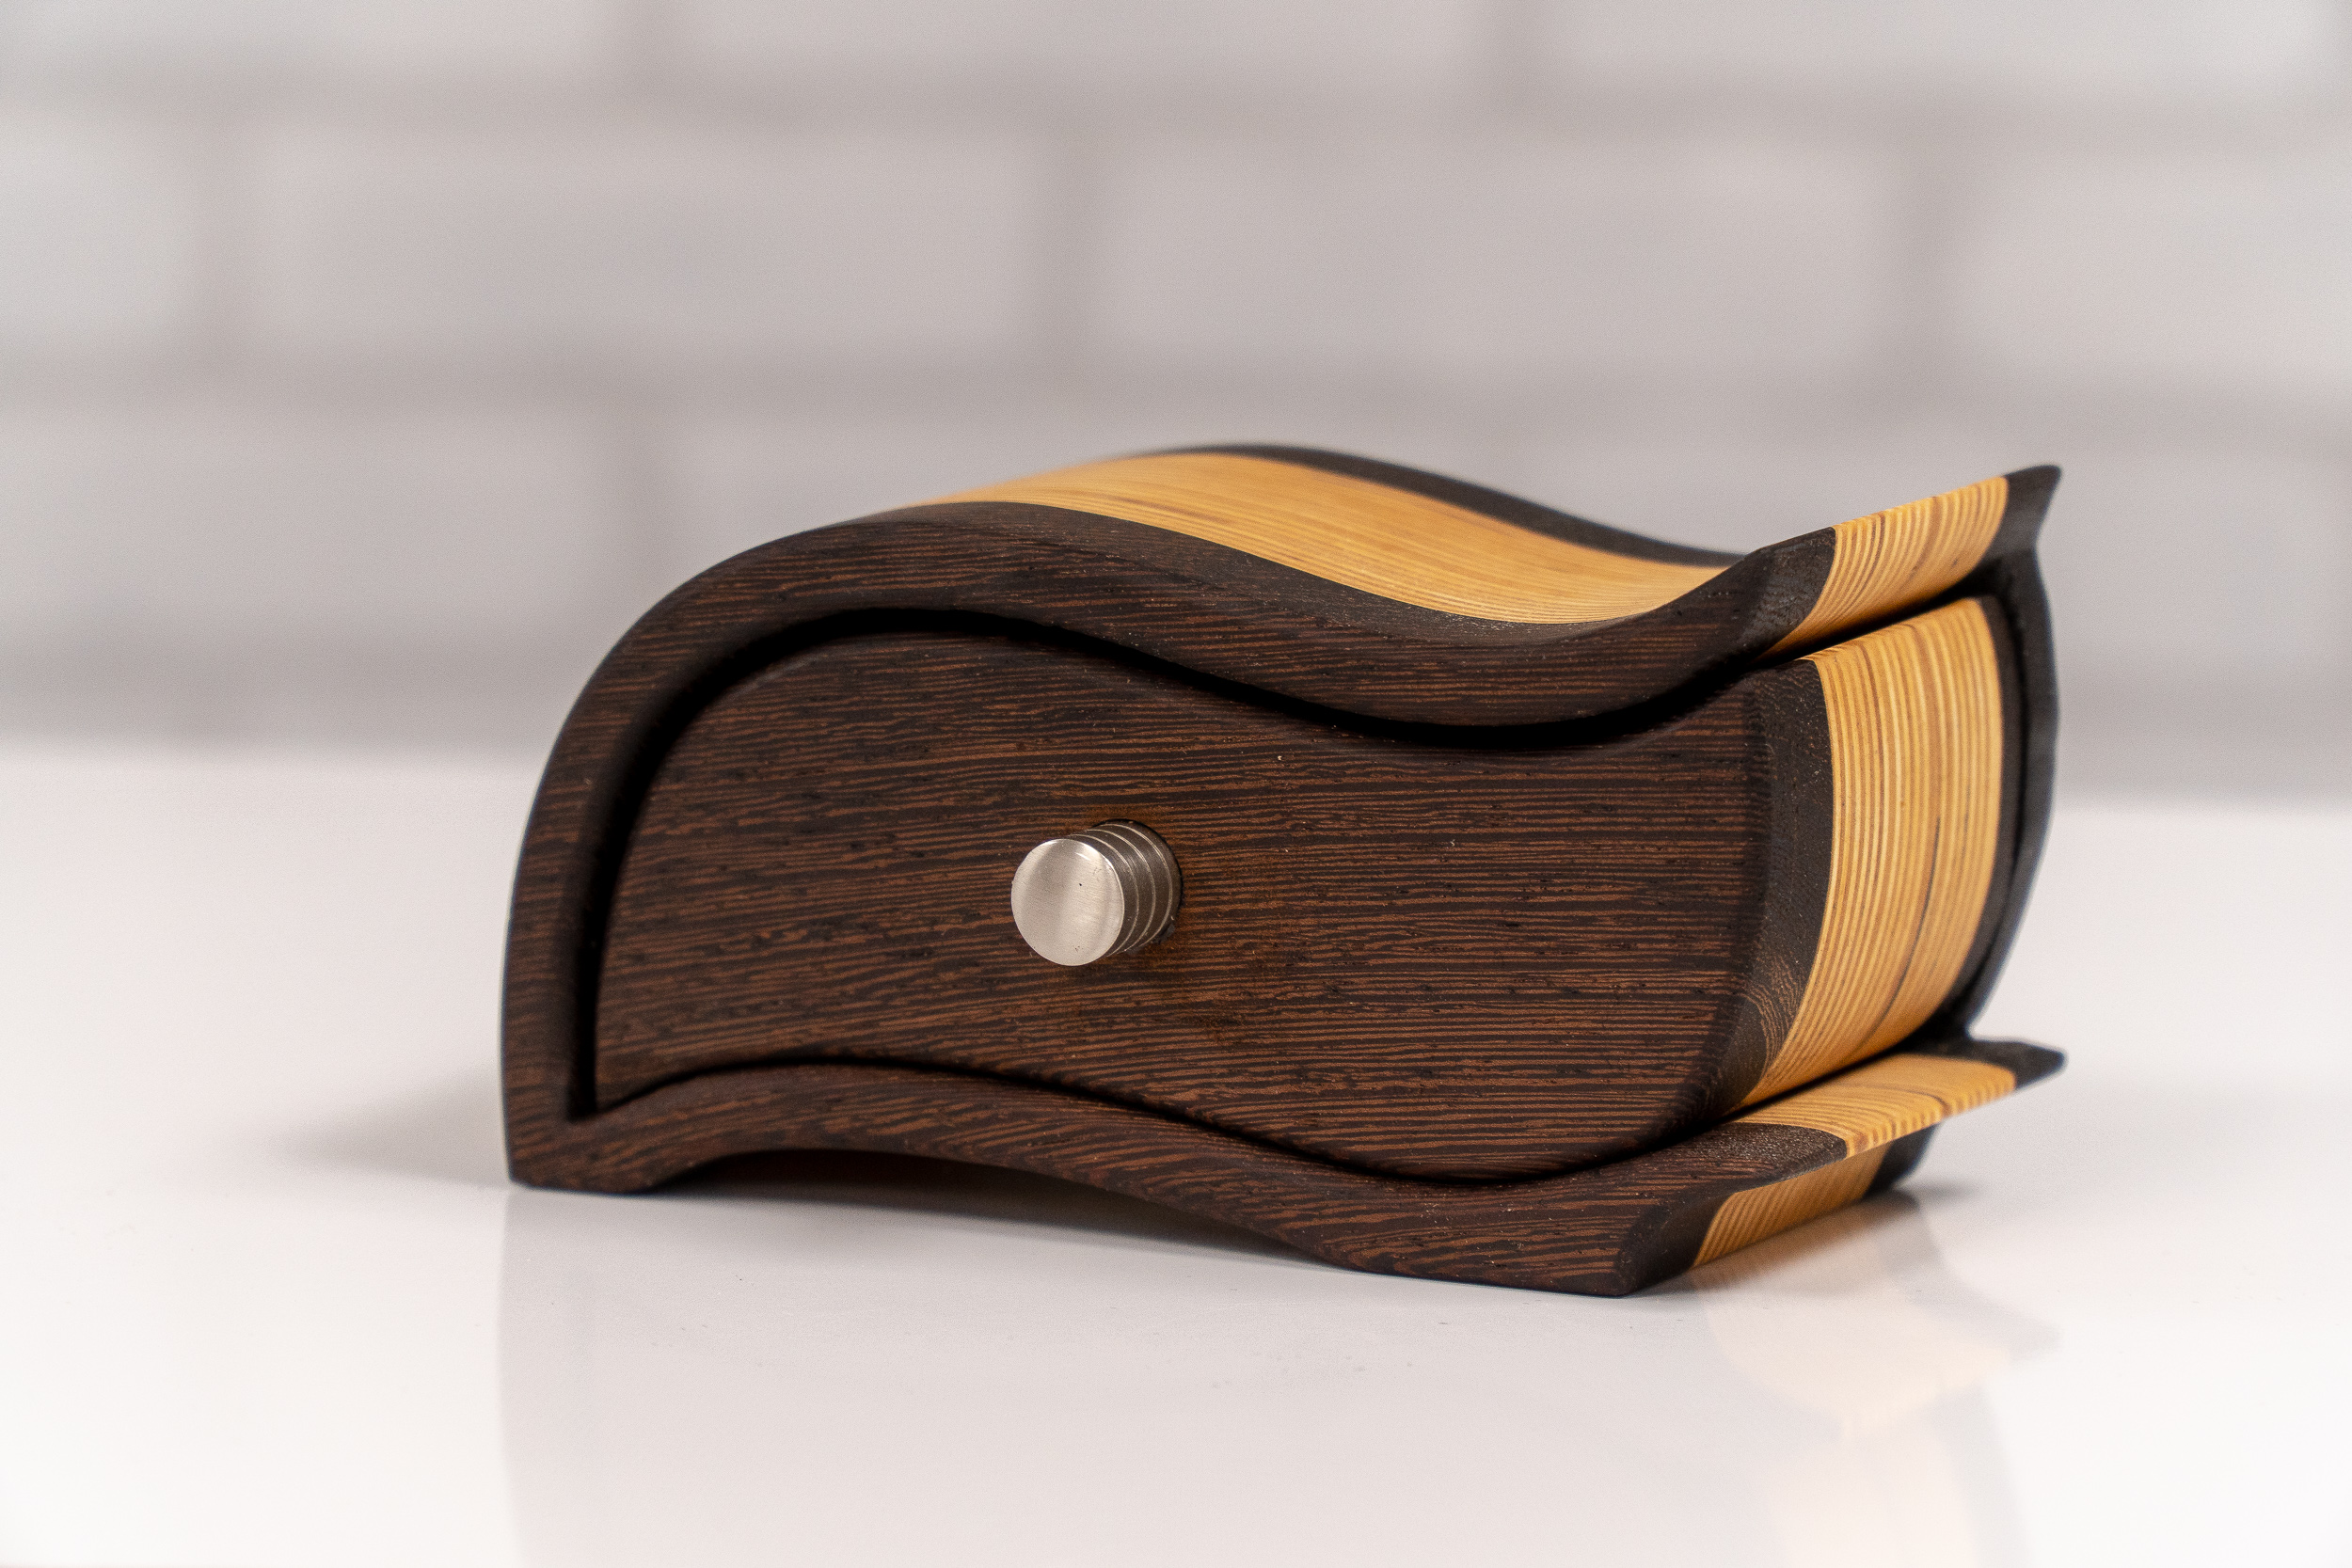
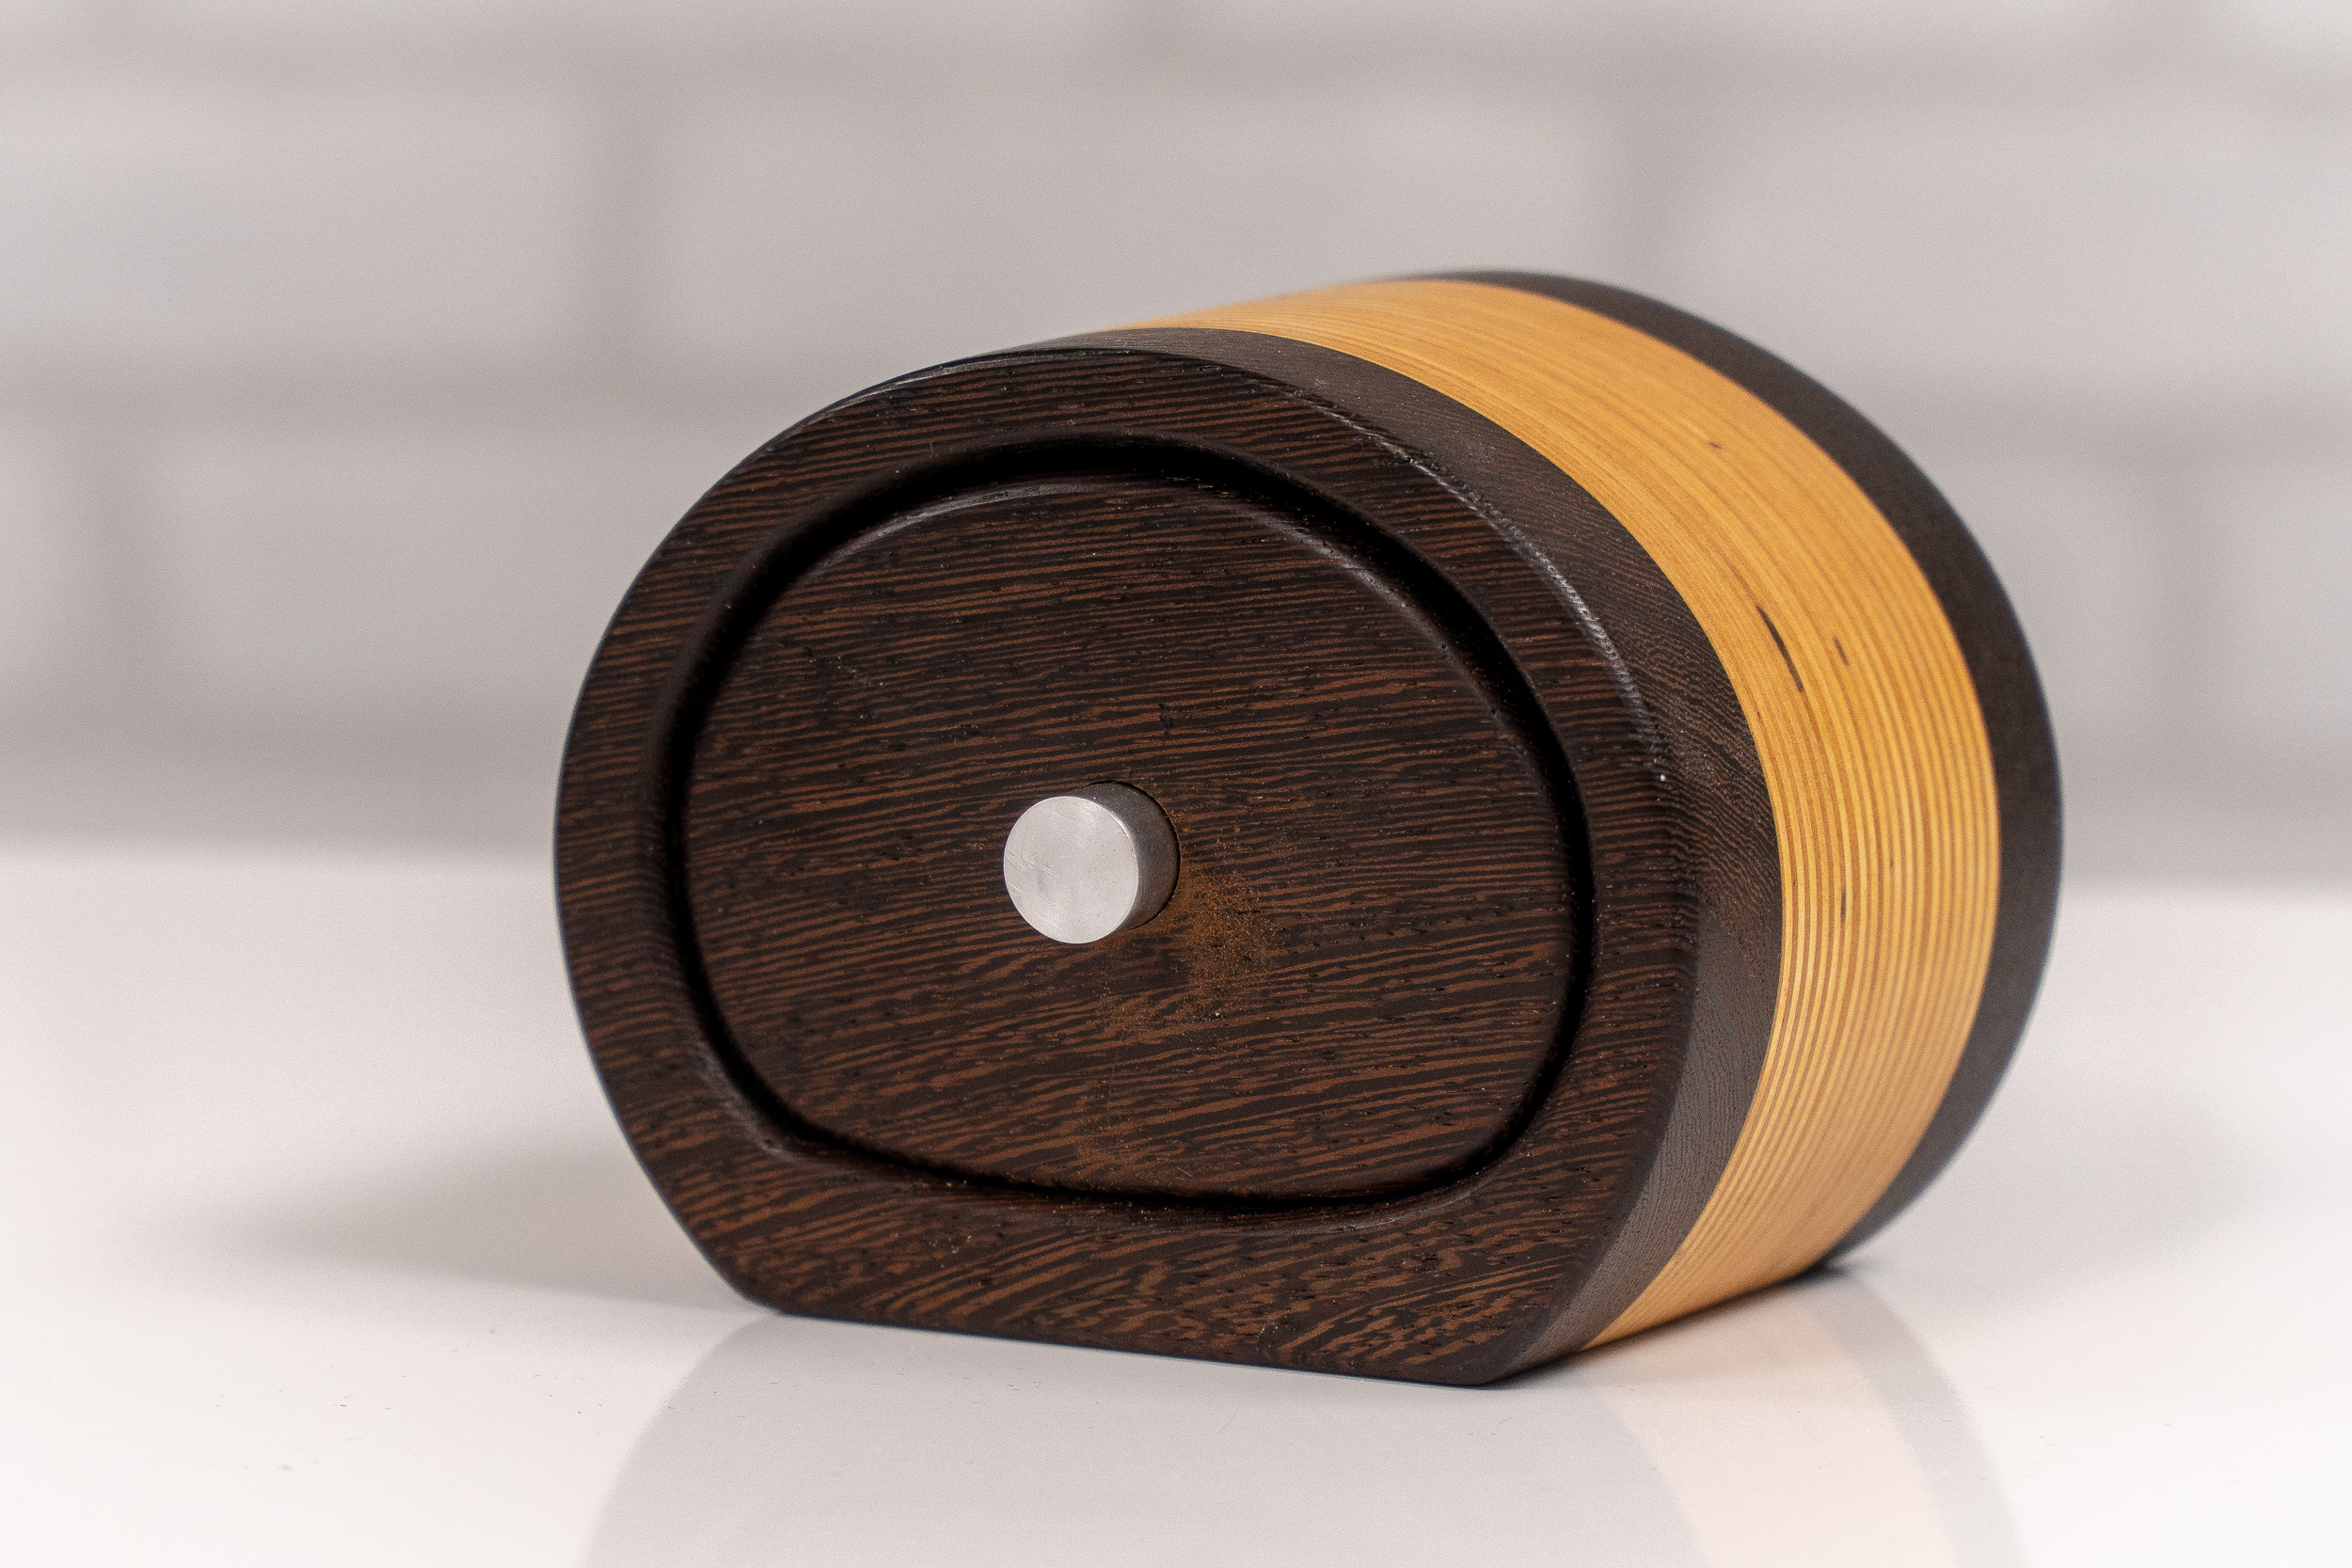
Step 10: Finishing Touches
For a finished look I like to round over the face of the drawer and all edges of the shell with a 1/8" round over bit. Sand the outside of the shell and the outside of the drawer and finish with a rub-on oil. Flock the inside of the drawer and shell and add a pull.