How To Make a Wood Cutting Board
Ask a woodworker if they’ve made a cutting board and nearly all of them will say they have in the past and still do to this day. For many it’s their first woodworking project. For others it’s their go-to project when they’re looking for an excuse to get into the shop. Every kitchen needs a cutting board and nearly every shop is equipped to make them.
Cutting boards can be as simple as a single wood board or contain dozens of pieces with multiple wood species and shapes. Some require very few woodworking tools and others require a whole shop full of tools. The beauty of cutting boards is that no matter what your skill level or how many tools you have, you can make beautiful, useful cutting boards.
What You Need to Know About Making Cutting Boards
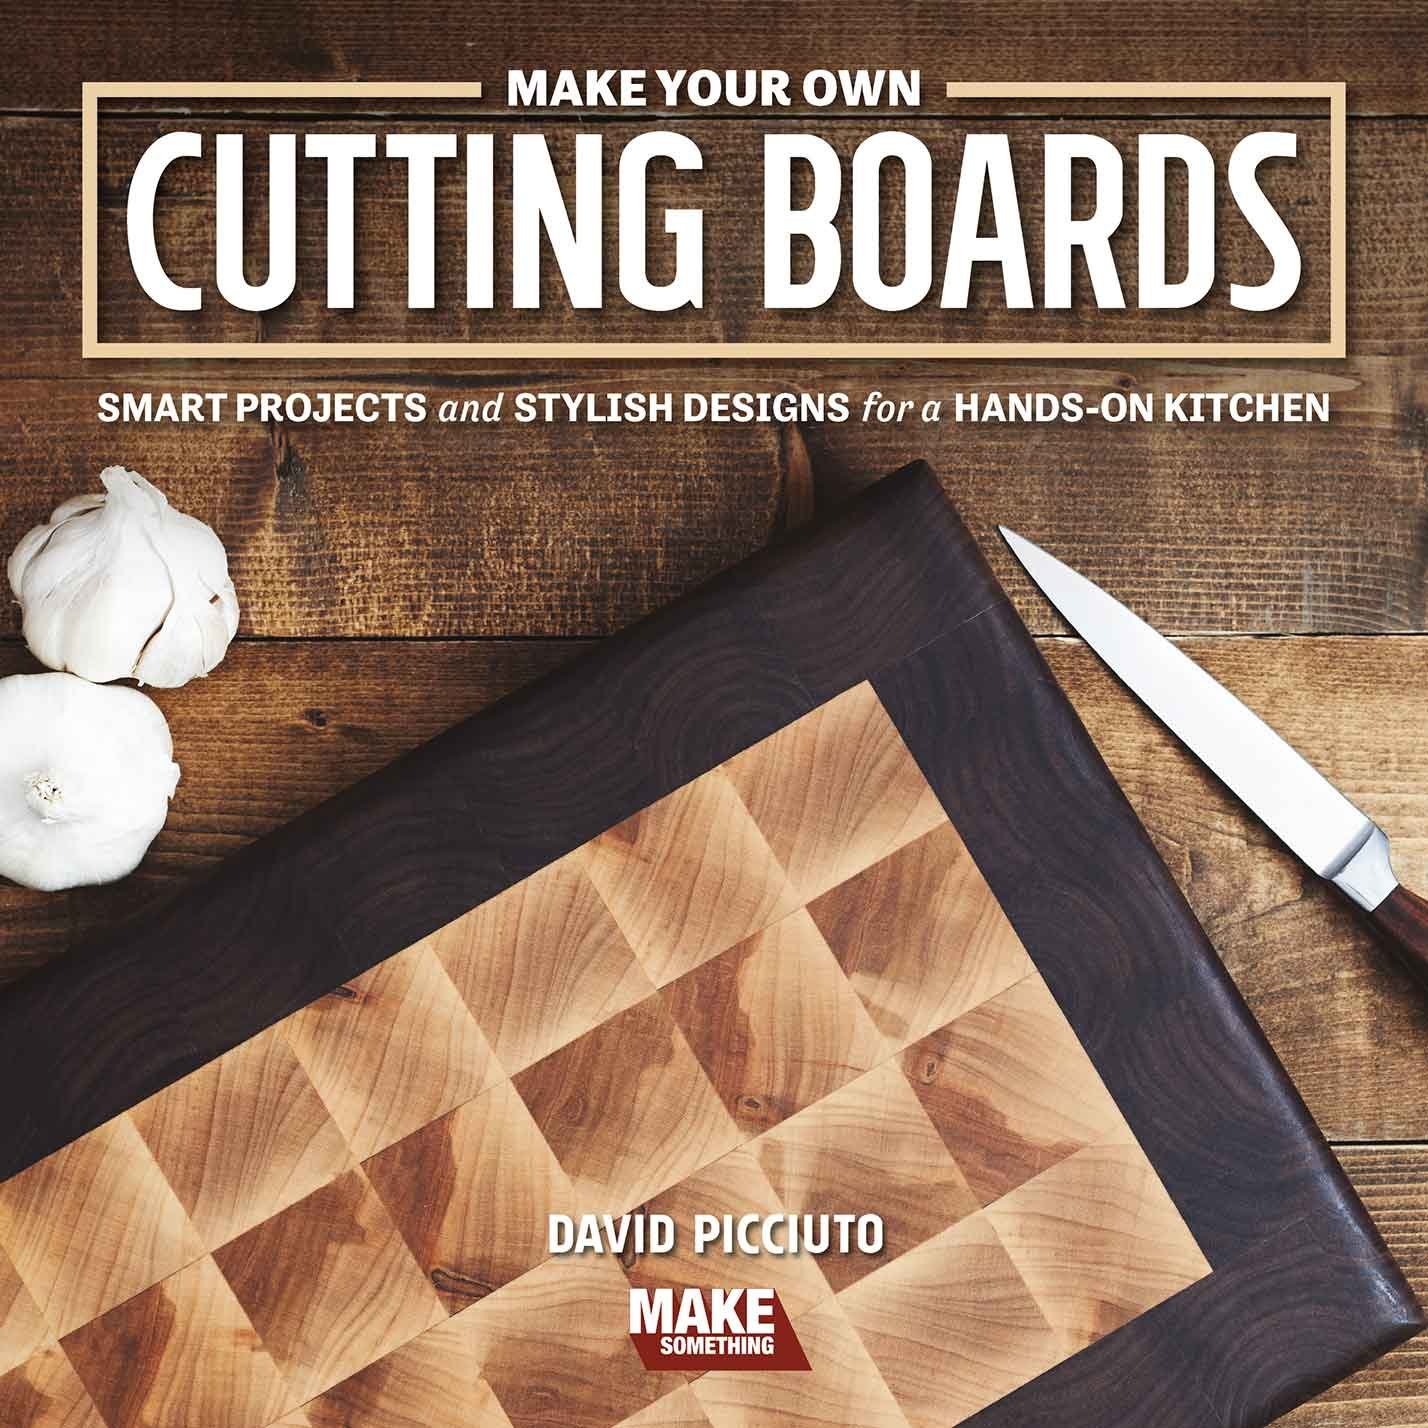
Cutting Board Book with 15 Projects for Woodworkers
Cutting Board Video Tutorials
Choosing The Best Wood for Cutting Boards
How to Finish a Cutting Board with Food Safe Finish
Get the Only Book on Making Cutting Boards! Includes 15 Projects You Can Make and Sell!
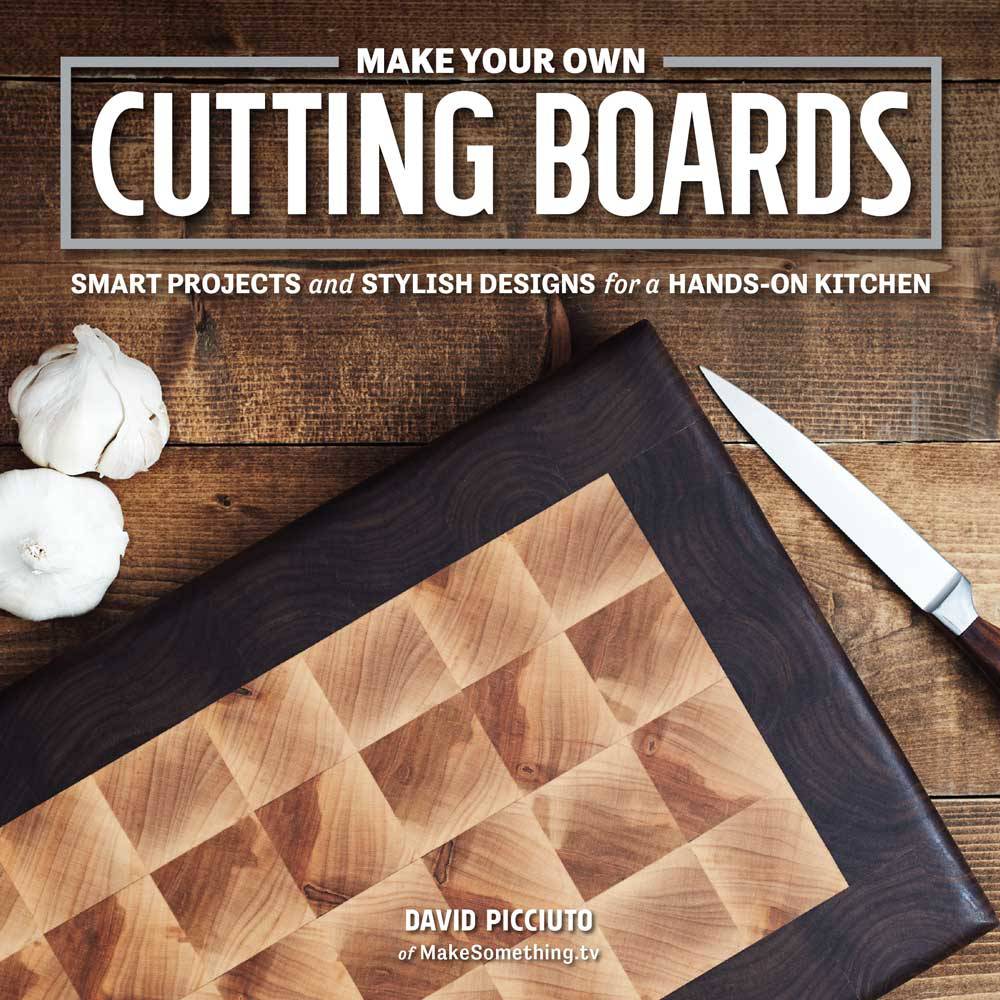
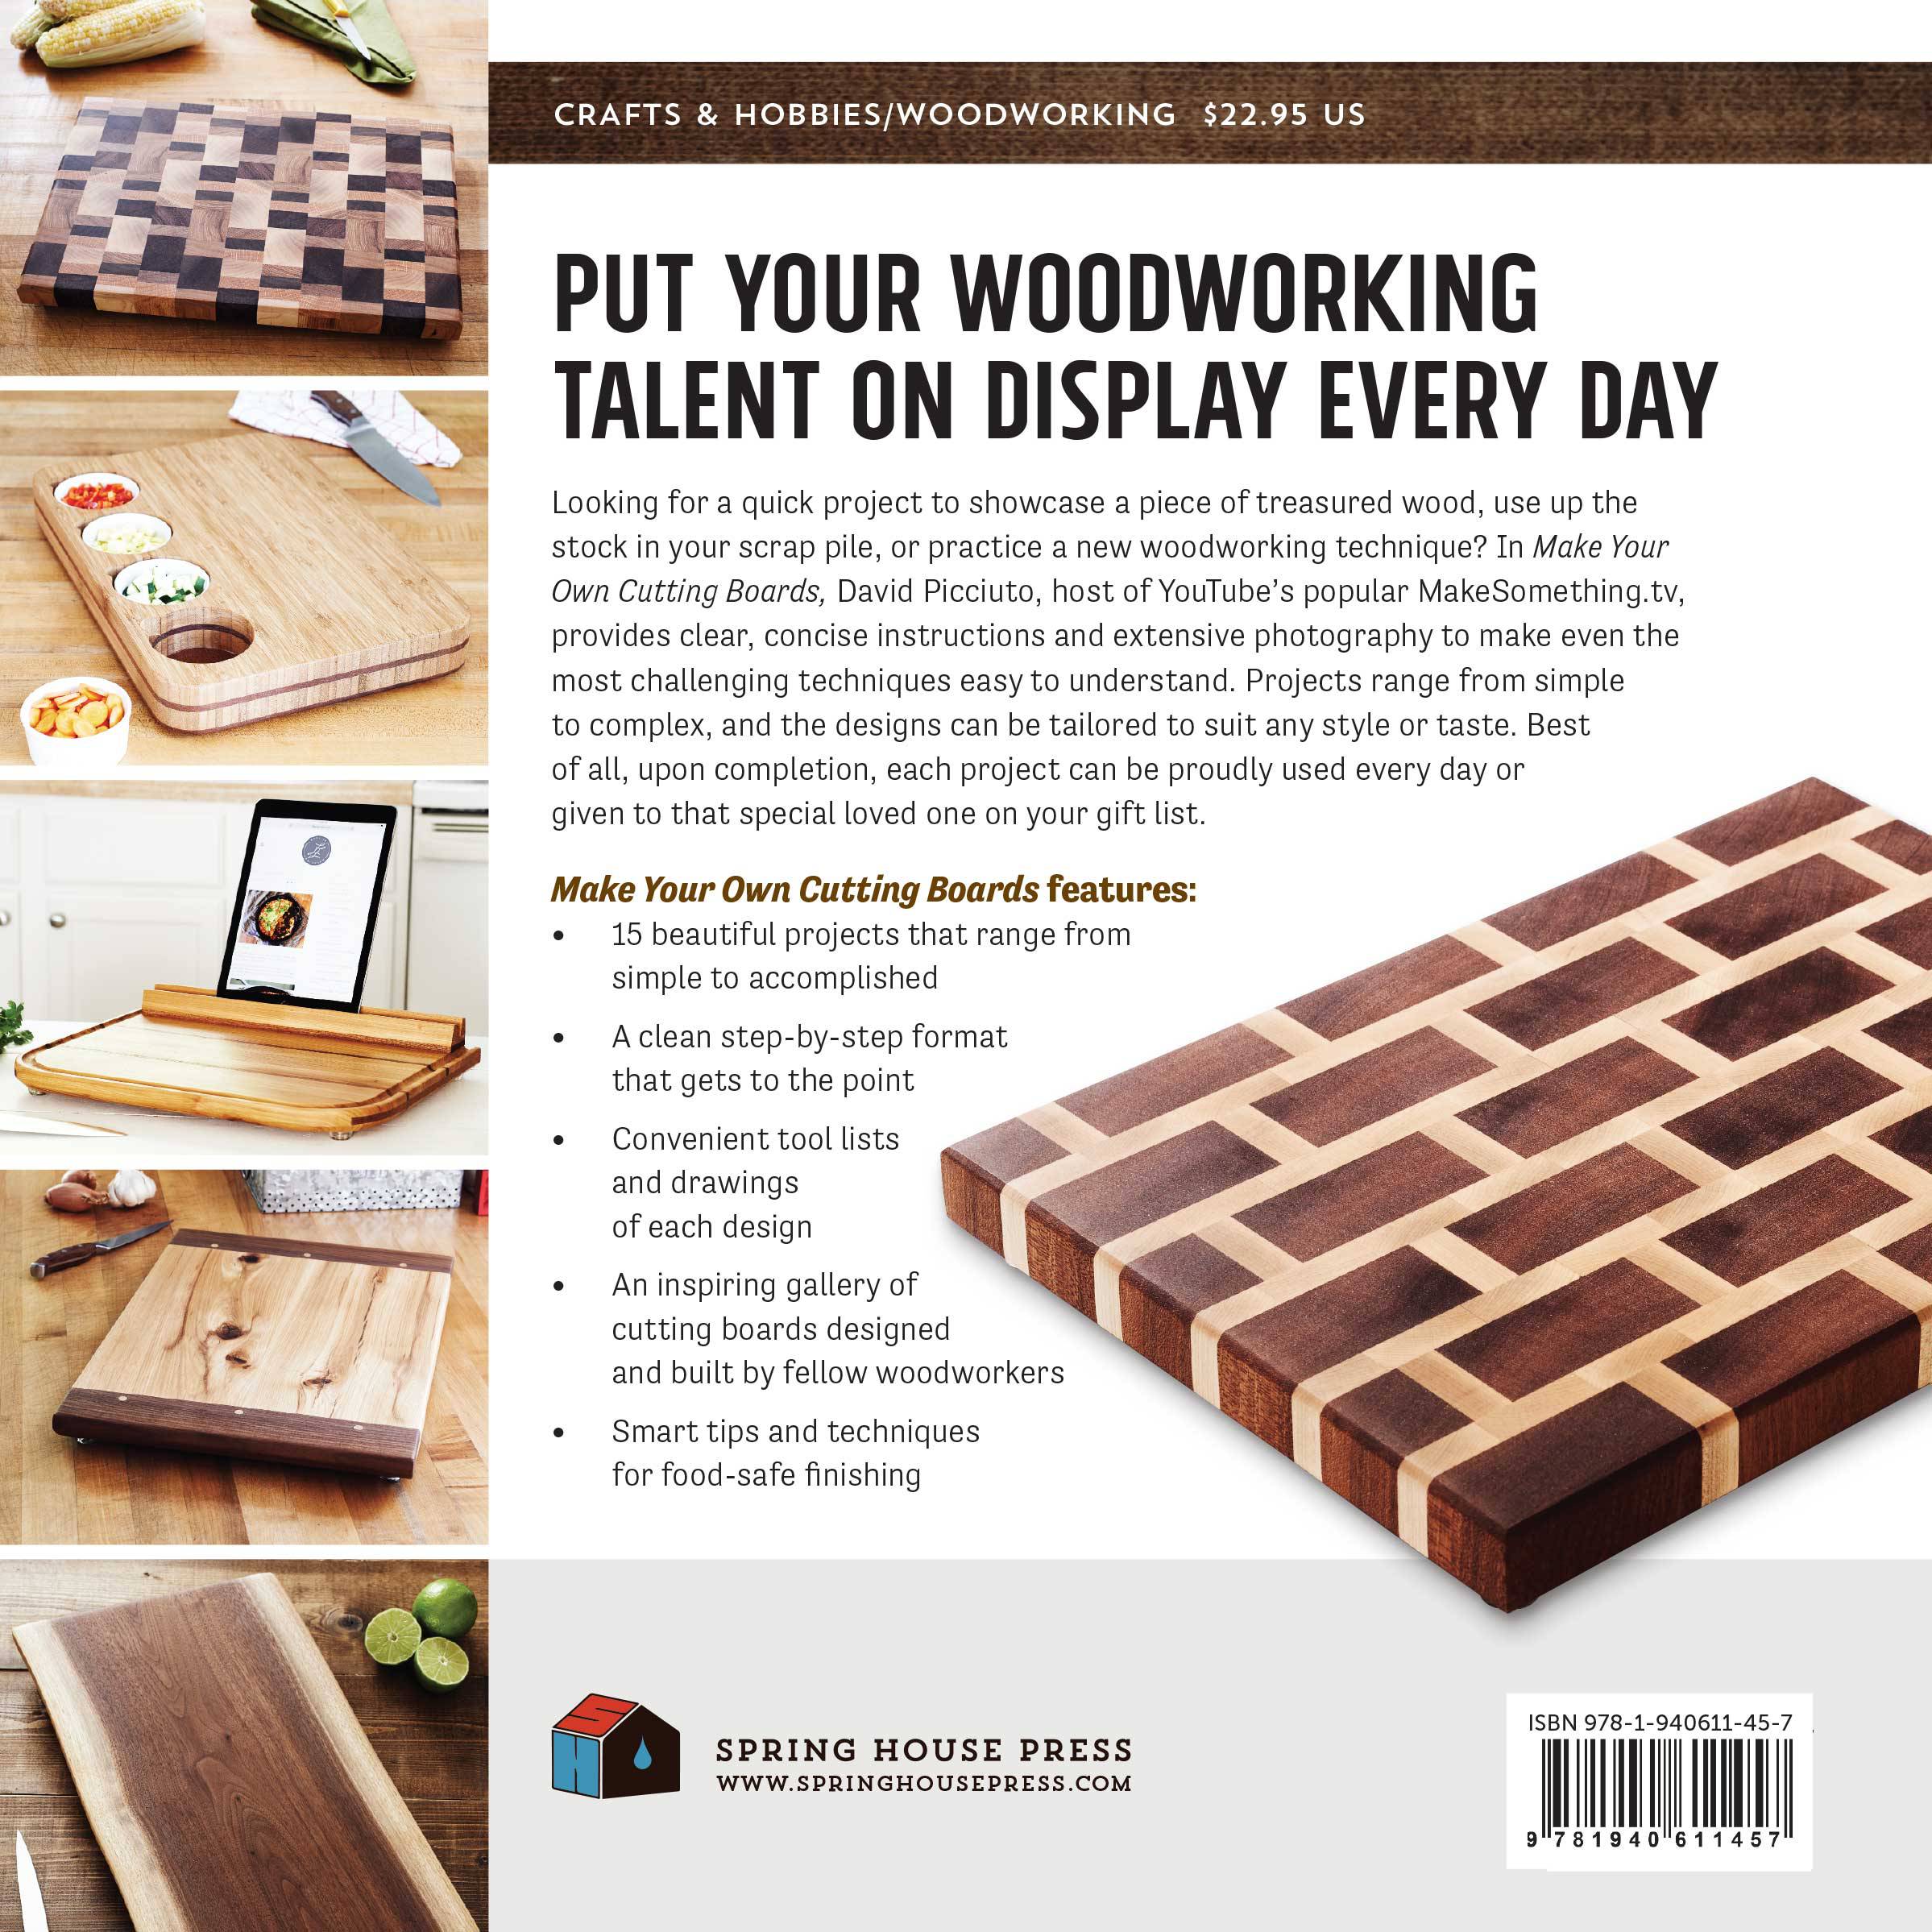


The projects in this book range from simple to complex and the finished designs can be tailored to suit any style or taste. Best of all, upon completion, each project can be proudly used or given to that special loved one on your gift list. Extensive photography and clear, concise instructions make even the most challenging techniques easy to understand and conquer. Each book is signed and shipped directly from me.
NOTE: If you order multiple products they may ship separately.
If you’re a beginner looking for a great first project or a craftsman looking to showcase a piece of treasured wood, it’s hard to deny the appeal of the cutting boards. The projects range from simple to complex and the finished designs can be tailored to suit any style or taste. Best of all, upon completion, each project can be proudly used or given to that special loved one on your gift list. Extensive photography and clear, concise instructions make even the most challenging techniques easy to understand and conquer. A gallery of inspiring designs is also included to spark your own cutting board styles.
Cutting Board Video Tutorials
Making an end grain cutting board from scraps. This cutting board project comes from my book.
How to make a cutting board with a decorative inlay. It’s easier than you may think!
Easy to make cutting board with a cutout for a strainer. Perfect for using over your sink to cut vegetables and fruit.
Making an Alaskan ulu knife out of sheet metal and wood with a mating cutting board.
Choosing the Best Wood For Cutting Boards
When choosing woods for cutting boards, look for dense hardwoods, as they are more durable and can stand up to kitchen tasks. You should also lean toward woods that don’t contain an excess of natural oils. Some people have a sensitivity to these oils, and you don’t want your cutting board to alter the taste of your food.
Most people also stay away from spalted and reclaimed woods because you don’t always know what you’re dealing with. If you do use spalted or reclaimed woods, be sure to seal the surface so that it won’t a affect the food in any way. In general, North American hardwoods like maple, walnut, and cherry are commonly used in cutting boards, and rare exotic woods should be avoided. Whatever woods you choose, do your research on food safety before venturing into the unknown.
How to Finish a Cutting Board with a Food Safe Finish
Sand
Raise the Grain
Remove the Raised Grain
Oil the Cutting Board
Even More Oil
Melt Wax and Mix
Applying Wax Mixture
Buff
There are many ways to finish a cutting board and no finish is maintenance free. The more you use the cutting board, the more you’ll need to apply more finish. The finish I like to use takes a two-step process. The first step is applying mineral oil that seeps deep into the wood, and the second step adds a protective film on top of the surface.
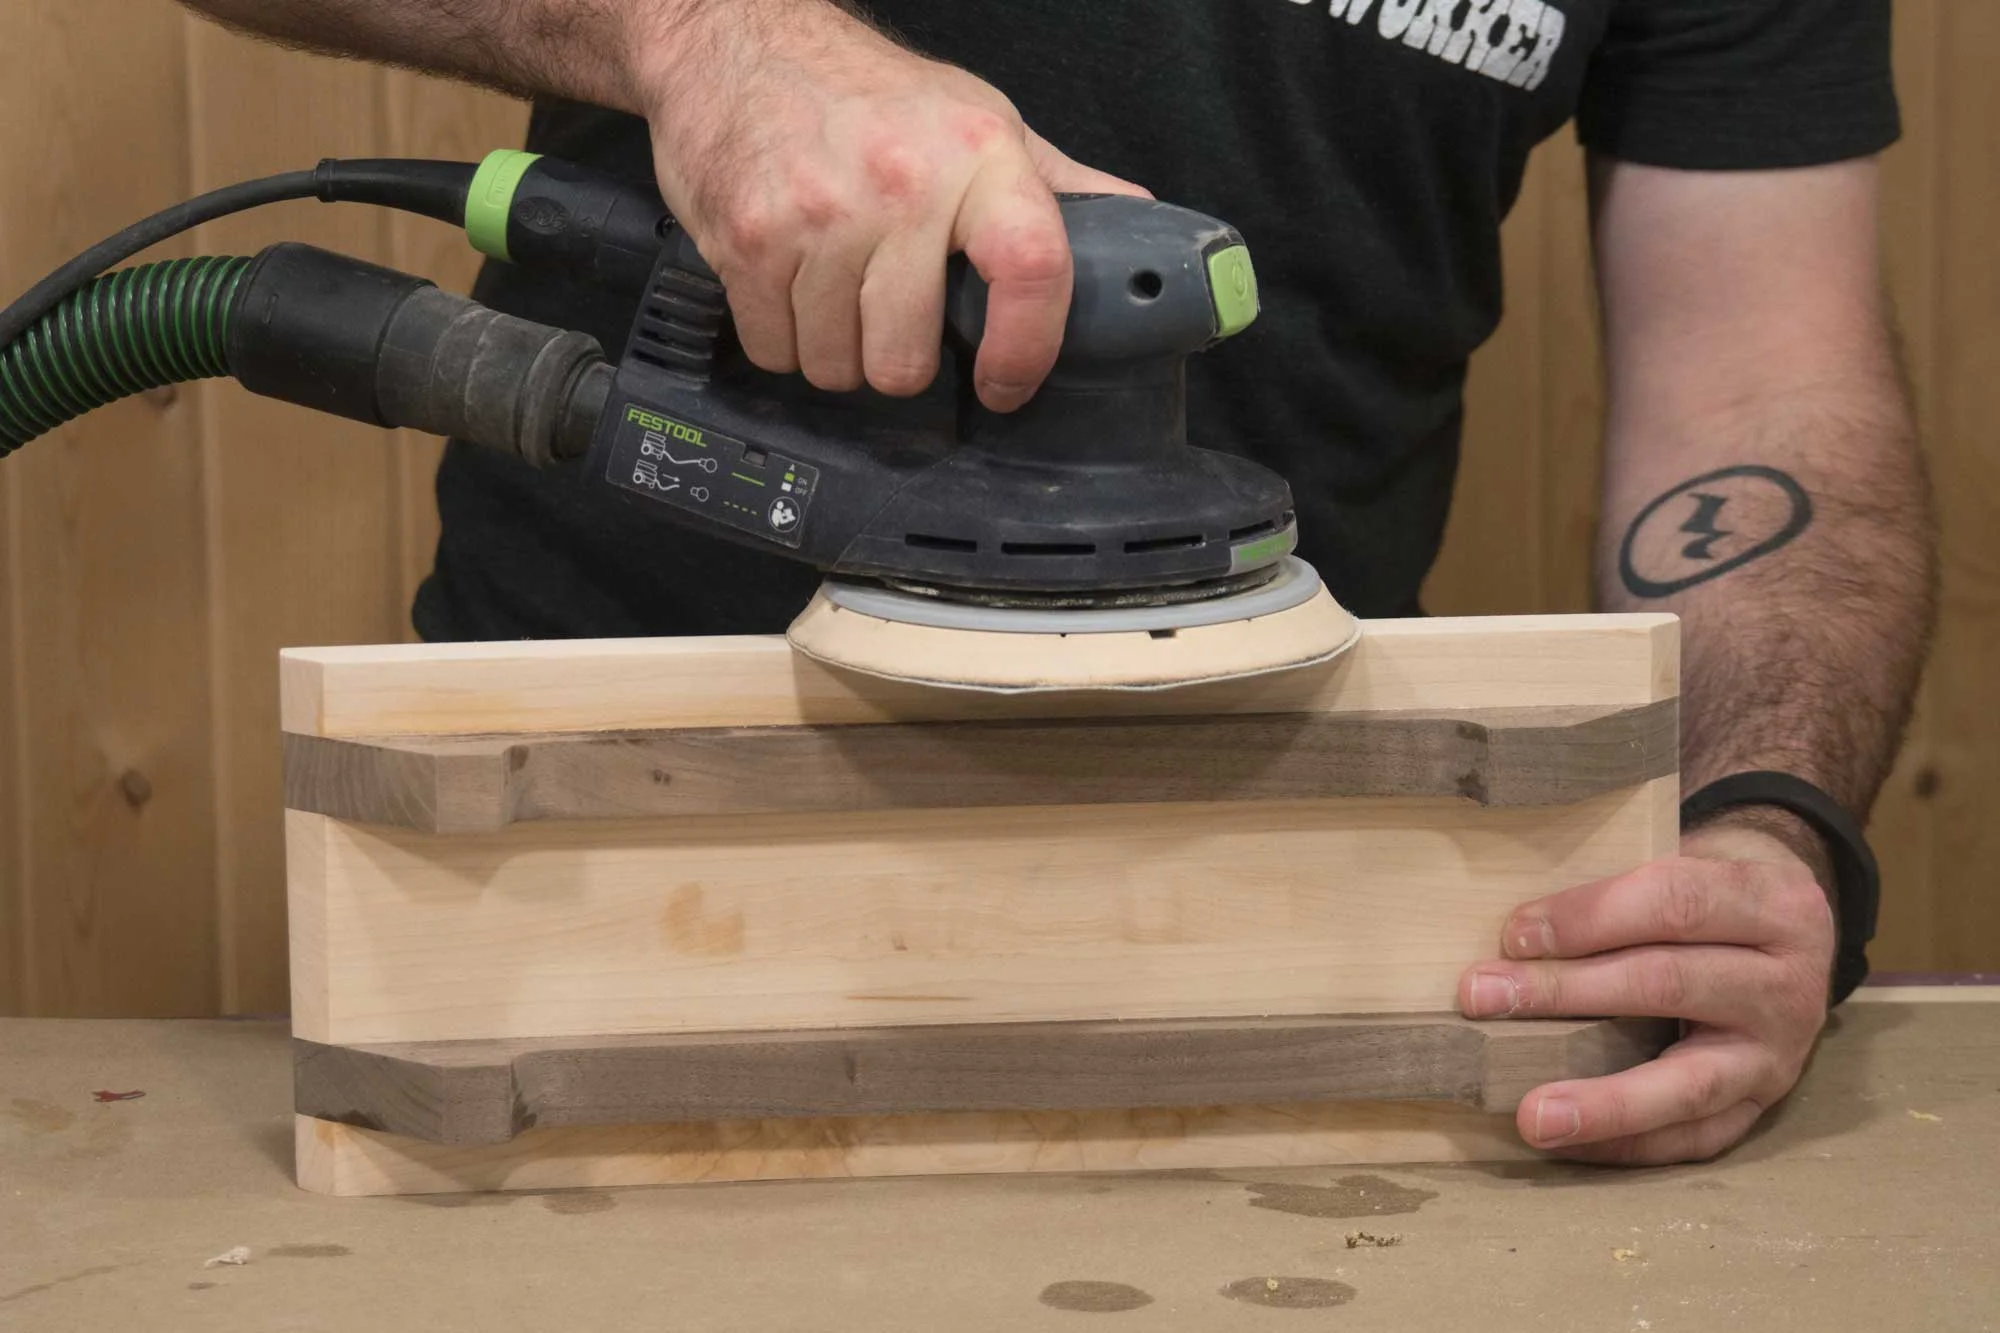
1. Sanding Cutting Boards
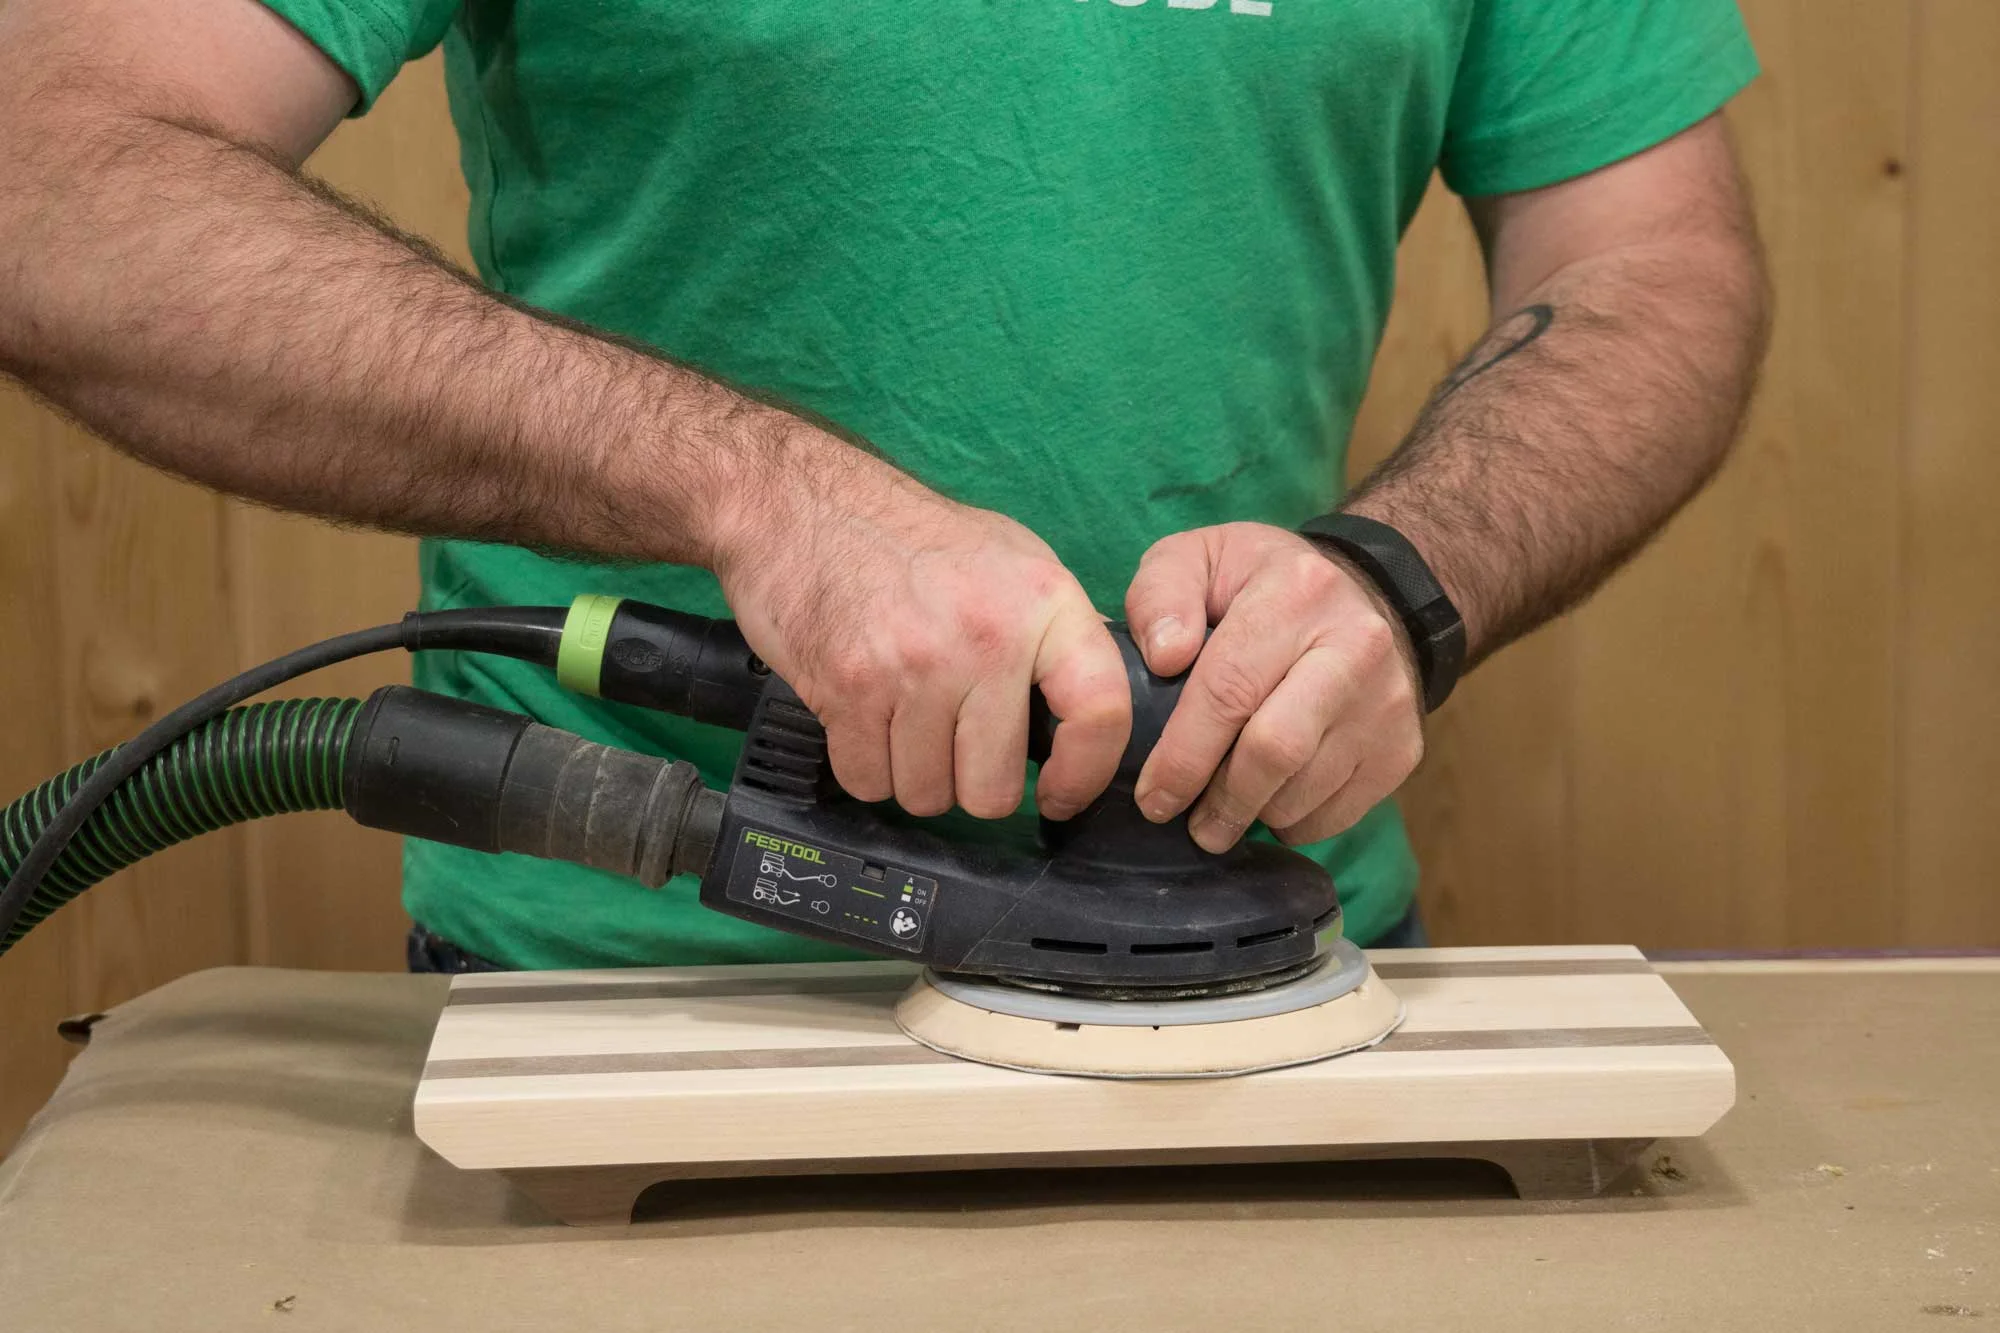
Start with smooth stock. Sand everything down to 220 grit. A good sanding job pays off well on small jobs that beg to be touched.
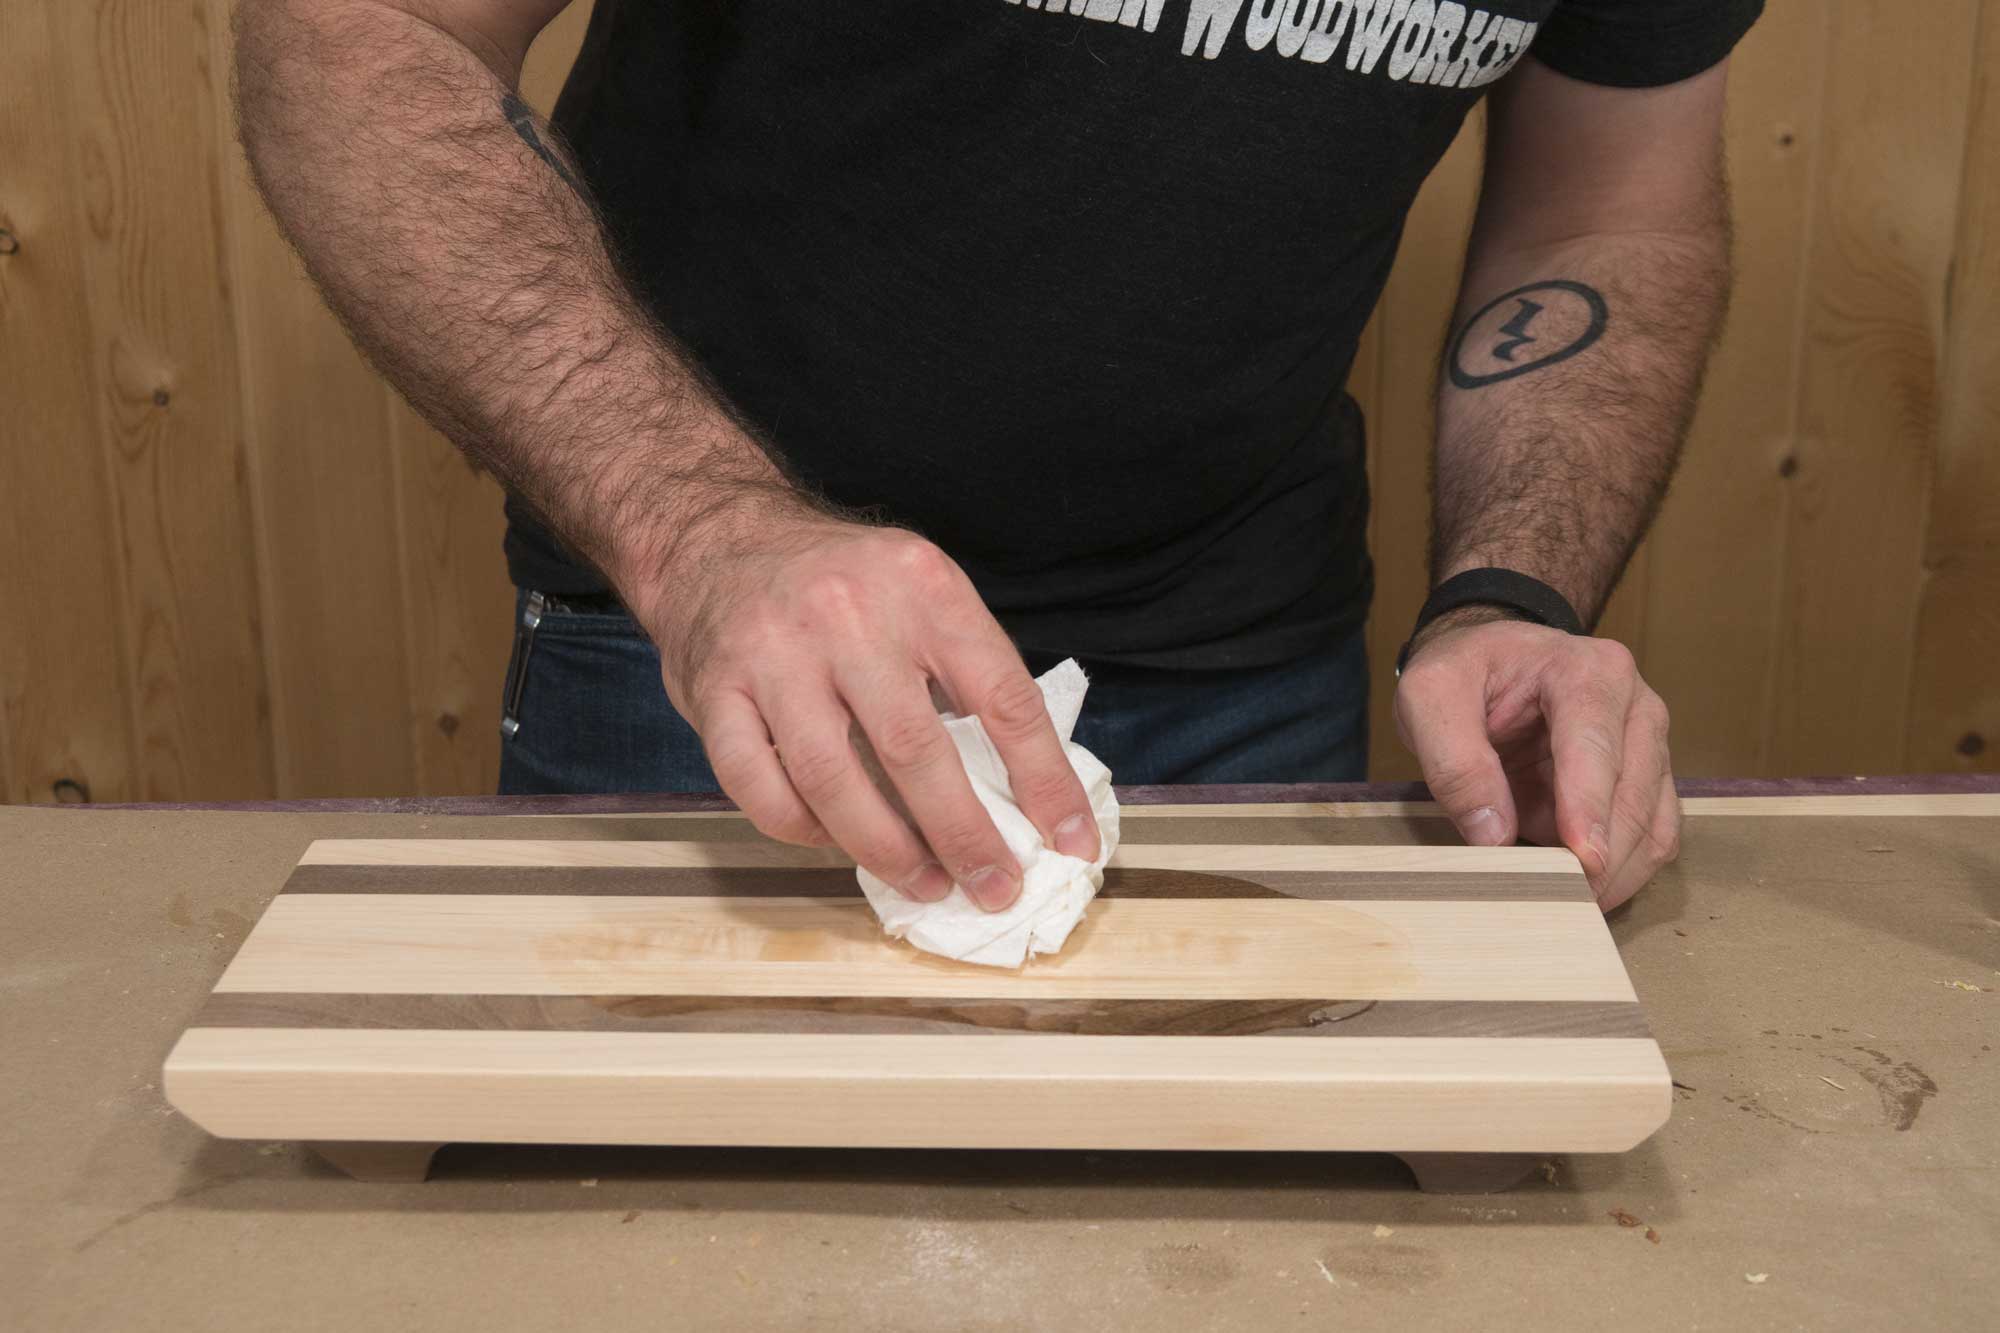
2. Raise the Grain

Use a wet paper towel to raise the grain. The moisture causes some of the wood fibers to swell.
3. Remove the Raised Grain.
Go back and sand everything smooth again with 220-grit sandpaper. This second sanding won’t take long to smooth everything back out. This step will keep the cutting board smooth after use and washing.
4. Oiling the Cutting Board

Coat the entire cutting board with a heavy dose of white, food-grade mineral oil.
5. Even More Oil
And again . . . Some woods and all end grain cutting boards soak up a lot of mineral oil. Keep applying more and more until the oil sits on the surface. Allow the oil to sit for a couple of hours before wiping away any excess.
6. Melt Wax and Mix

For the second coat, melt paraffin wax on the stove using the lowest heat setting. As the wax melts add a bit of the white, food-grade mineral oil. You’ll want about a 50/50 mix.
7. Applying Wax Mixture
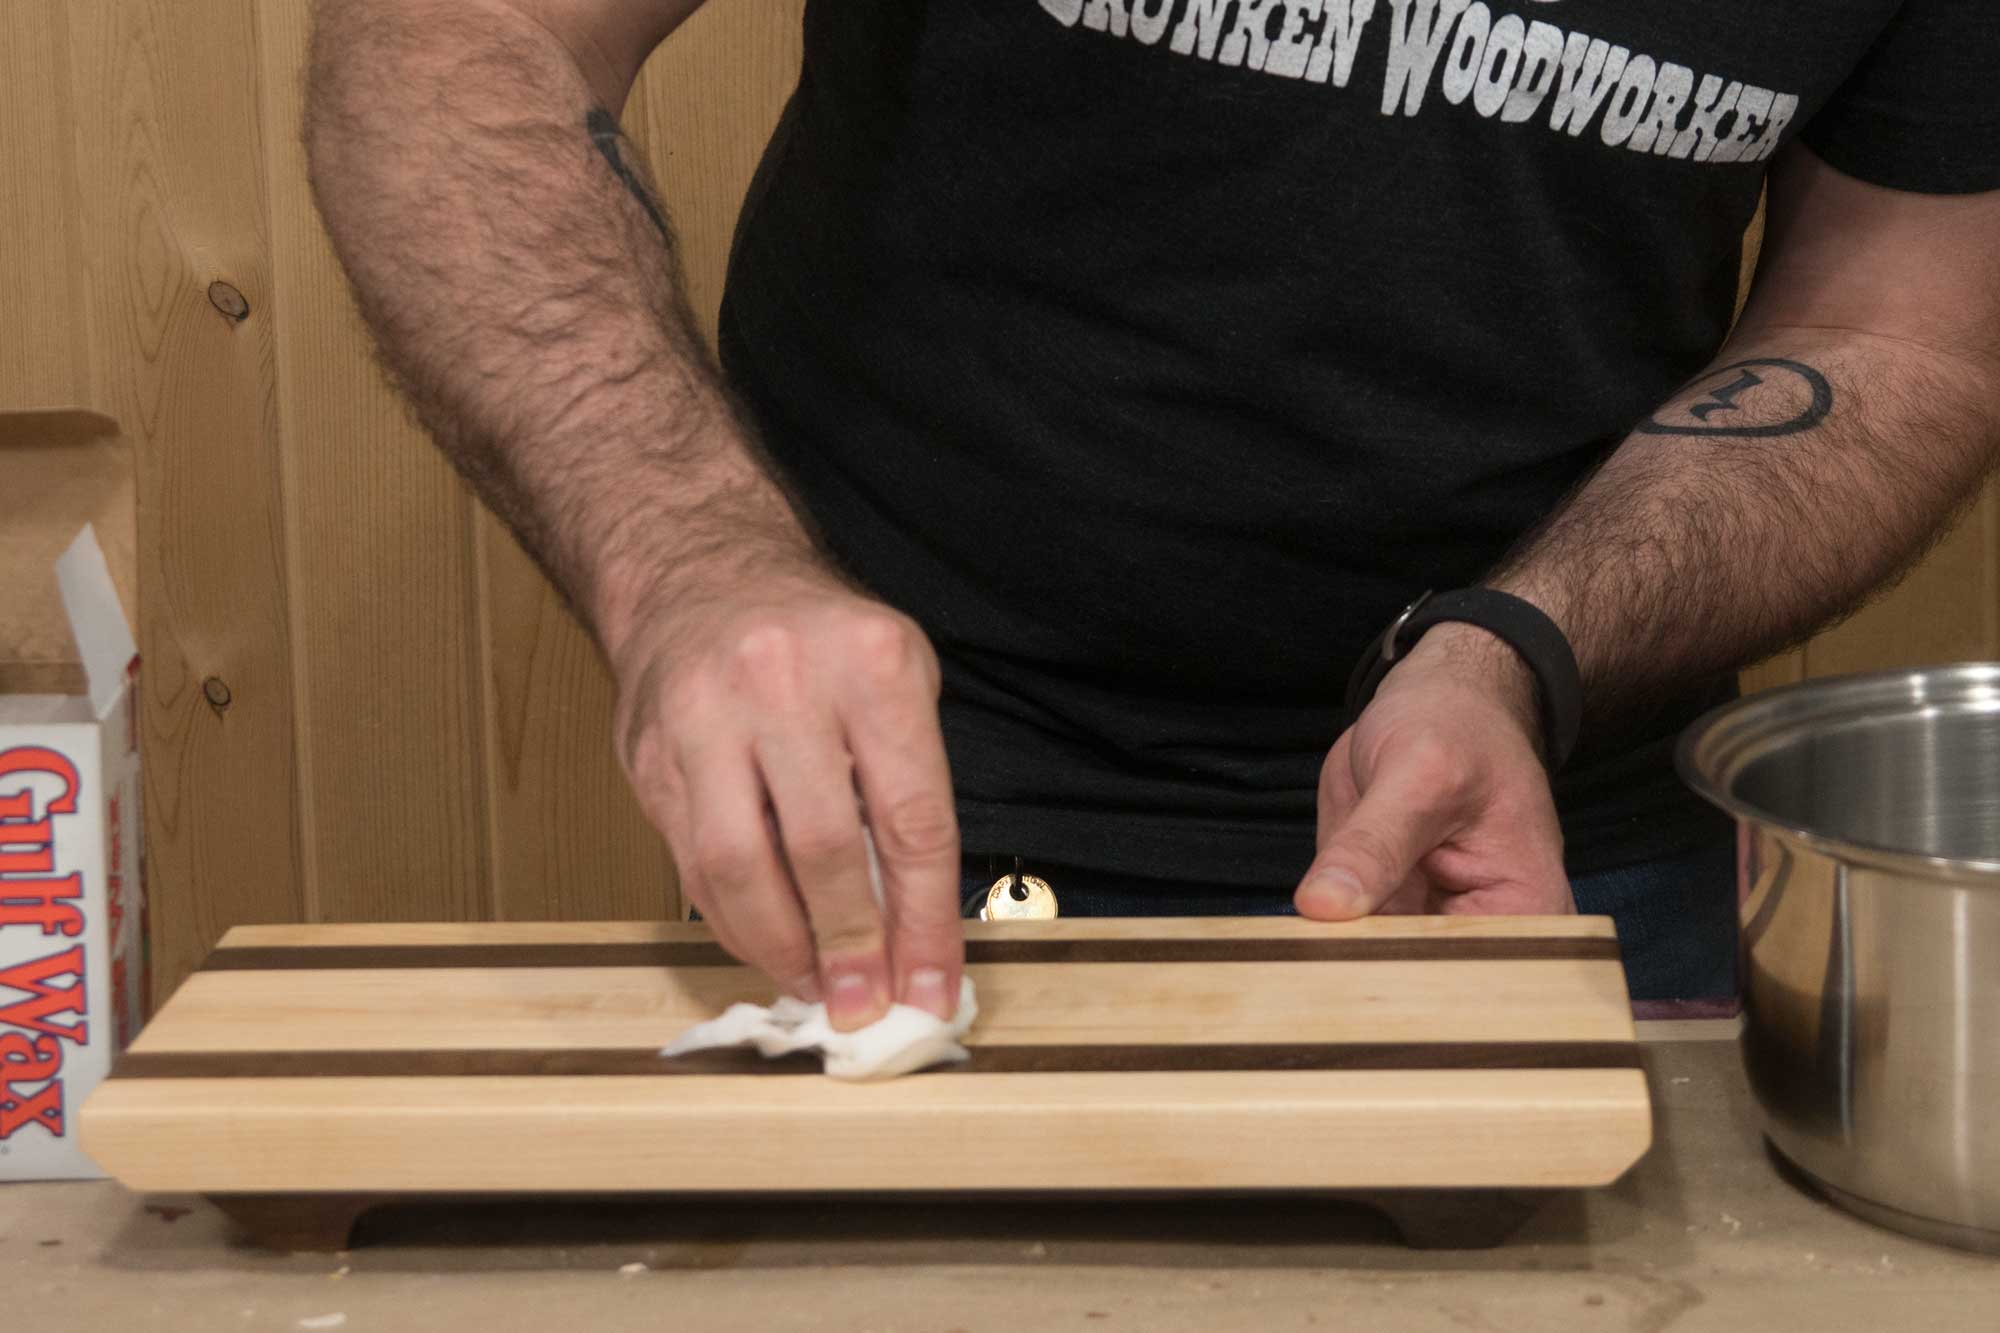
Finish while it’s hot. While the wax mixture is still warm, apply a heavy coat to the cutting board. Let the wax set for a couple of hours. This will leave a film on the surface but it’s easily removed later.
8. Buff it out.

Use a soft cloth to buff away the wax. This coat gives your cutting board a protective finish and a satin sheen.