How to Make a Wine Bottle and Glass Display
A quick and simple woodworking project that can easily be batched out for selling at craft shows.
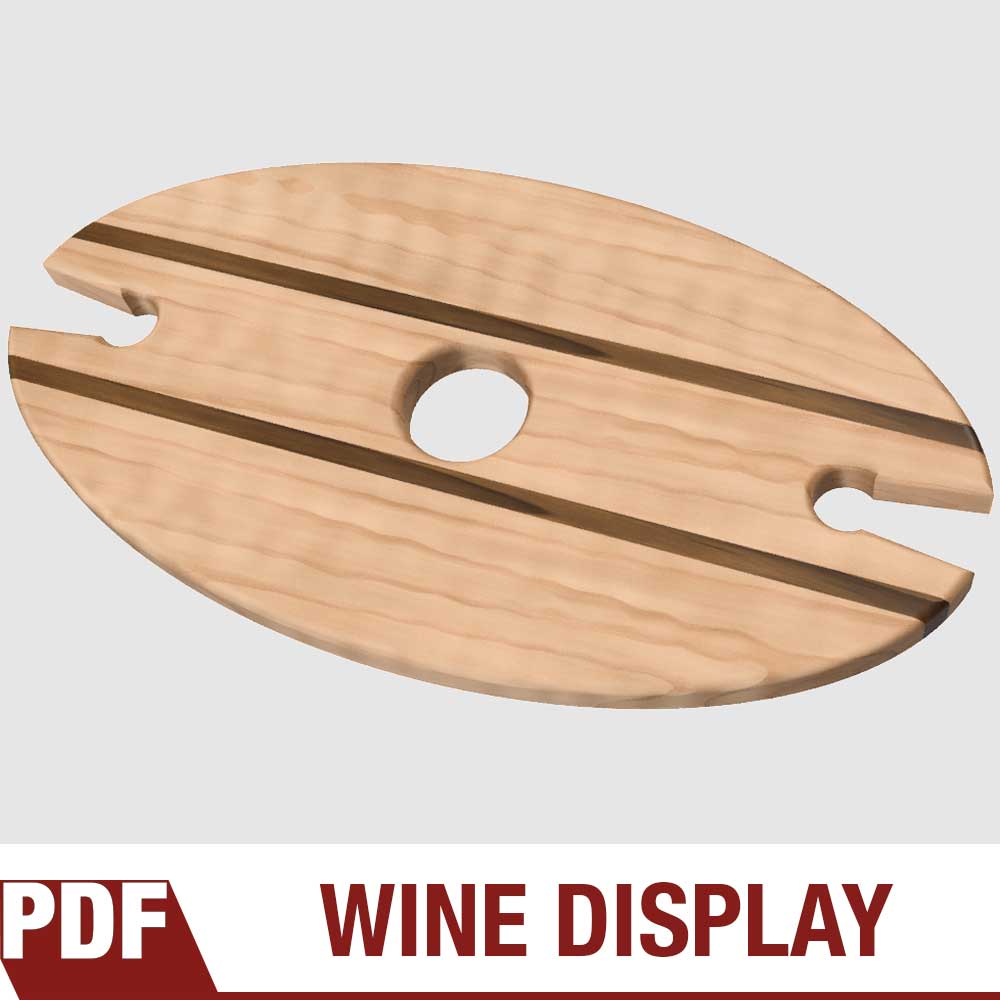
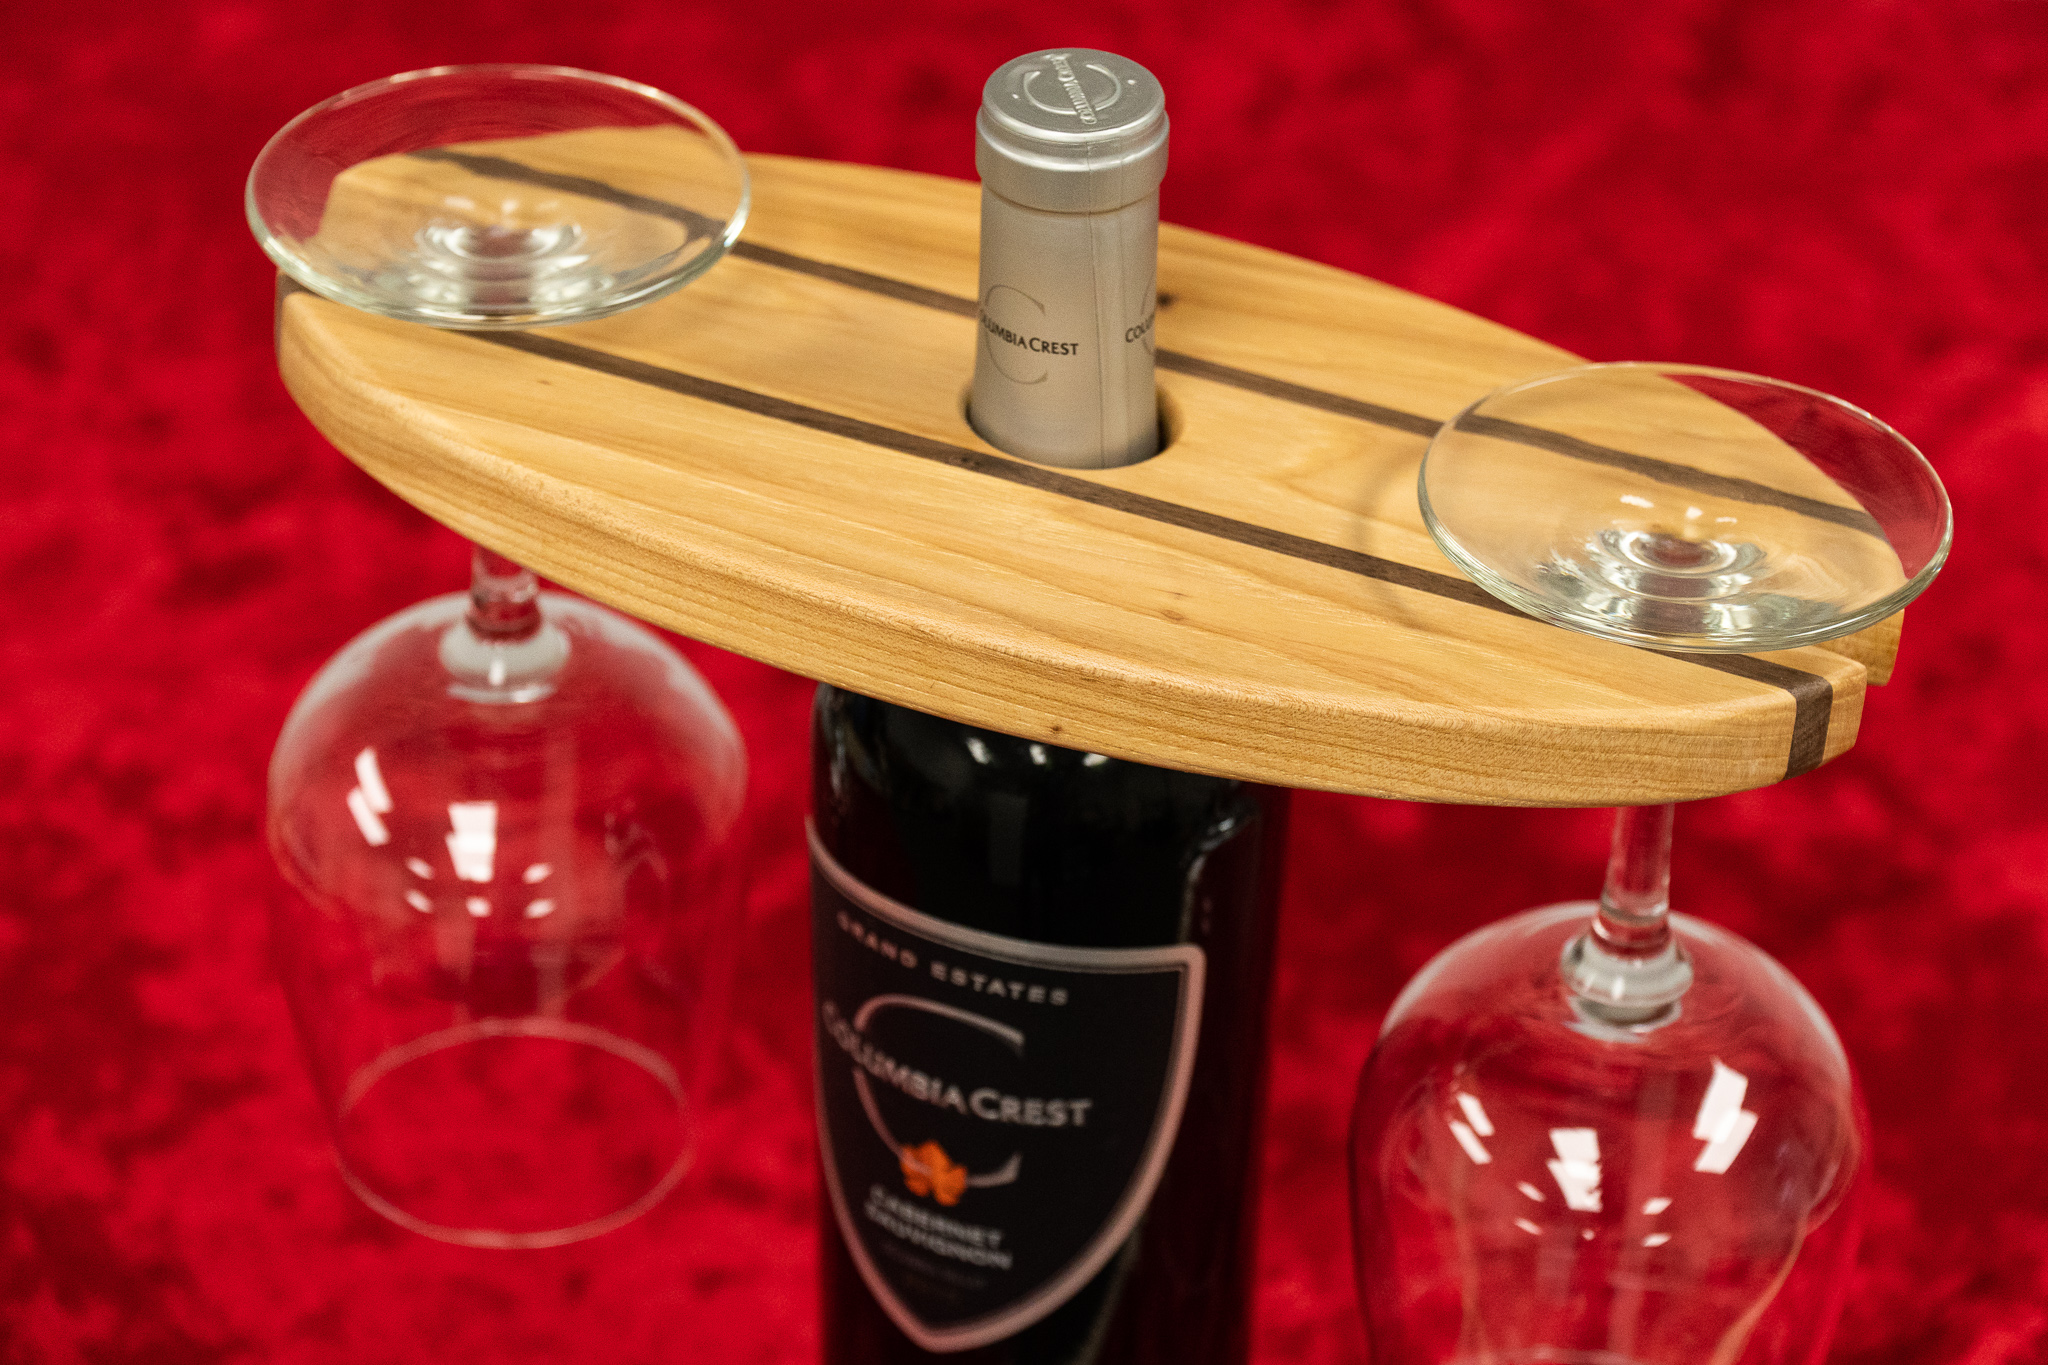
These wine displays are my biggest seller at craft shows and they also make great gifts! The plans are easy to follow with a printable pattern.
Make Money With Your Woodworking
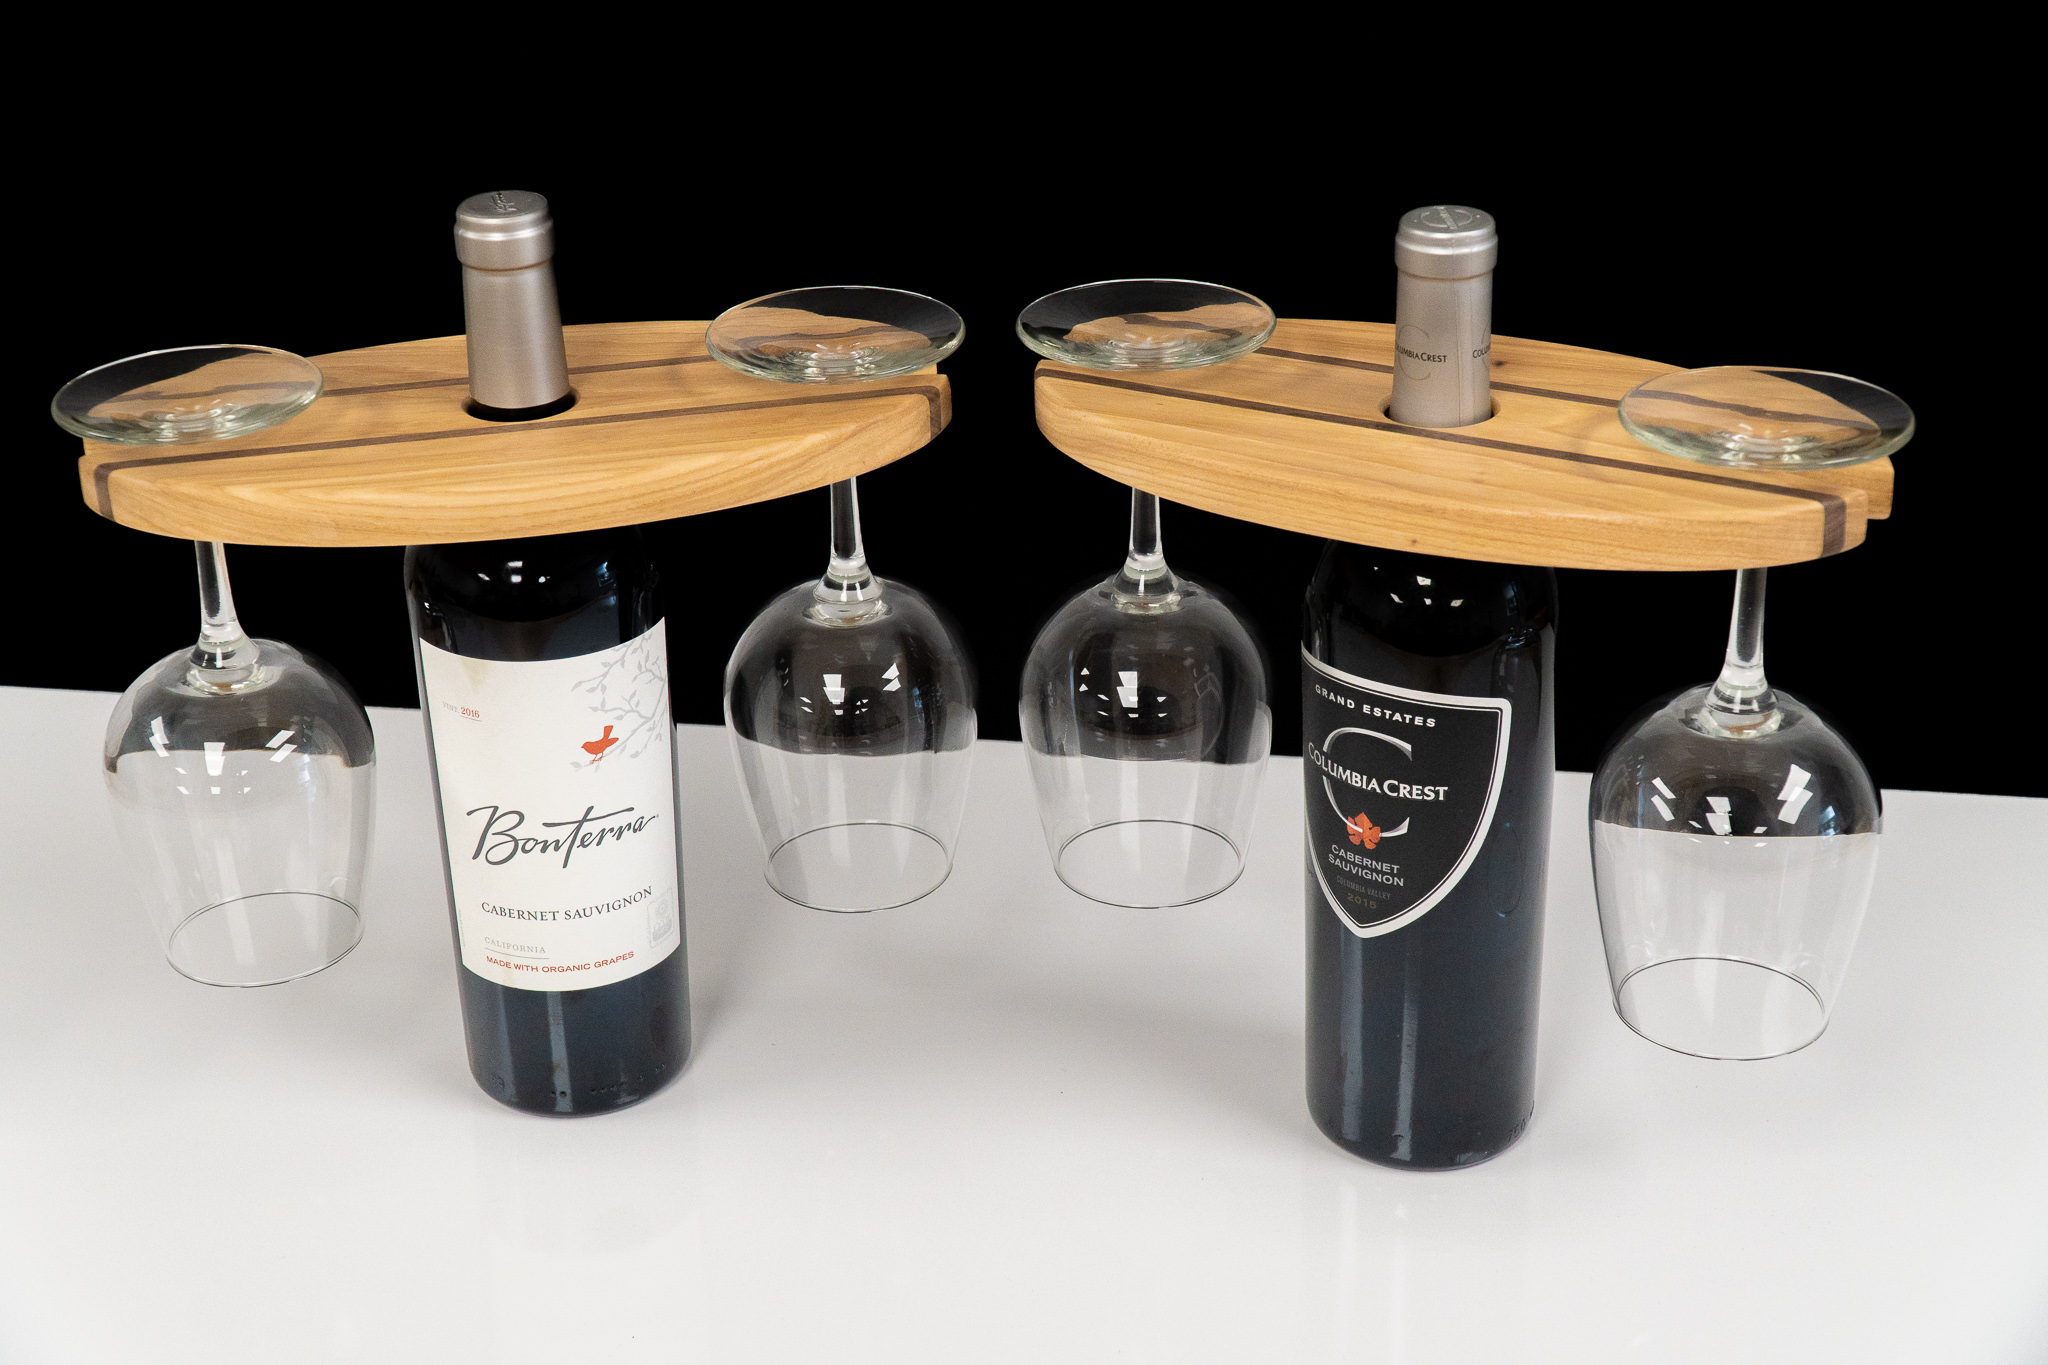
These wine displays are constantly my biggest seller at craft shows and also one of the easiest things to make! When making these it's best to batch out and make a handful at once to make efficient use of your time. I give the customer the option of buying them with or without the glasses. You ready to dig in and Make Something? Let's go!
Trade is offering 50% OFF your first order when you subscribe to The Hookup. Use my code ‘david’


How To Make a Wood Cutting Board
Everything you need to know about making cutting boards from choosing woods to food safe finishes.
Ask a woodworker if they’ve made a cutting board and nearly all of them will say they have in the past and still do to this day. For many it’s their first woodworking project. For others it’s their go-to project when they’re looking for an excuse to get into the shop. Every kitchen needs a cutting board and nearly every shop is equipped to make them.
Cutting boards can be as simple as a single wood board or contain dozens of pieces with multiple wood species and shapes. Some require very few woodworking tools and others require a whole shop full of tools. The beauty of cutting boards is that no matter what your skill level or how many tools you have, you can make beautiful, useful cutting boards.
What You Need to Know About Making Cutting Boards
Cutting Board Book with 15 Projects for Woodworkers
Cutting Board Video Tutorials
Choosing The Best Wood for Cutting Boards
How to Finish a Cutting Board with Food Safe Finish
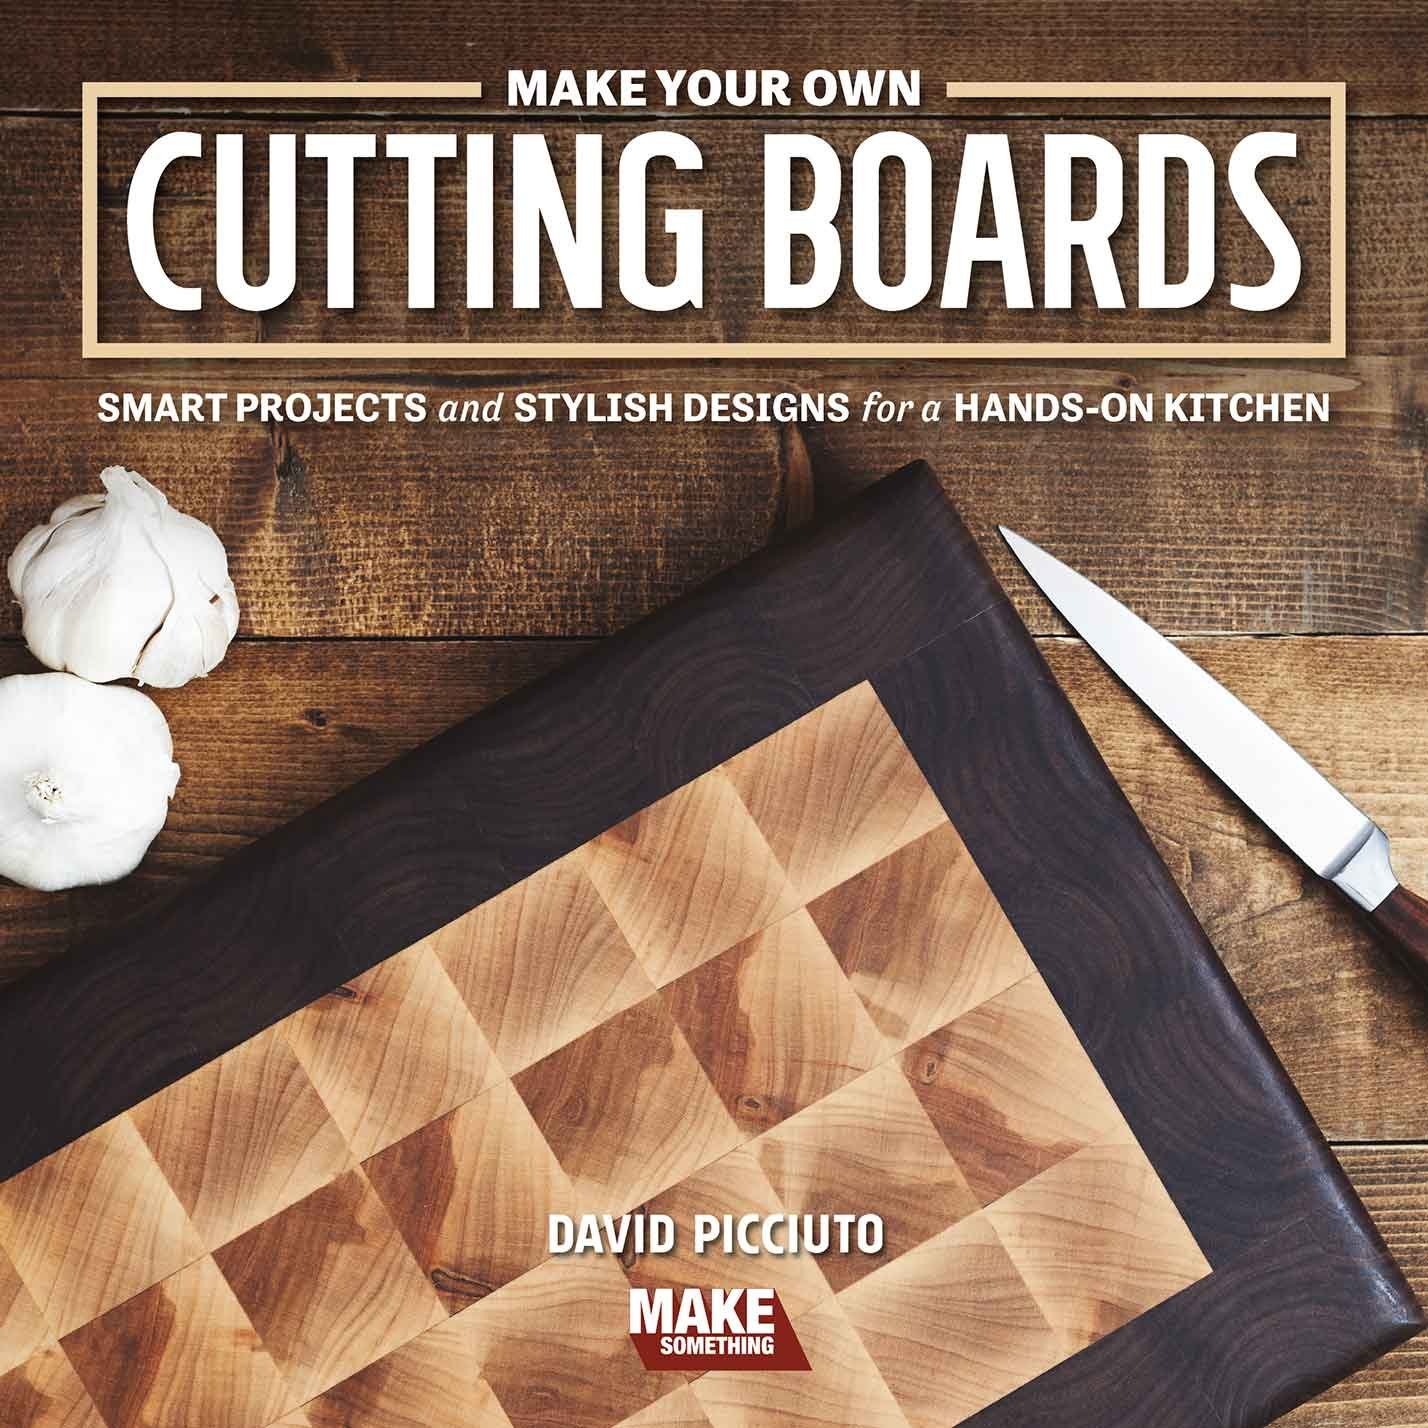
Get the Only Book on Making Cutting Boards! Includes 15 Projects You Can Make and Sell!
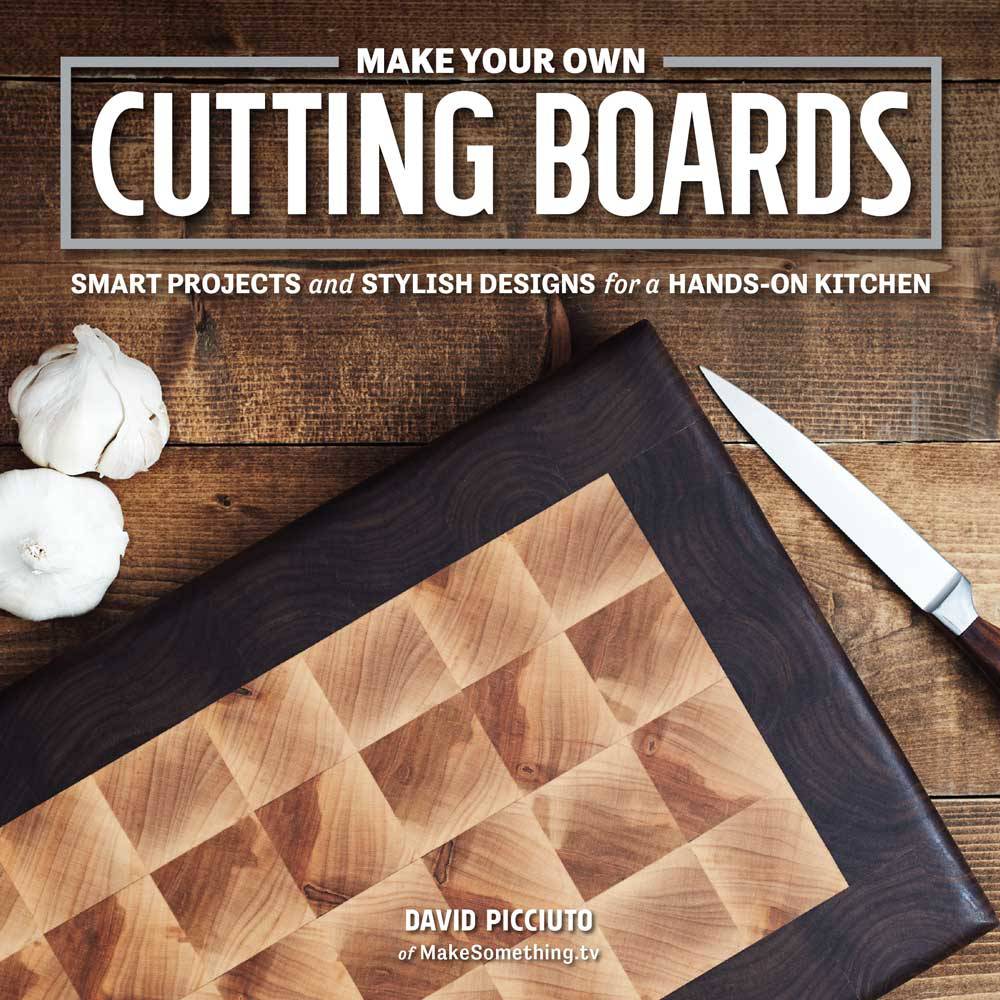
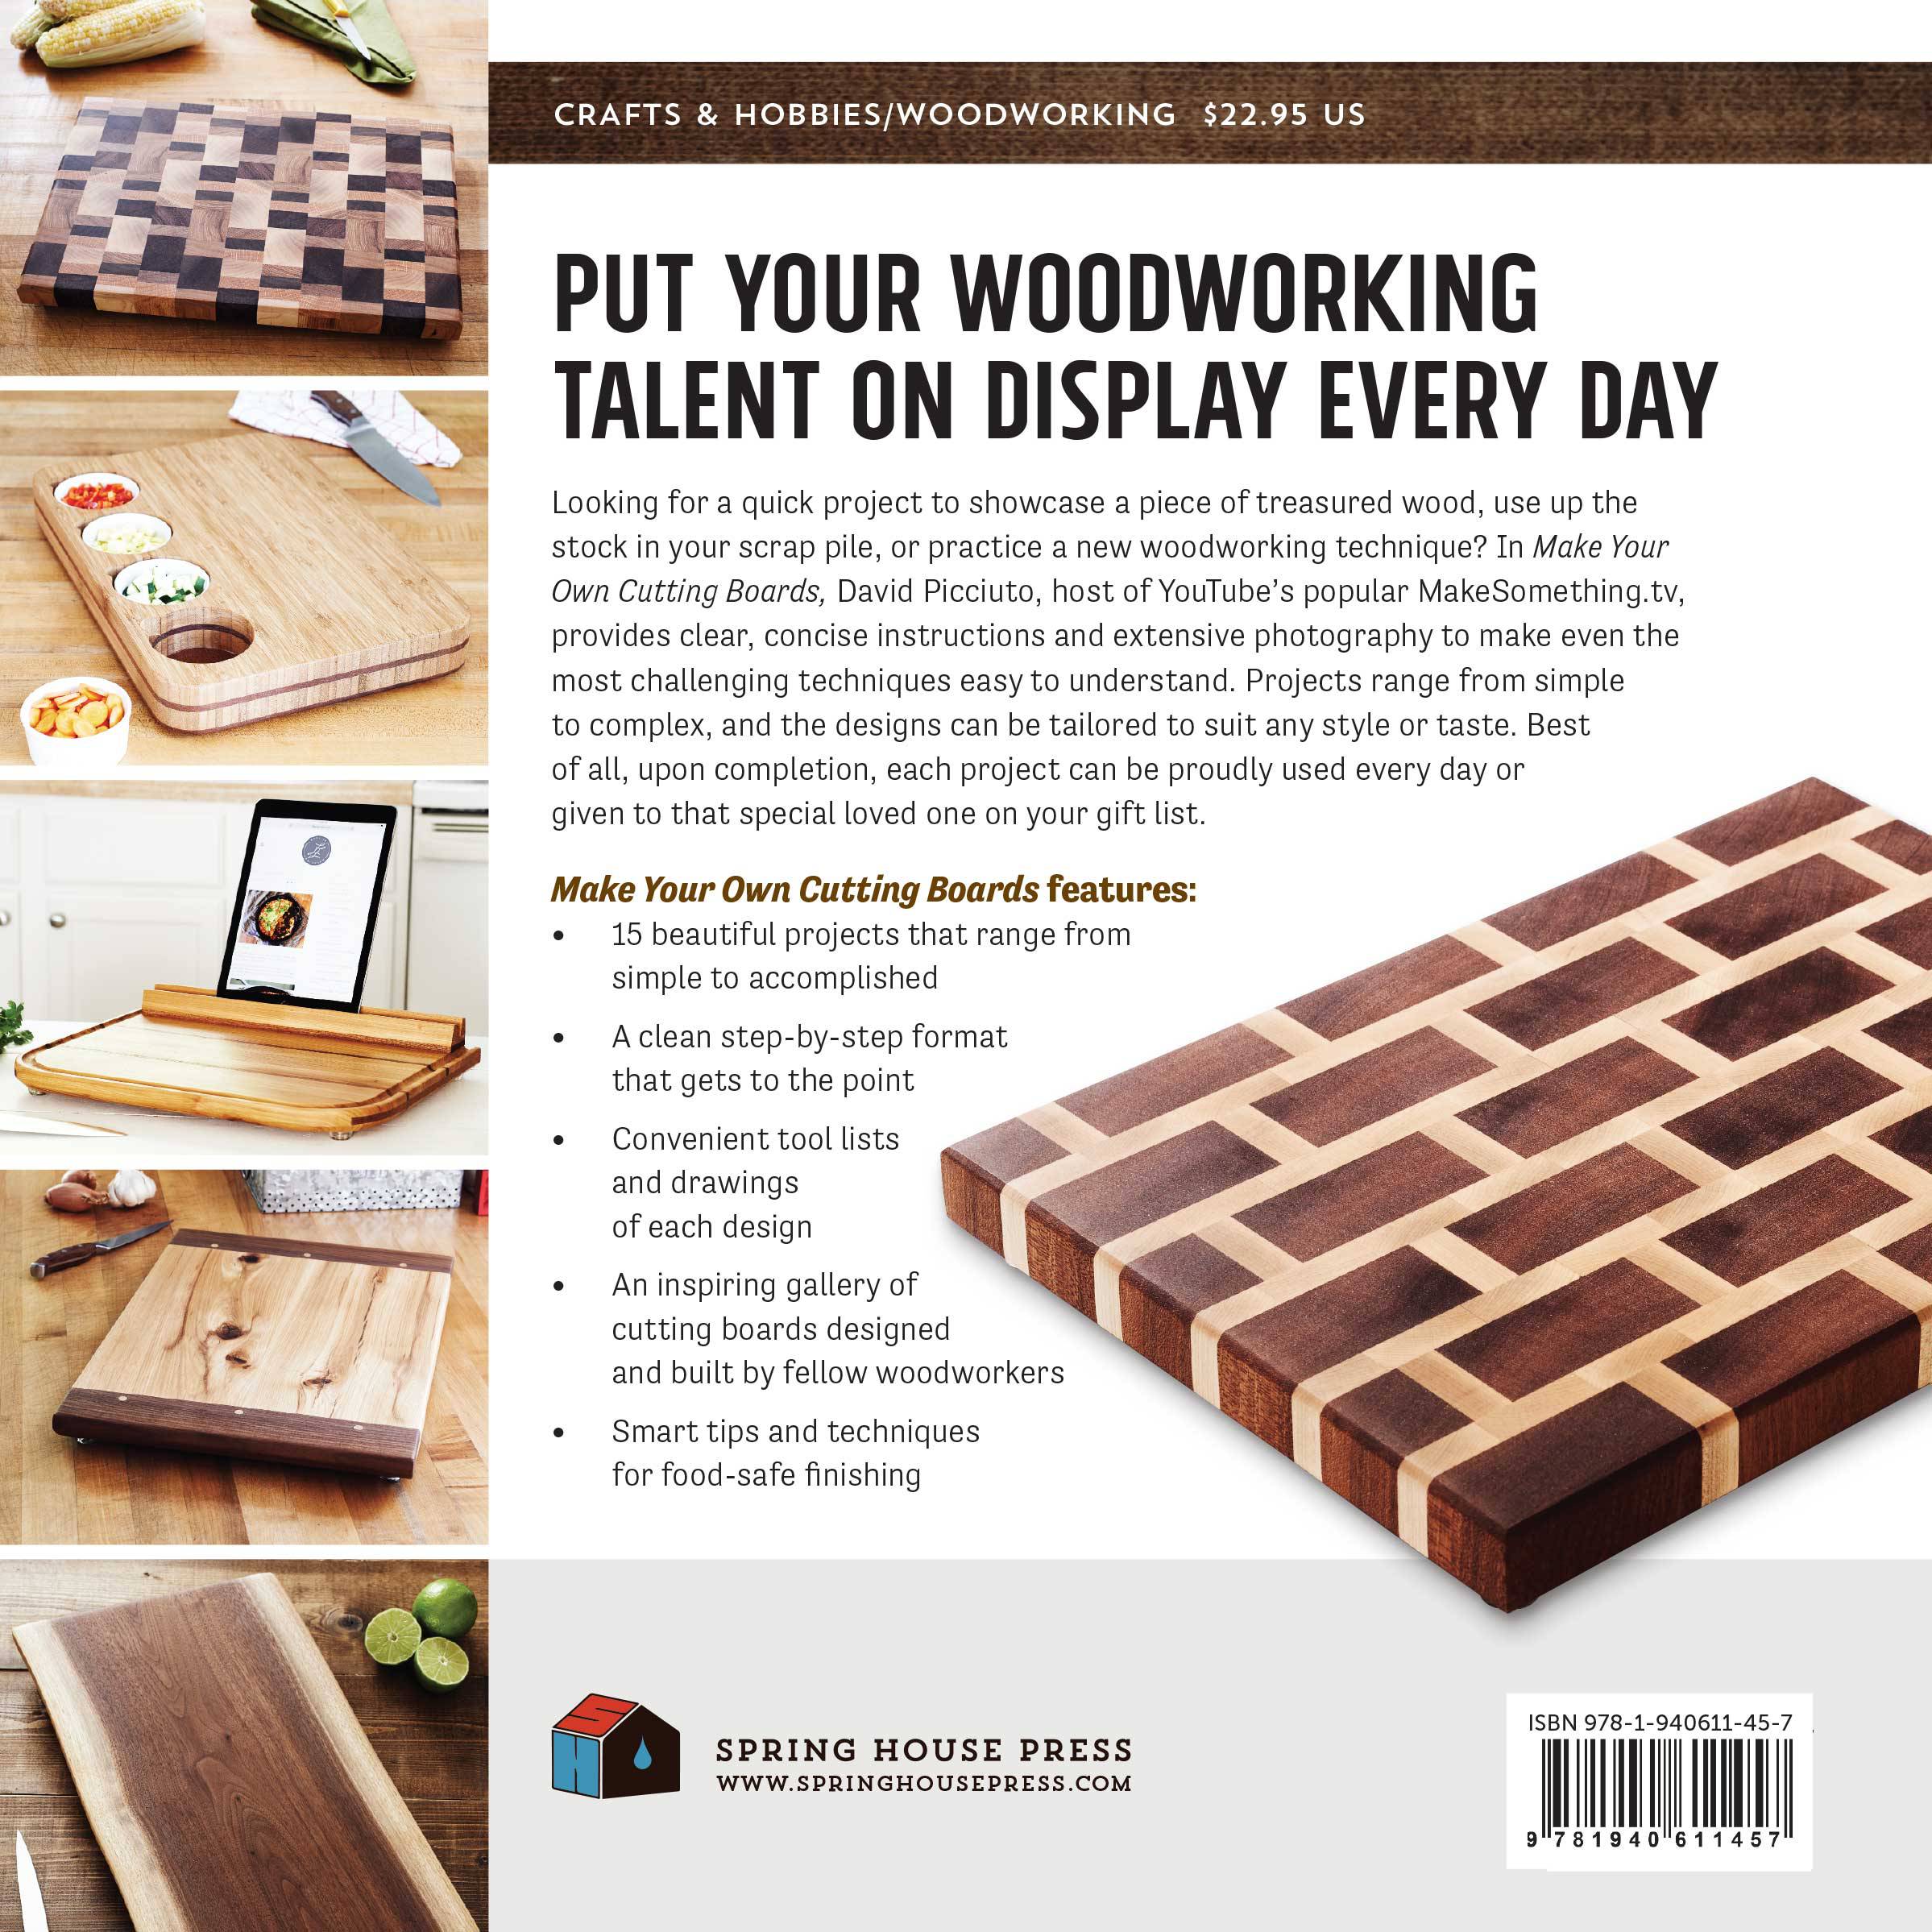


The projects in this book range from simple to complex and the finished designs can be tailored to suit any style or taste. Best of all, upon completion, each project can be proudly used or given to that special loved one on your gift list. Extensive photography and clear, concise instructions make even the most challenging techniques easy to understand and conquer. Each book is signed and shipped directly from me.
NOTE: If you order multiple products they may ship separately.
If you’re a beginner looking for a great first project or a craftsman looking to showcase a piece of treasured wood, it’s hard to deny the appeal of the cutting boards. The projects range from simple to complex and the finished designs can be tailored to suit any style or taste. Best of all, upon completion, each project can be proudly used or given to that special loved one on your gift list. Extensive photography and clear, concise instructions make even the most challenging techniques easy to understand and conquer. A gallery of inspiring designs is also included to spark your own cutting board styles.
Cutting Board Video Tutorials
Making an end grain cutting board from scraps. This cutting board project comes from my book.
How to make a cutting board with a decorative inlay. It’s easier than you may think!
Easy to make cutting board with a cutout for a strainer. Perfect for using over your sink to cut vegetables and fruit.
Making an Alaskan ulu knife out of sheet metal and wood with a mating cutting board.
Choosing the Best Wood For Cutting Boards
When choosing woods for cutting boards, look for dense hardwoods, as they are more durable and can stand up to kitchen tasks. You should also lean toward woods that don’t contain an excess of natural oils. Some people have a sensitivity to these oils, and you don’t want your cutting board to alter the taste of your food.
Most people also stay away from spalted and reclaimed woods because you don’t always know what you’re dealing with. If you do use spalted or reclaimed woods, be sure to seal the surface so that it won’t a affect the food in any way. In general, North American hardwoods like maple, walnut, and cherry are commonly used in cutting boards, and rare exotic woods should be avoided. Whatever woods you choose, do your research on food safety before venturing into the unknown.
How to Finish a Cutting Board with a Food Safe Finish
Sand
Raise the Grain
Remove the Raised Grain
Oil the Cutting Board
Even More Oil
Melt Wax and Mix
Applying Wax Mixture
Buff
There are many ways to finish a cutting board and no finish is maintenance free. The more you use the cutting board, the more you’ll need to apply more finish. The finish I like to use takes a two-step process. The first step is applying mineral oil that seeps deep into the wood, and the second step adds a protective film on top of the surface.
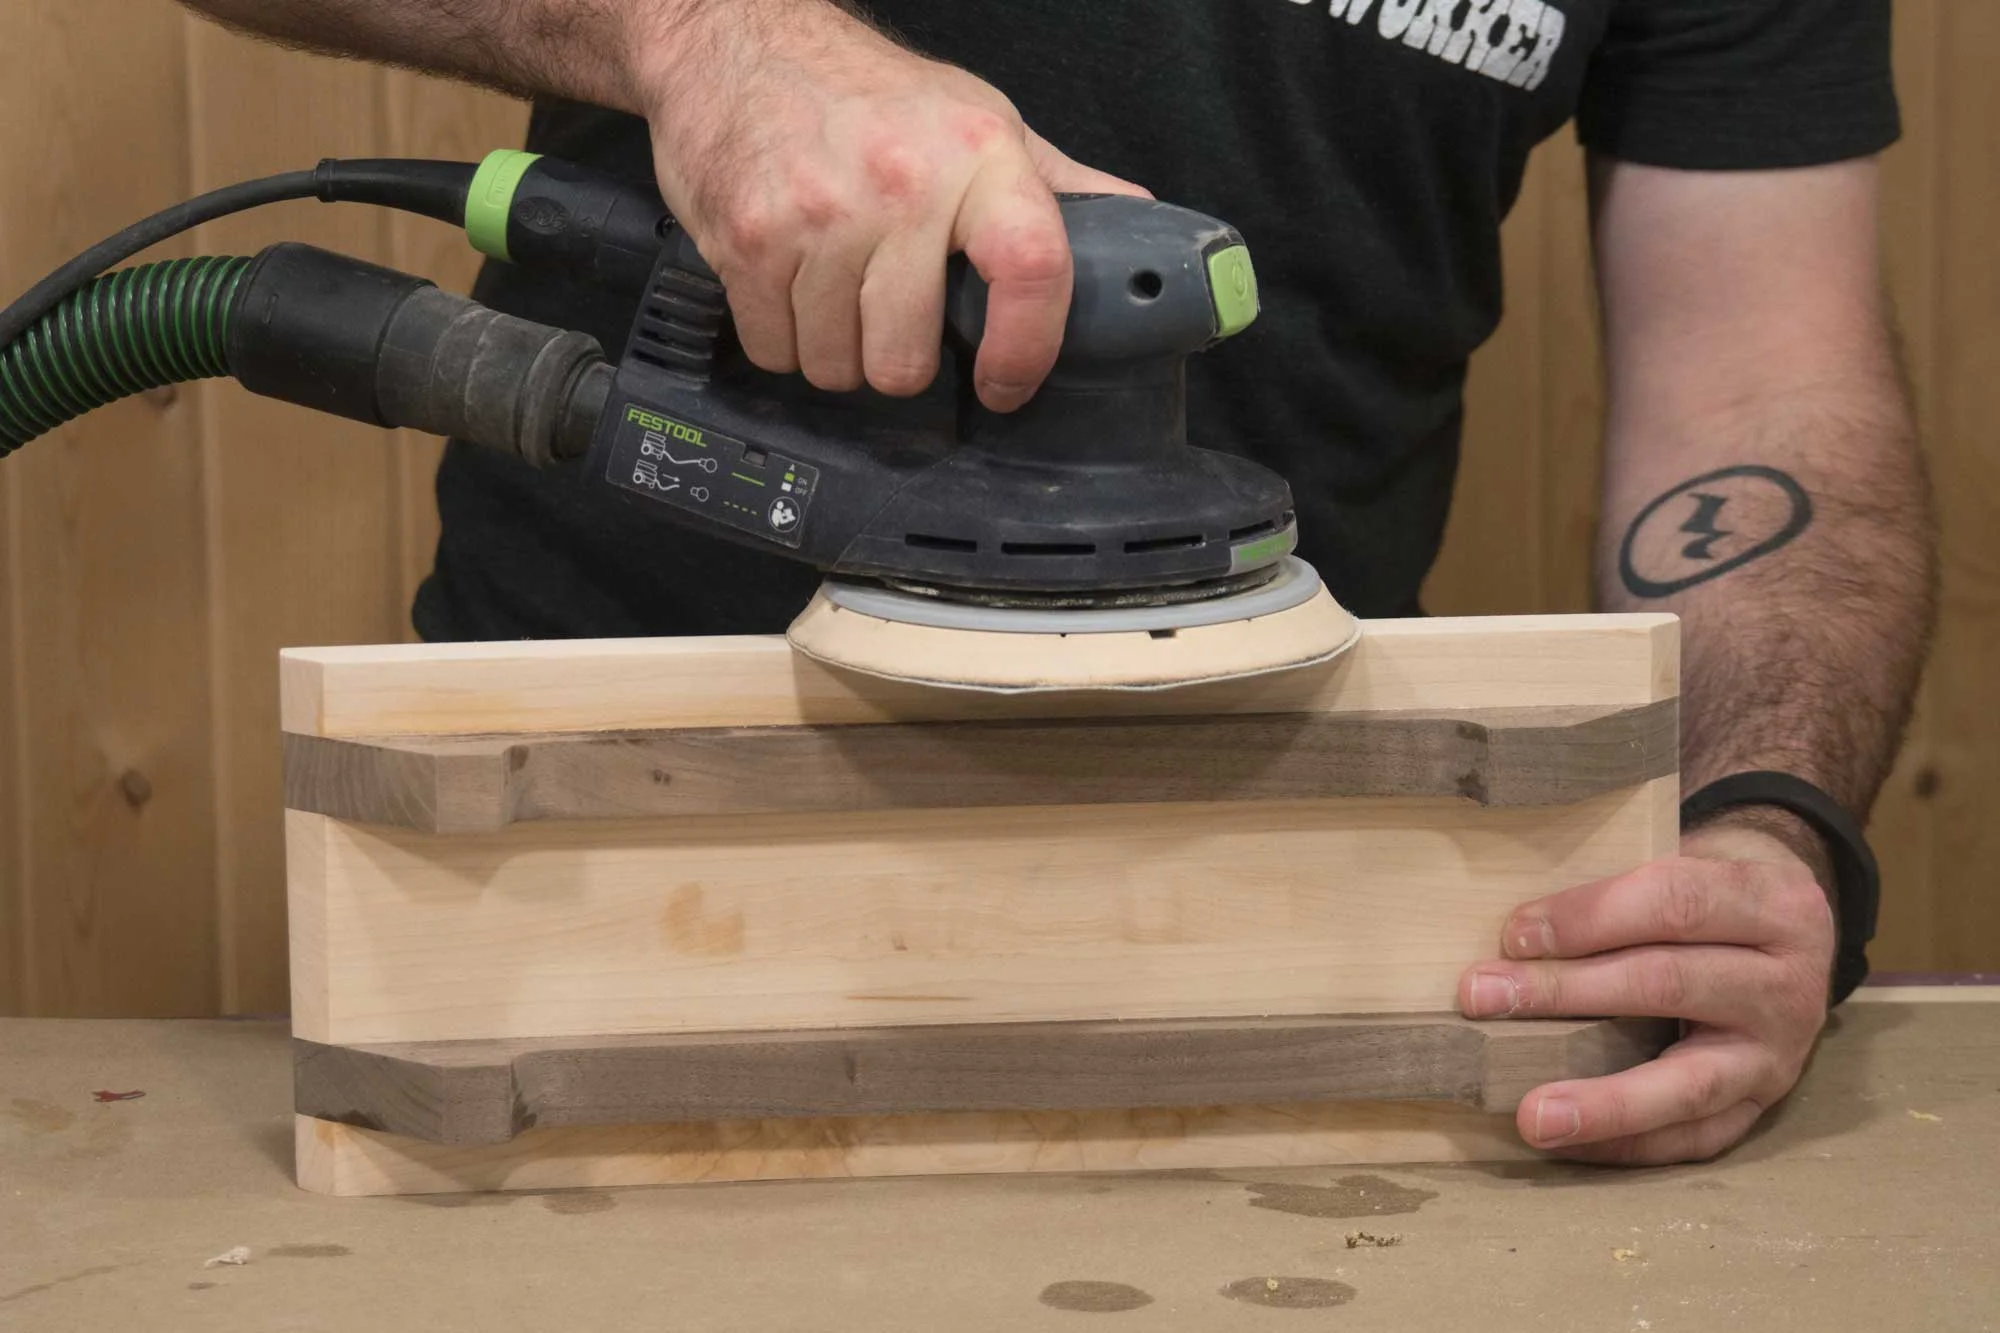
1. Sanding Cutting Boards
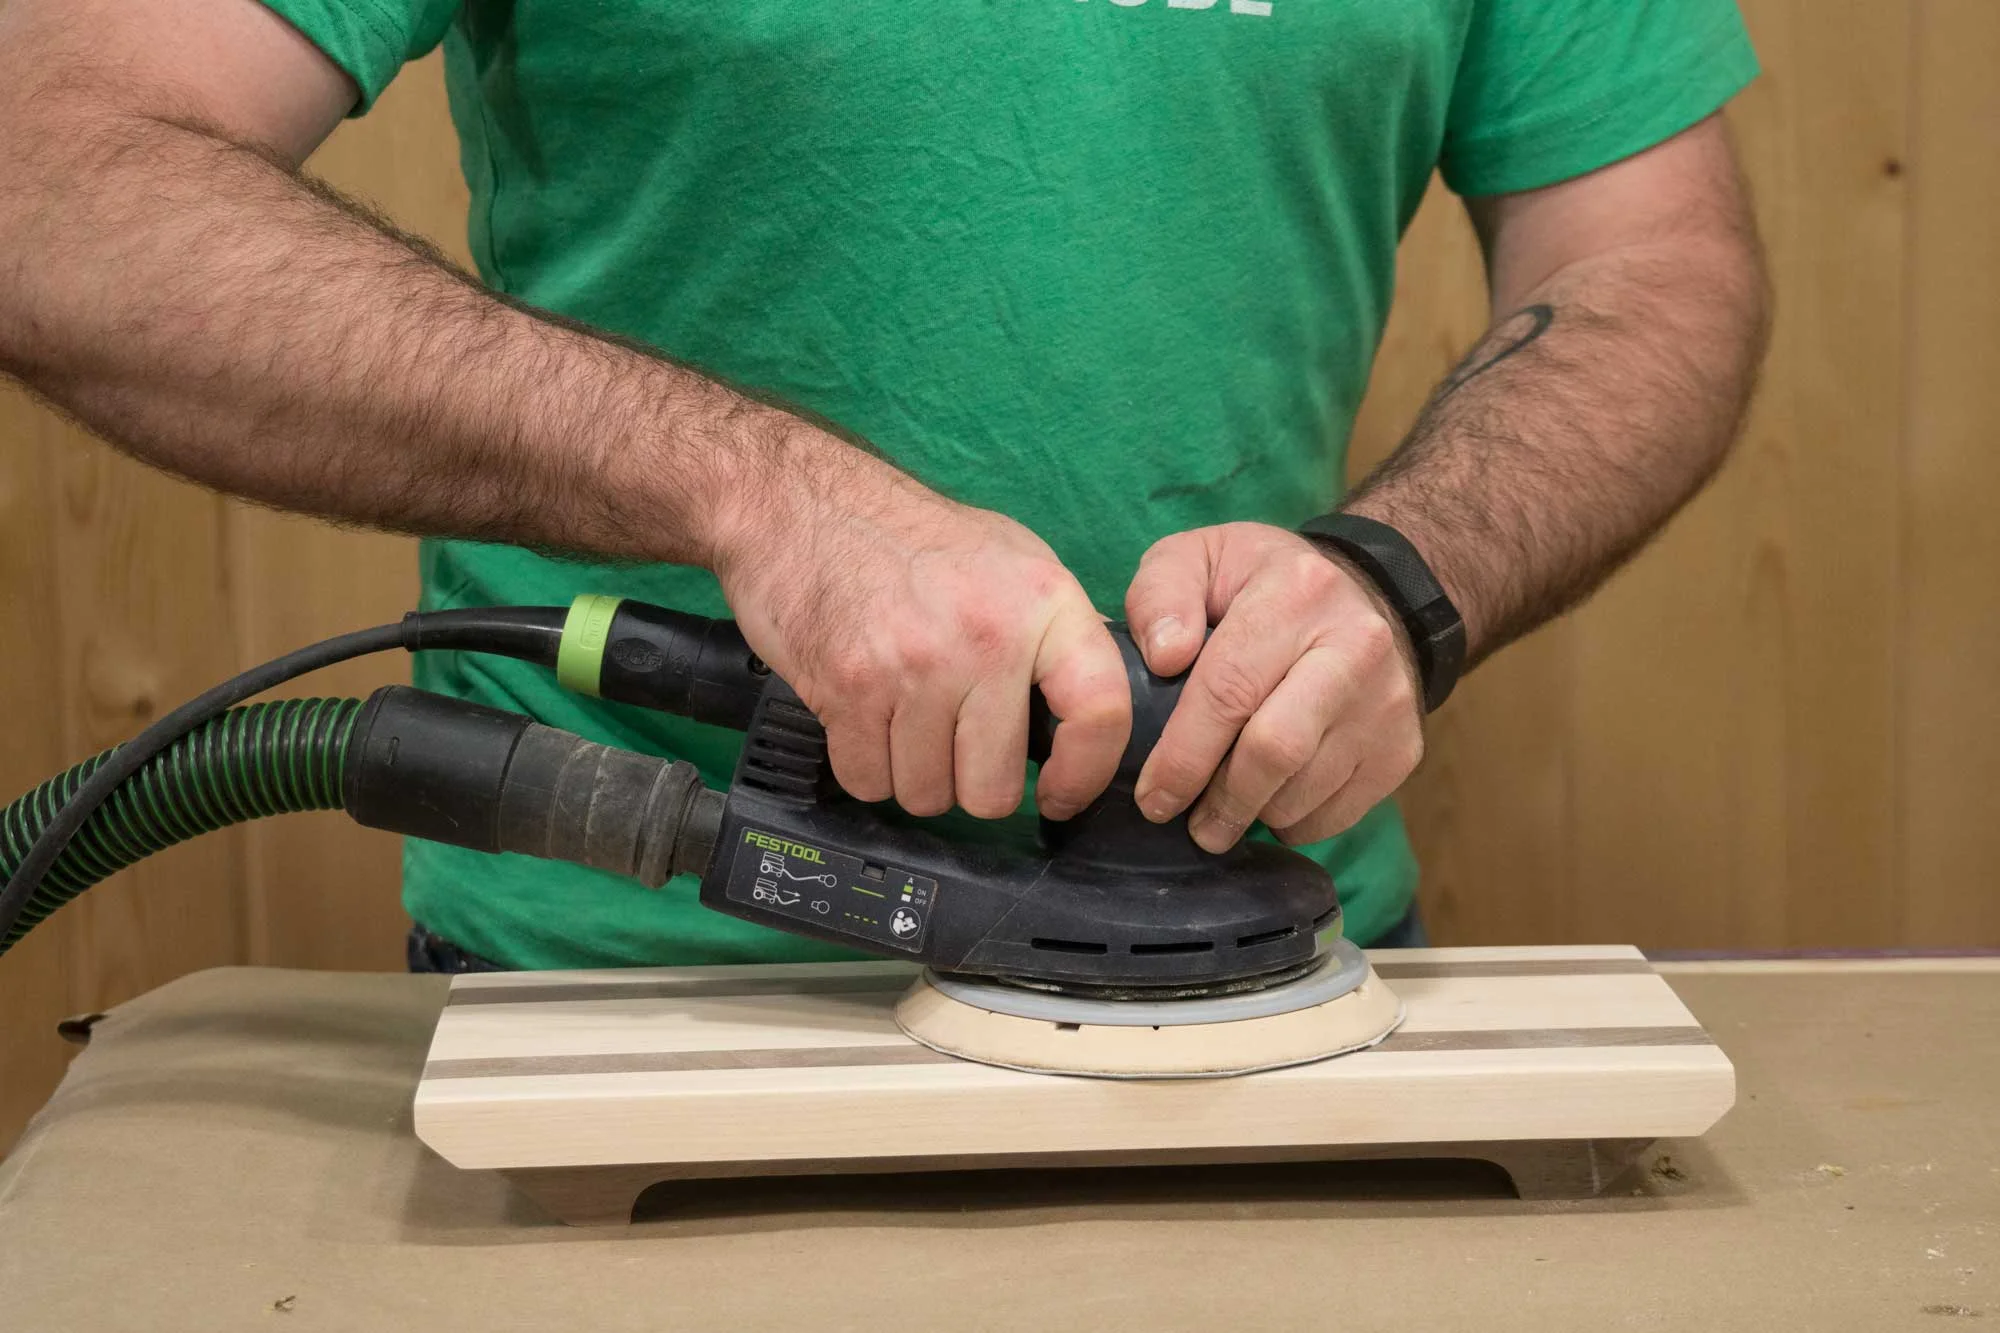
Start with smooth stock. Sand everything down to 220 grit. A good sanding job pays off well on small jobs that beg to be touched.
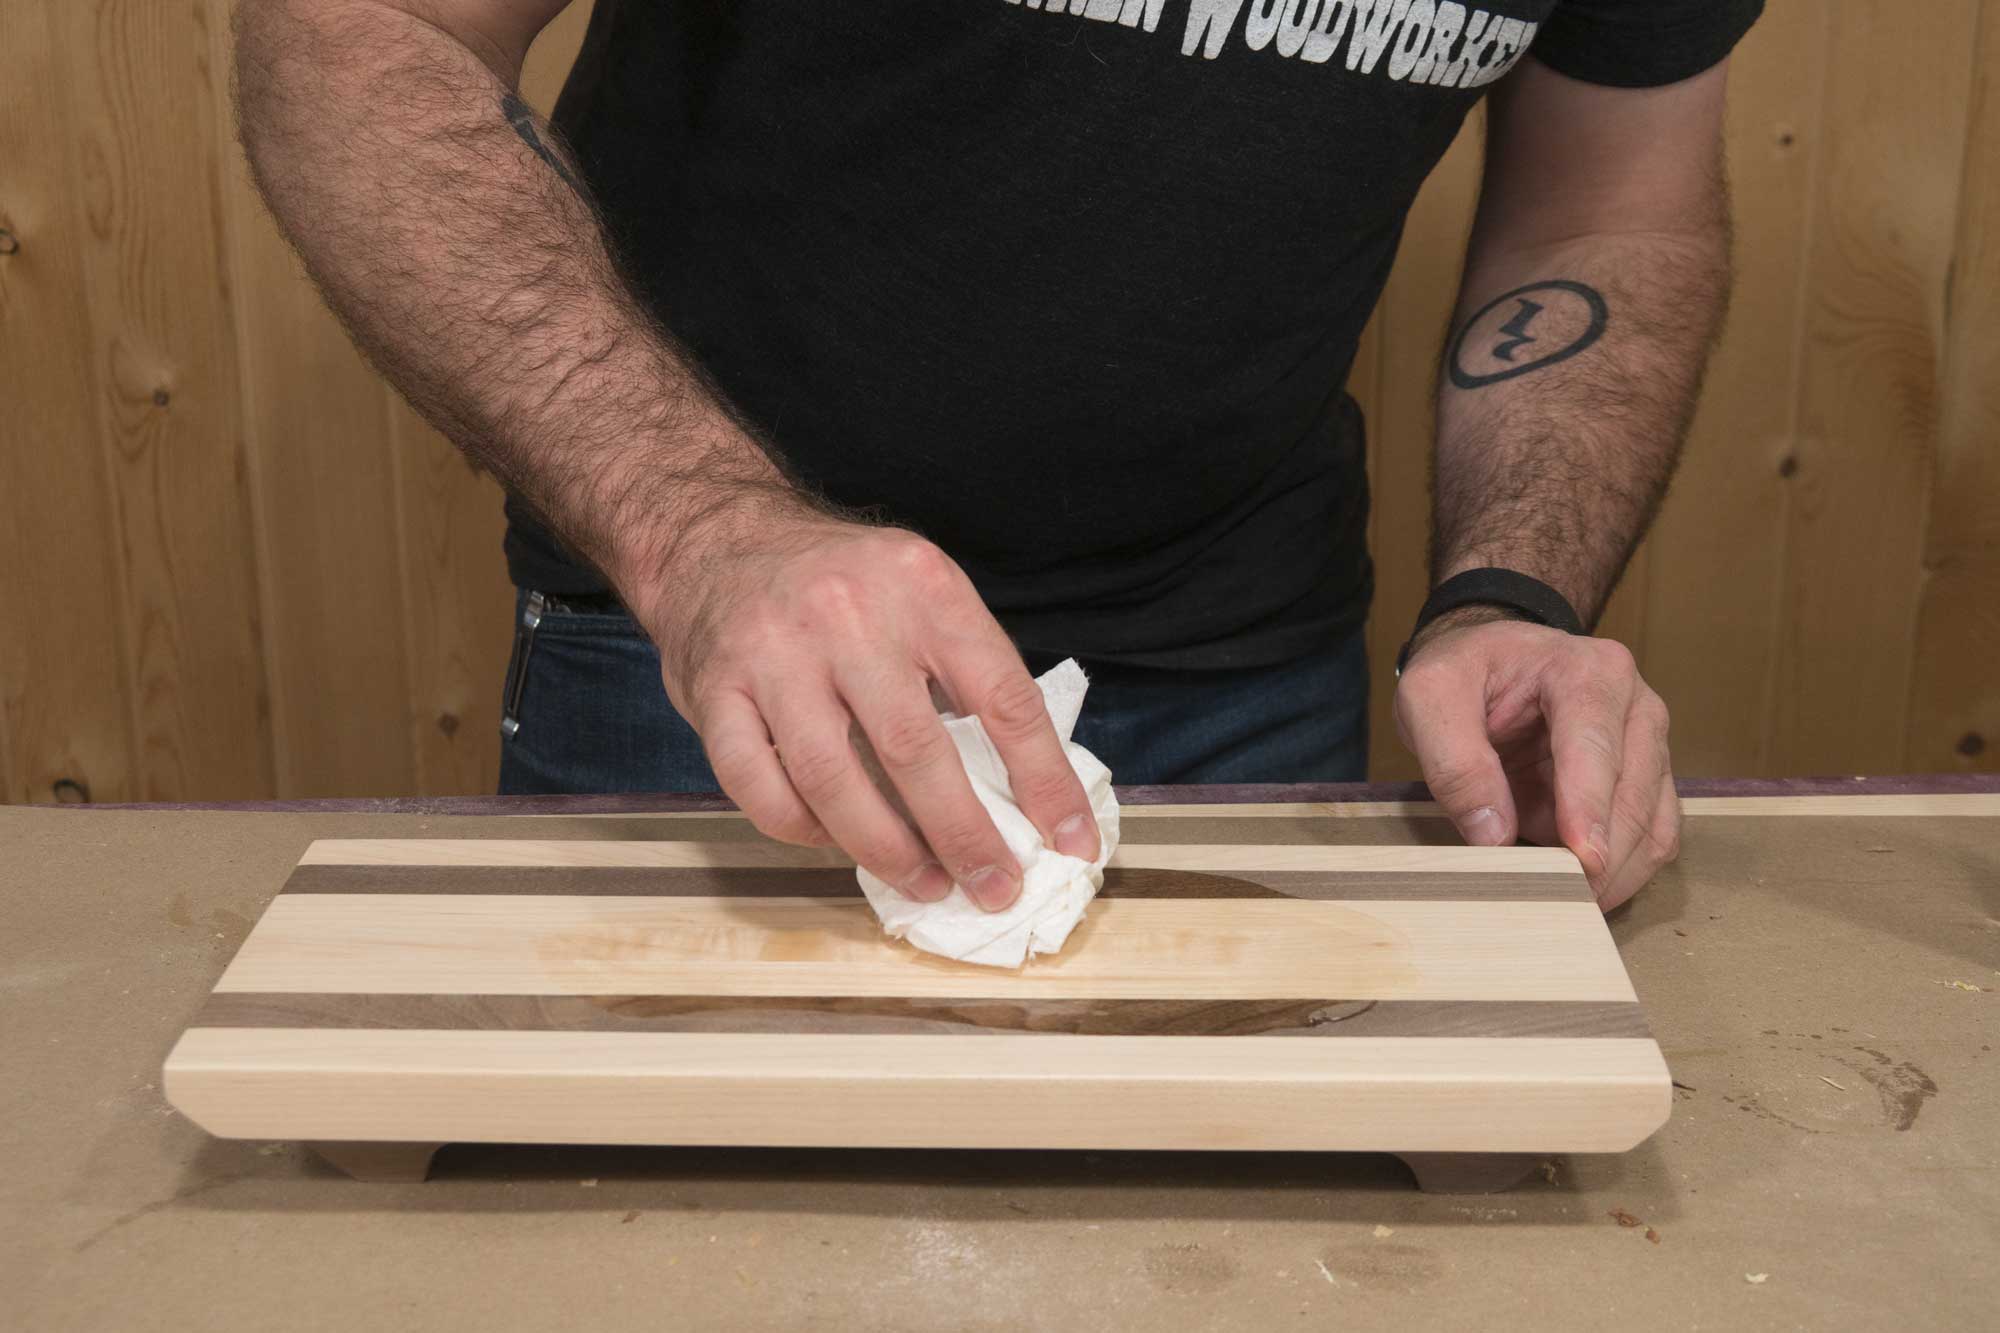
2. Raise the Grain

Use a wet paper towel to raise the grain. The moisture causes some of the wood fibers to swell.
3. Remove the Raised Grain.
Go back and sand everything smooth again with 220-grit sandpaper. This second sanding won’t take long to smooth everything back out. This step will keep the cutting board smooth after use and washing.
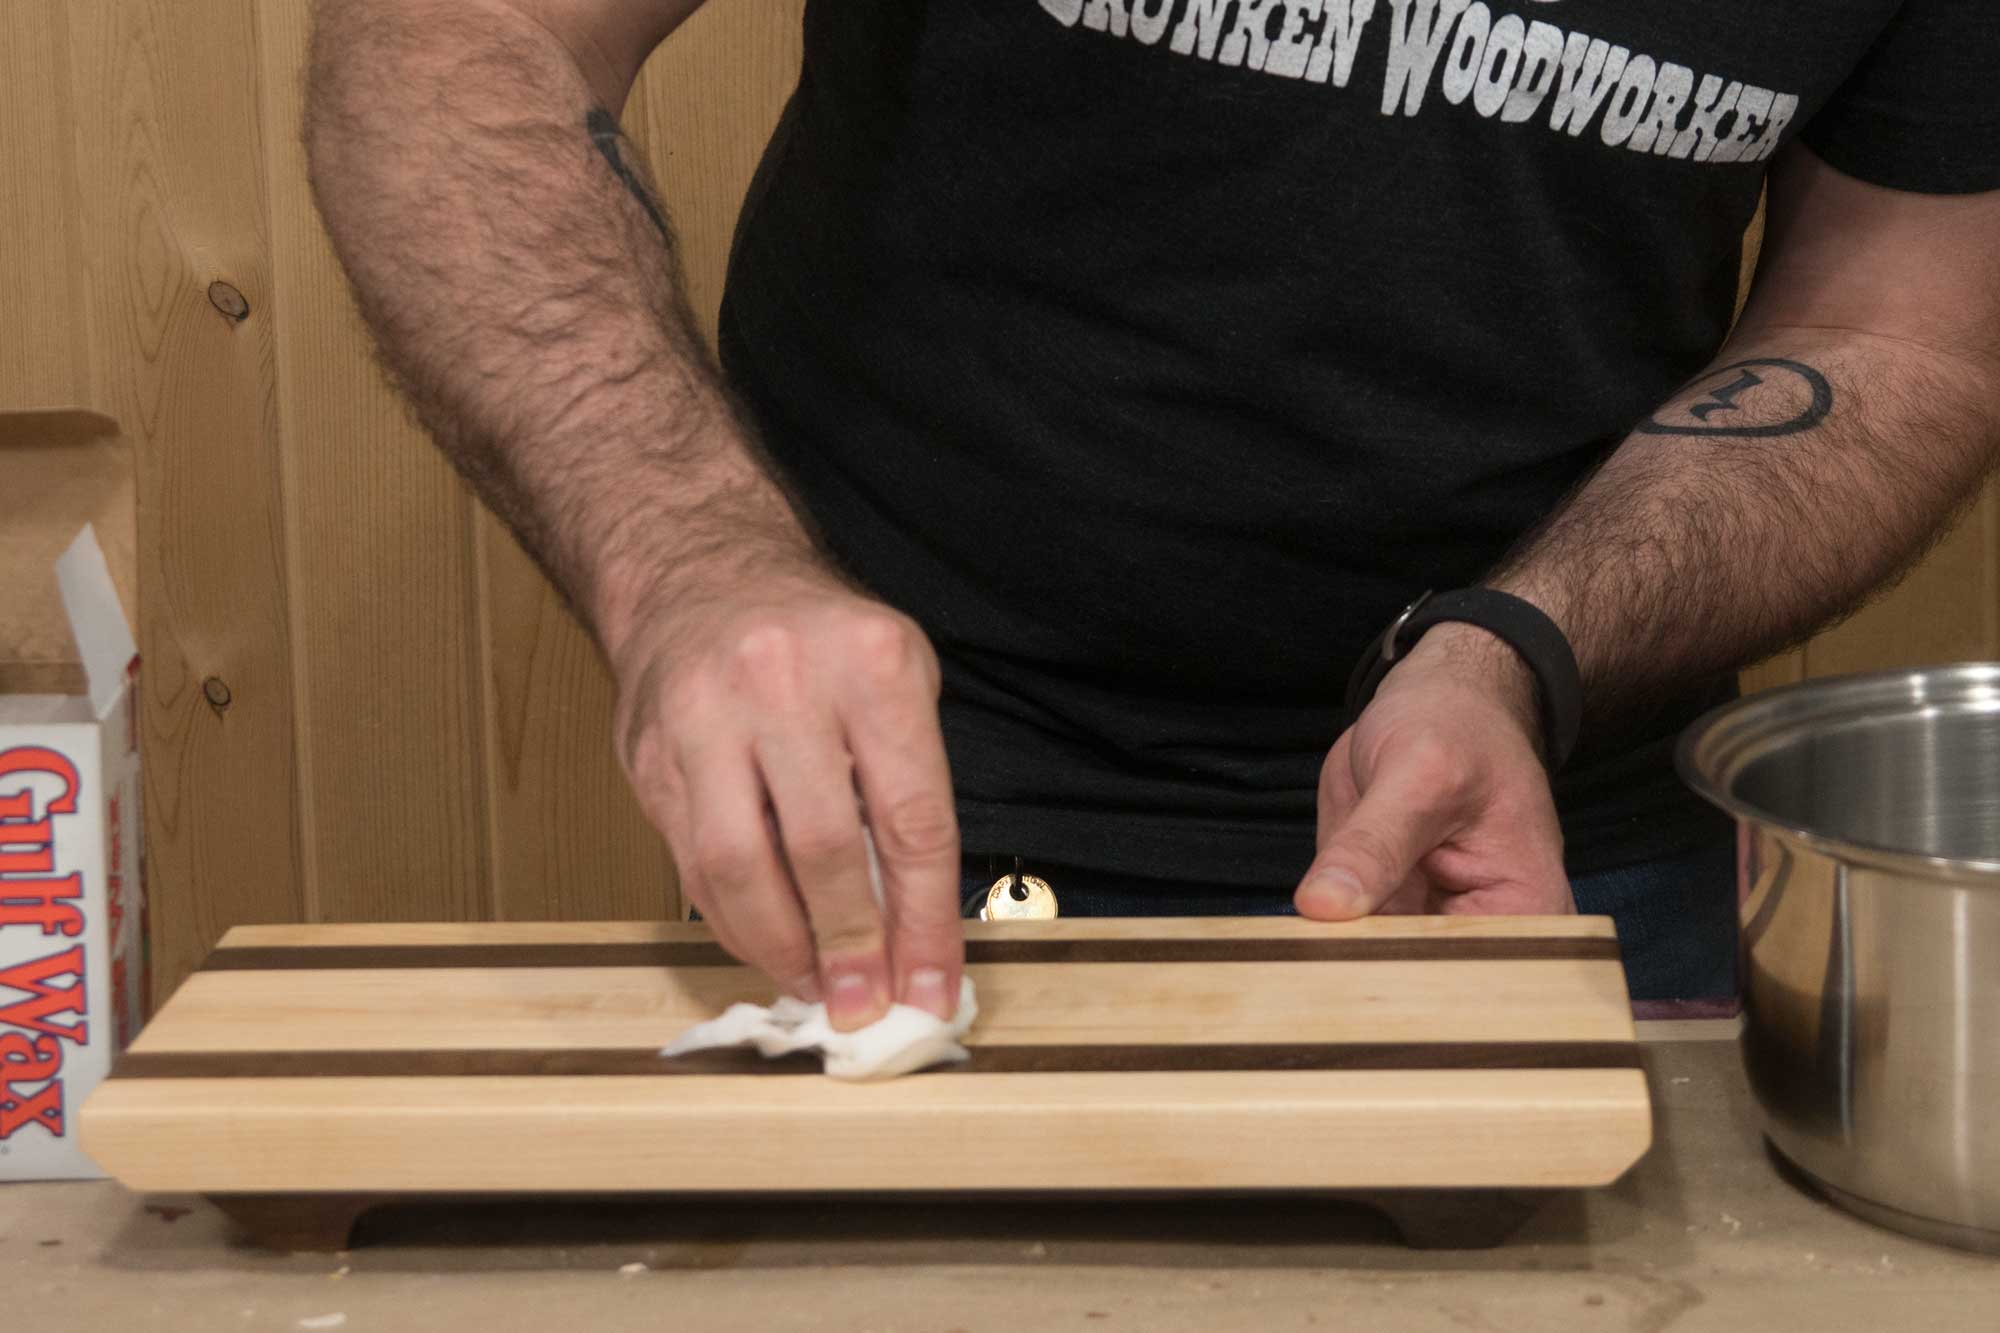
4. Oiling the Cutting Board

Coat the entire cutting board with a heavy dose of white, food-grade mineral oil.
5. Even More Oil
And again . . . Some woods and all end grain cutting boards soak up a lot of mineral oil. Keep applying more and more until the oil sits on the surface. Allow the oil to sit for a couple of hours before wiping away any excess.
6. Melt Wax and Mix

For the second coat, melt paraffin wax on the stove using the lowest heat setting. As the wax melts add a bit of the white, food-grade mineral oil. You’ll want about a 50/50 mix.
7. Applying Wax Mixture
Finish while it’s hot. While the wax mixture is still warm, apply a heavy coat to the cutting board. Let the wax set for a couple of hours. This will leave a film on the surface but it’s easily removed later.
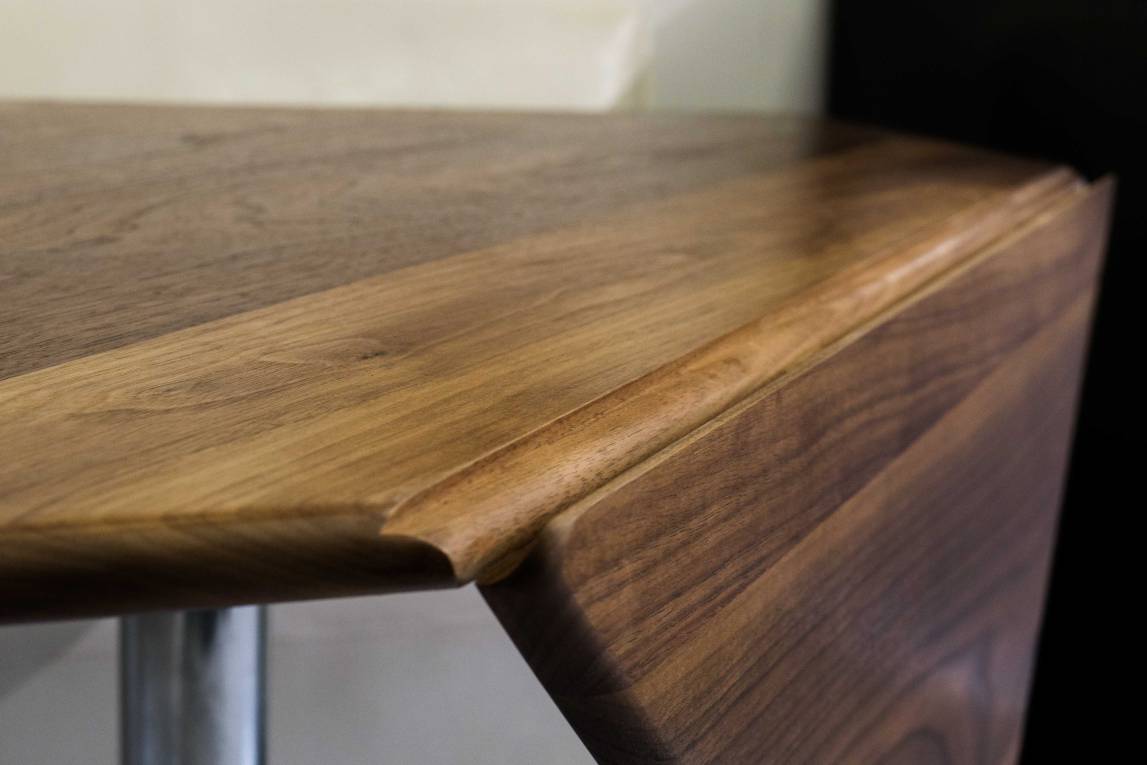
8. Buff it out.

Use a soft cloth to buff away the wax. This coat gives your cutting board a protective finish and a satin sheen.

How to Make a Drop Leaf Table With a Rule Joint
Making a drop leaf kitchen table out of walnut.
Making a Drop Leaf Table Woodworking Project
Our kitchen has this built-in restaurant booth that looks cool but doesn’t fit the space very well. In this woodworking tutorial video I replace the round laminate table with a square solid walnut table that has a drop leaf on one corner. I’m using Brusso drop leaf hinges and a match set of router bits to make the rule joint. Watch the video above to see how this is done.
Tools and Supplies Used in This Woodworking Project


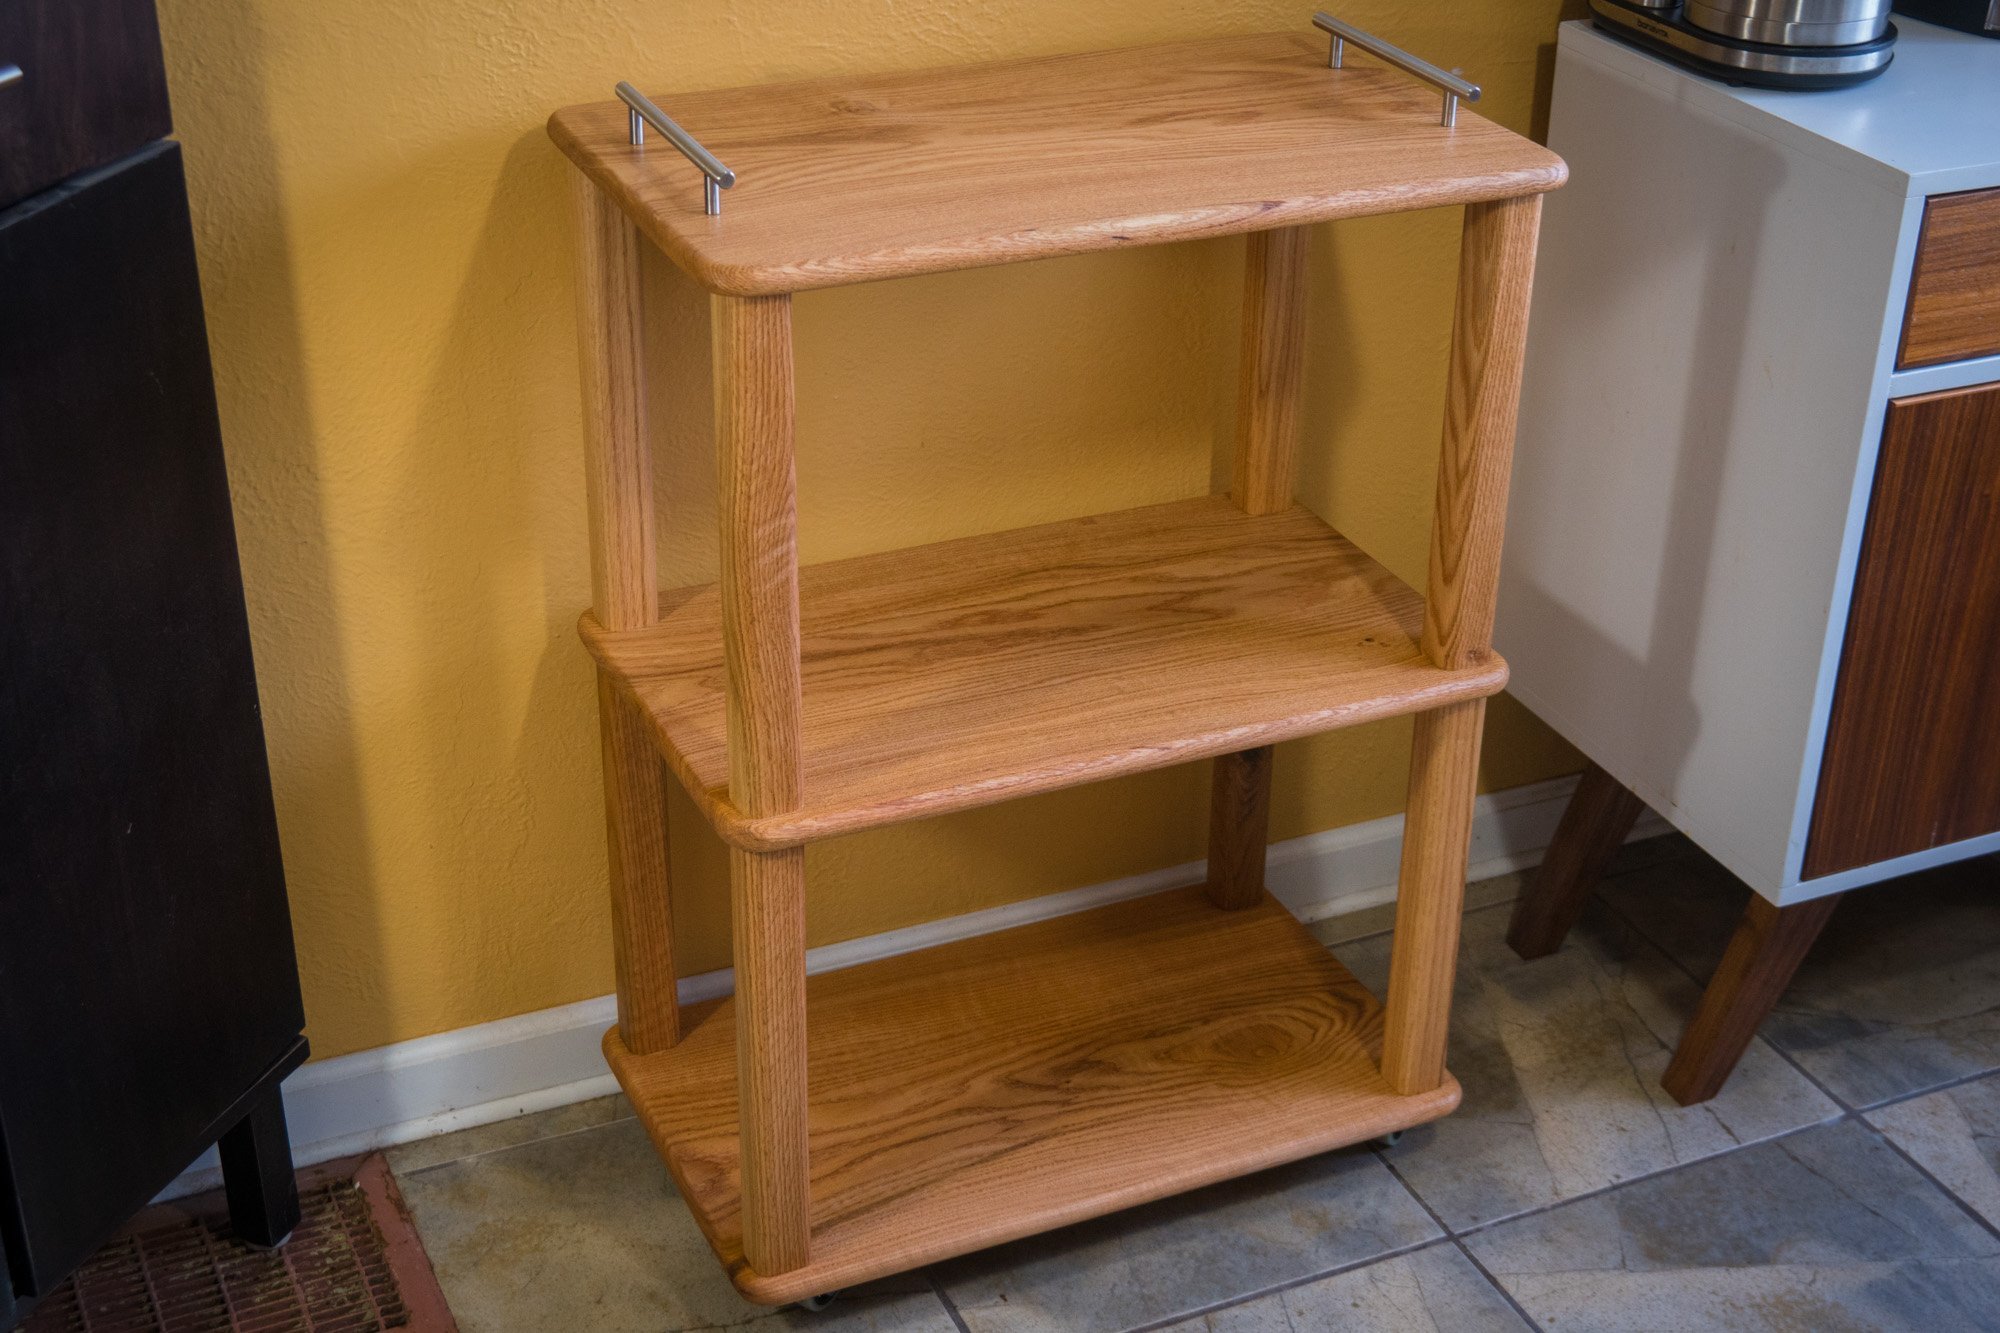
How to Make a Kitchen Cart
How to make a kitchen cart with removable top shelf that turns into a serving tray.


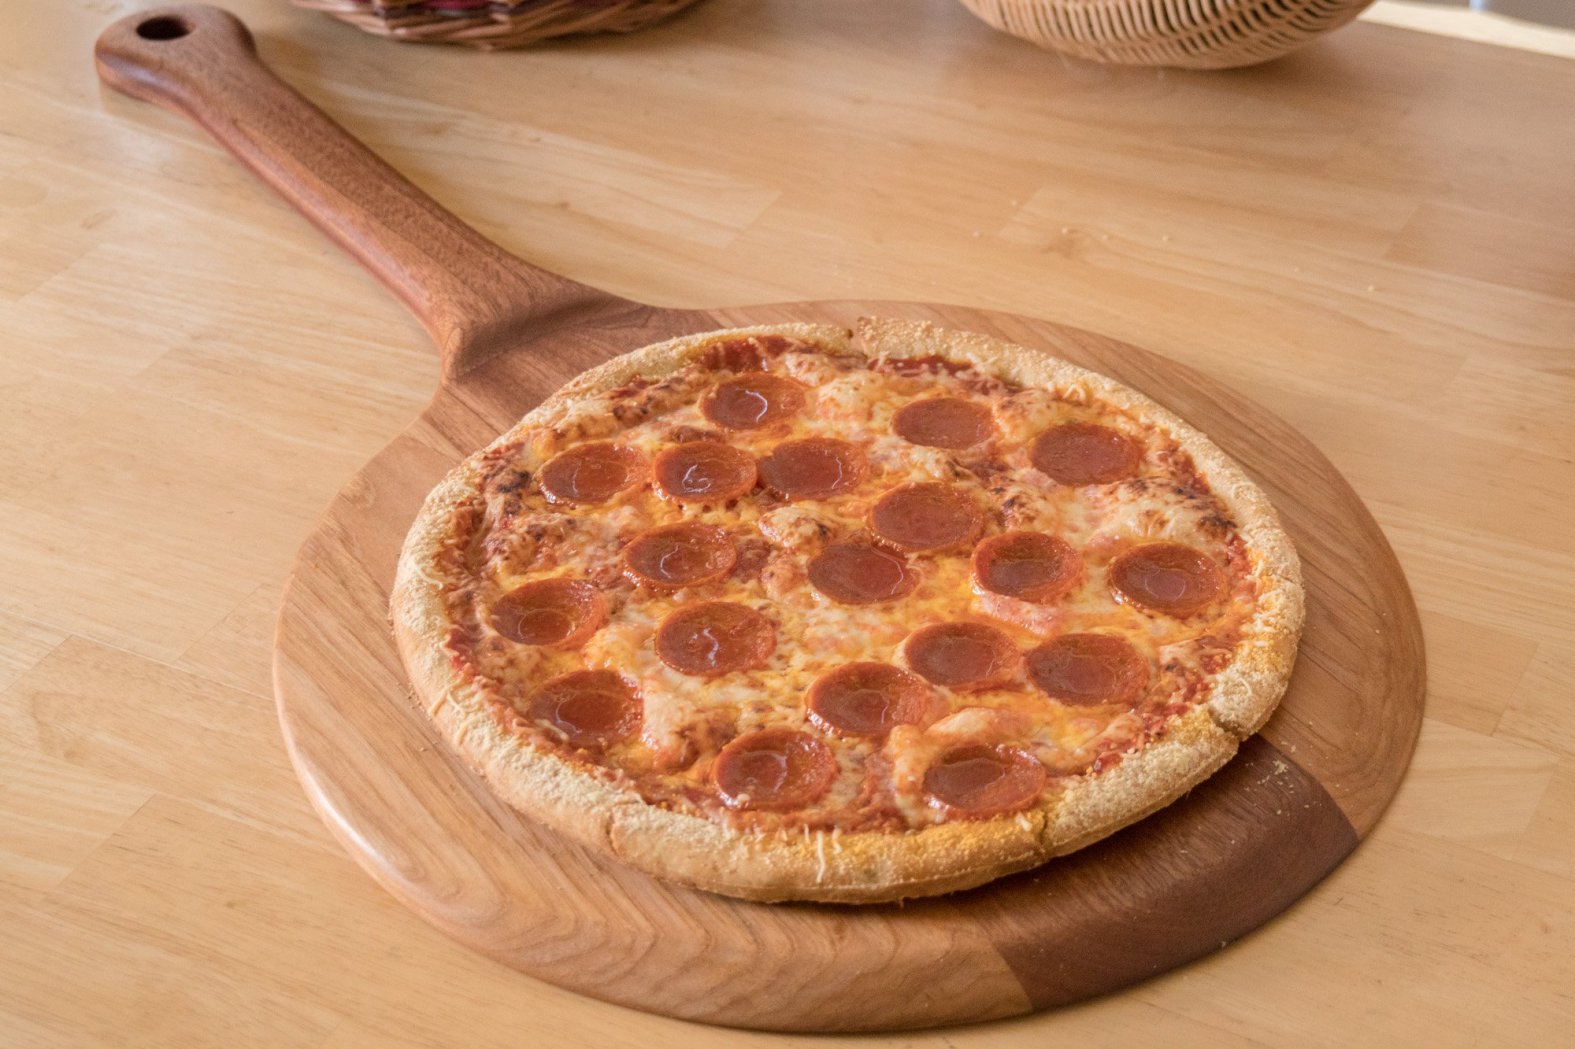
How to Make a Pizza Peel
Having a pizza peel in your kitchen is a great way to pull pizza out of the oven and also doubles as a cutting and serving board.
Making a Wooden Pizza Peel | Woodworking Project
This was a crazy fun and easy project. I didn’t know how useful a pizza peel was until we had one in the house. We generally cook our pizza right on the oven grill so having a pizza peel available to pull the pizza from the oven is very useful. Plus you can cut the pizza right on the peel and use it as a serving tray. The finish used on this is a food grade mineral oil and paraffin wax. Like any cutting board you’ll need to reapply a finish on it after a handful of uses. We like to keep a bottle of butcher’s block conditioner in our kitchen for quick and easy applications. If you like this tutorial please share it with your friends! Let me know in the comments down below what you think and how you would make yours different! As always, be safe, be passionate and Make Something!
Tools and Supplies Used in This Project
- Festool Kapex Miter Saw
- Bar Clamps
- Titebond Wood Glue
- Spring Clamps
- 50 Pack Pencils
- Grizzly Bandsaw
- Disc Sander
- Spindle Sander
- Dremel Tool
- F Style Clamps
- Microjig GRR-Rip Block
- Belt Sander
- Jet Drill Press
- Festool Random Orbit Sander
- Gulfwax Paraffin Wax
- Food Grade Mineral Oil
- Camera Used – DJI OSMO
- Wireless Mic – Sony


How to Ruin Grandma’s Cookie Recipe in Epoxy!
A failed experiment that had unwanted results. It’s all part of the learning process.
So I had this crazy and wacky idea to take a cookie recipe, bake the cookies and encase that cookie and the recipe card in epoxy. This could then hang on the kitchen wall and you could always be reminded of Grandma’s recipe and see exactly what the cookie looks like. I wanted to do this all with supplies you could get from your local home center and not need any fancy woodworking tools. I attempted this twice and failed each time. If you watch the video above you’ll see that I tried to pour all the epoxy at once and I should have done it in layers and allowed it to dry between layers. By pouring it all at once it doesn’t cure evenly. I also used a heat gun to get the bubbles out and that speeds up the curing process which is a no no! Instead I should have used a small butane torch. If you do try this and you’re successful please let me know because I’d love to see this work!
Items Used
Cookie Recipe
- 2 1/4 cup flour
- 1 tsp baking soda
- 1/2 tsp salt
- 1 cup butter
- 3/4 cup sugar
- 3/4 cup brown sugar
- 2 tsp vanilla extract
- 2 eggs
- 2 cups chocolate chips
- Preheat oven to 375°.
- Stir flour, baking soda and salt. Set aside.
- Beat butter, sugar, brown sugar at medium speed until creamy.
- Add vanilla and eggs one at a time, mix at low speed.
- Gradually bled dry mixture into creamed mixture.
- Stir in chocolate chips.
- Drop by tablespoon onto uncreased cookie sheet.
- Bake 9 to 11 minutes.

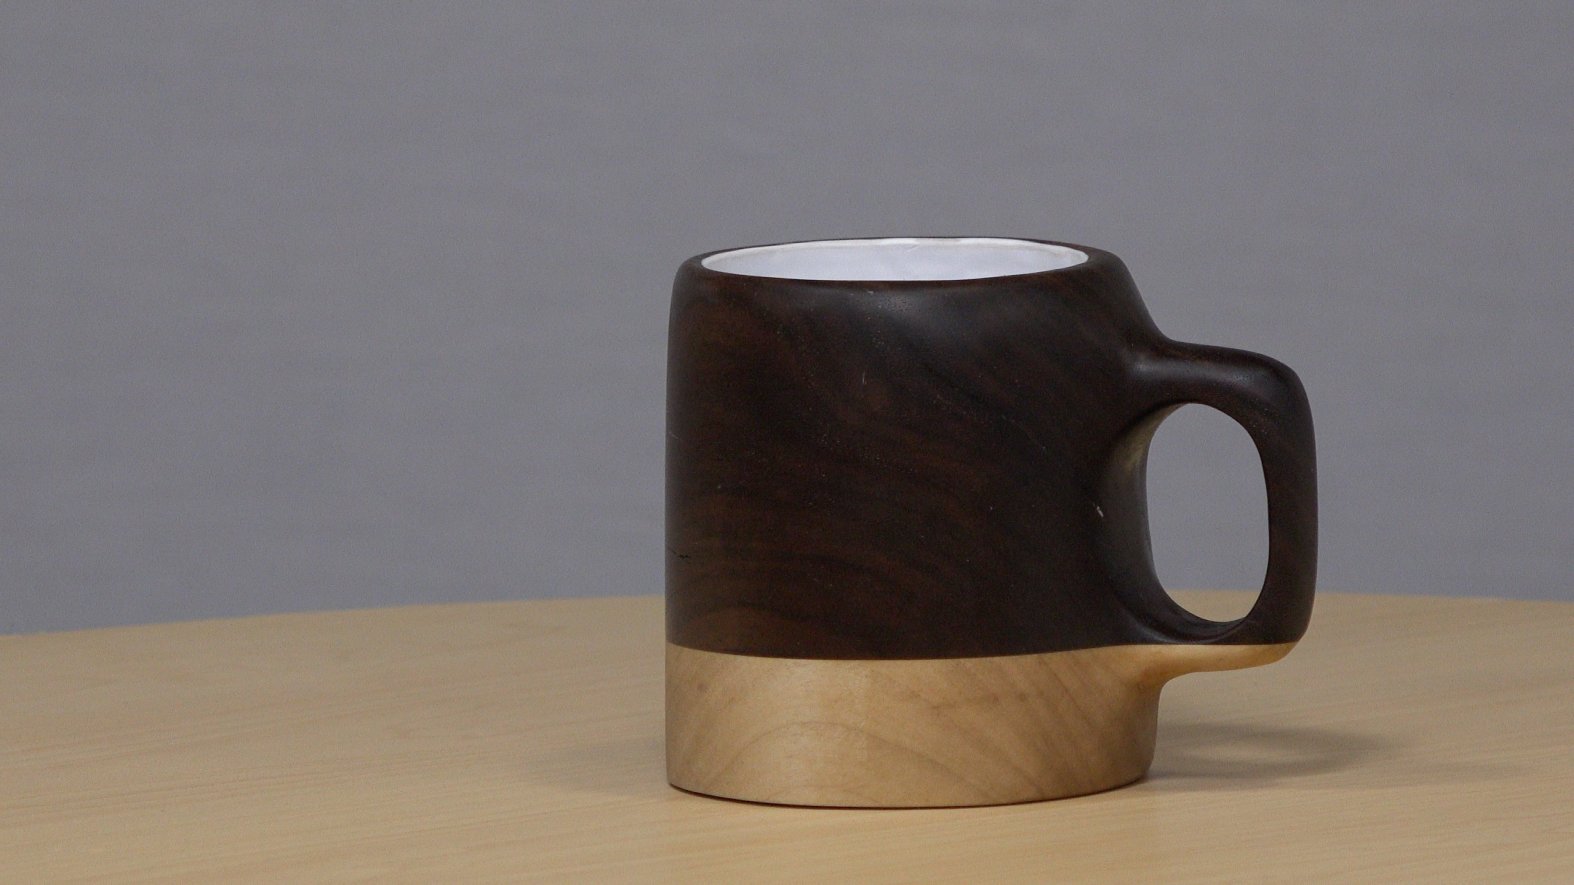
How to Make a Wood Coffee Mug
How to make a coffee mug out of walnut and maple.
Making a Wooden Coffee Mug
I got this beautiful chunk of walnut from my step dad. He cut down an old walnut tree from my childhood home an it’s been air drying for a few years now. I wanted to make the entire coffee mug out of one piece of walnut but the slab I had wasn’t tall enough so I ended up adding the maple bottom as you see here.
Food Safe Finish
When I started this wood coffee mug project I fully intended to use it as a real coffee mug. I coated the inside with a white Smooth-On plastic resin. When most resins and finishes completely cure after a few weeks they are food safe. Even if they don’t claim to be food safe. Your dining room table for instance probably has a polyurethane finish on it. Polyurethane isn’t promoted as food safe but once fully cured after a few weeks it’s safe enough to eat off of. I thought the white plastic resin I used would be perfect but it turns out that it gets soft when exposed to heat which is definitely not food safe. In my research I was able to find a few different “food safe” labeled epoxies but none of them mentioned they can be used for hot liquids. I’m sure there is something out there that can be used but I was unable to find it. If you know of anything that’s food safe for hot liquids please let me know in the comments down below. I may try and find a stainless steel insert and attempt this project again.
Thanks for stopping by! Be safe. Be passionate and Make Something!
Tools and Supplies Used


How to Make an Alaskan Ulu Knife
How to make a classic ulu knife and cutting board combination.
The Making of the Ulu Knife
In our house we’ve been using an Alaskan ulu knife for many years. It’s an easy and quick way to cut fruits and vegetables. The curvature of the blade rocks back and forth on the mating cutting board for efficient slicing. The ulu knife and cutting board is based on one we purchased while visiting Alaska many years ago.
Knife Making
The blade is made from a sheet of 16 gauge stainless steel cut with a jigsaw and metal cutting blade. Some final sanding and shaping was done on the disc sander and belt sander. I sharpened the blade using a Work Sharp 3000 sharpening station and finished up by hand with a sharpening stone. The blade is sandwiched and glued using epoxy between to pieces of soft maple and reinforced with 1/4″ brass dowels.
Cutting Board
The mating cutting board is also made up of soft maple with walnut accents. Once squared up I chucked it on the lathe to carve a recessed bowl to allow the blade to rock back and forth. All the wood was then sanded smooth and finished with butcher block conditioner.
Cook With Meat
This video was made in collaboration with Cook With Meat. Check out his YouTube channel and website for some amazing cooking tutorials.
Tools and Supplies Used


How to Make Bent Laminated Spoon
Using bent lamination to create this wooden spoon for the kitchen.
Way back in 1992 when I was just a junior in high school, I made a bent laminated wooden spoon in shop class for a Mother’s Day gift. Now 24 years later I’m recreating the spoon for an updated gift to give to Mom this Mother’s Day. Bent lamination involves resawing the wood into thin bendable strips that can be placed in a mold and glued in place. Once the glue dries the spoon shaped can be cut out on the bandsaw with some final shaping done with the spindle and orbital sander. This is a quick and fun woodworking project that can be done in just a few hours. If you plan on using the spoon for cooking then you’ll need a food safe finish such as the butcher block conditioner I used in the video. As always, be passionate and Make Something!
Tools and Supplies Used


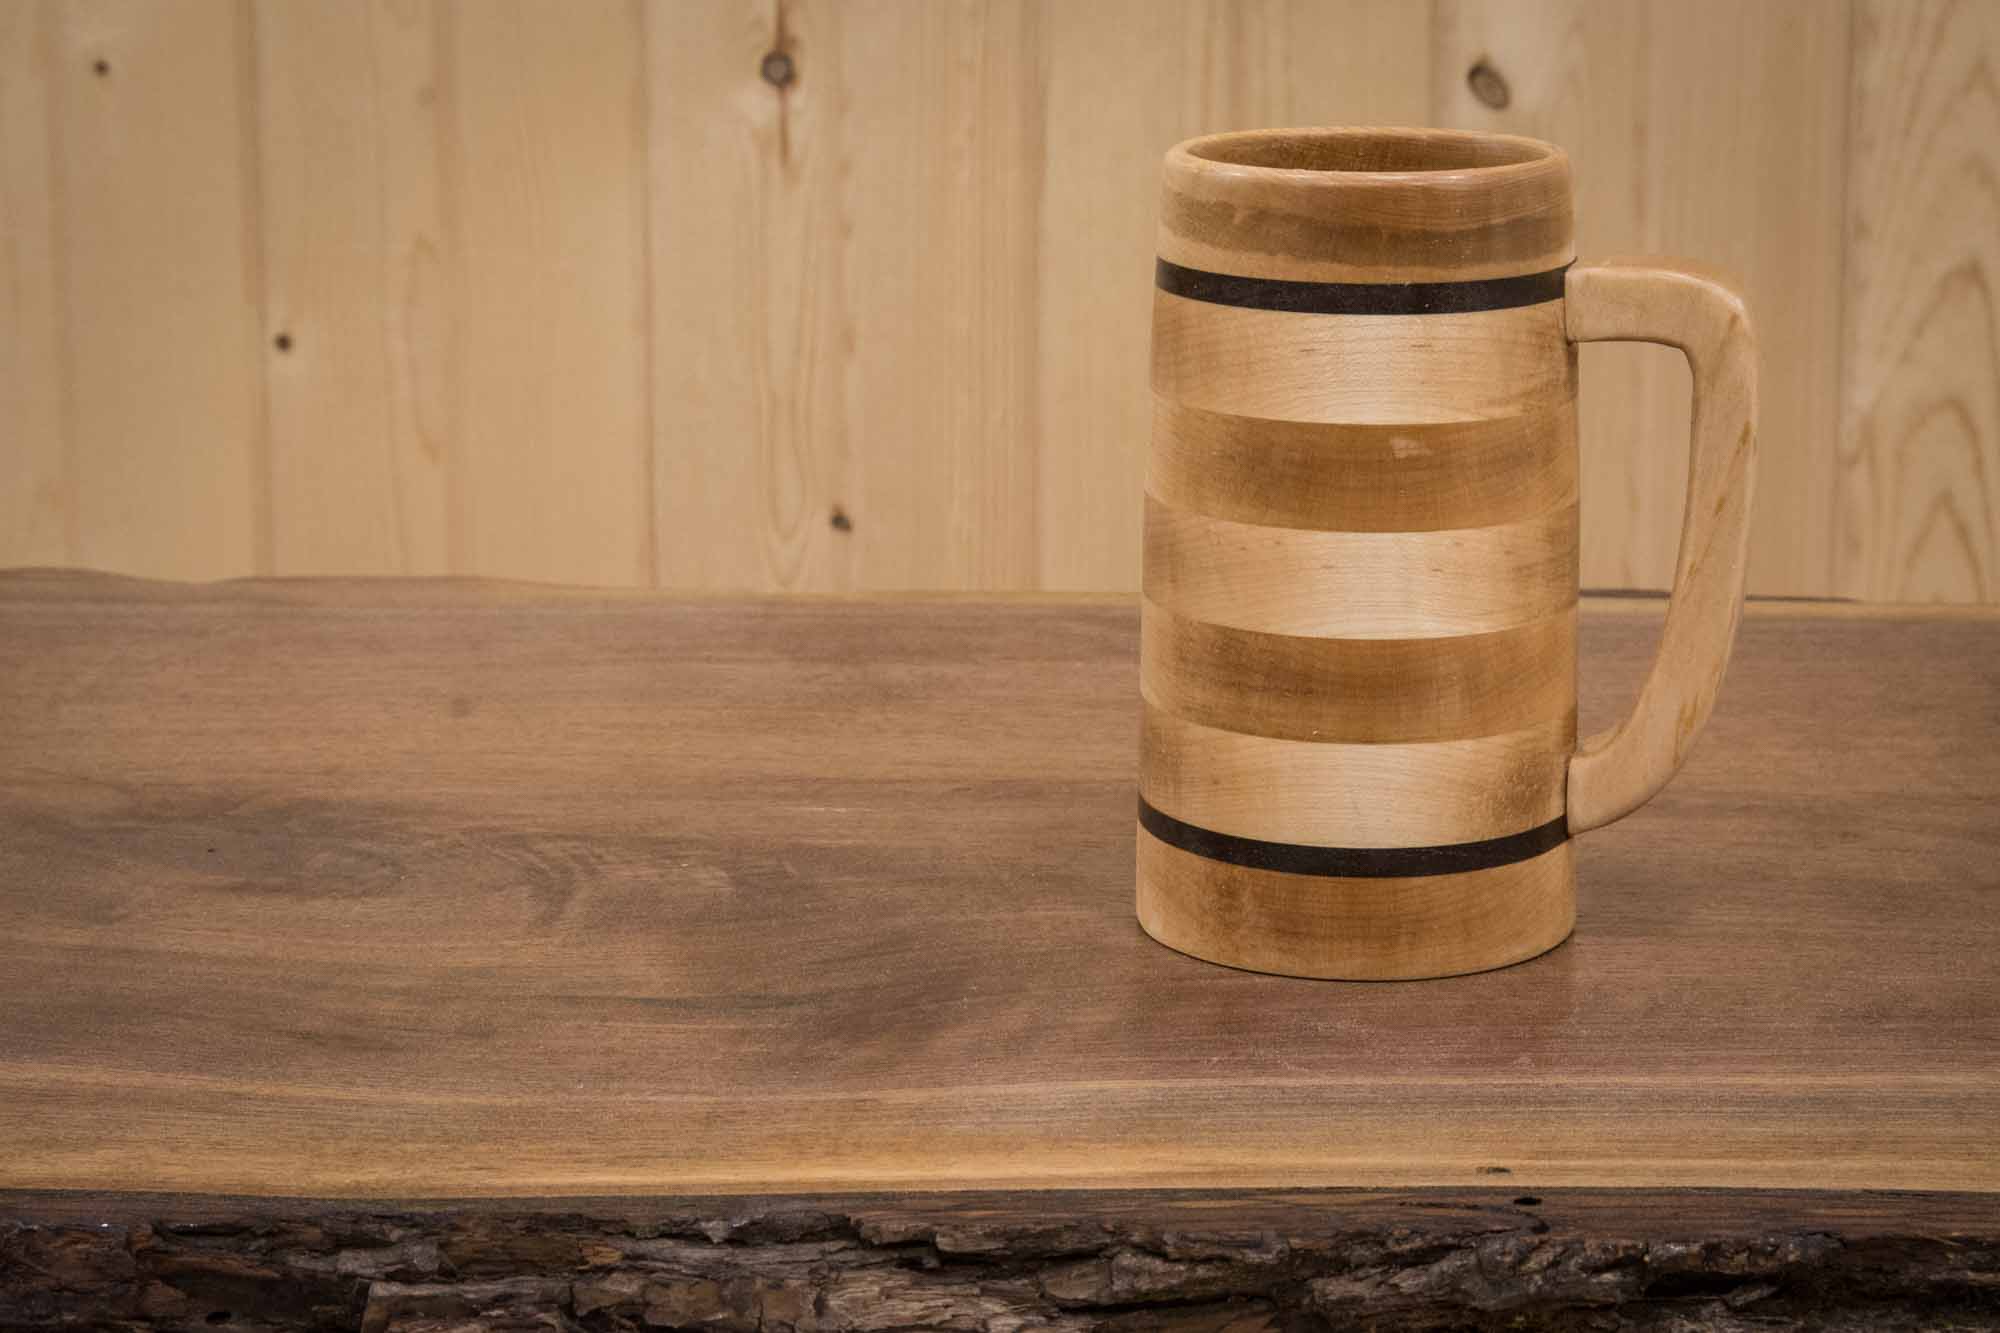
How to Make a Beer Mug on the Lathe
A fun weekend woodworking project on how to make a beer mug/beer tankard on the lathe.
Making a Beer Tankard
A fun weekend woodworking project on how to make a beer mug/beer tankard on the lathe. We’ll start by cutting up all the pieces on the tablesaw. Next we’ll glue and clamp them all up and once dry, mount it up on the lathe and start turning. The inside is hollowed out using a forstner bit which makes it a quick and clean cut. And finally we’ll coat the inside with epoxy making it water proof and ready for a nice cold beer.
This is one of those projects where you’ll want to make a few at a time because once your family and friends see it they’re going to want one as well!
Is Epoxy Food Safe?
That’s not an easy question to answer and there are very few epoxies that are labeled food safe. Acquiring that label is a long costly process that many companies just don’t bother with. I’ve found a few woodworking articles saying all finishes are food safe once fully cured. It is to my understanding that epoxy is fully cured and inert after 30 days and is not much different than using a plastic cup. There are a few people who say that the mix of the two-part epoxy must be the exact ratio for this to be true and if it is mixed correctly and fully cured must only be used to serve cold drinks and not be exposed to high temperatures like coffee or a dishwasher. From what I gathered I feel safe drinking beer out of these mugs using the epoxy I got from the Home Center. It is up to you to use your best judgement and research what will work for you.
Here’s What You’ll Need

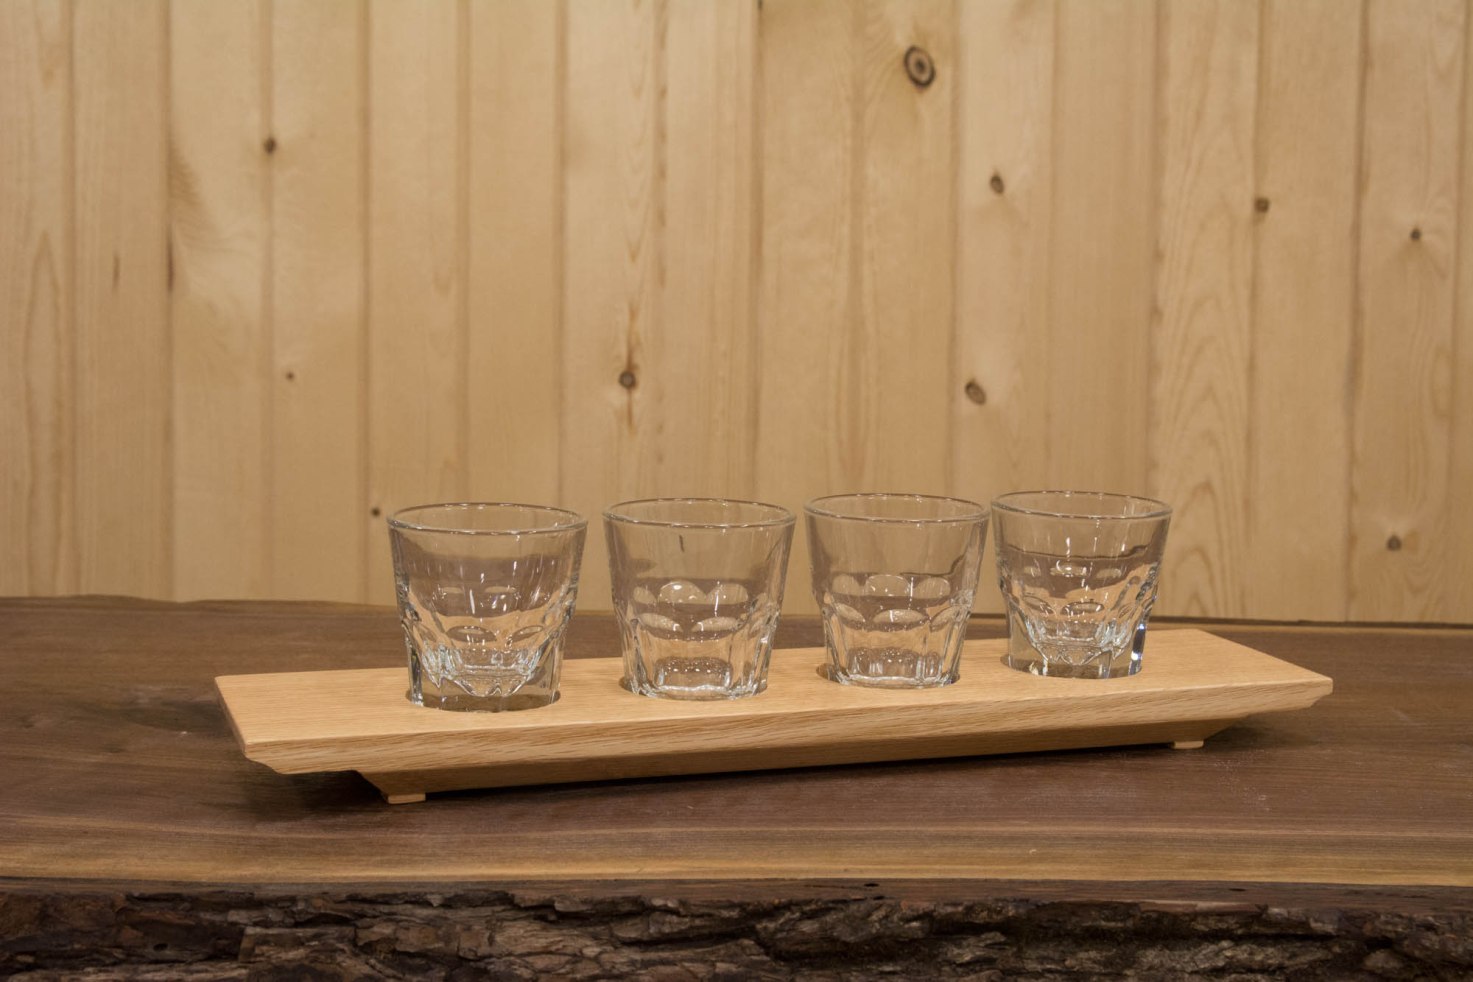
How to Make a Beer and Whiskey Flight
Impress your guest with these beer and whiskey flight trays. They also make great craft show items when paired up with glasses.
Making a Beer Flight
Here’s a quick and simple woodworking project that can be made in a day without a lot of fancy tools. This display could be used as a candle holder, beer flight or whiskey flight. Whichever one suits you best! In the example in the video I’m using hickory wood but I’ve also made them in red oak and walnut and look just as great. This is also one of those woodworking projects that can be easily modified to your own style.
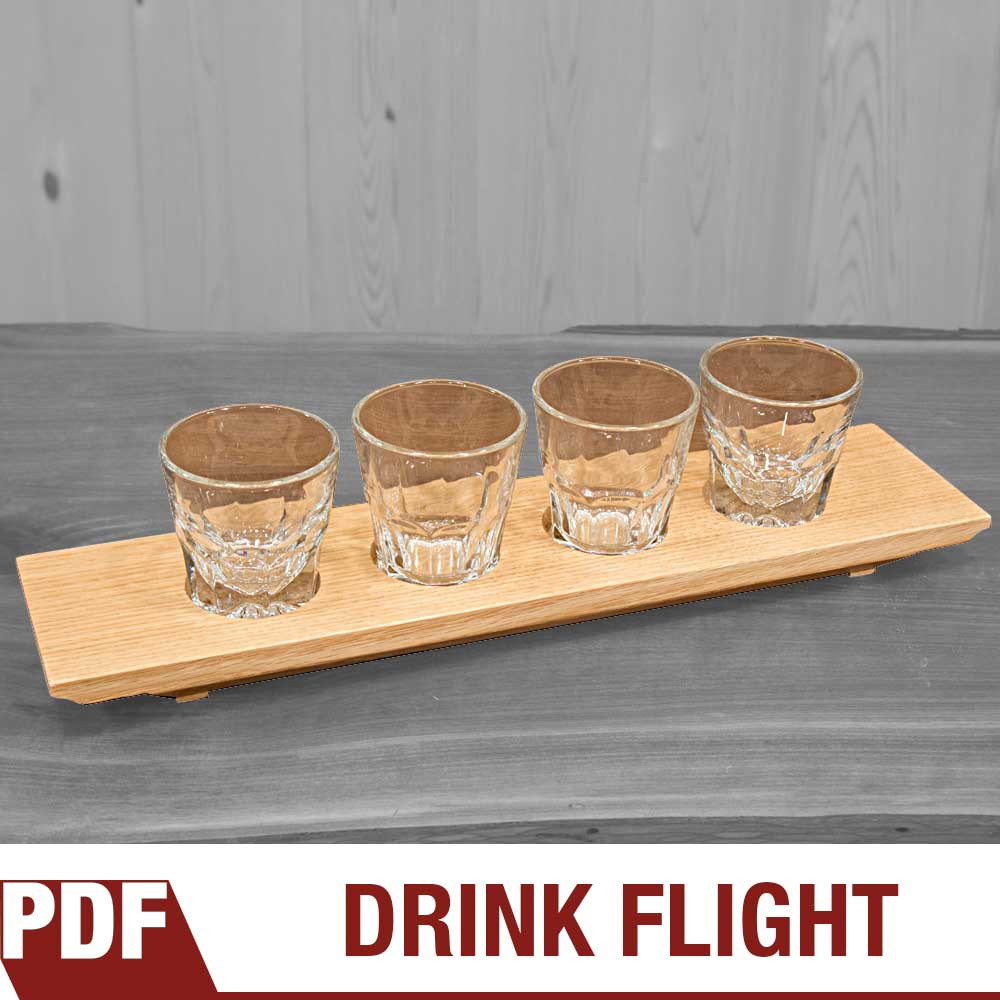
A fun and quick project that can be made in a few hours. I sell this item at craft show as either a beer flight, whiskey flight or even a candle holder. If you do plan on selling these I suggest getting some glassware to sell with it. Seeing the flight with the candles, beer glasses or whiskey glasses increases your chance of a sale. You can watch a video on how I make this flight below.
As always I encourage you to come up with your own design or you can use the link below to purchase the plans and use my design. Please feel free to use, make and sell these online or at craft shows. If you do sell them please let me know how well they sell. I’m always looking for good feedback. I myself have sold a few of these at recent handmade shows for $40 which includes your choice of candle votives, mini pilsner glasses or whiskey glasses Enjoy, be safe and make something!
Products Used


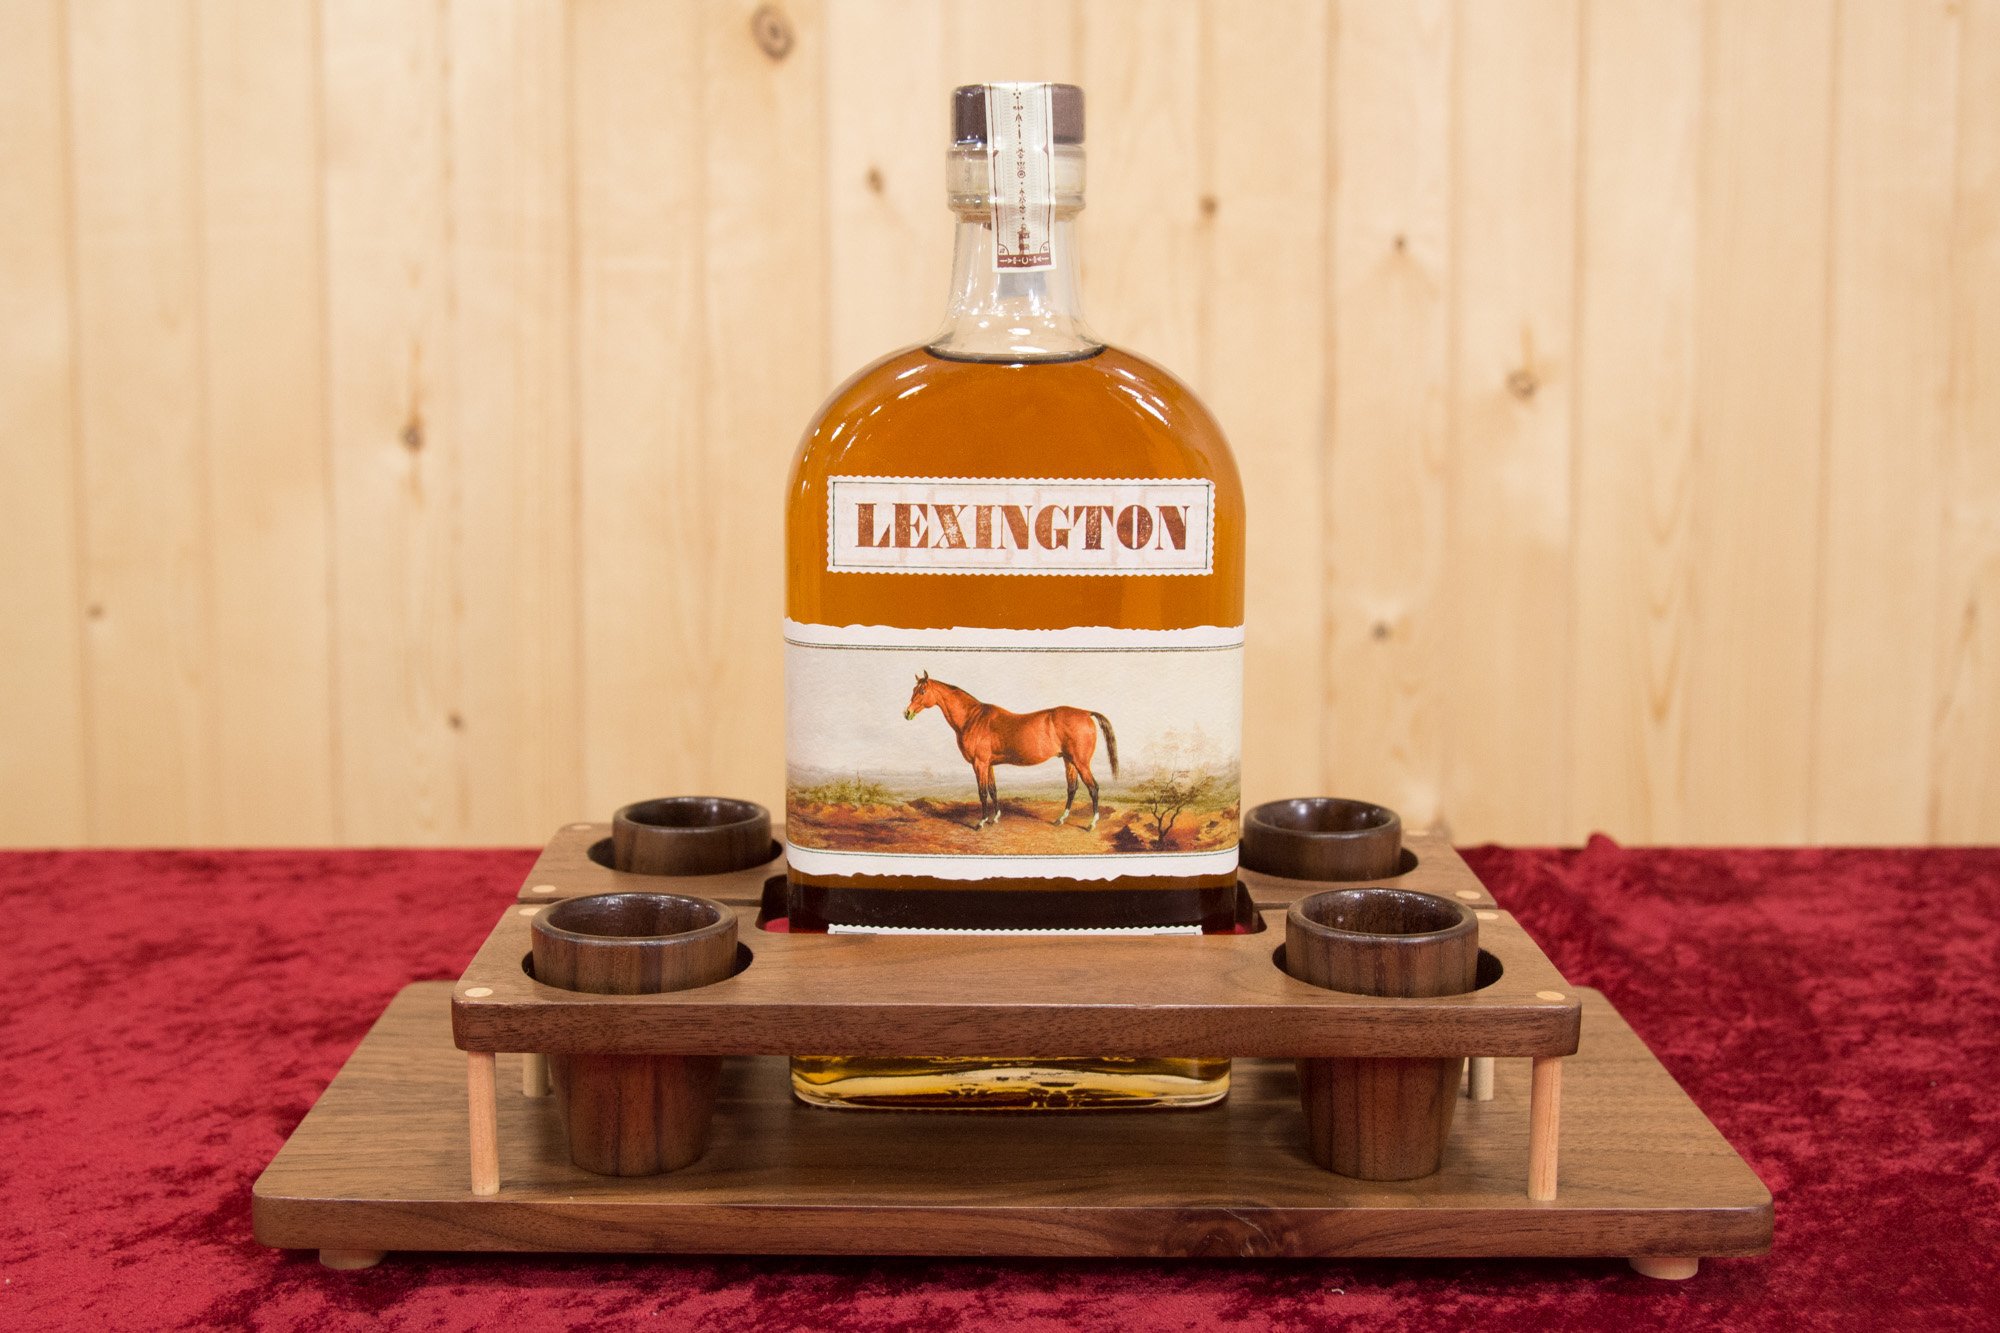
Making a Whiskey and Shot Glass Display
A real simple woodworking project that involves turning the shot glasses on the lathe and displaying your favorite bottle of whiskey.
Whiskey Display Details
This was a very special project for me as it was used in my wedding ceremony this past October. A real simple woodworking project that involves turning the shot glasses on the lathe. The top pieces are suspended using dowels and cut out using a printed pattern and spray adhesive. The four holes that hold the wooden shot glasses were drilled on the lathe using a forstner bit. I chose spray lacquer as my finish as I needed something that dries quickly and protects the wood. A very simple woodworking project the focuses on design. The tutorial video above takes you through the entire process from beginning to end.
Products Used


How to Make a Serving Tray with Breadboard Ends
Step by step process on how to make a serving tray with through stub tenon breadboard ends out of padauk and maple.
Step by step process on how to make a serving tray with through stub tenon breadboard ends out of padauk and maple.

Woodworking Books

Make Your Own Cutting Boards
15 cutting board projects to make as gifts or sell! Get your signed copy!

The New Bandsaw Box Book
8 bandsaw box projects you can make and sell at craft shows. Signed copies now available!