How to Make a Murphy Bed
How to make a bed that folds up into the wall.
Making a Bed That Folds Up Into the Wall
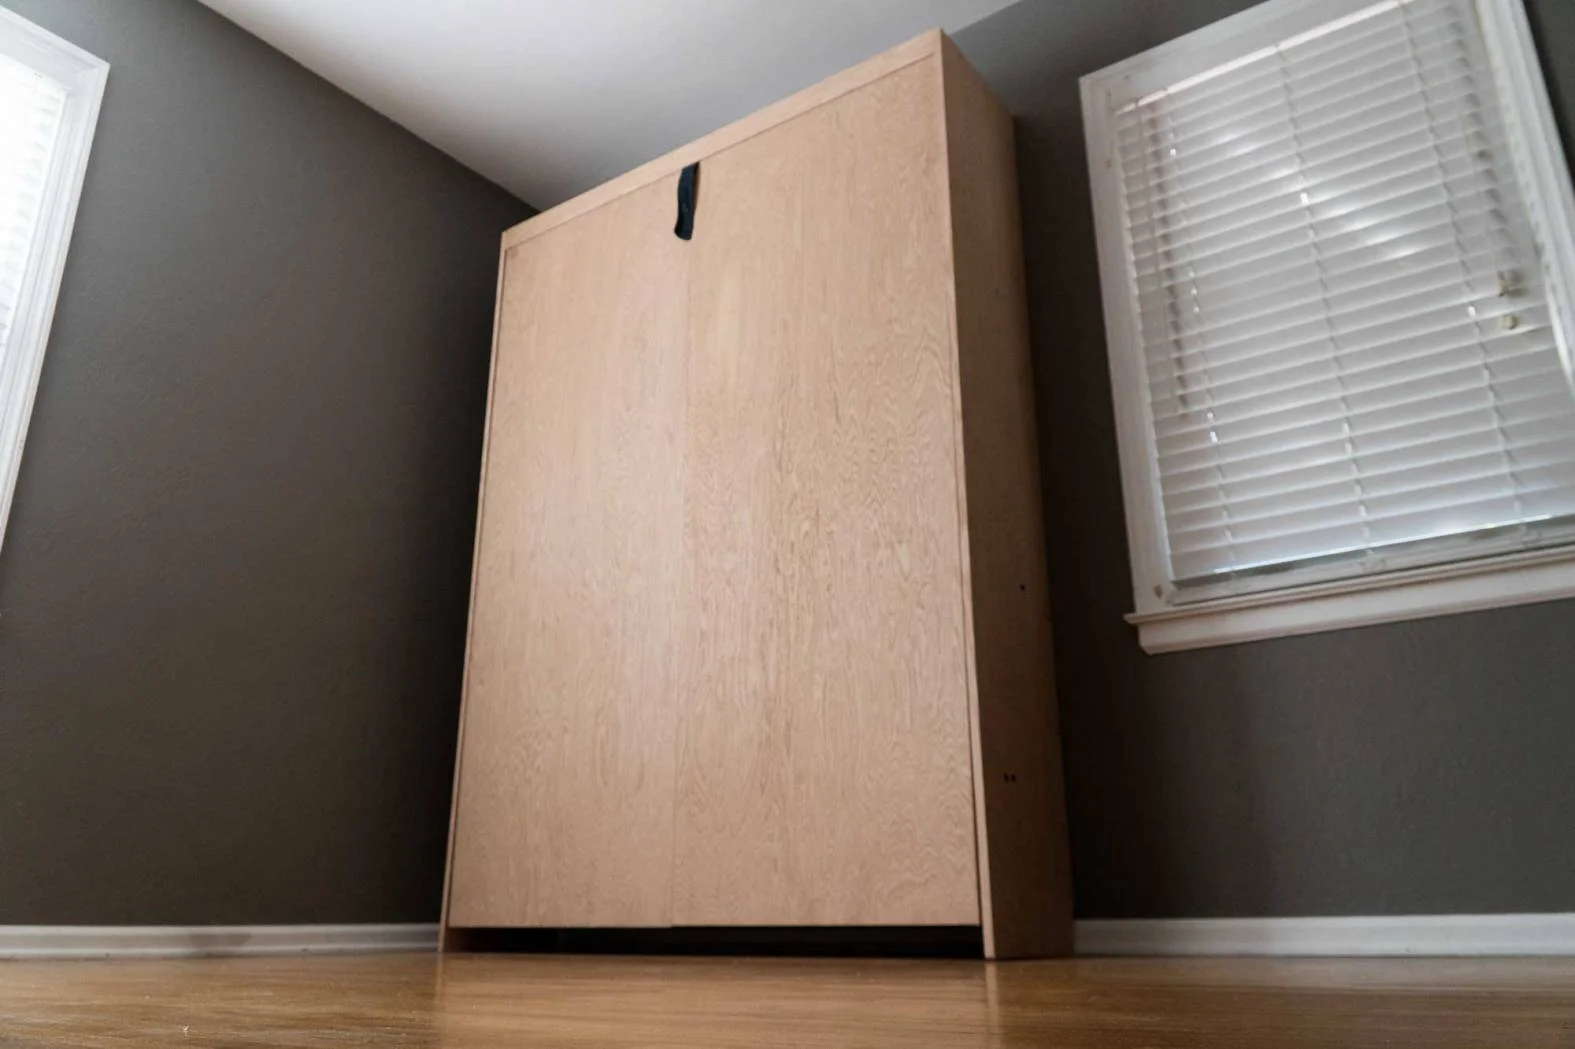
In our house we have one spare bedroom that Kelly uses as a basket making room. We would like to use this as a guest bedroom as well so we thought a Murphy wall bed would be perfect. Murphy beds fold up and out of the way into the wall which makes great use of space. I’m using the vertical mount Murphy bed hardware from Rockler.com. On Rockler’s site you will also find side mount Murphy beds. They both work the same so choose one that works best for your room and arrangement. Making the Murphy bed is not difficult but you will need space to move around large sheets of plywood and you will need a buddy for the final installation. I’m building my Murphy bed with the bare minimum plans which calls for four sheets of plywood. In the near future we will be adding trim and molding around the top, bottom and front face. We also plan on staining it and adding shelves and drawers. All of these add-ons will be in a future tutorial.
Tools and Supplies Used in this Woodworking Project
- Vertical Mount Murphy Bed Hardware
- Glue Bottle
- Microjig GRR-Ripper
- Forstner Bit Set
- Bosch Jig Saw
- Edge Banding
- Table Saw
- Wood Screw Clamps
- SawStop Sliding Table
- Tape Measure
- Festool Drill
- Ratchet Bar Clamp (similar)
- Black & Decker Drill
- Festool Miter Saw
- Festool Random Orbit Sander
- Iron
- Edge Banding Trimmer
- Combination Square
- Plywood Purchased Locally
How to Make a Retro Stereo Cabinet
Making a stereo cabinet with a turntable dust cover and record storage.
Making a Vintage Stereo Console
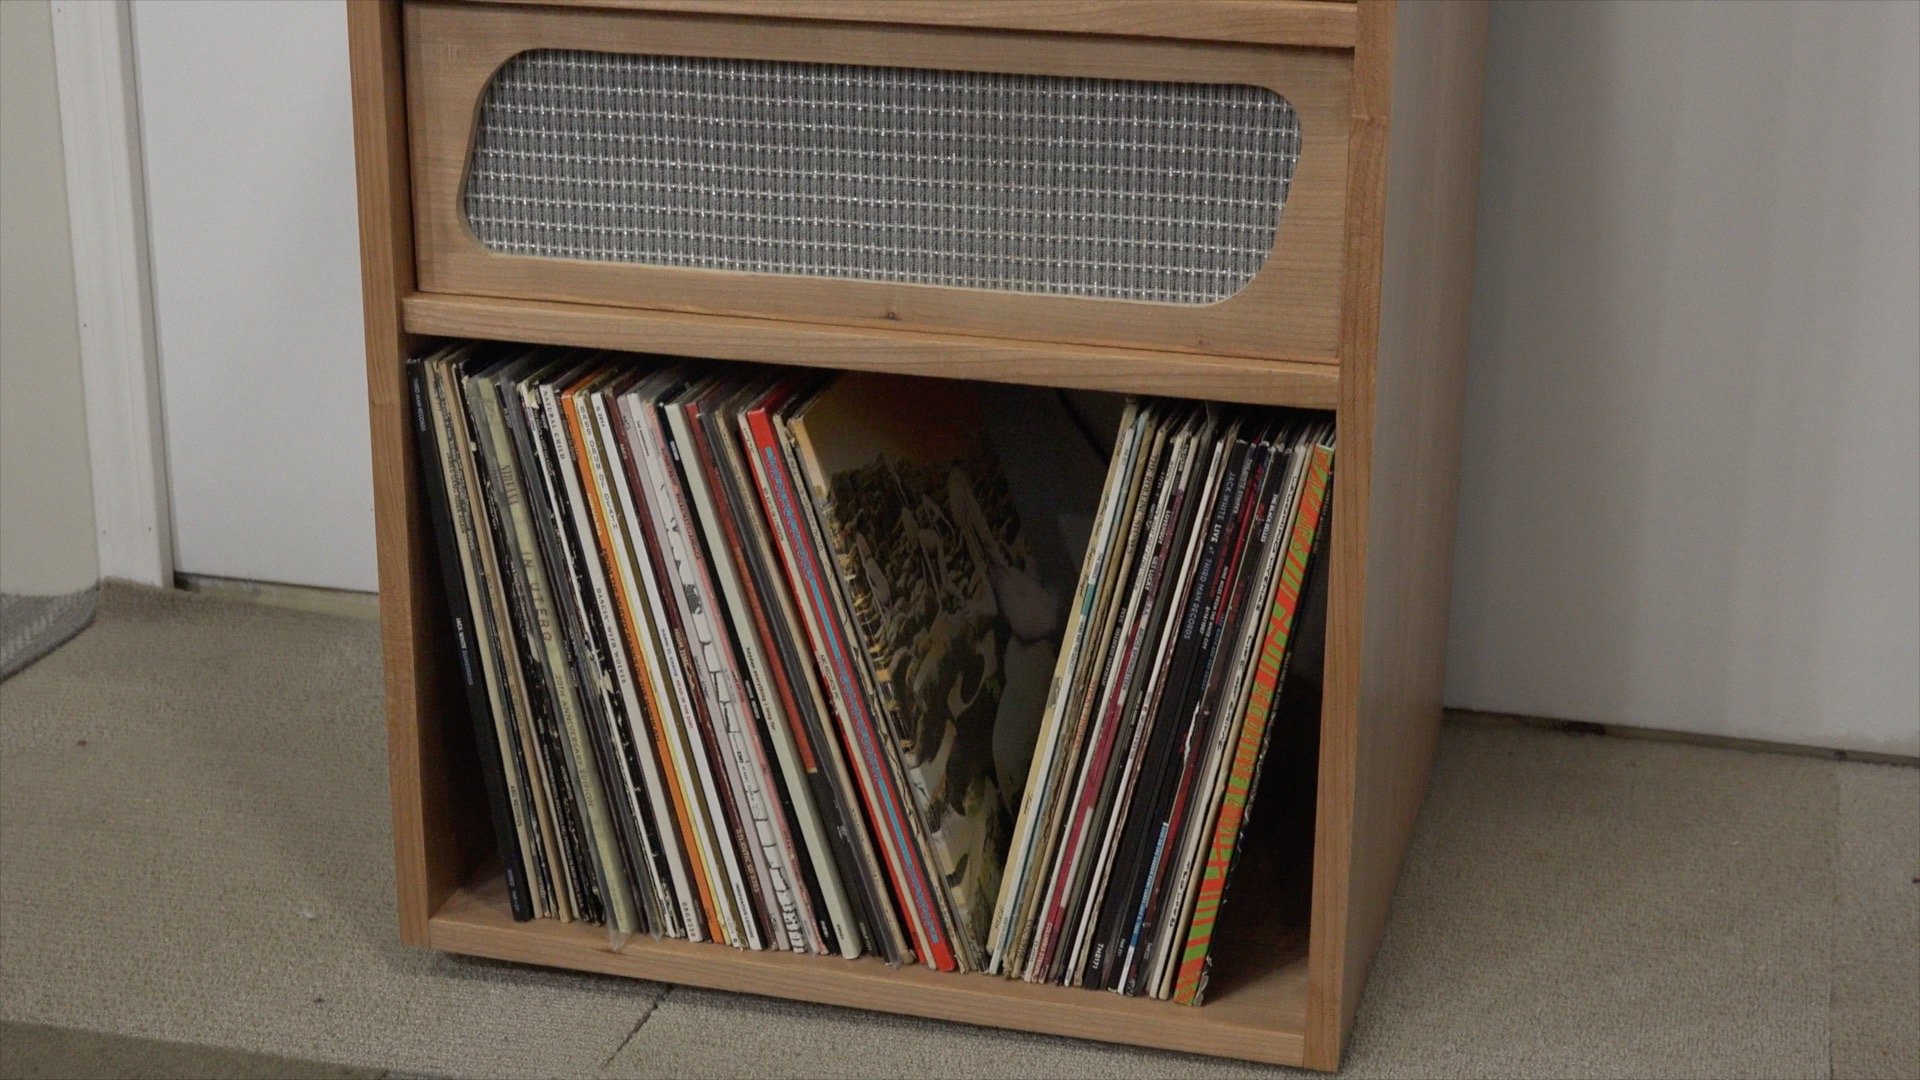
I’ve been wanting to make this retro stereo cabinet for a while now. I spend a lot of time in my basement shop working and wanted to have a turntable in there to play records but also protected from dust. It uses some basic butt joint construction done with loose tenons and made from cherry plywood. The turntable is enclosed with a hinged lid and the stereo component compartments have a removable grill cloth face to keep dust out but allow air circulation.
I did run out of time for a few final details because I’m taking for for a trip. I still need to add some pulls to the front grill faces and lid support or a kickstand to hold the top open while changing records. Once I get back and complete these tasks I’ll post pictures down below and update the steps.
If you make this stereo cabinet please tweet me some pics so I can share it with the world. Thanks for dropping by and as always be safe, be passionate and make something.
Tools and Supplies Used
How to Make a Corner Cabinet
How to make a matching pair of corner cabinets with removable glass doors.
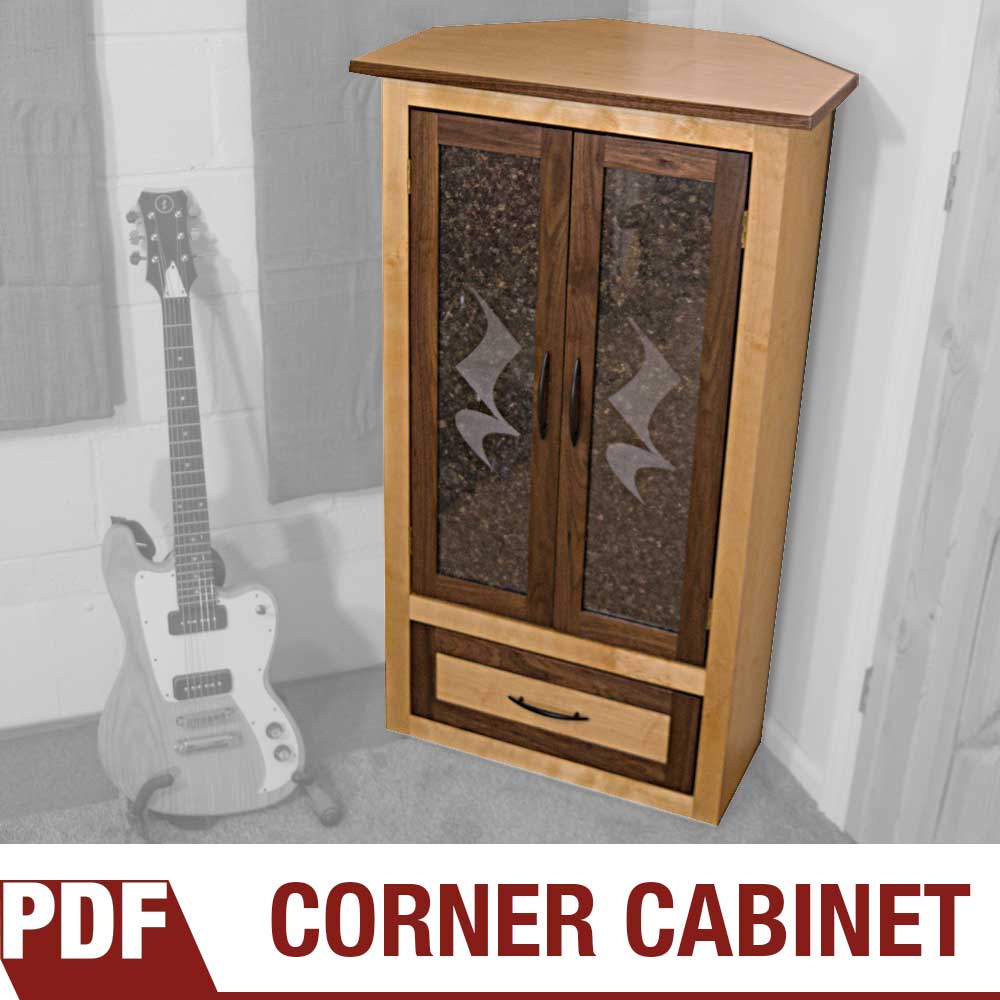
How to make a matching pair of corner cabinets with removable glass doors. A simplified woodworking project with tongue and groove joinery, face frame, flush glass doors with removable back panel and easy to make drawers. These two cabinets were made specifically for my music room to hold up my PA speakers. One cabinet has glass doors with a removable back panel and the other cabinet was made to hold my rack mountable music gear. The removable back panel behind the glass doors allows you to personalize the cabinet. In the video I experimented with three options; clear glass so you can see the contents of the cabinet, black counter laminate that shows of the etching of the glass and a baltic birch wood back that coordinates with the overall design.
The PDF plans contains 21 pages of detailed step-by-step instructions on how to make a corner cabinet with removable glass doors. A simplified woodworking project with tongue and groove joinery, face frame, flush glass doors and easy to make drawers.
How to Make a Coffee Table with Lift Top
How to make a coffee table with a lift top mechanism.
For this easy woodworking project I’m making a coffee table with a lift top mechanism and aluminum legs. The lift-top allows for bringing the table up to perfect height for dining in front of the television or bringing your laptop up to an ergonomic position. This was my first time soldering and brazing aluminum tubing and I’m very happy with the results. The great thing about this brazing technique is there is no need for a welder. All you need is a blow torch and some brazing rods. The lift-up table mechanism from Rockler raises the table 6 1/2 inches and has a forward travel of 17 inches. The top is made mostly from one sheet of 3/4 inch walnut plywood except for the corner accents and the edge banding which is made from solid walnut. I finished the table with one coat of boiled linseed oil to bring out the beauty and 4 coats of polyurethane to add a layer of protection. Links to all the tools and supplies are below along with detailed plans to make this yourself. Purchasing through the provided links helps support the content I provide. If you have any questions or comments please leave them in the comment section below. Learn more about the Bora Saw Plate and Clamp Edge used in the video.
Items Used
Mid Century Modern Cabinet
This mid century modern influenced cabinet is made from baltic birch plywood and walnut plywood.
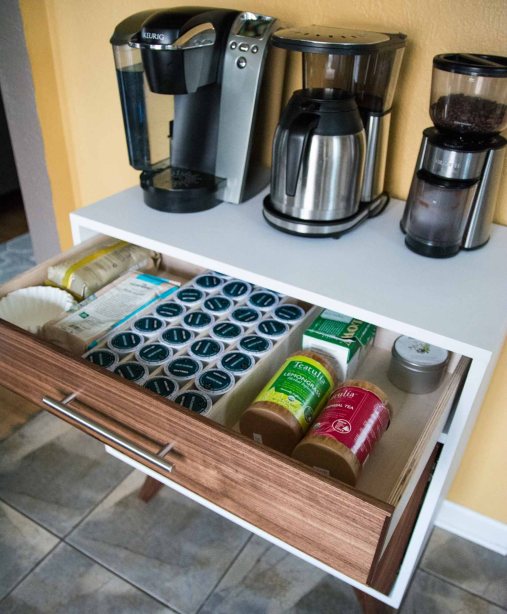
This mid century modern influenced cabinet is made from baltic birch plywood and walnut plywood. The legs on the mid century cabinet are made from 1 1/2″ thick solid walnut and angled for that classic vintage retro vibe. The drawer is custom fitted to hold k-cup coffee packages along with everything else to make a fine cup of coffee. The two hinged doors open up to reveal an adjustable pinned shelf. Iron on edge banding was applied to the baltic birch to hide the texture of the exposed edges and the outer cabinet was painted white with a standard paint roller. The drawer face and two cabinet doors are make from walnut plywood with solid walnut edge banding to hide the plywood edges. Most of the joinery was made from Festool Domino loose tenons which makes for easy alignment when assembling and provides durable long lasting strength.
Products Used in the Tutorial
Woodworking Books
Make Your Own Cutting Boards
15 cutting board projects to make as gifts or sell! Get your signed copy!
The New Bandsaw Box Book
8 bandsaw box projects you can make and sell at craft shows. Signed copies now available!


