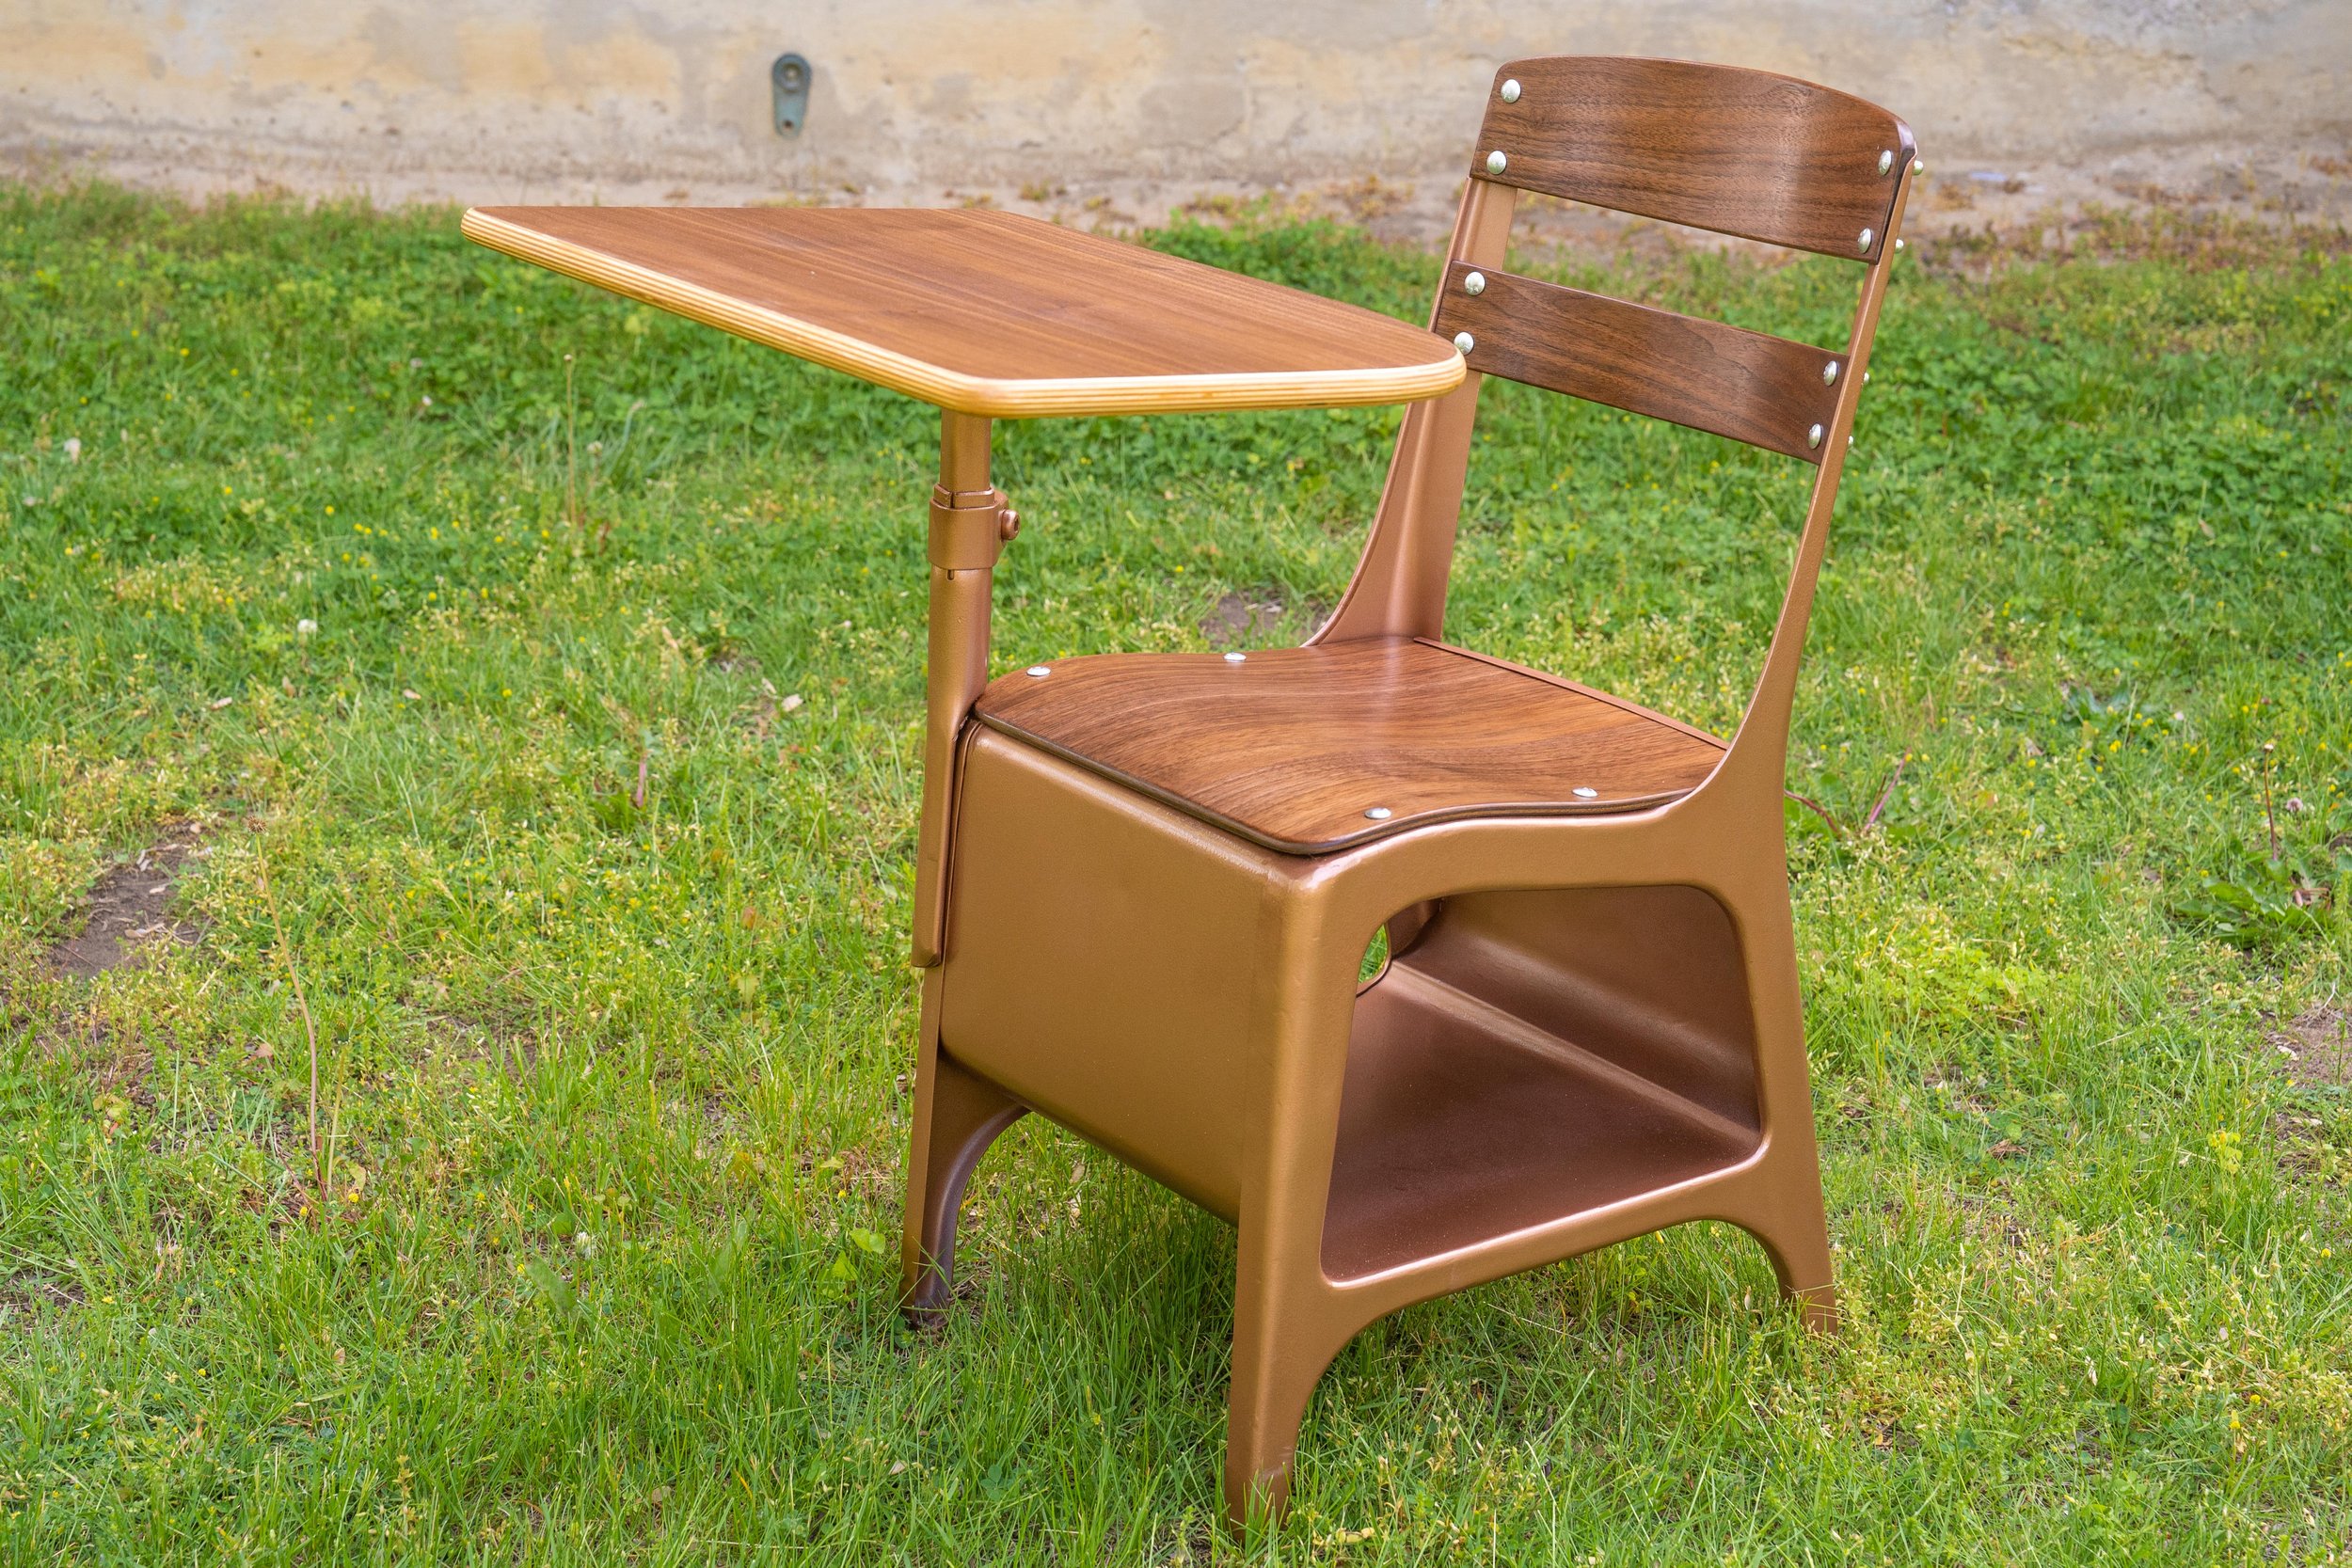
Flipping a Thrift Store School Desk for Profit
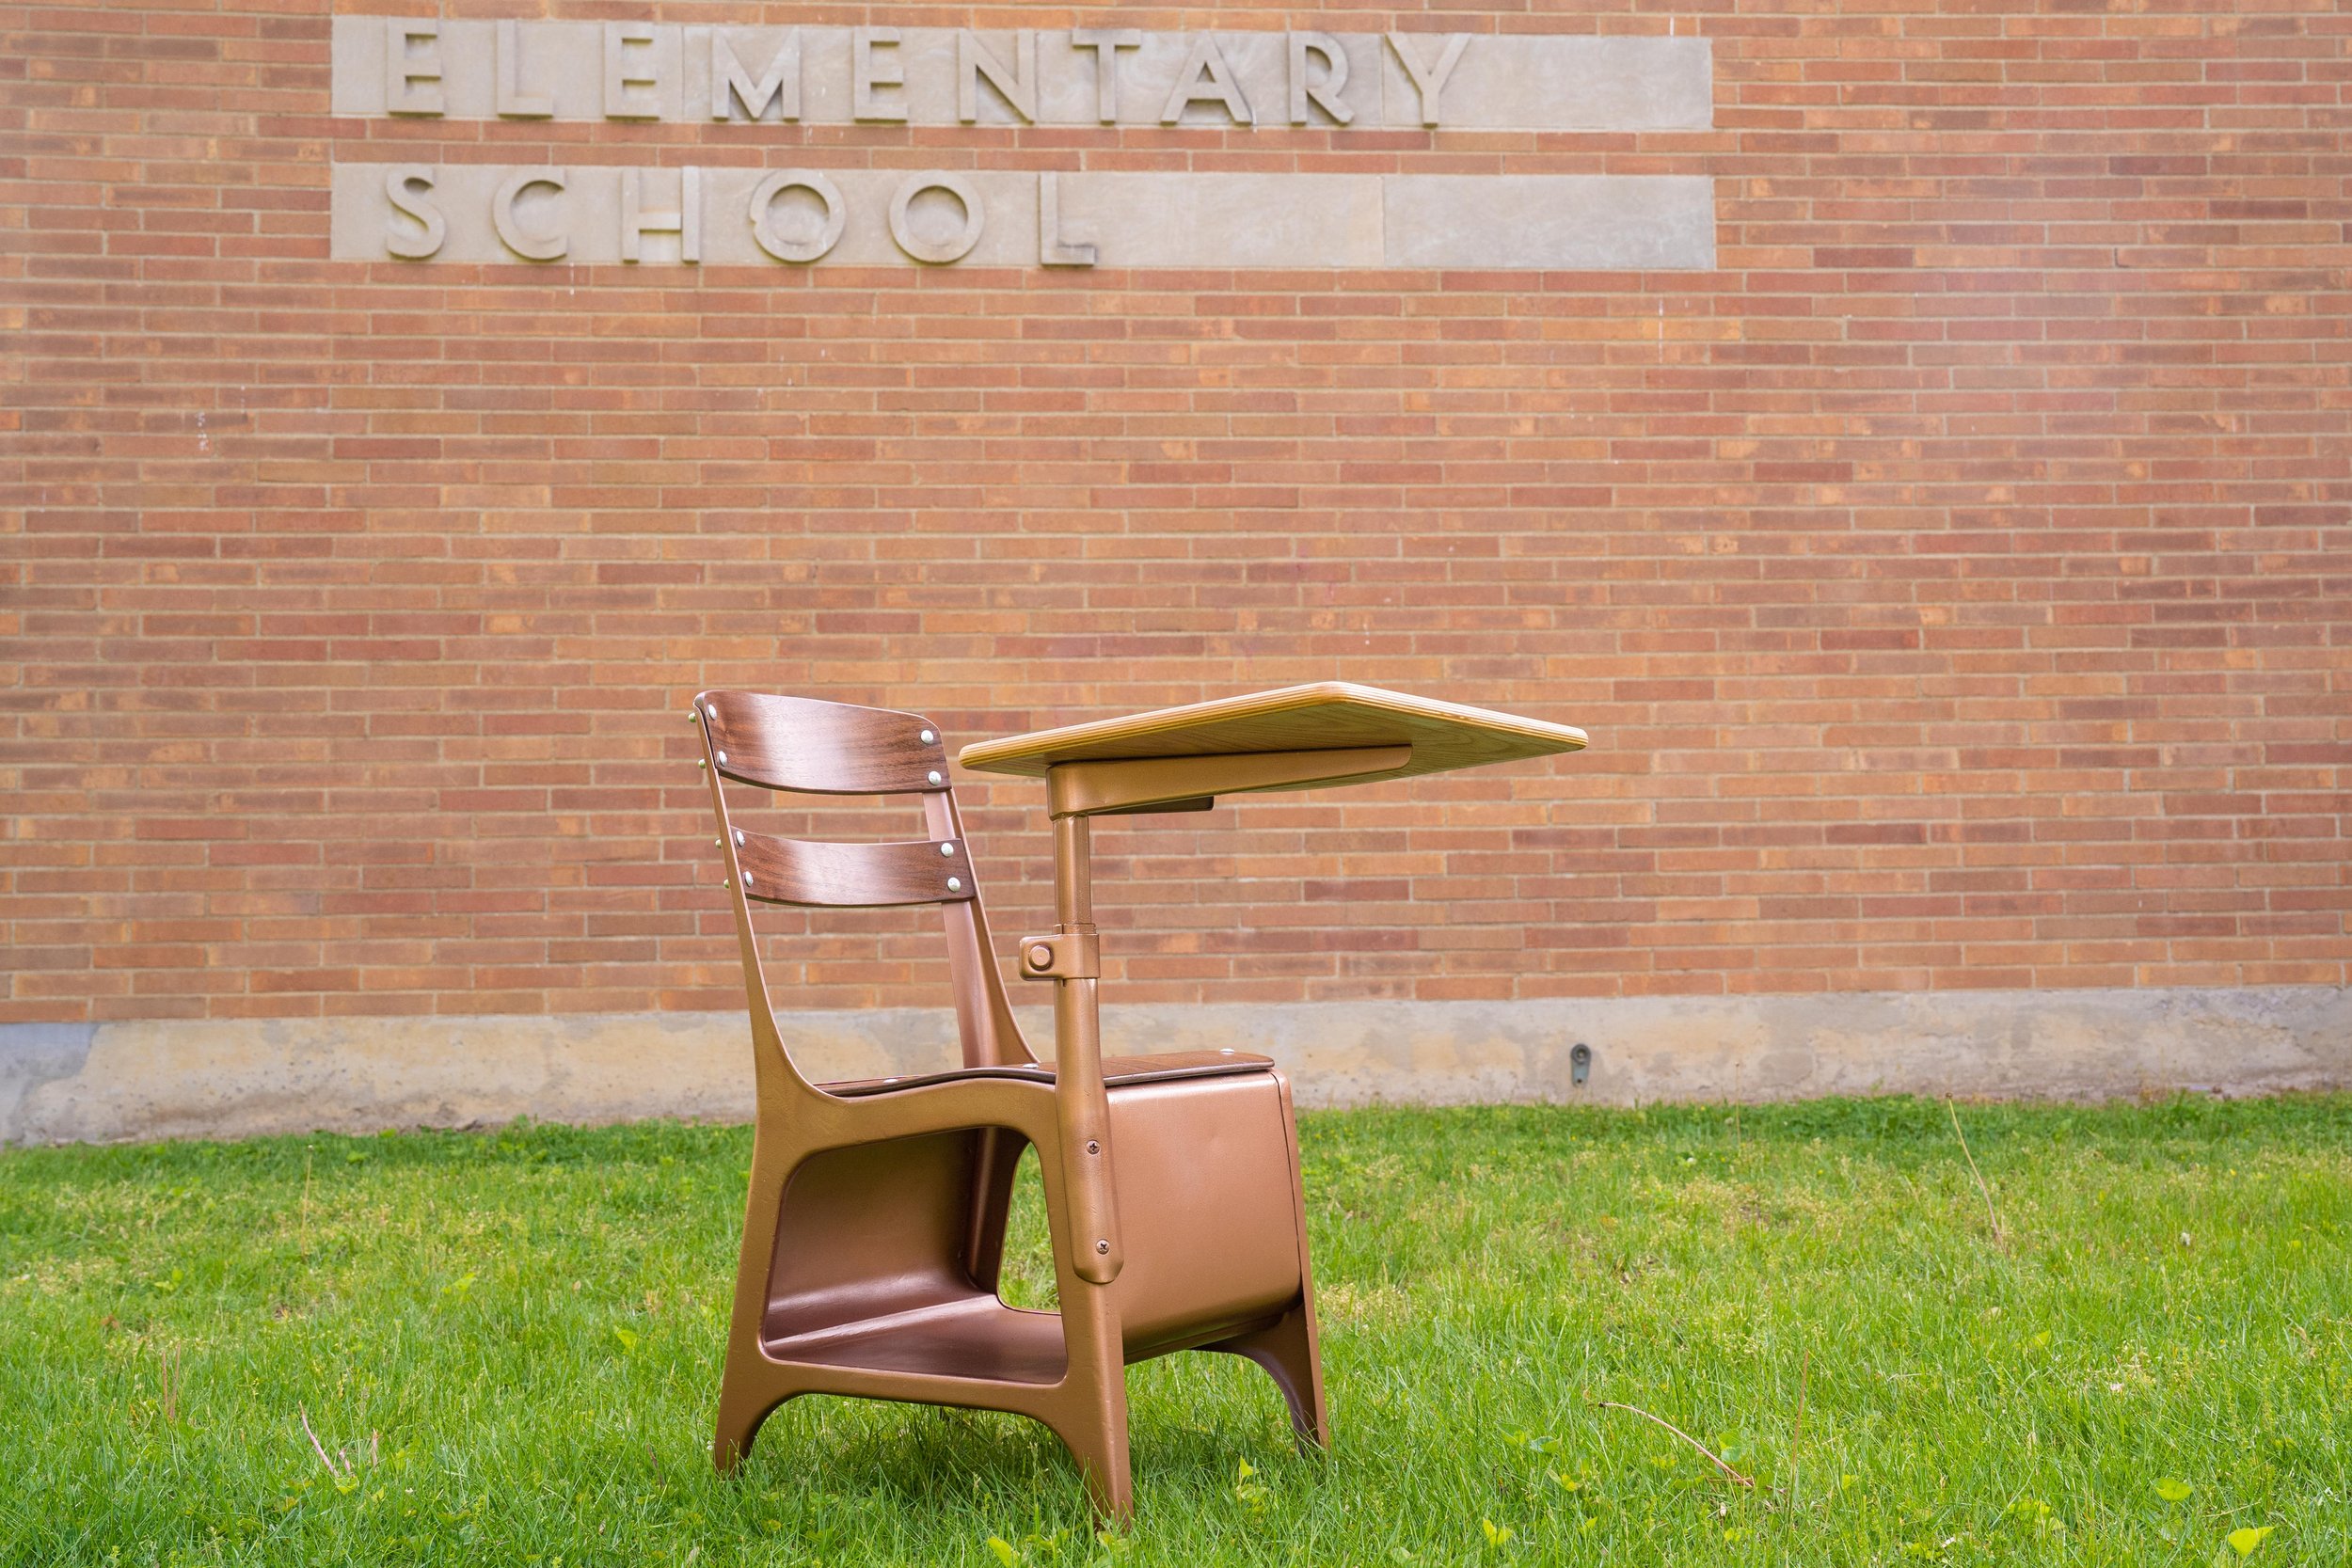
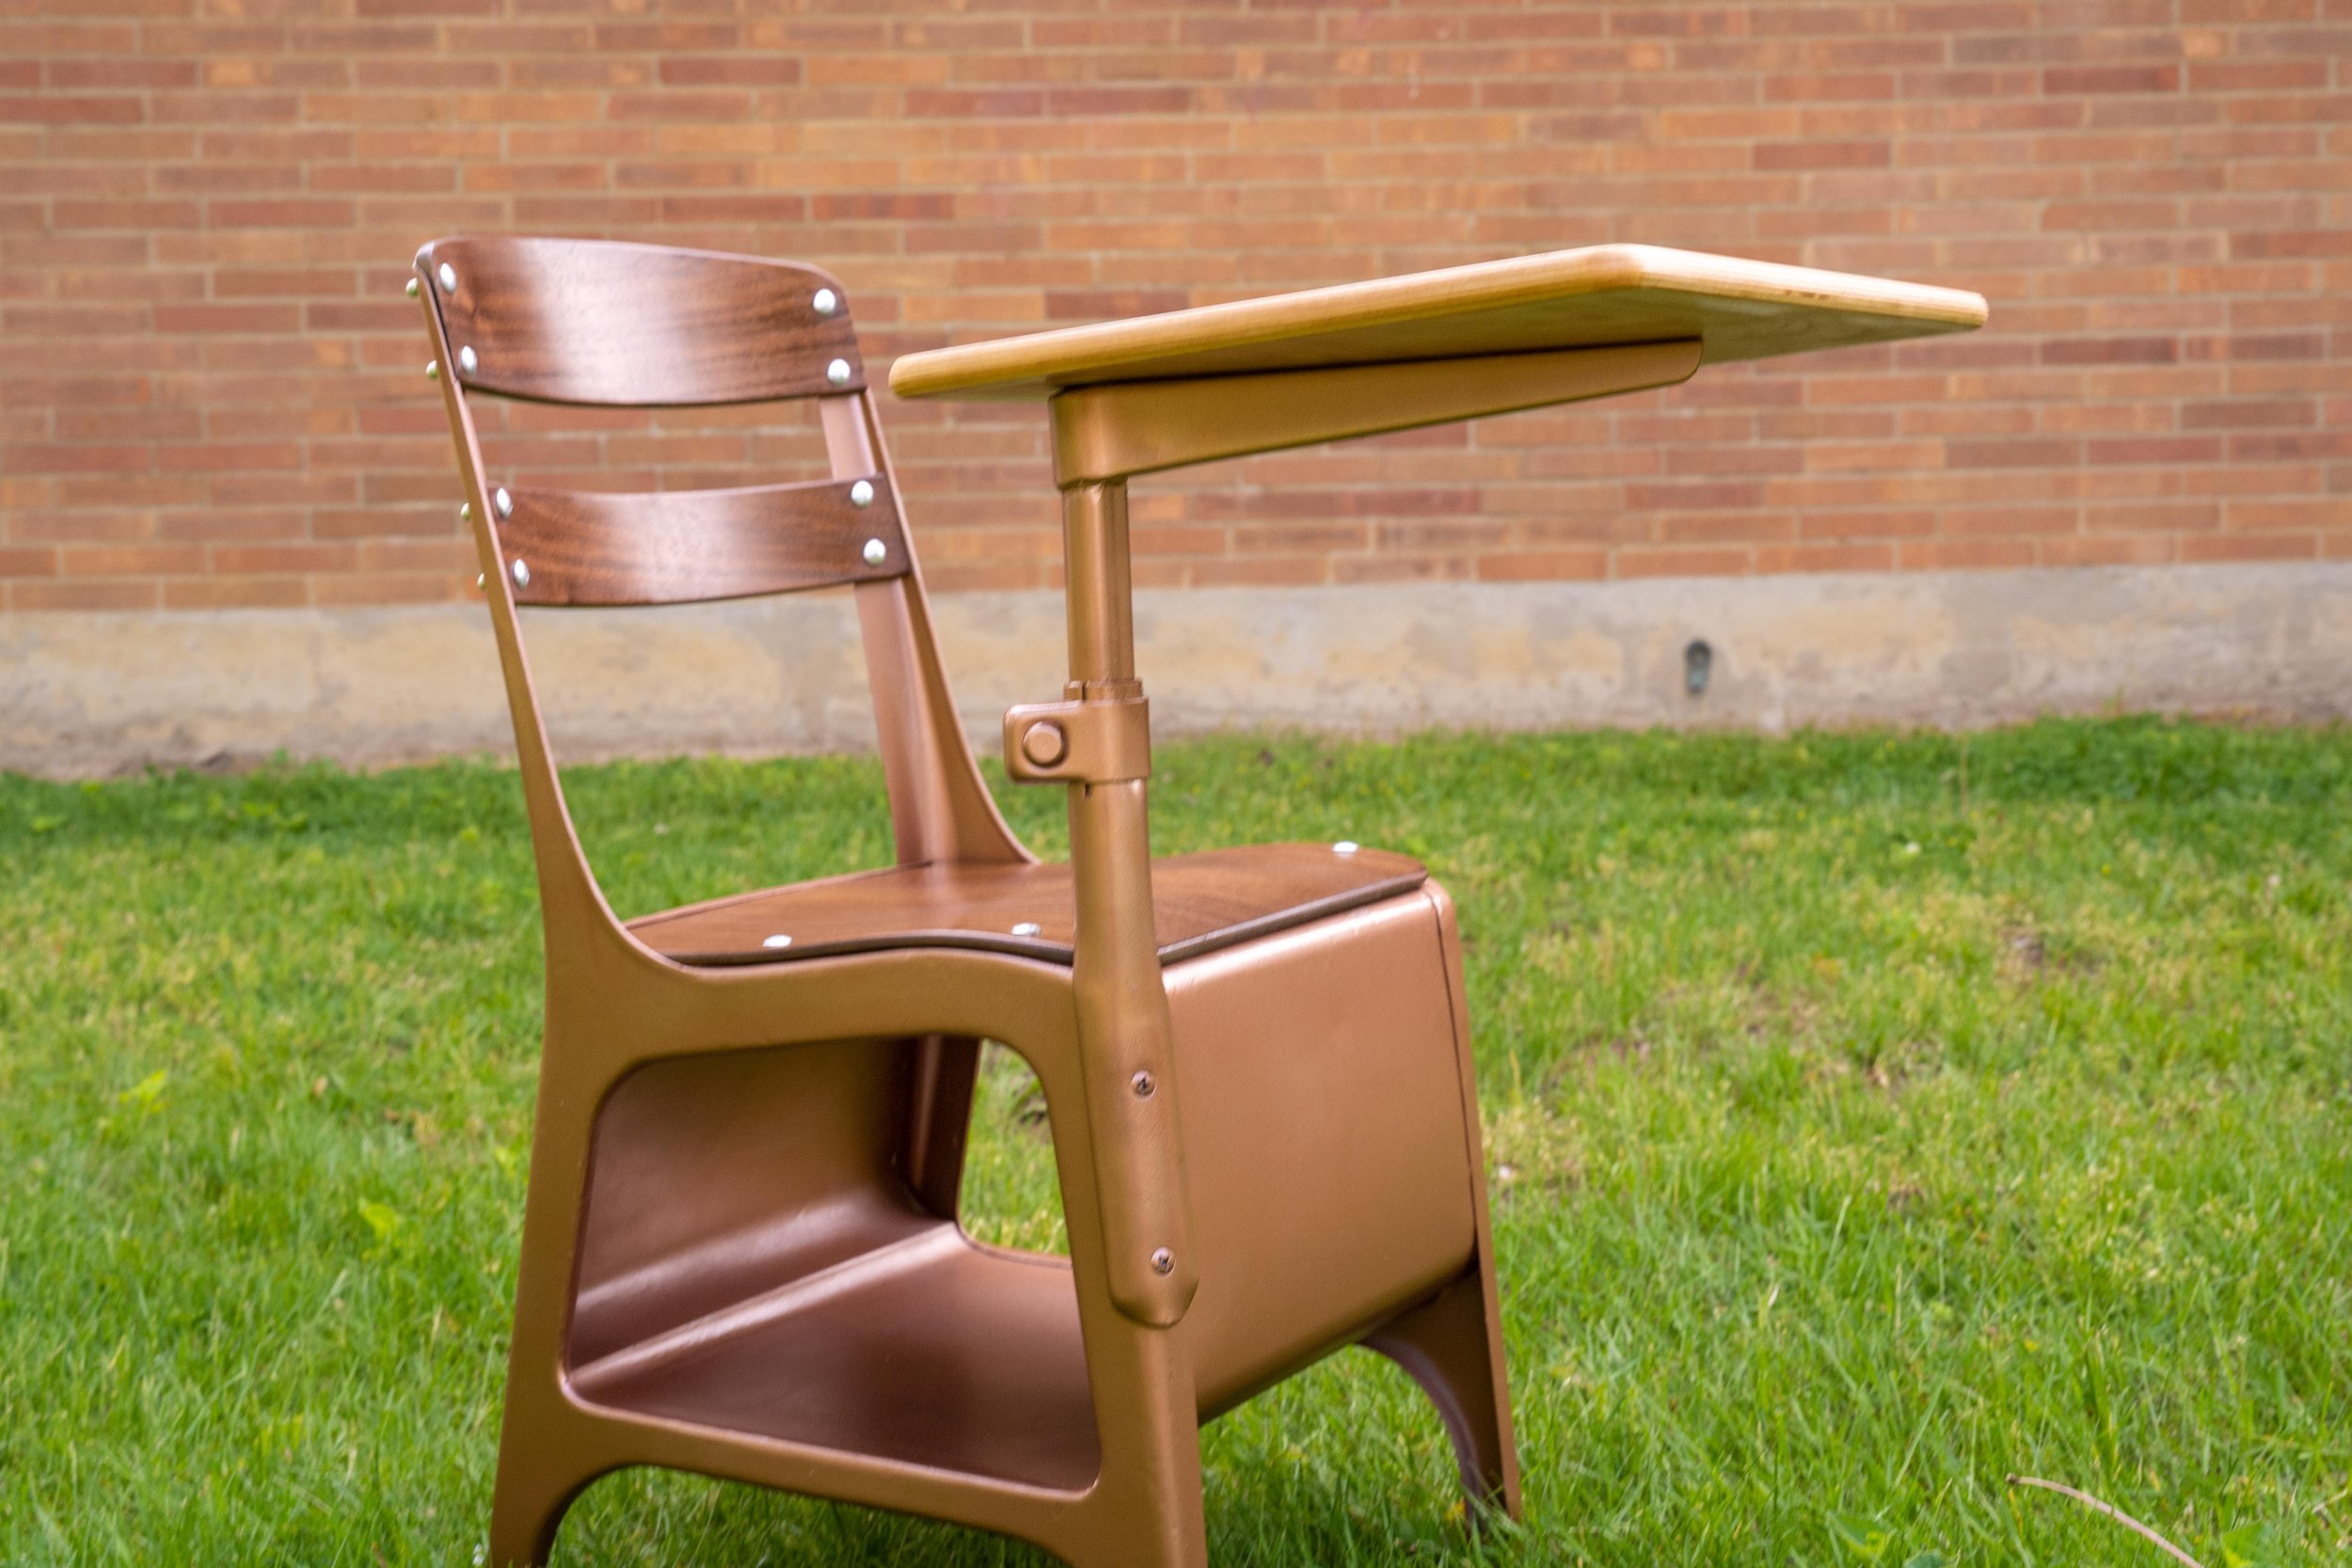
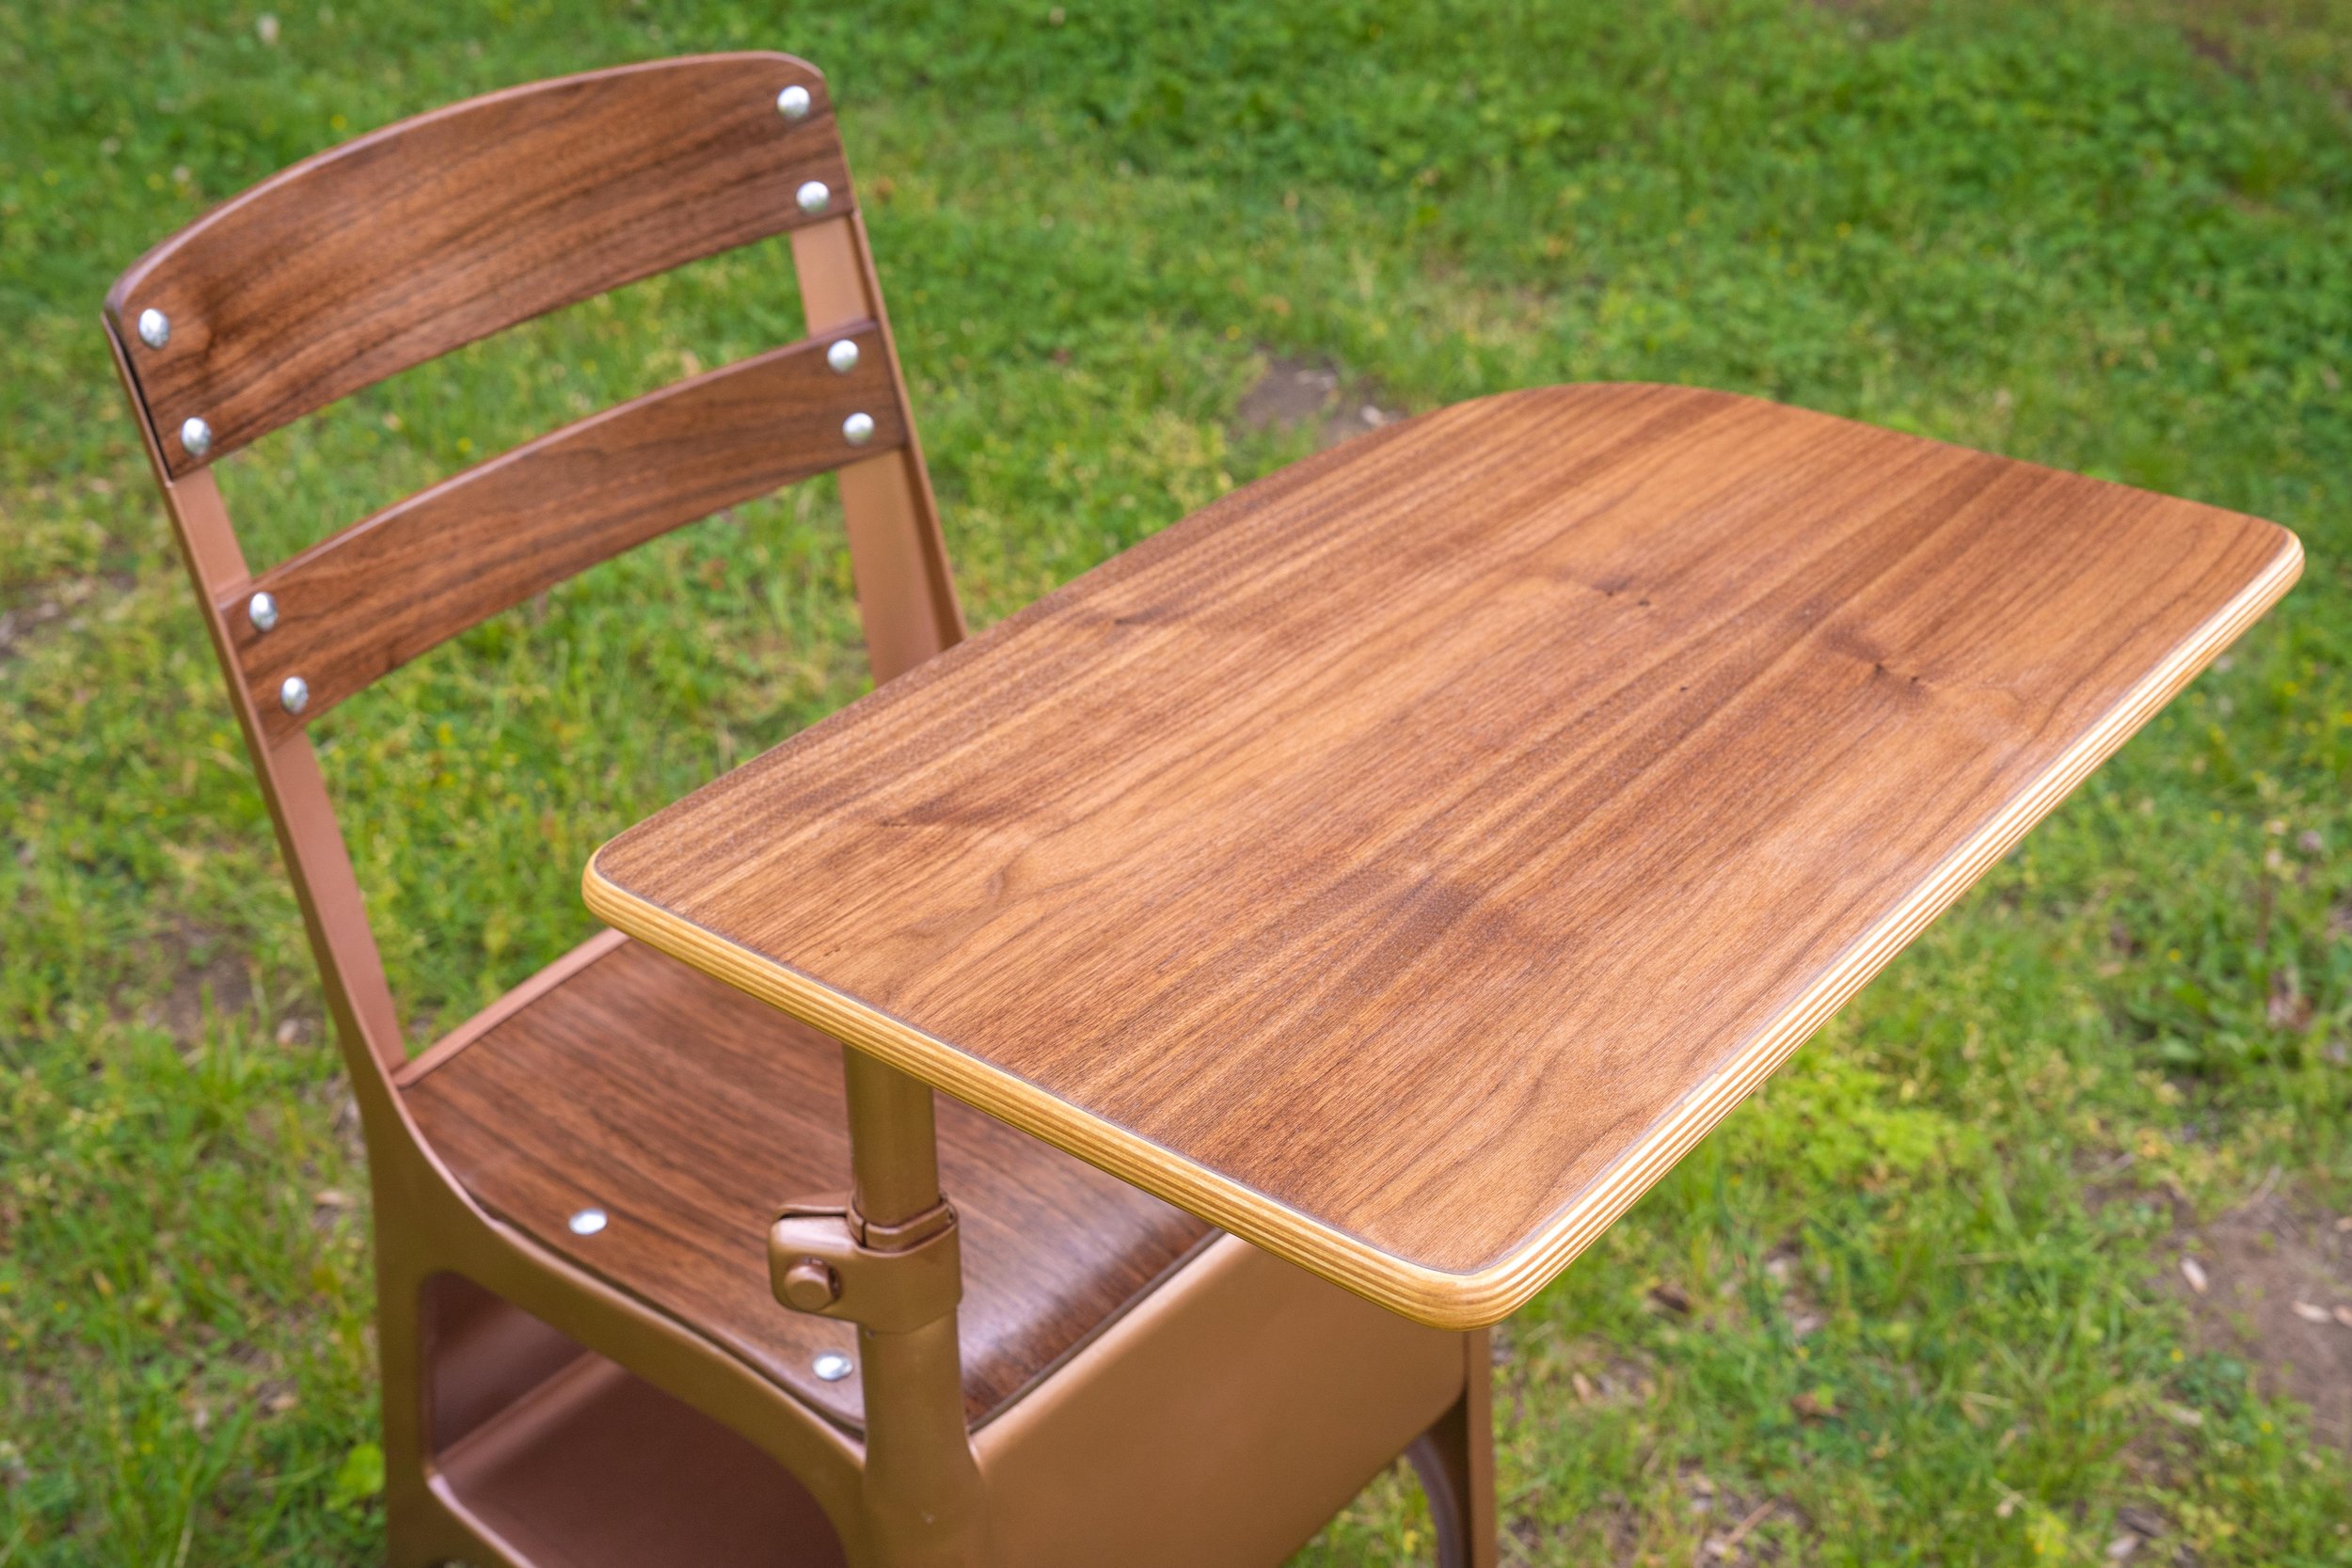
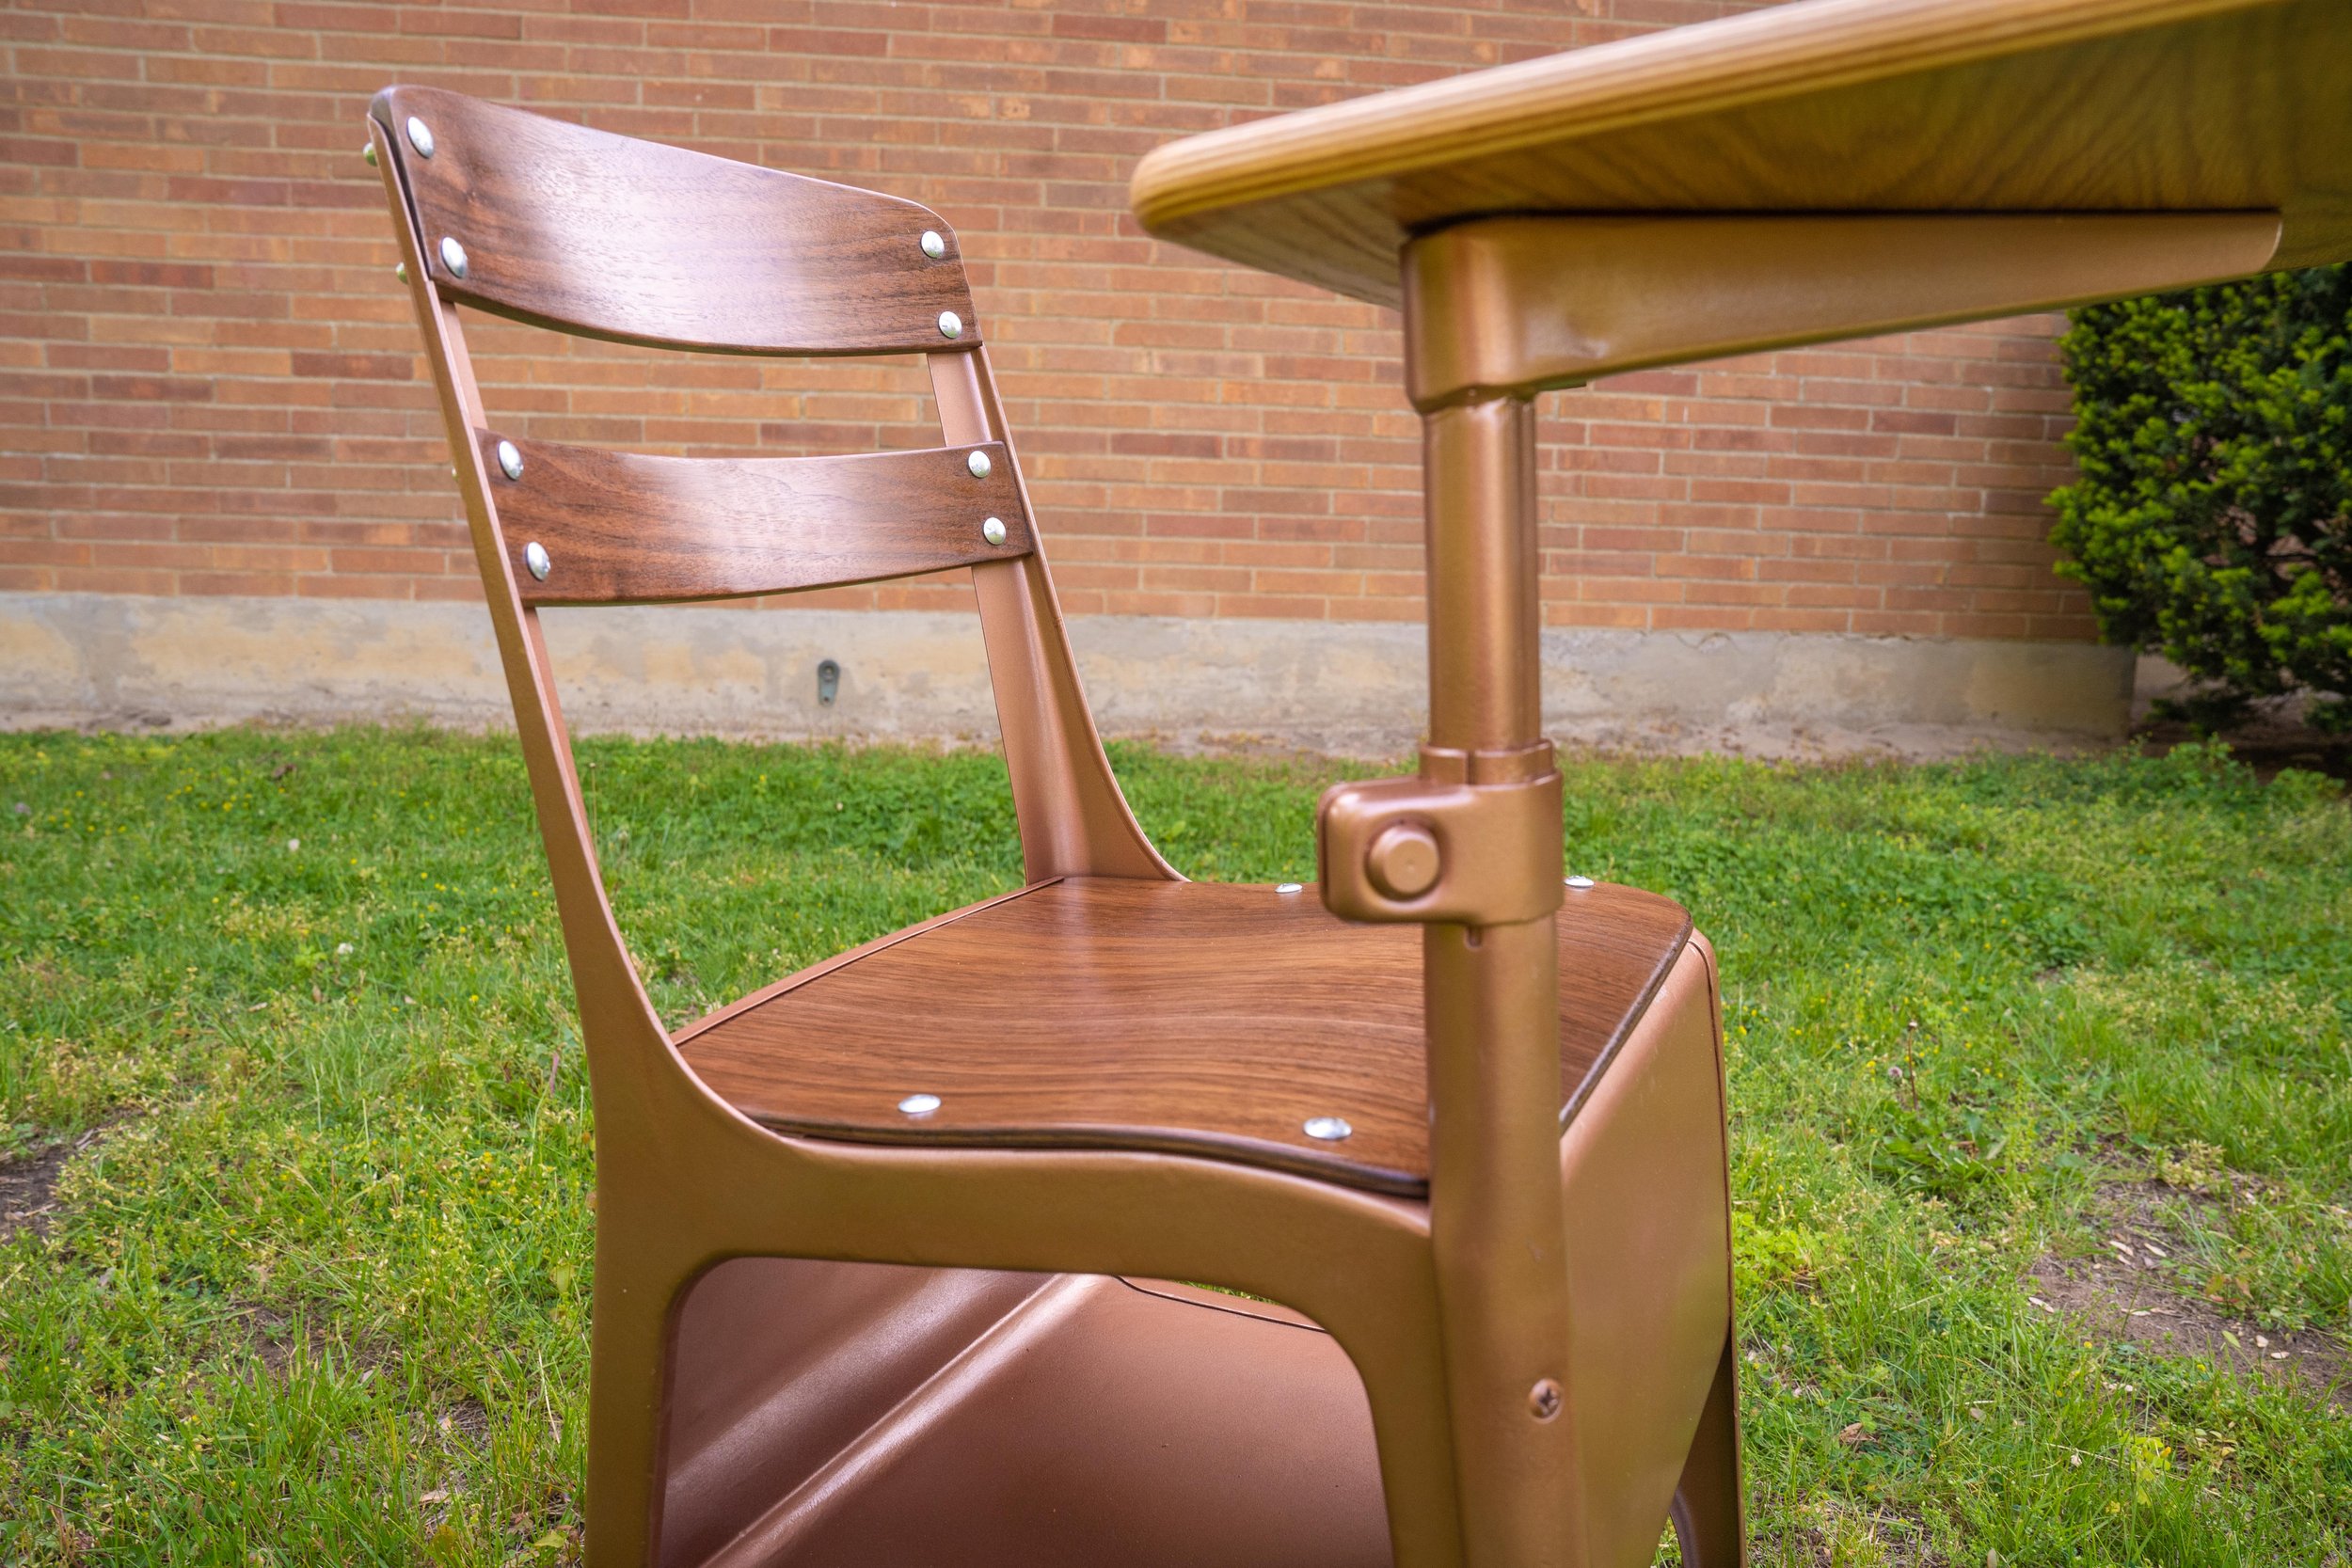
Taking a cheap old school desk from the thrift store and turning it into a treasure I can sell to fund my next project.
I discovered a neglected old-school desk at a thrift store for a bargain of just $10. I'm going to completely restore it and bring it back to a like-new condition. Using some beautiful locally grown walnut wood, I aim to transform this school desk into a stunning piece of fine furniture that I can then sell. The profits from this sale will be used towards funding our next upcycling project from the thrift store. This has been one of the most enjoyable woodworking projects I've worked on and I'm truly thrilled with the outcome.
Stunning Fine Furniture from 2x4s! This even blew my mind!
An easy DIY project anybody can make even with limited experience.
In this tutorial, I will guide you on how to create stunning fine furniture using only 2x4s from your local home center. I meticulously hand-picked the best 2x4s available at Home Depot, although, as with any lumber, they weren't completely straight or flat. Nevertheless, I overcame these issues and created some stunning furniture pieces. Starting with rough cutting the boards to length and planing them down, I then milled them to the correct width, before crafting the legs, back, and sides. Adding a groove to hold the back and sides in place and some decorative arcs to the bottom of the legs, I then assembled the panels, shelves, and doors, ensuring that they could move freely with expansion and contraction. To give the cabinet a modern design look and feel, I opted to route some decorative flutes onto the two front doors, and the top was fashioned using the pentagonal tiling technique to give it a unique appearance. After staining the furniture in a vivid cherry color, it was impossible to tell that this fine furniture was made from ordinary 2x4s.
How to Make an Outdoor Patio Table with DIY Tools
An easy DIY project anybody can make even with limited experience.
How to make an outdoor patio table with only an angle grinder, circular saw and a drill. An easy DIY project anybody can make even with limited experience. All the tools and supplies for this project can be found at your local home center and craft store. No specialized expensive tools needed. My favorite thing about this DIY project is how customizable it is with the endless possibilities of color combinations you can make with the vinyl covered glass. Links to the tools and supplies I used down below
Get the FREE Plans
Outdoor Halloween Decor Ghost | DIY Project
How to turn an ordinary outdoor lamp into a spooky halloween ghost.
Easy Halloween Decoration | Spooky Ghost
How to turn an ordinary outdoor lamp into a spooky halloween ghost. All the materials used in this DIY project are common supplies found at your local True Value hardware store.
Tools and Supplies Used in This Halloween Project | True Value Hardware
STEP 1: Rough out the head and shoulders shape with a marker and cut it out with a jigsaw. It doesn’t need to be pretty as we’ll drape some cloth over it in the next step. Also, ghosts ain’t pretty! Now’s also a good time to paint the cutout black.
Step 2: Take some drop cloth and using a staple gun tack it to the head and shoulders. Make sure to not cover the eyes and keep it lose for a spooky effect.
Step 3: Cut the drop cloth to length and start ripping it to long thin shreds. This will help “age” the cloak and add movement in the wind.
Step 4: Now with some grey, black and brown paint you can randomly spray streaks and spots to give it that century warn look.
Step 5: To add a tombstone to your halloween yard decor take some insulation foam board and cut out a tombstone shape. This can easily be done with a utility knife. In this example I also carved out the letters “RIP” and scalloped the edges for a more authentic look.
Step 6: Now you can add some color to your tombstone with some grey and black spray paint.
Step 7: Use what works best for your yard. For my halloween display I needed my tombstone to peak over the bushes so I cut out a stake and attached it using zip ties.
Step 8: Finally, you can attach your spooky halloween ghost to your light pole. Now just wait for it to get dark and turn on your light!
CAUTION: Make sure your light doesn’t get hot as you don’t want to start a fire. If you find it does get hot you can fine replacement LED bulbs that don’t throw off any heat.
Cheap and Easy to Make Planter Boxes
A quick an easy DIY project making window planters.
Earlier this year we had a new front deck installed and we thought it was time to replace all the old planter boxes in the front of the house to go along with the new porch. To make these planters I’m using $6 common board pine from Home Depot. One $6 board is enough for one planter box. This is a real quick and easy project that anybody with a few basic woodworking tools can do.
Products Used
Woodworking Books
Make Your Own Cutting Boards
15 cutting board projects to make as gifts or sell! Get your signed copy!
The New Bandsaw Box Book
8 bandsaw box projects you can make and sell at craft shows. Signed copies now available!


