How to Make a Spline Jig for Picture Frames
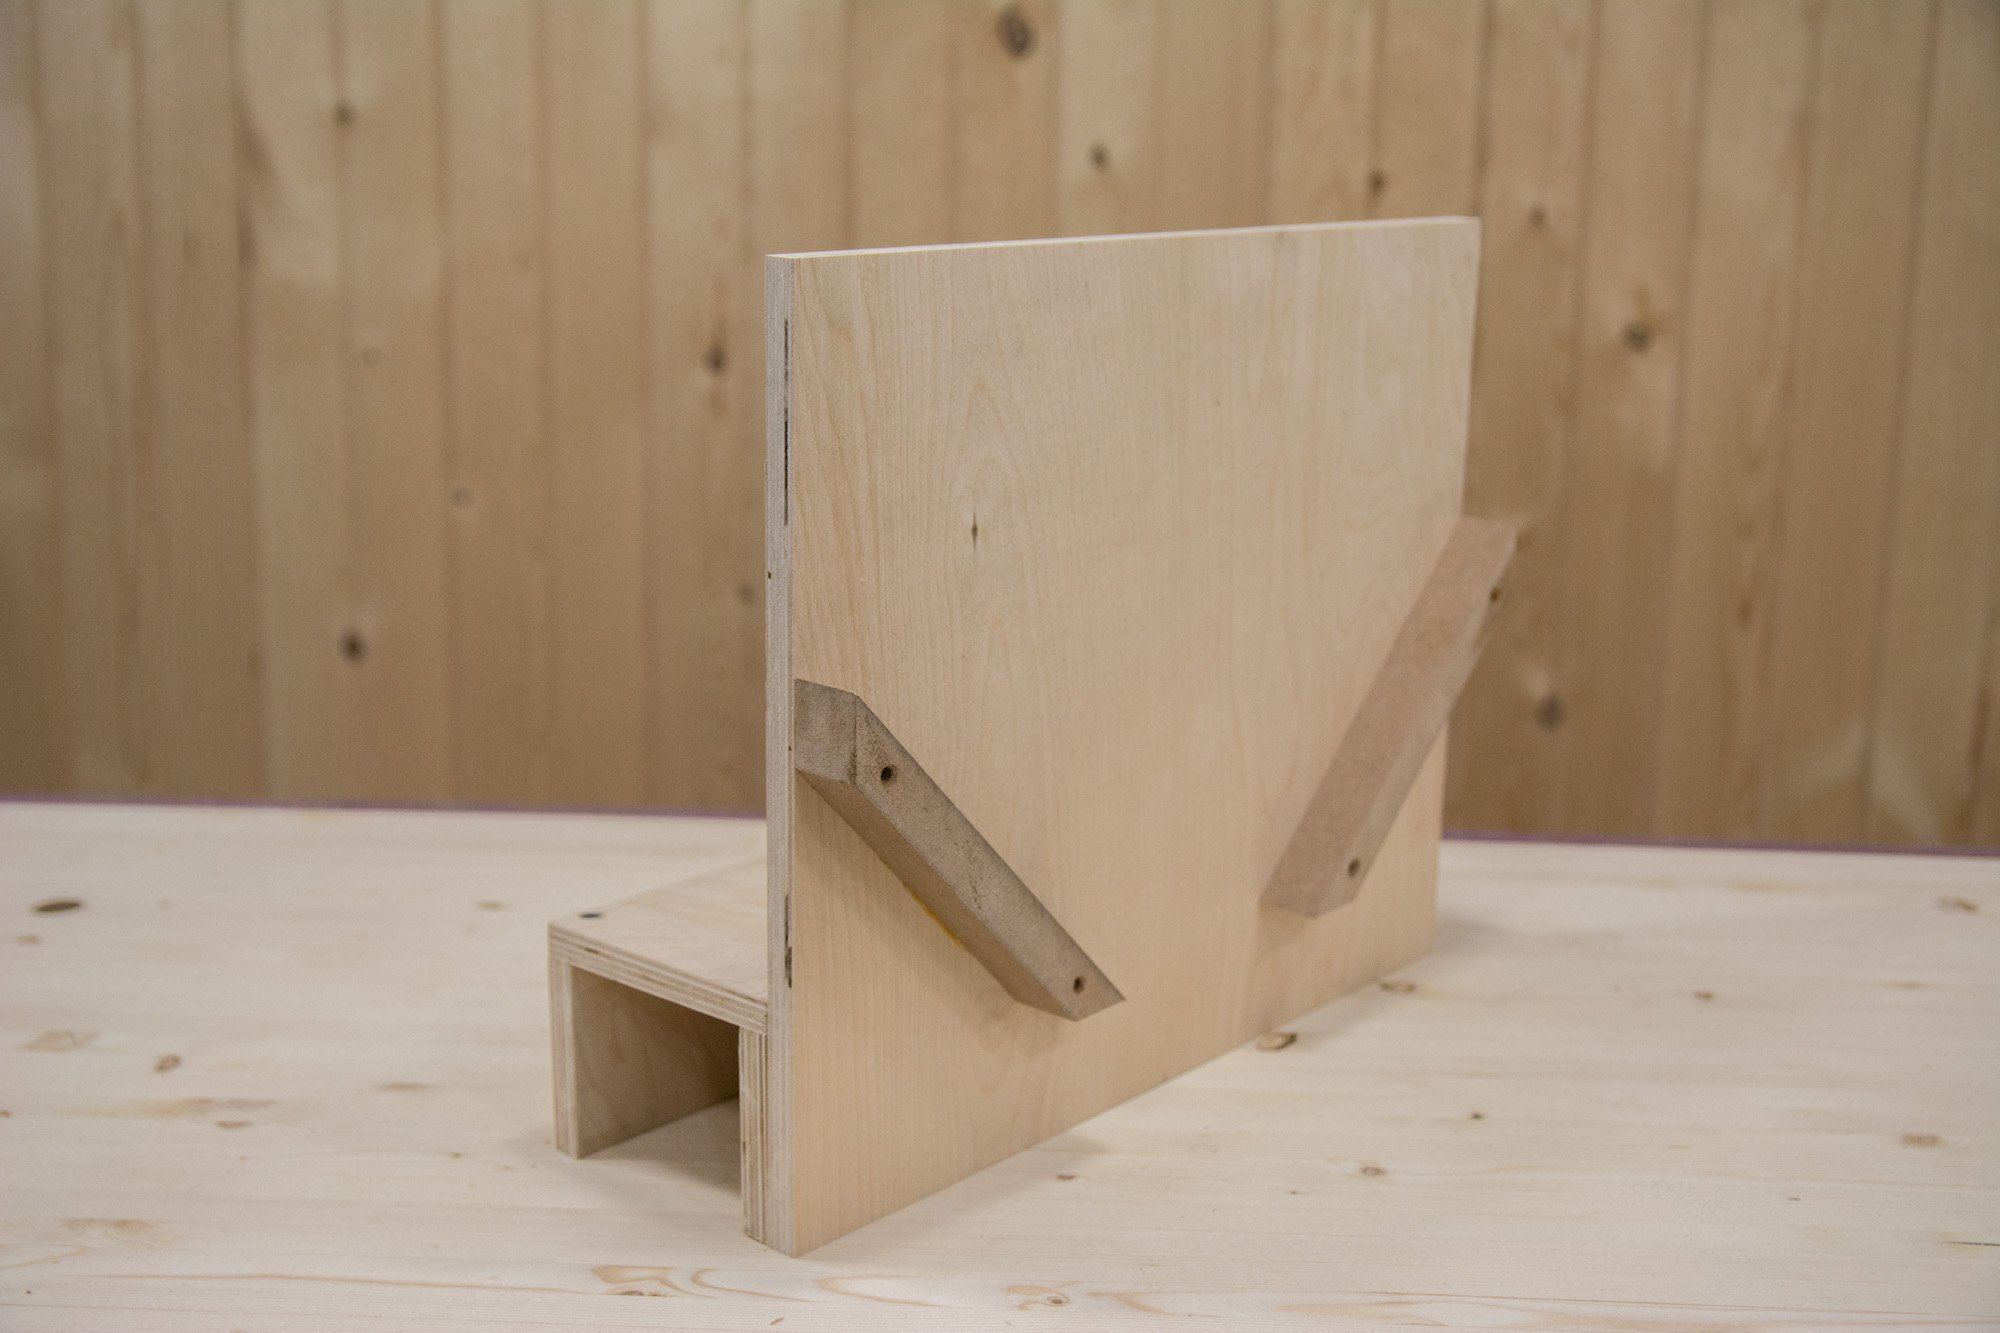
This is the second video in a multi-part series on picture frame making. You can find the other videos in the links down below. This here is a real simple and easy to make jig that rides along your table saw fence and allows you to cut splines in picture frames. Just using glue on mitered corners may seem good enough but over time as the width of the wood expands and contracts with the seasons the joints will eventually break. And that’s why you need splines. Unlike a lot of spline jigs, this rides along the fence and not in the miter slot which means you can place the spline anywhere you want and even cut wider splines by moving the fence and making multiple passes. Setting the blade height is easy since the corner sits just a hair above the table and the two guides easily clear the blade. Let’s get started!
I suggest using a full kerf blade with a flat grind. A thin kerf blade will work just as well and if your blade doesn’t leave a flat bottom cut, don’t worry about it too much. The tiny little gap that it may leave may not even be noticeable and it could always be filled in with sawdust and glue.