
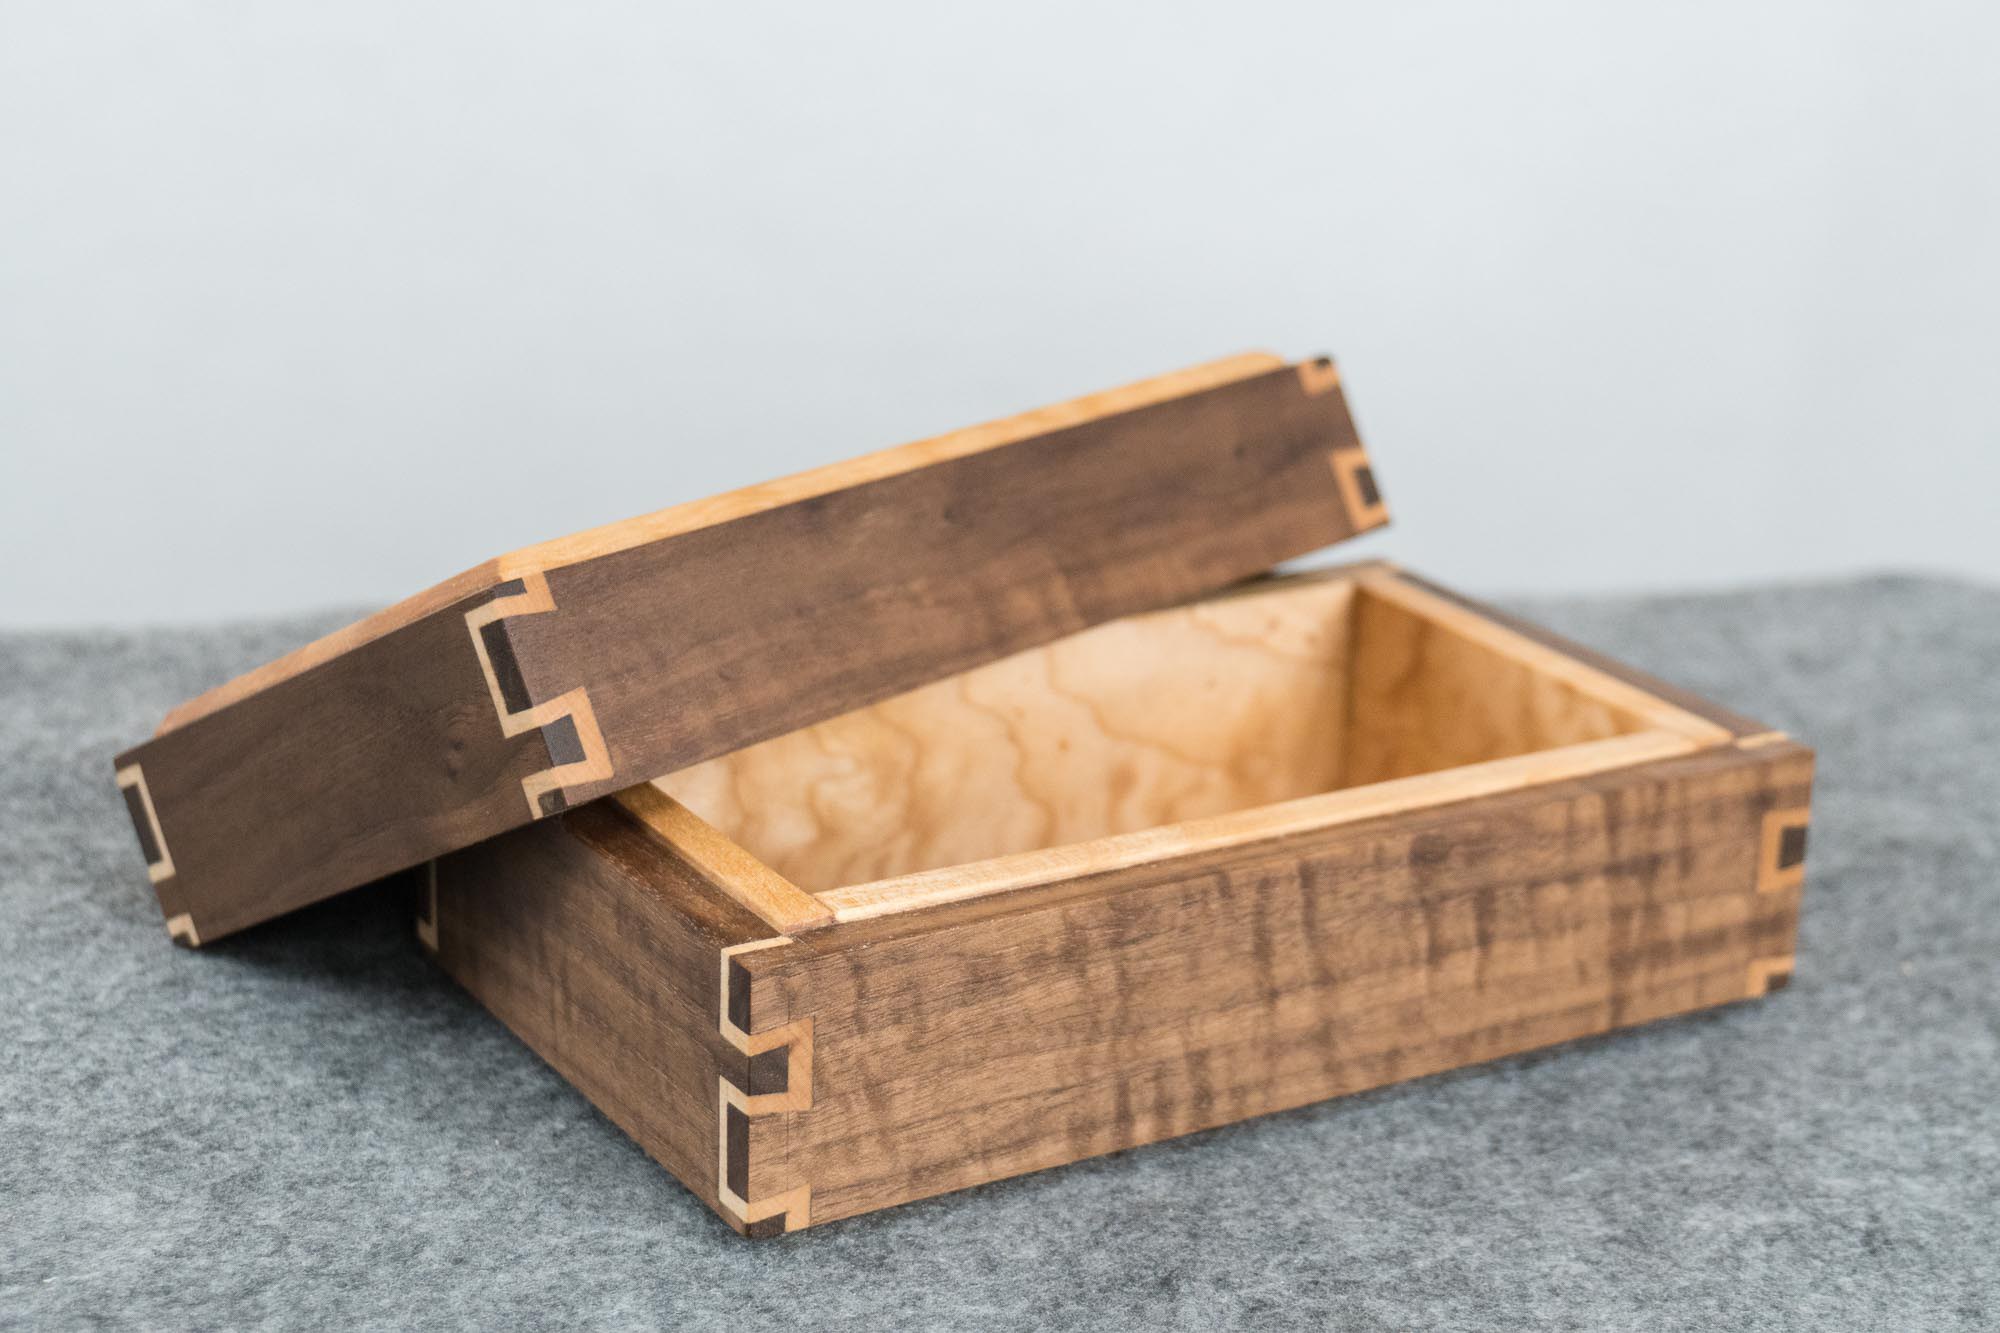
How to Make a Solid Wood Toolbox
How to make a solid wood toolbox with a reversible lid that doubles as storage.
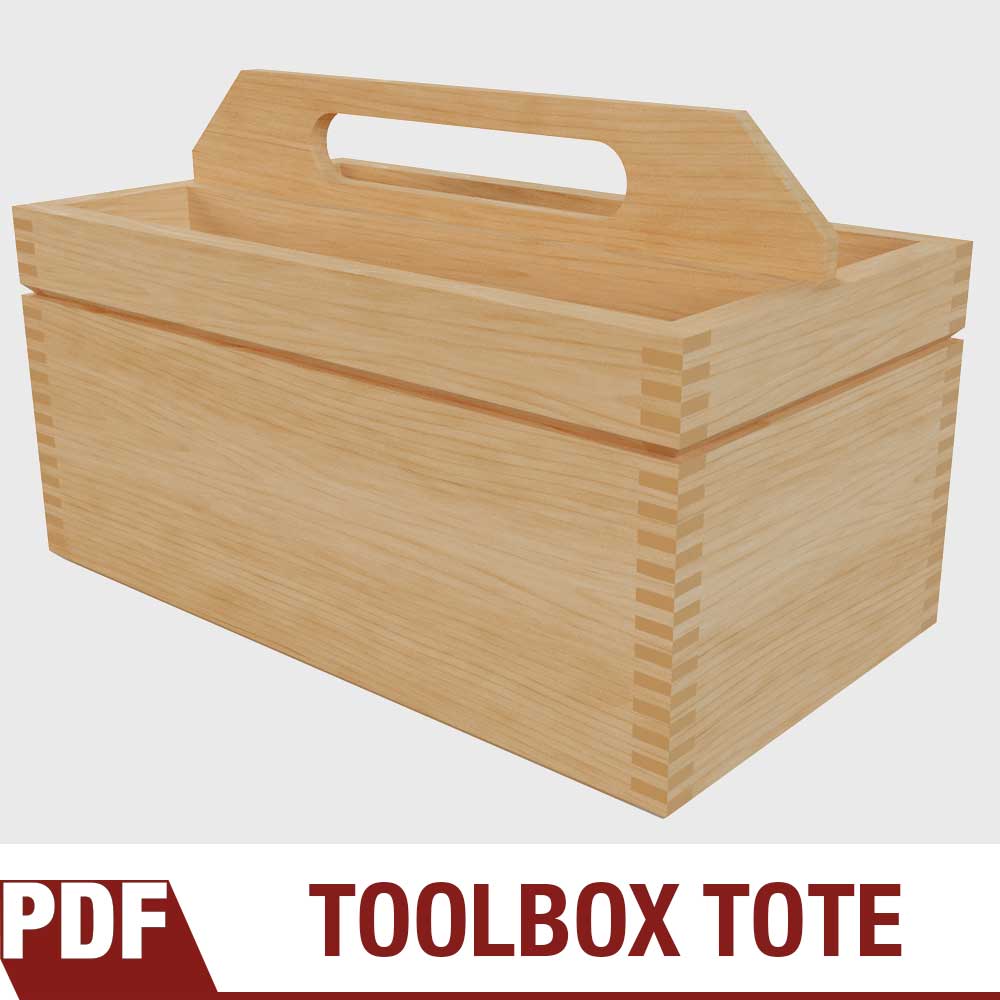
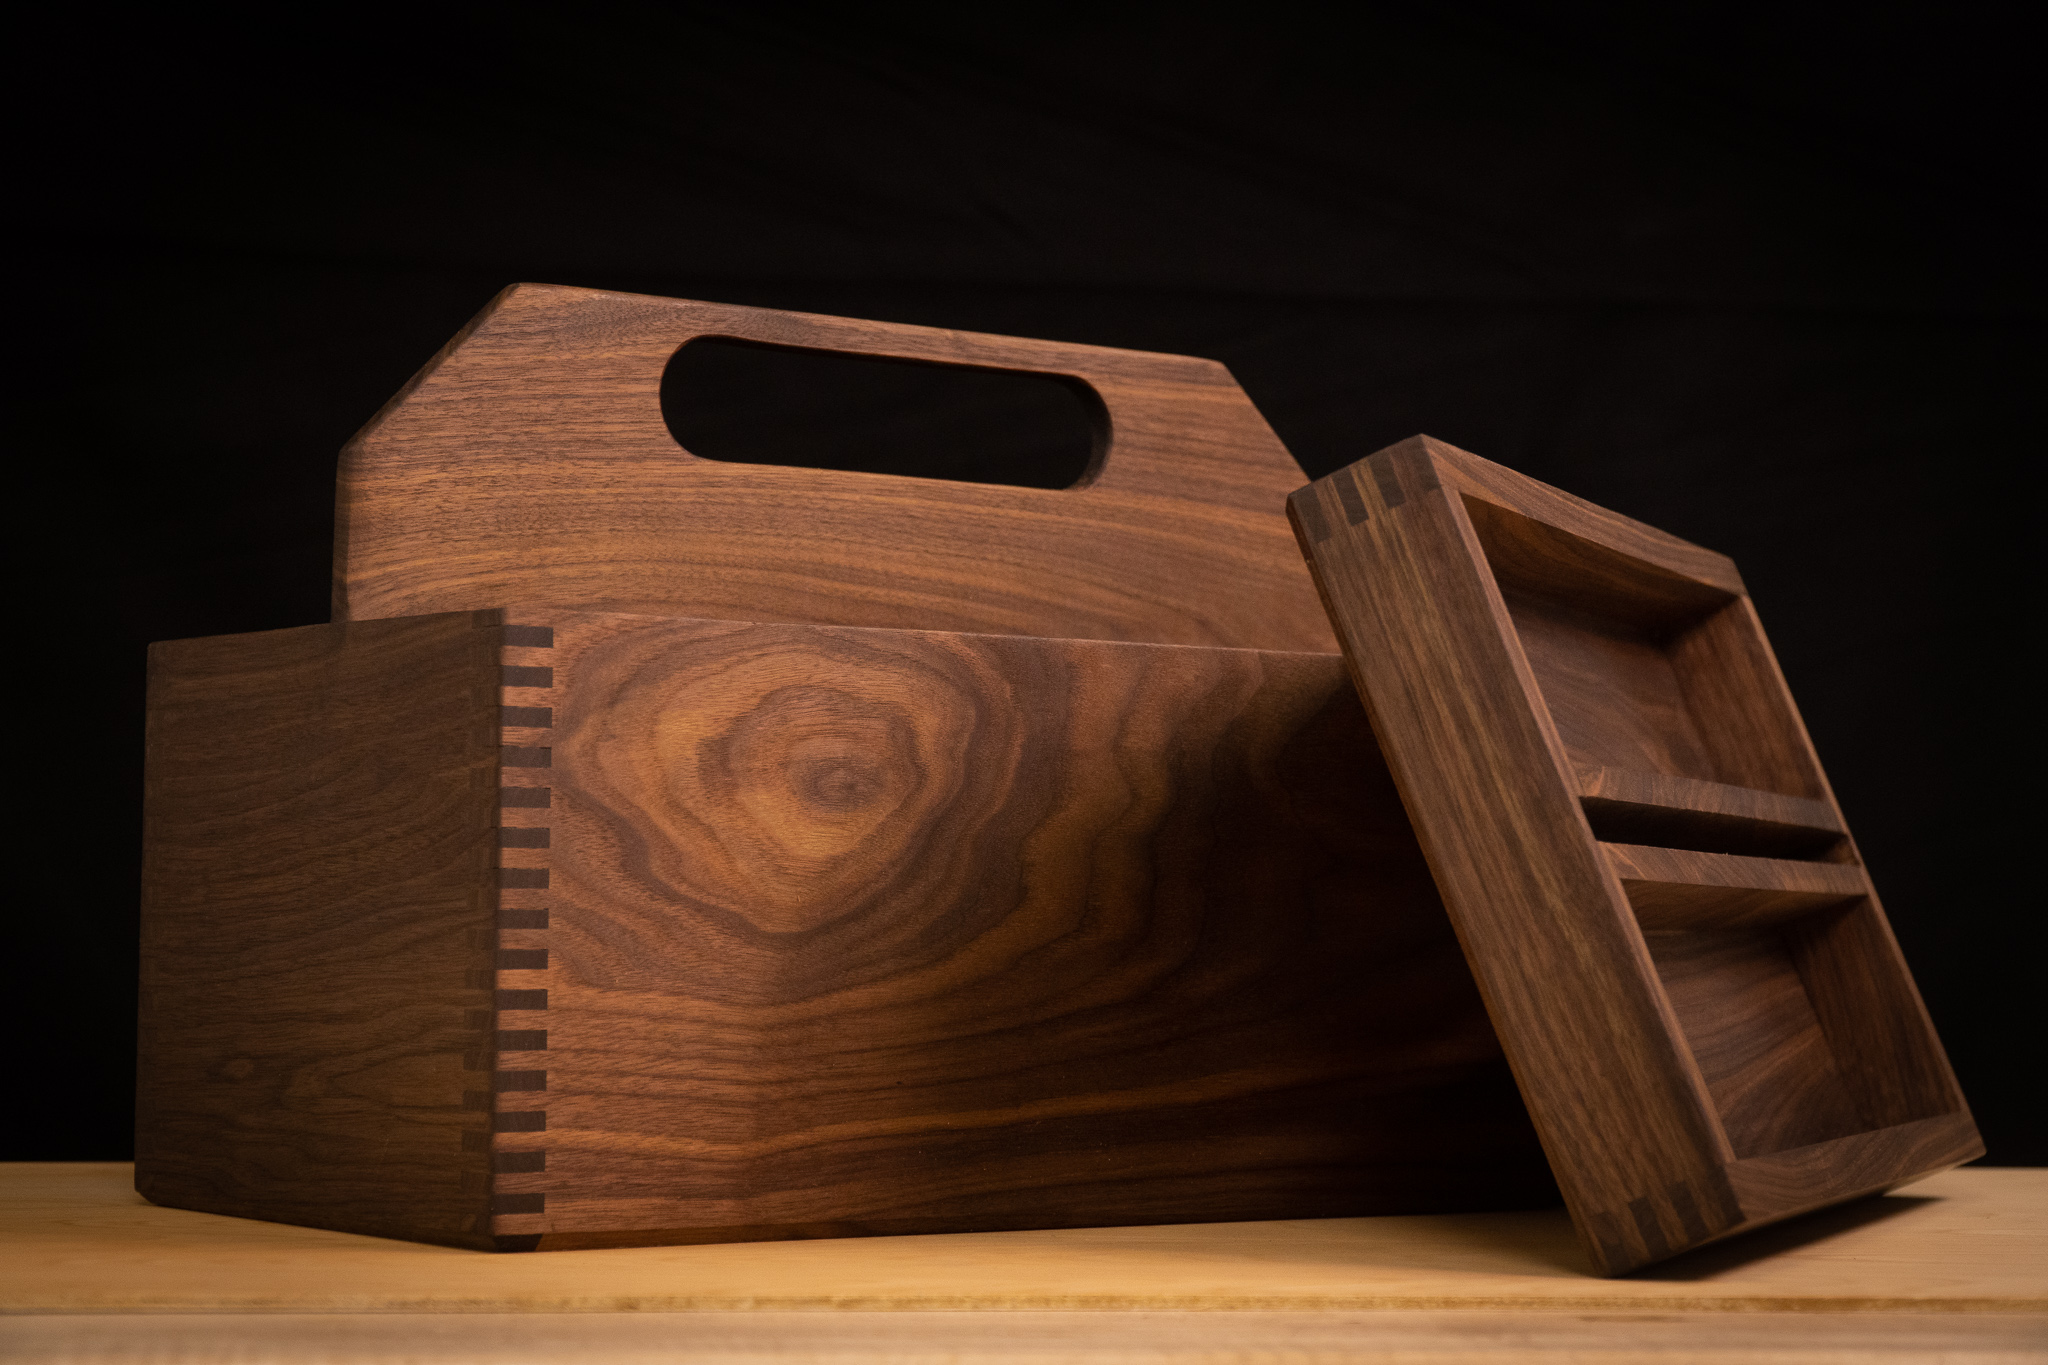
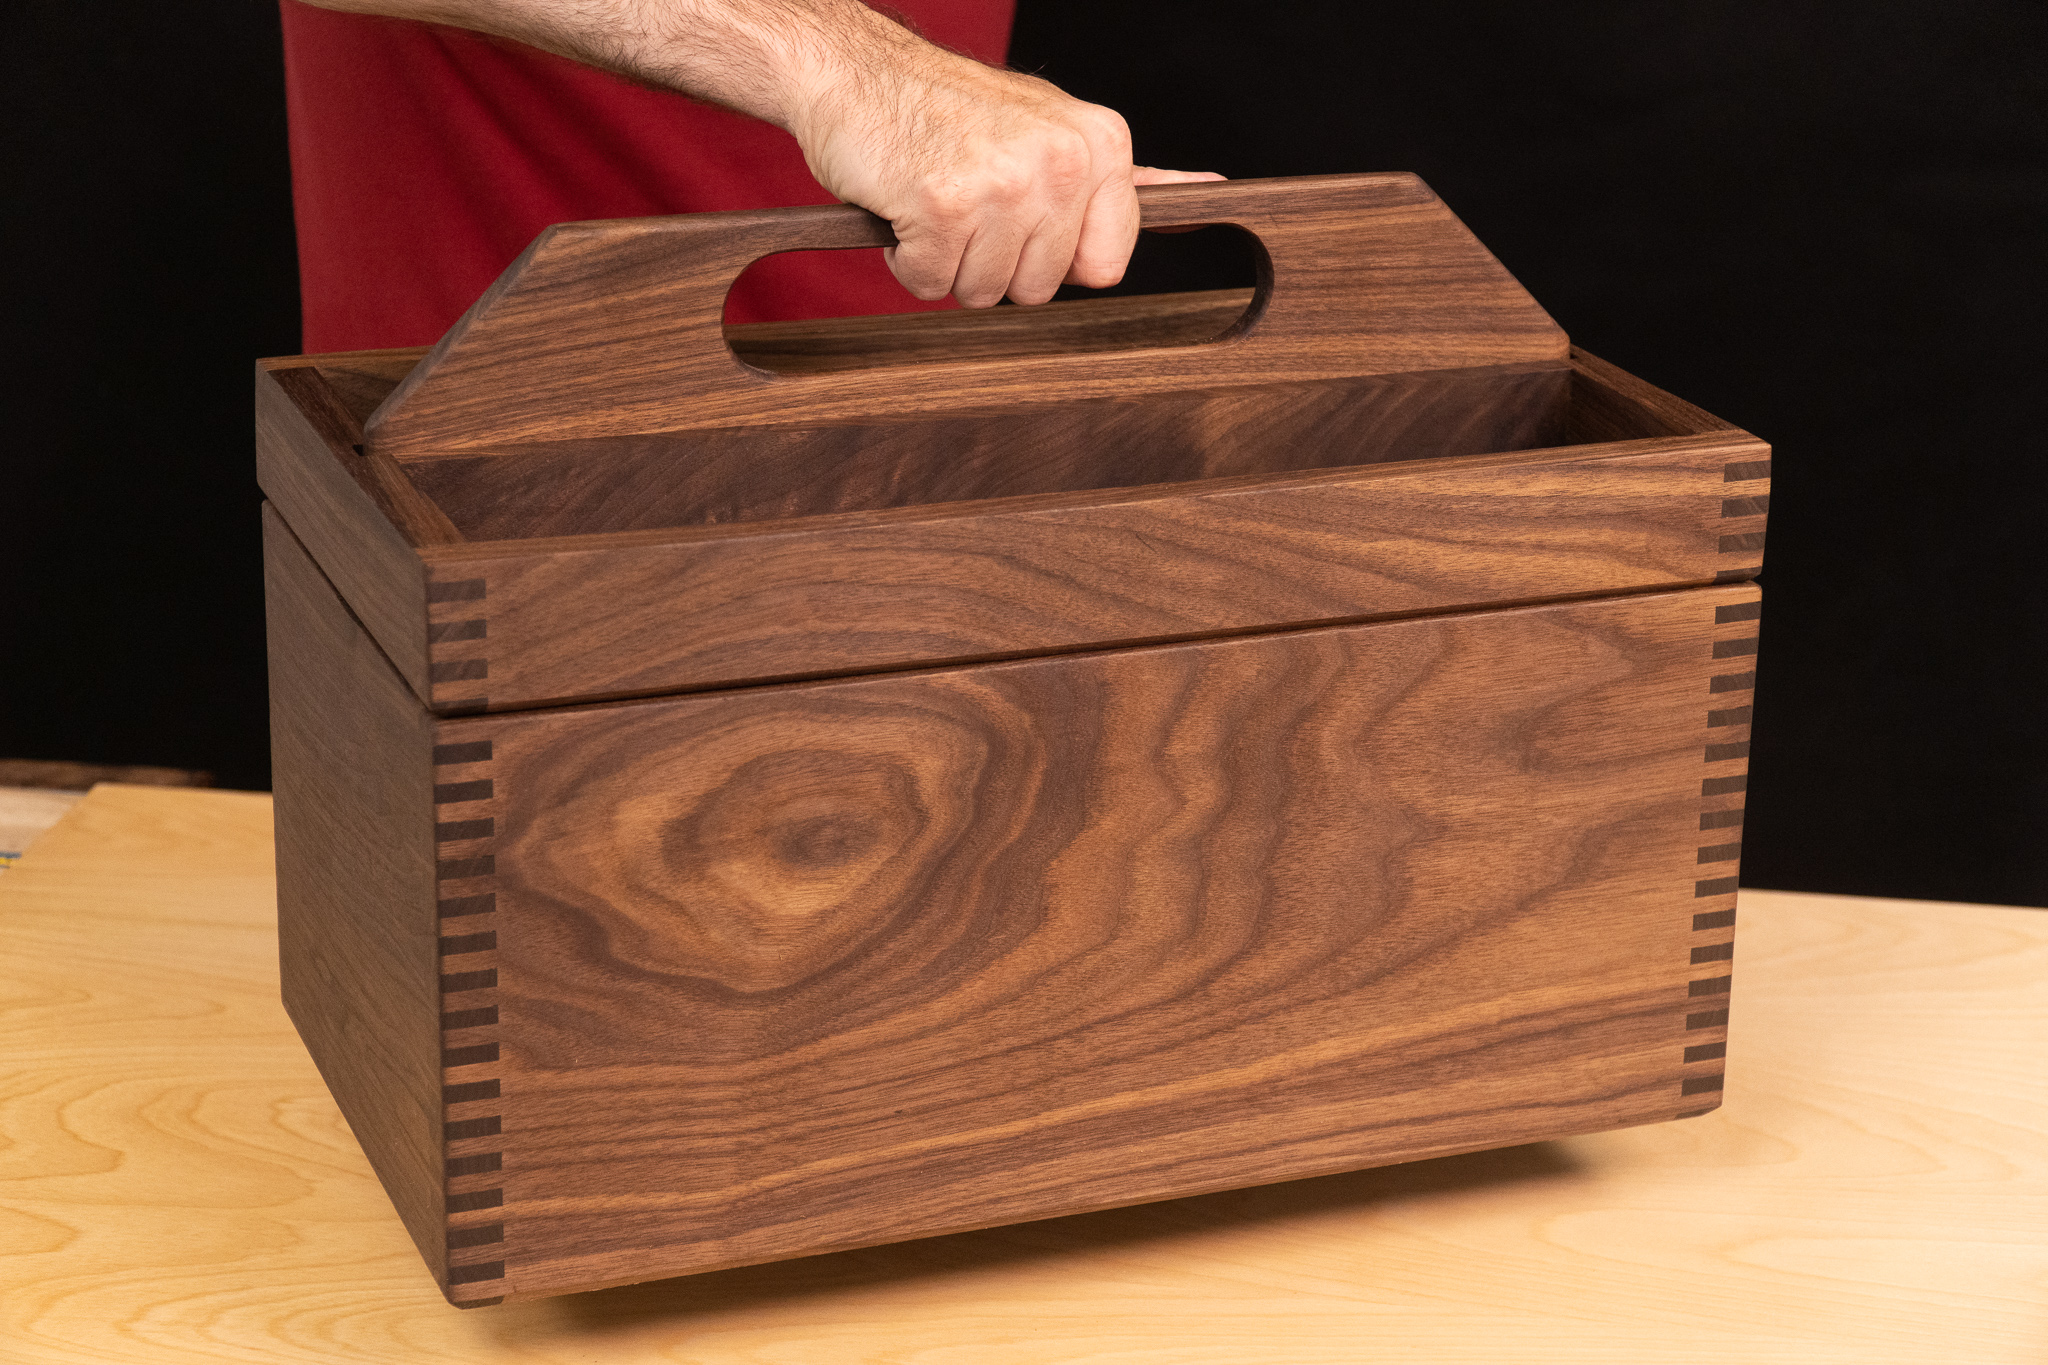
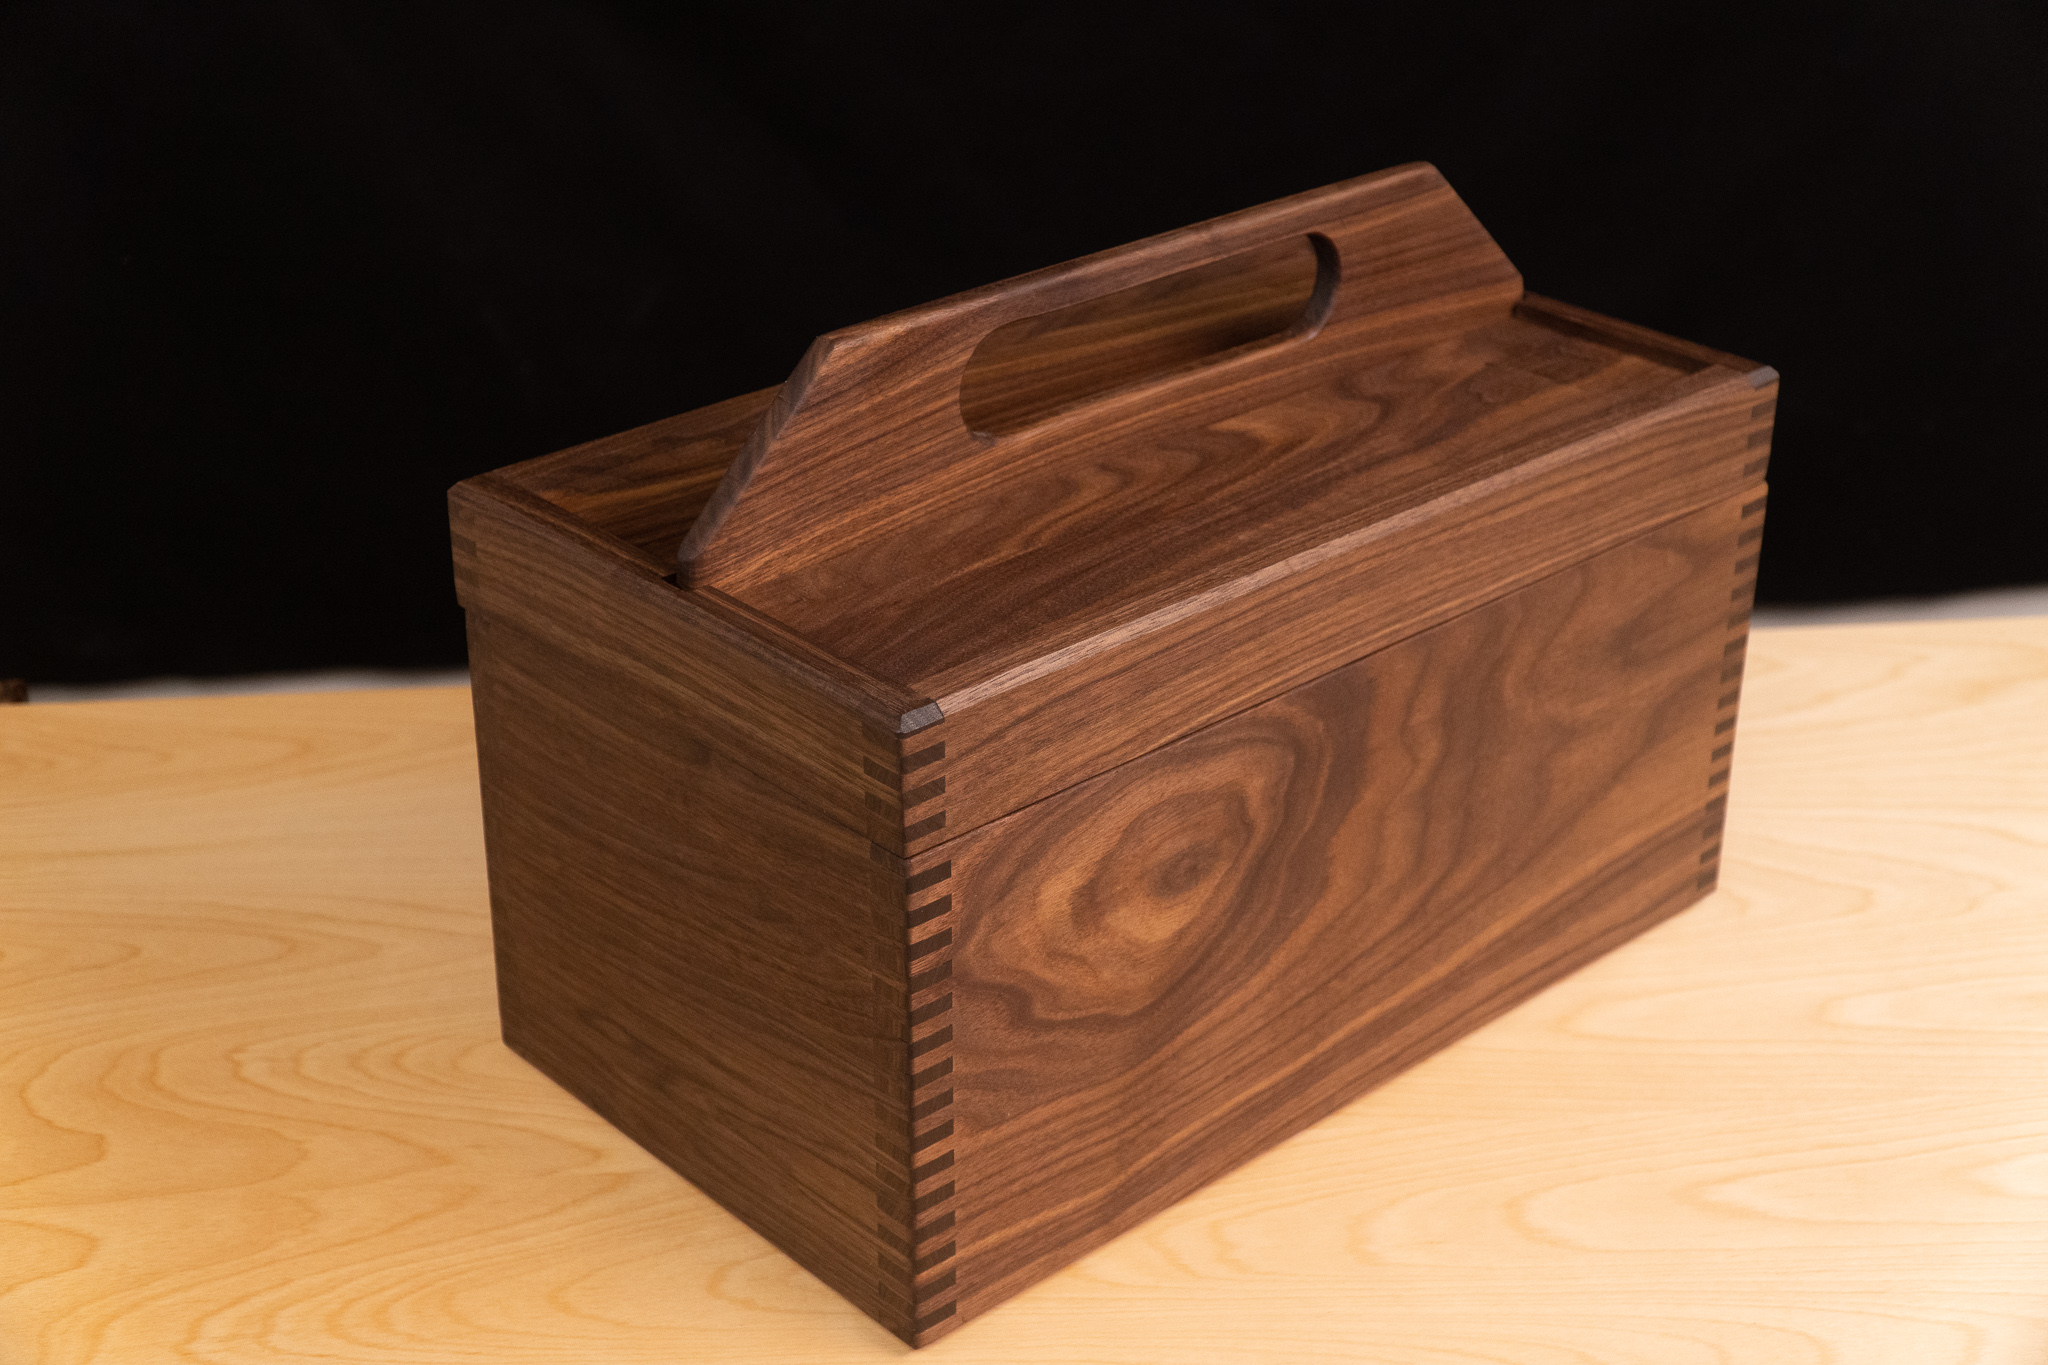
Box Joint Joinery Toolbox with Removable Lid that Doubles as Storage
How to make a solid wood toolbox with a reversible lid that doubles as storage. This is a simple and easy project for woodworkers. This beautiful walnut box uses traditional box joint joinery that can easily be done on the tablesaw or router. The removable lid slides over the handle and is a great place for small parts and tool storage. The entire tool box is made with solid hardwood and will last many lifetimes. Follow along and build one for yourself with step by step instructions in the video and if you need measurements and more details I have clear and easy to understand plans.
How to Make Box Joints with a Router
How to Make Box Joints with a Tablesaw


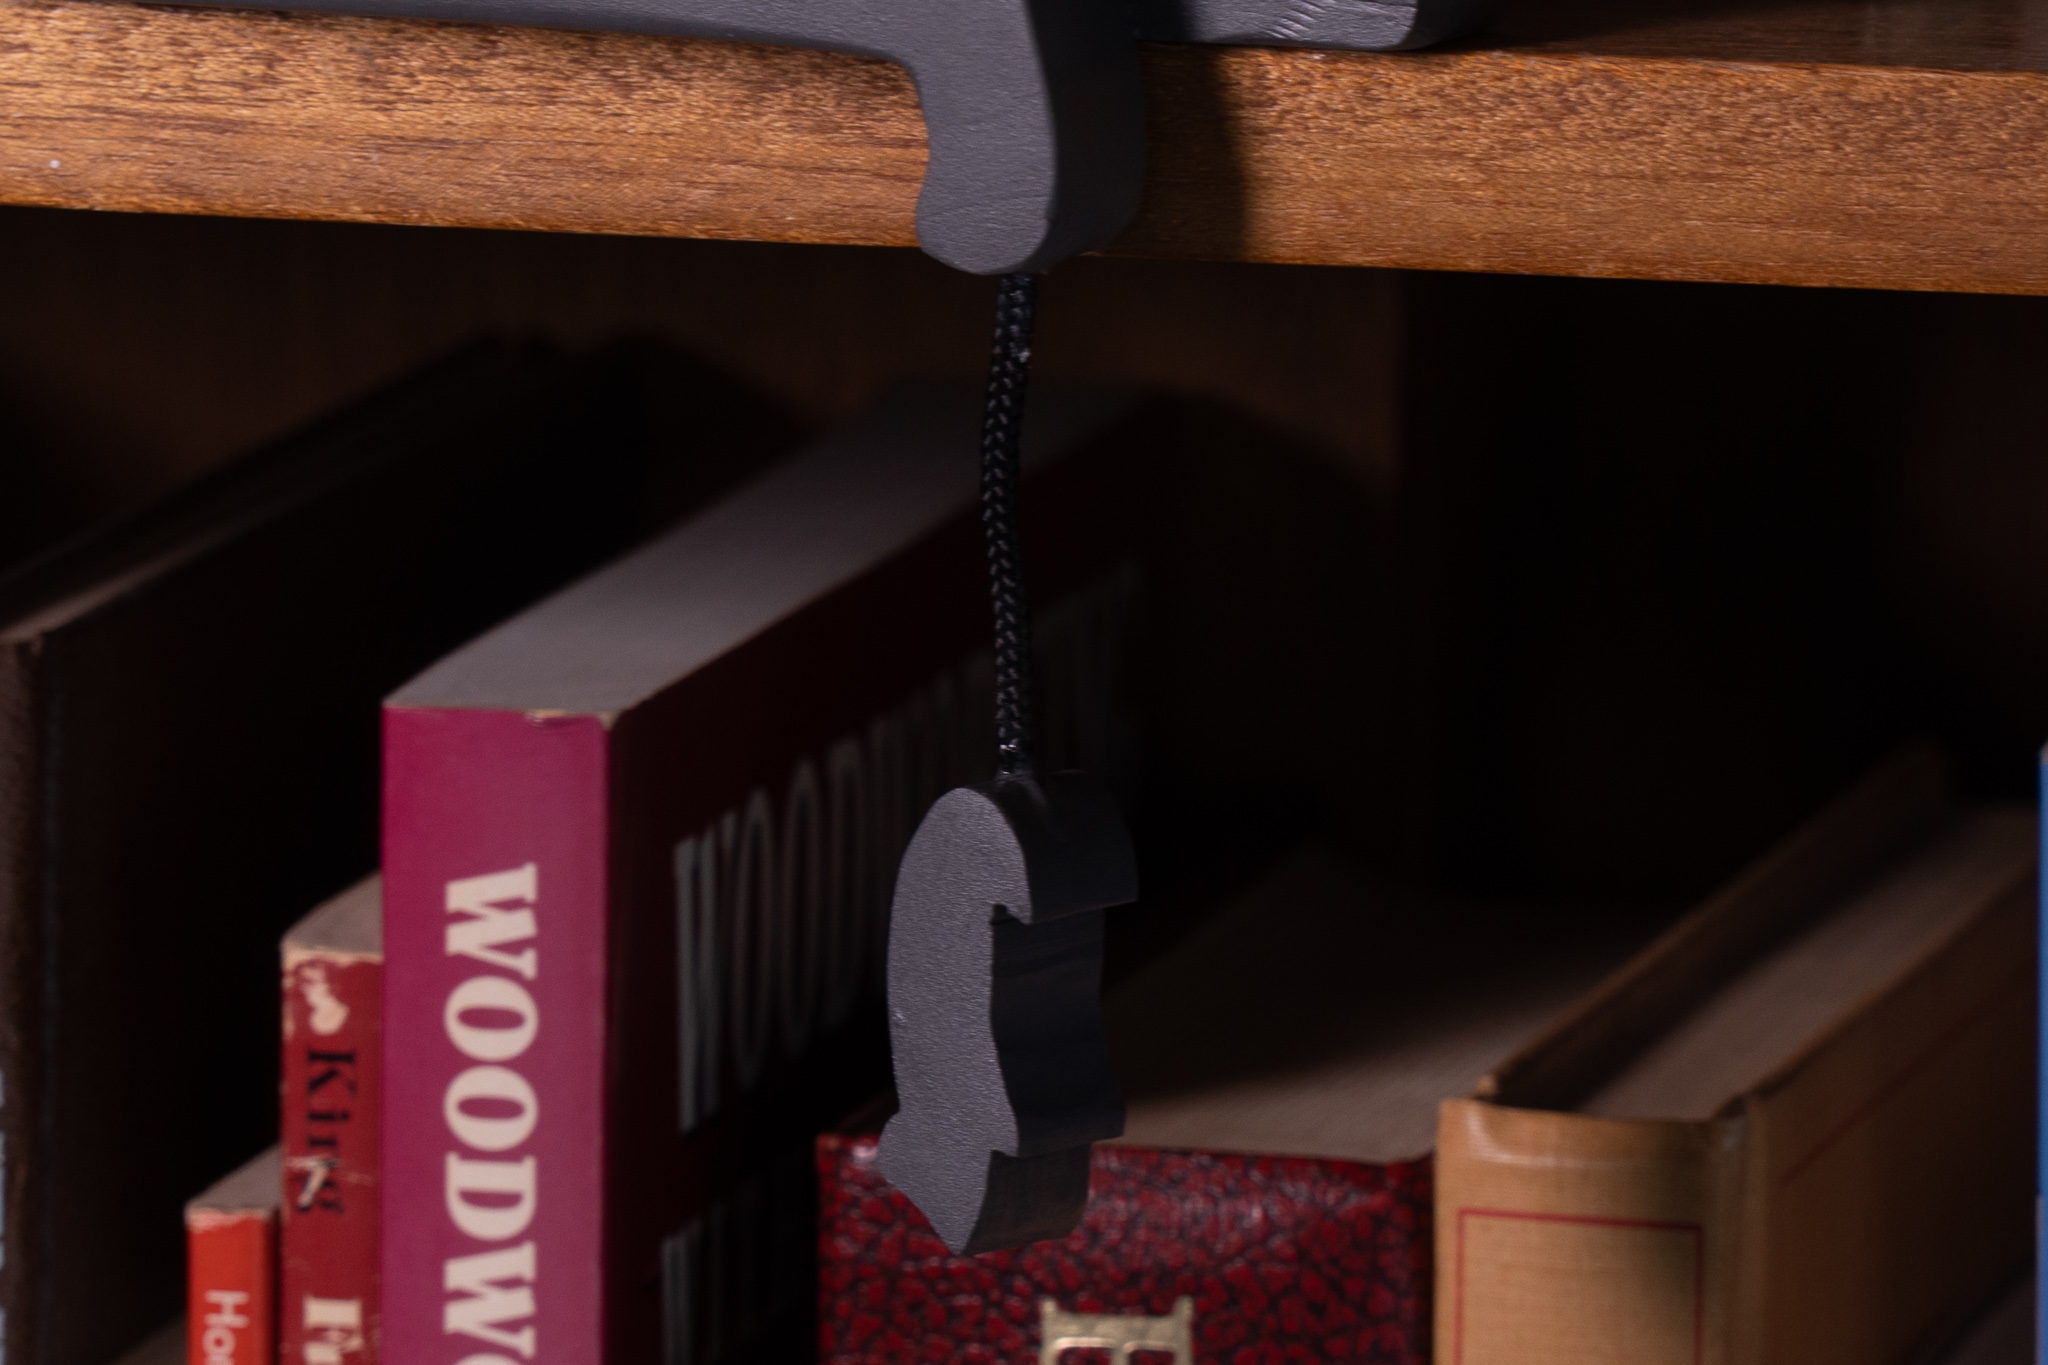
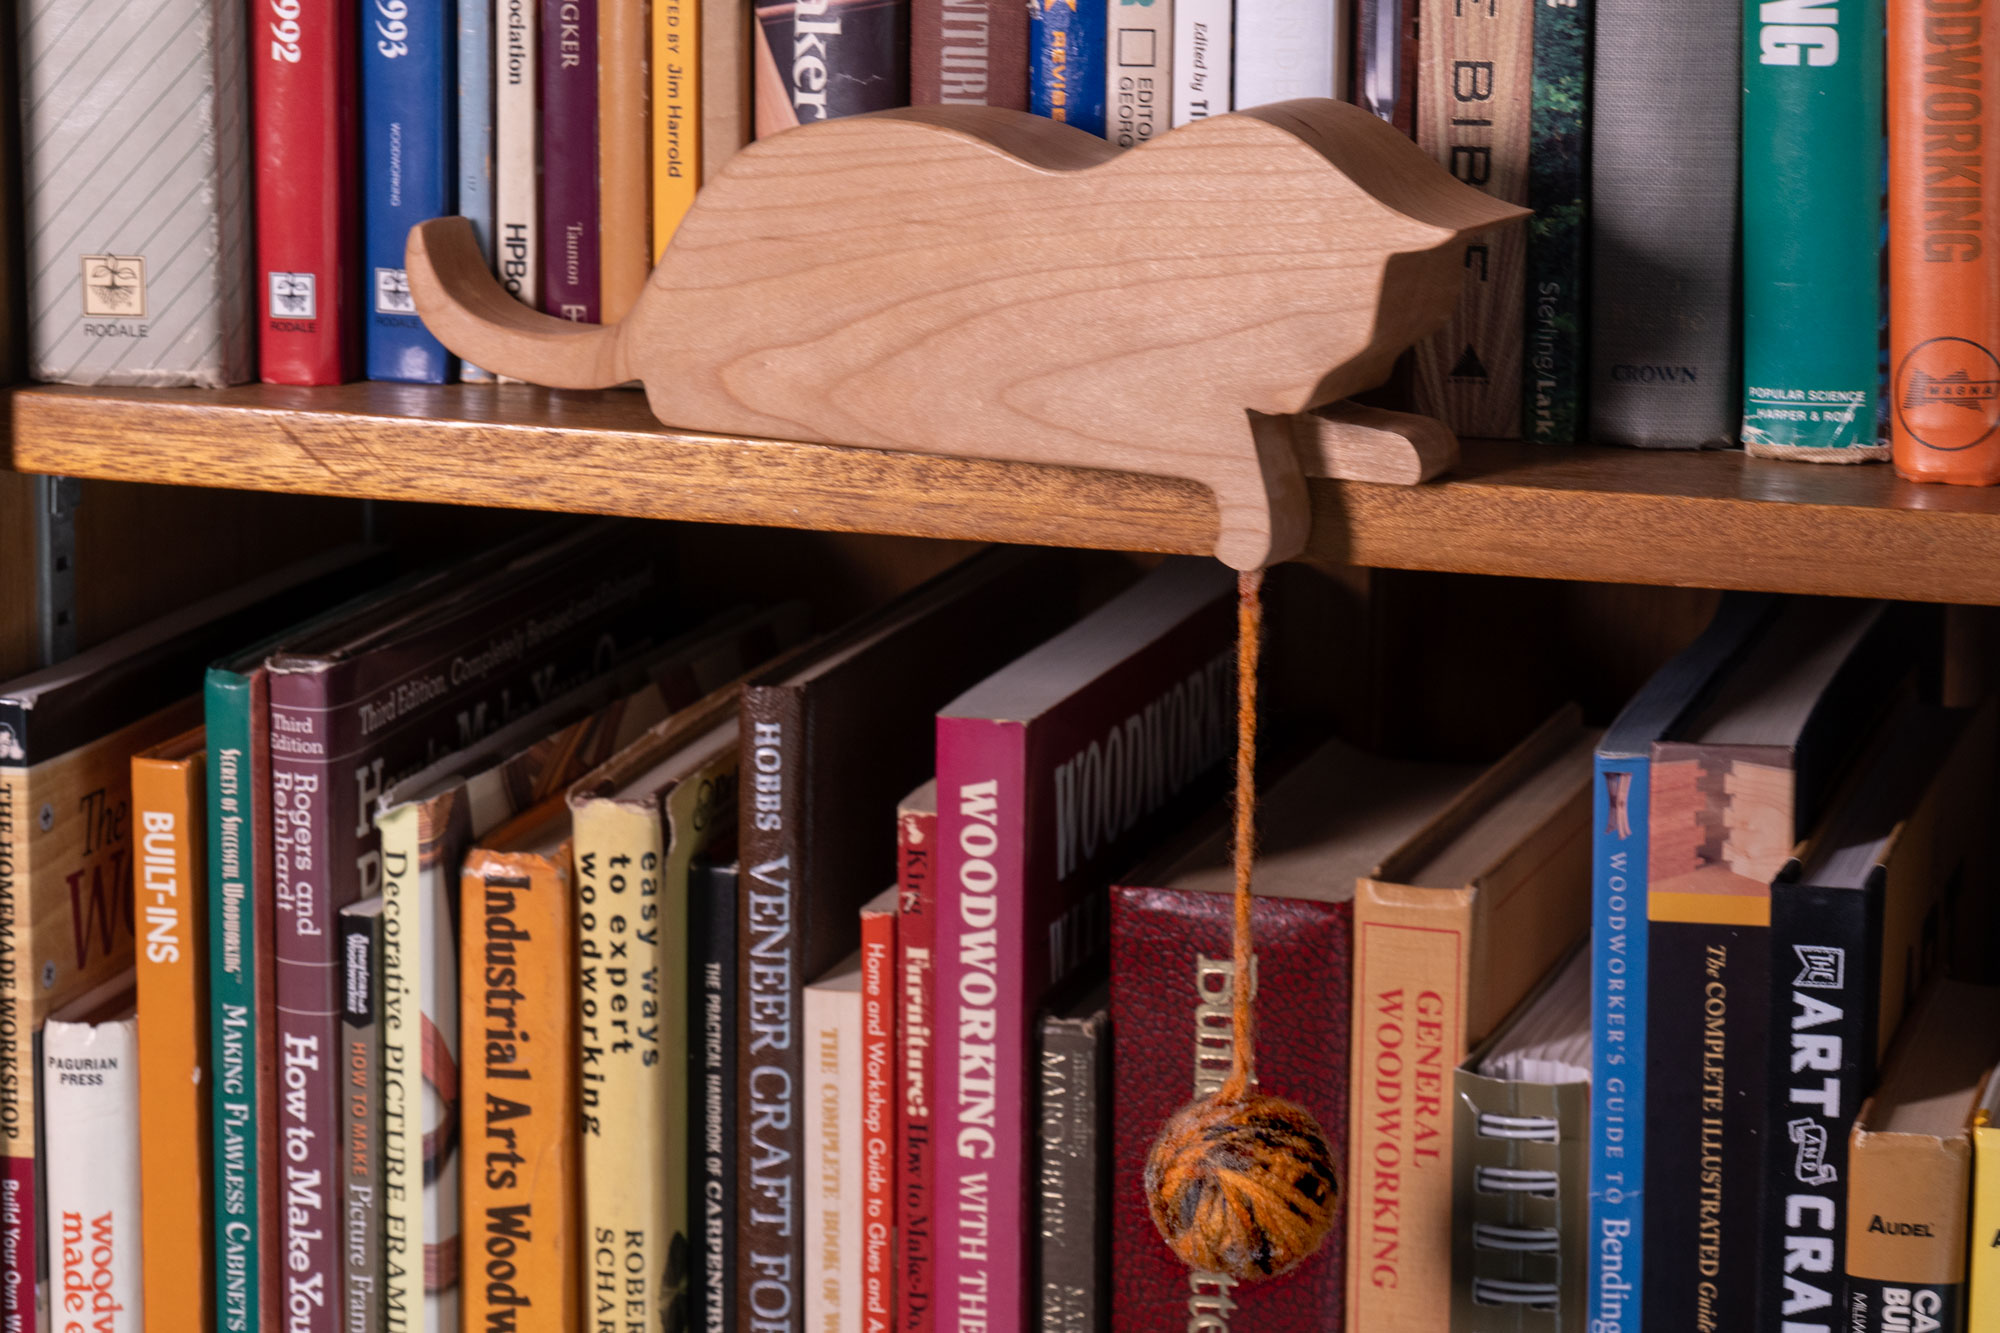
How to Make a Bookshelf Cat Decoration
Easy to make woodworking project. Great for a Mother’s Day gift and craft shows!

Easy Woodworking Project. Perfect for a Mother’s Day Gift!
Looking for something you can batch out quickly for craft shows or a gift? Wooden shelf cat decoration is the perfect project. You don’t need a shop full of tools to make this. Mainly you need a bandsaw or scroll saw and some sandpaper. Watch the tutorial video above to see how easy and quickly this project can be made! Get the plans and Make Something!
Tools and Supplies Used In This Woodworking Project


How to Make a Wood Tissue Box Cover
Easy to make woodworking project. Great for Christmas gifts and craft shows!

Easy Woodworking Project That Can Be Batched Out as Gifts
Looking for something you can batch out quickly for holiday gifts or craft shows? This wood tissue box is the perfect project. Easy joinery with basic woodworking tools. Watch the tutorial video above to see how this simple design can turn an ordinary tissue box into a center piece on your coffee table! Get the plans and Make Something!
Tools and Supplies Used In This Woodworking Project


How to Make Gift Wine Boxes With Finger Joints
Easy to make woodworking project. Great for Christmas gifts and craft shows!
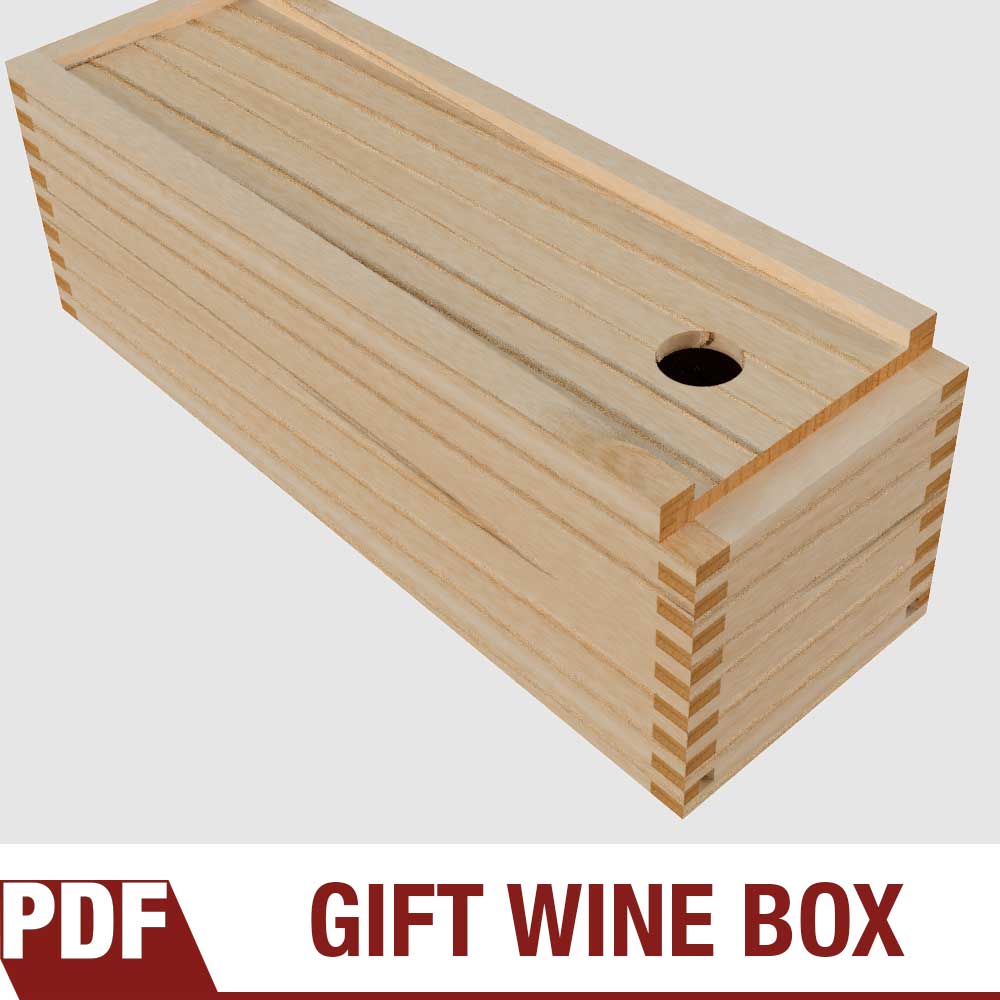
Quick and Easy Woodworking Project Just In Time For Christmas Gifts!
These easy to make wine boxes make for a great gift when pared with a bottle of wine and also sell well at craft shows. I like to make mine from pine and leave them unfinished for that natural softwood feel, smell and look. If you’ve never made finger joints (also known as box joints) then check out this video that’ll get you up a running quickly and easily. Looking to batch out a few of these? Get the plans and Make Something!
Tools and Supplies Used In This Woodworking Project


Everything You Need to Know on Making Bandsaw Boxes
Step-by-step tutorial on how to make bandsaw boxes with templates and plans. Easy and fun woodworking projects!
Making bandsaw boxes is what got me excited about woodworking! You can make them out of scraps in a day and they make for a great handmade gift. There are endless possibilities in shapes and sizes and you don't need and entire shop full of expensive tools or years of experience.
Bandsaw Box Templates and Plans
Looking to get started in making bandsaw boxes? I’ve got PDF templates for 4 simple but elegant bandsaw box designs as well as a book full of unique styles. You can find the book in all major book stores and public libraries or you can get a signed book directly from me!


The Best Blade For Making Bandsaw Boxes

I’ve made dozens of bandsaw boxes in my day and I’ve tried many blades. You need a blade small enough to cut tight curves. Generally the more teeth per inch the smoother the cut you’ll get. But when it comes to making bandsaw boxes a smooth cut is not necessary. What’s more important is large gullets between the teeth to remove all the waste dust that’s created when cutting a big 4" thick bandsaw box blank. If you have too many teeth you’ll have issues with burning and not being able to cut the curves because of all the saw dust trapped between the blade and the wood. I’ve come to the conclusion that a 3/16" blade for 4 teeth per inch is the perfect blade for these bandsaw boxes. I like this 3/16", 4 TPI, Skip Tooth blade from Highland Woodworking.

Step 1: Bandsaw Box Blank
The first thing you need to do is cut up the boards that'll make up your bandsaw box blank. The height and width will depend on which template you choose to work with. The depth can vary but I like mine to be about 4" thick. In this example I'm using Baltic birch plywood as my core with an exotic wood on the faces. You'll glue up all the pieces with wood glue on the faces of each piece. Use plenty of wood glue make sure the entire surface is covered.

Step 2: Bandsaw Box Glue-up
Now you'll clamp everything up with plenty
of F-style clamps. You should see some glue squeeze out all around. Let this sit and dry for a few hours.
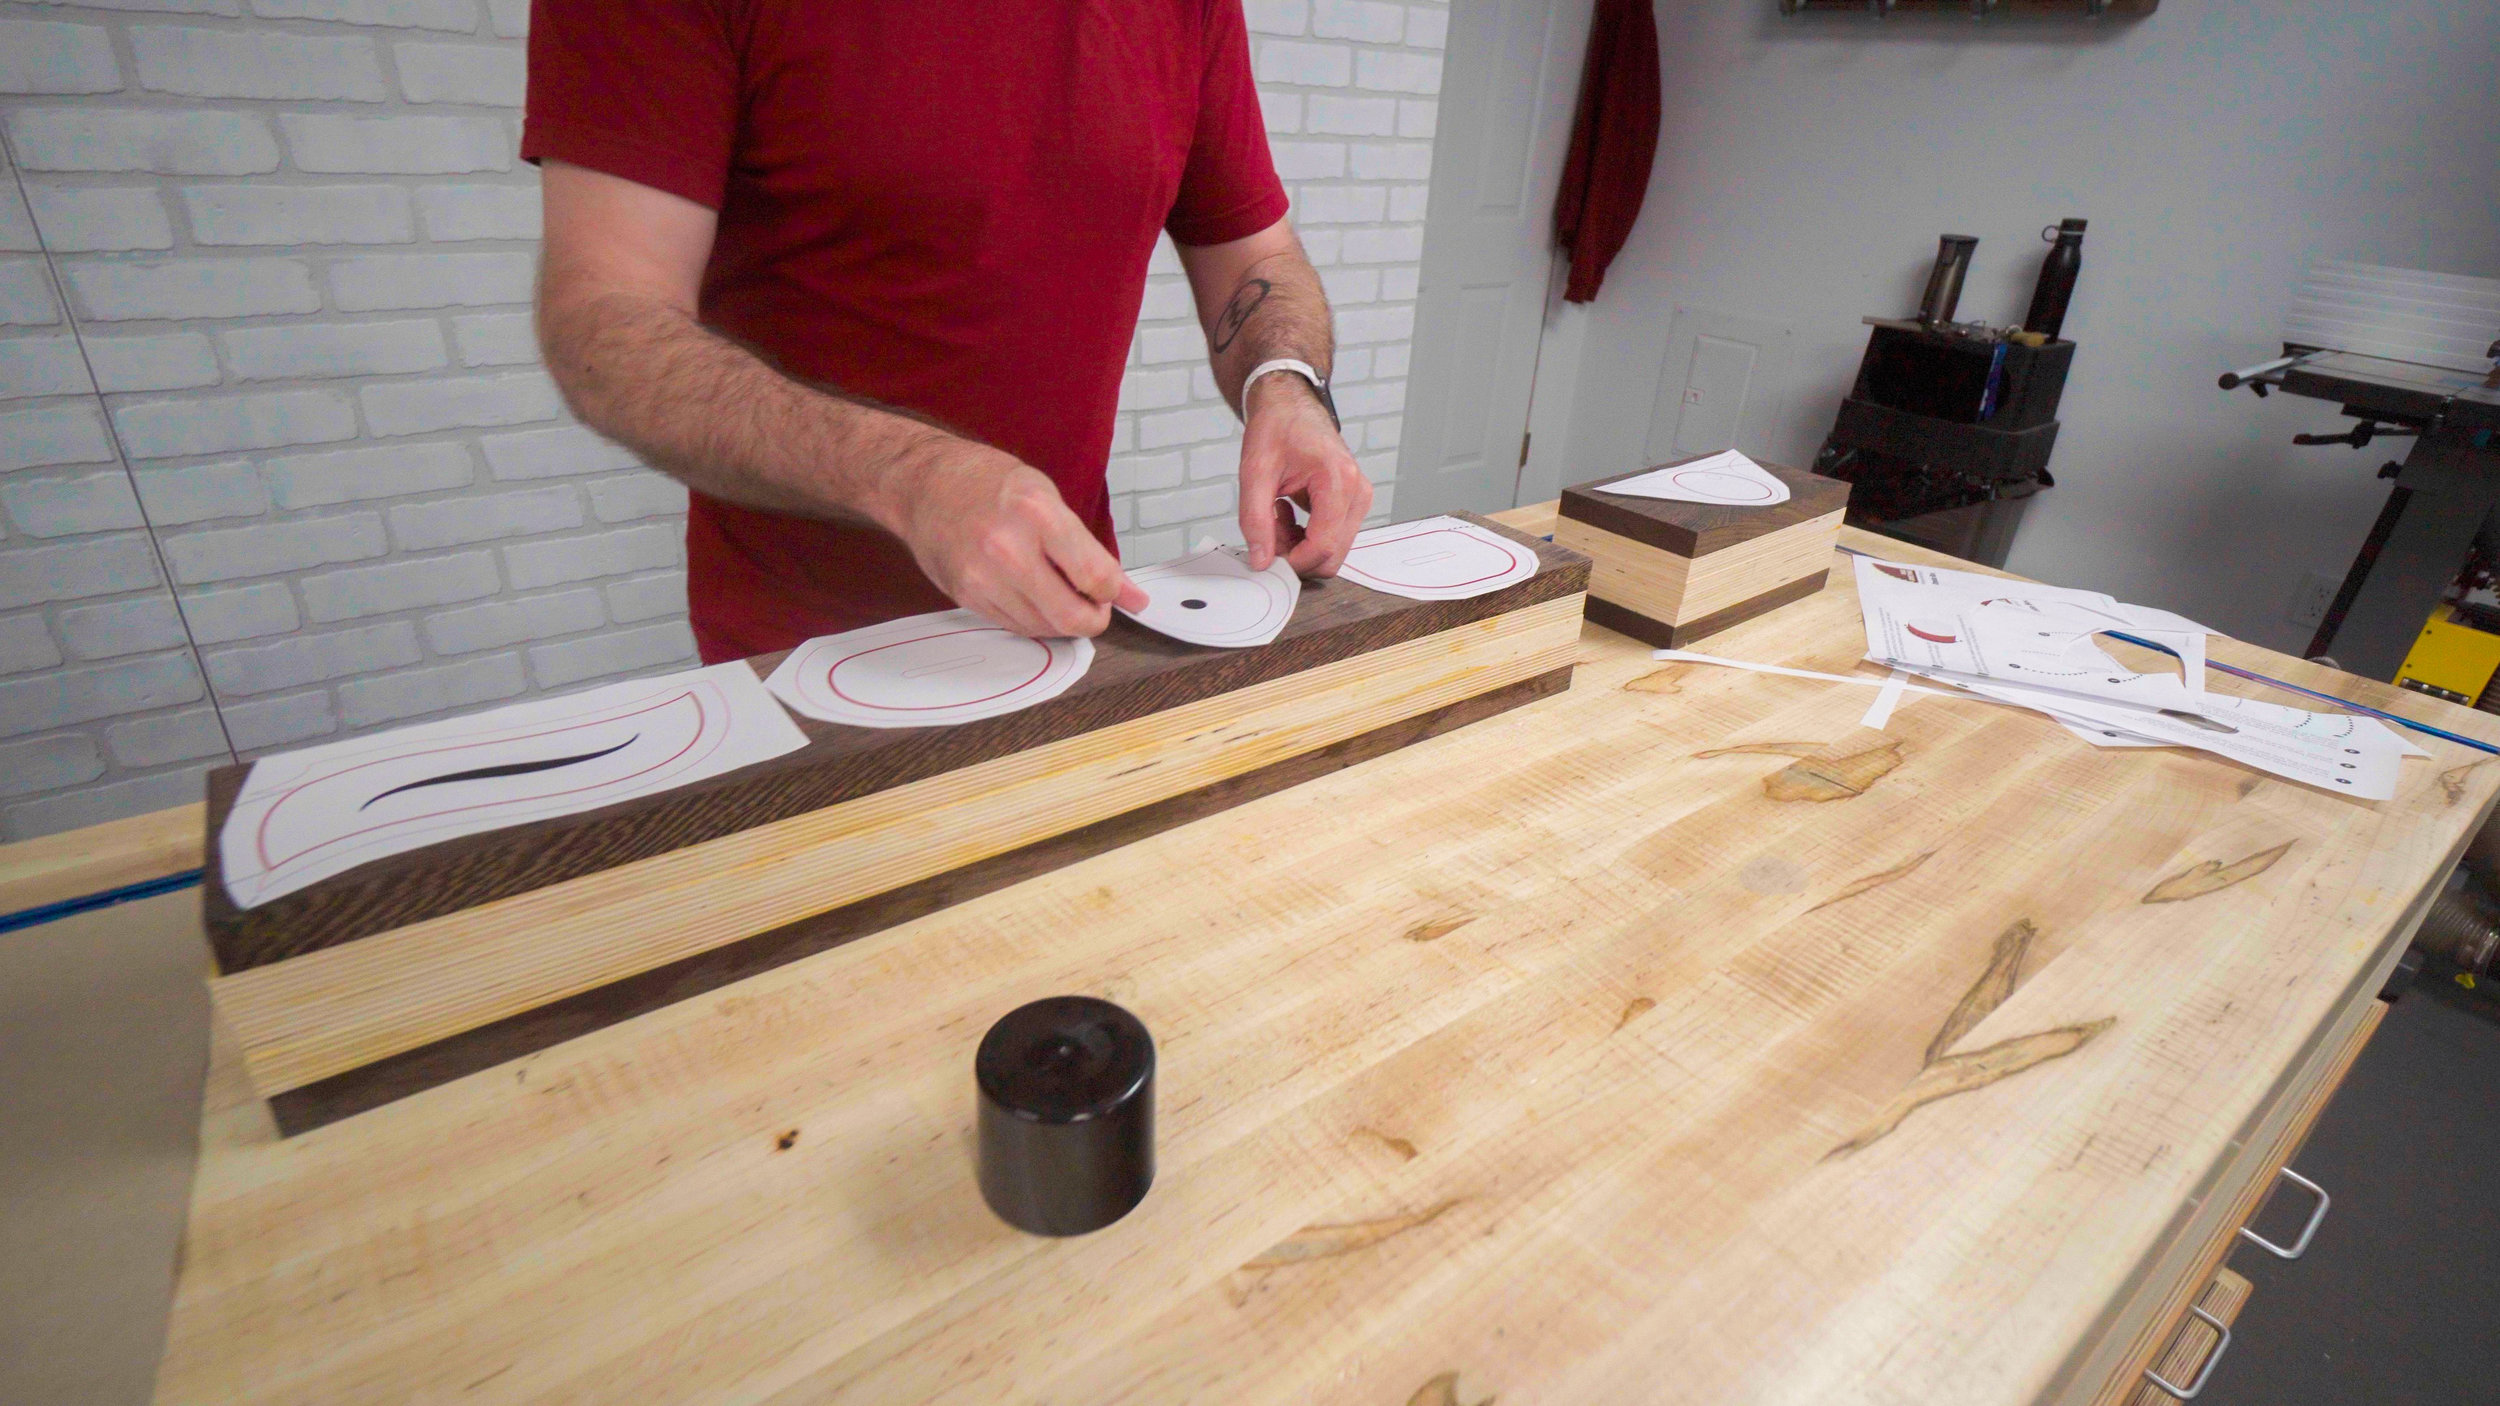
Step 3: Bandsaw Box Templates
Print out your template at 100% size (do not fit to scale) and spray the back with spray adhesive. A light even coat is all that's needed. Let it sit and get tacky for 60 seconds. Place your template and push out any air bubbles.
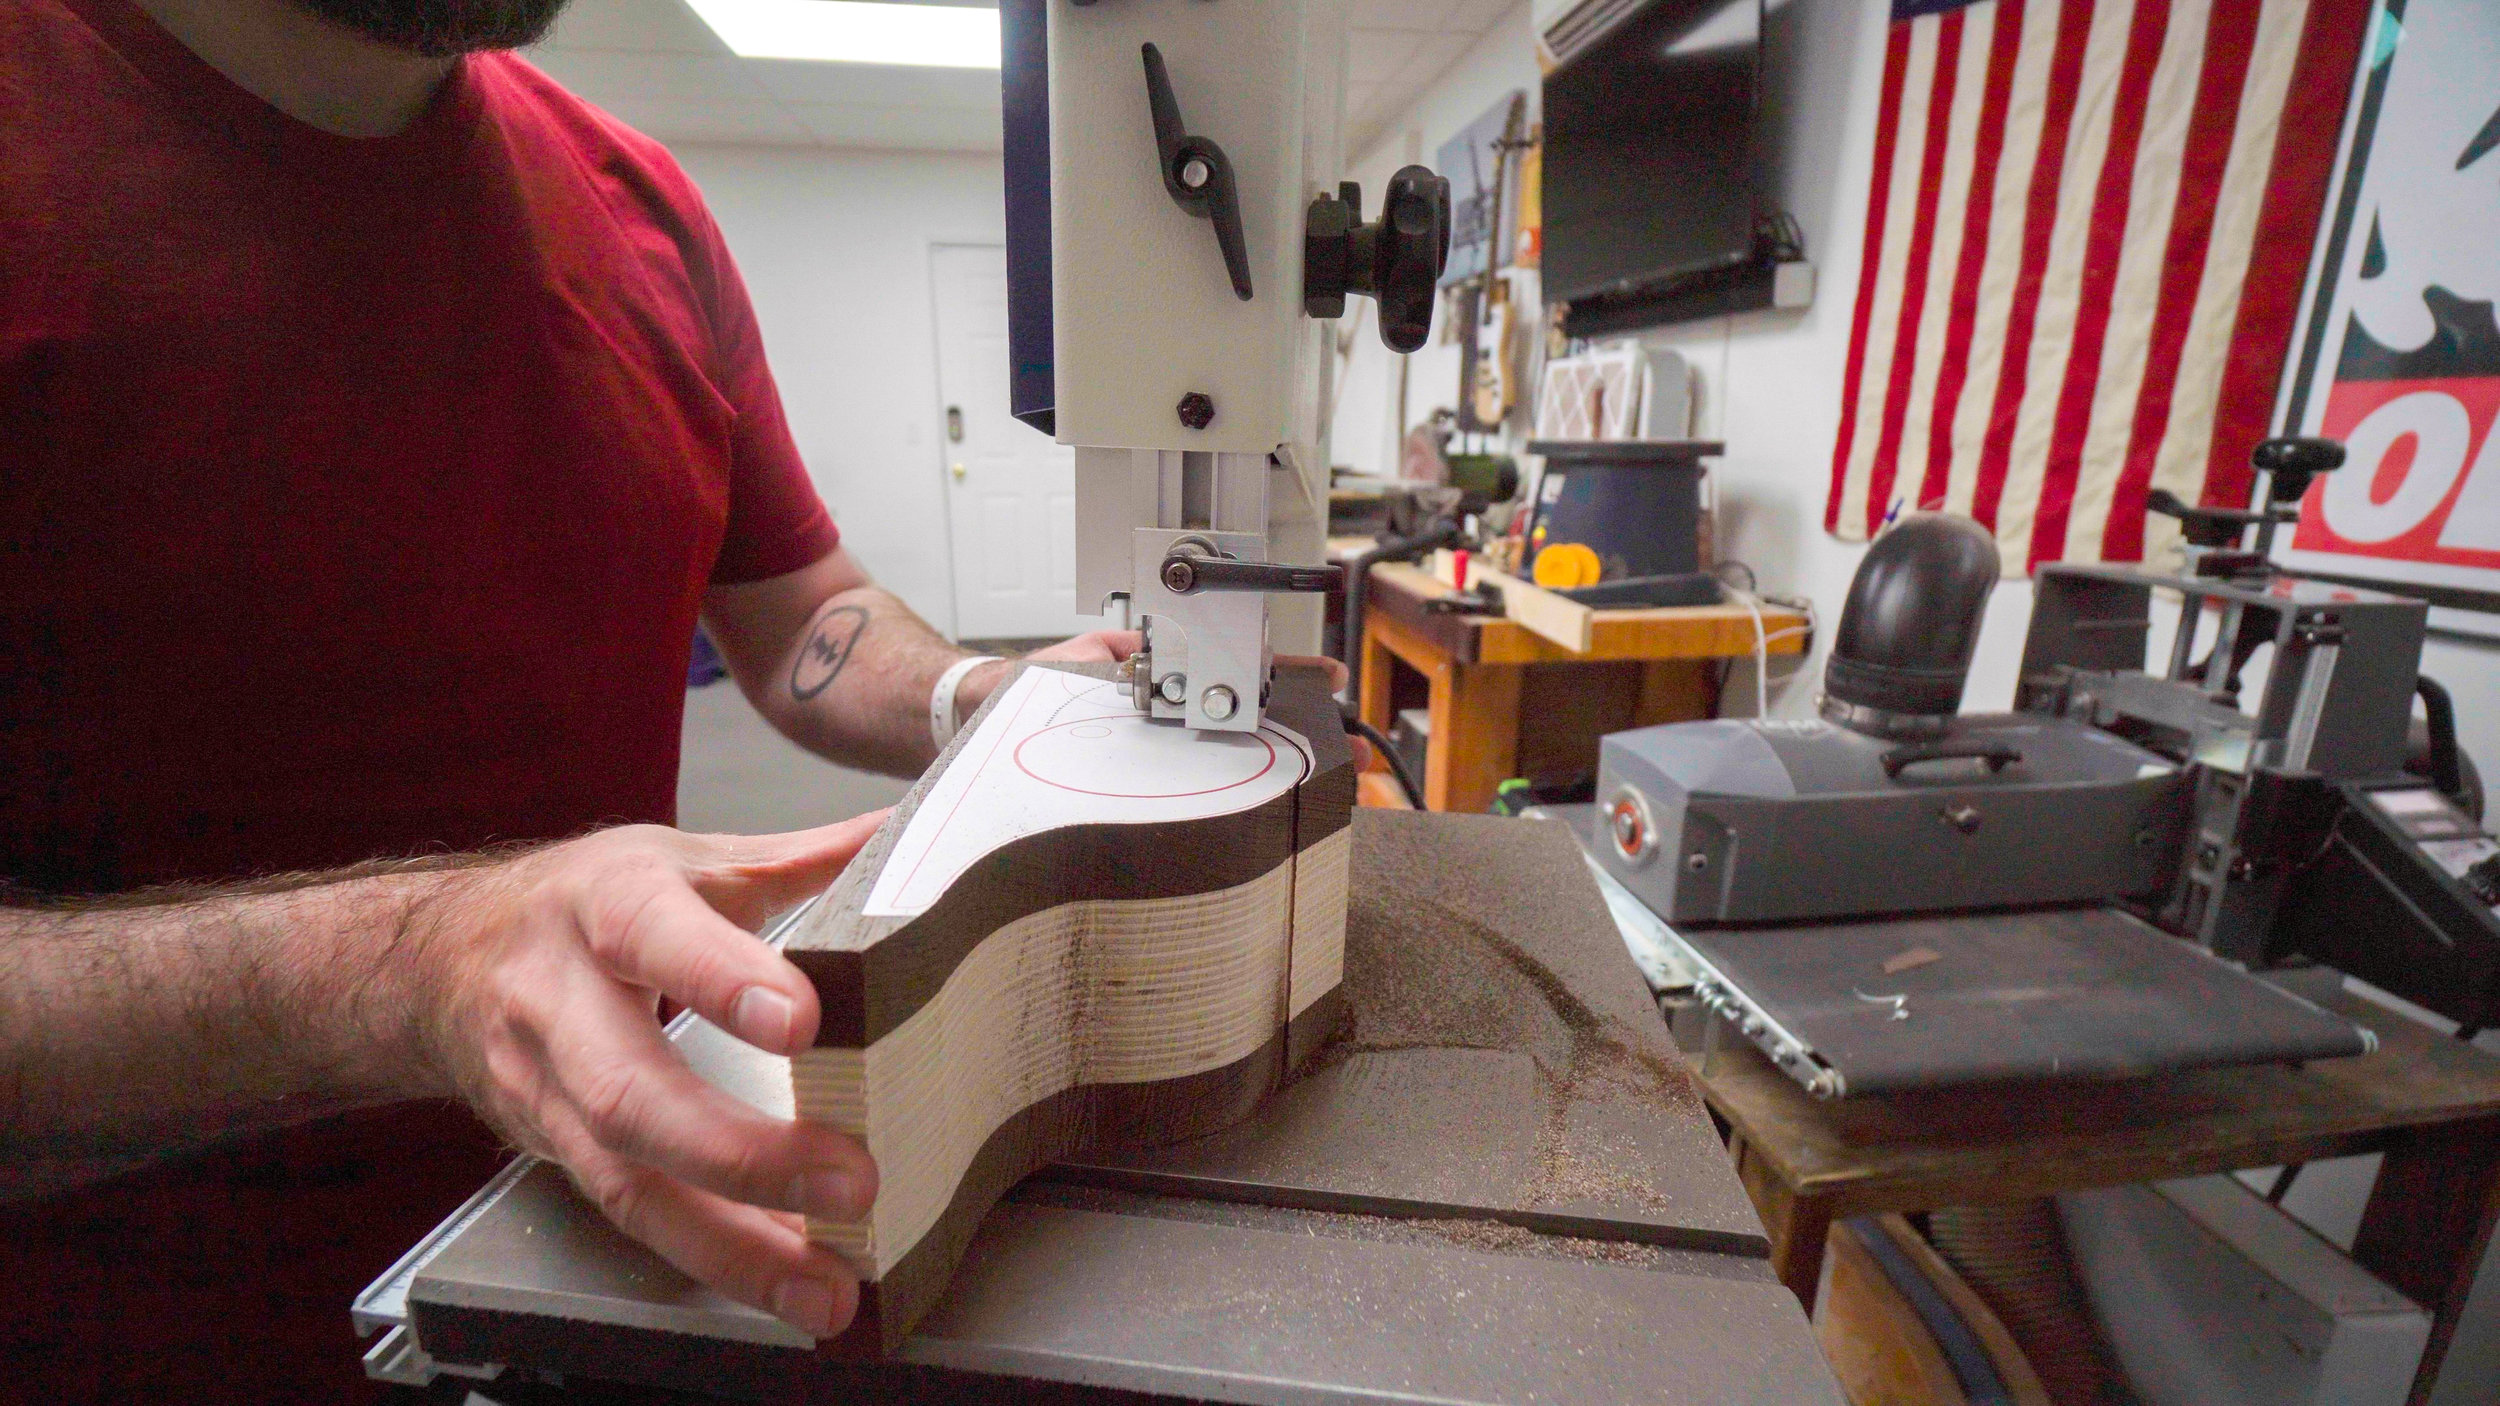
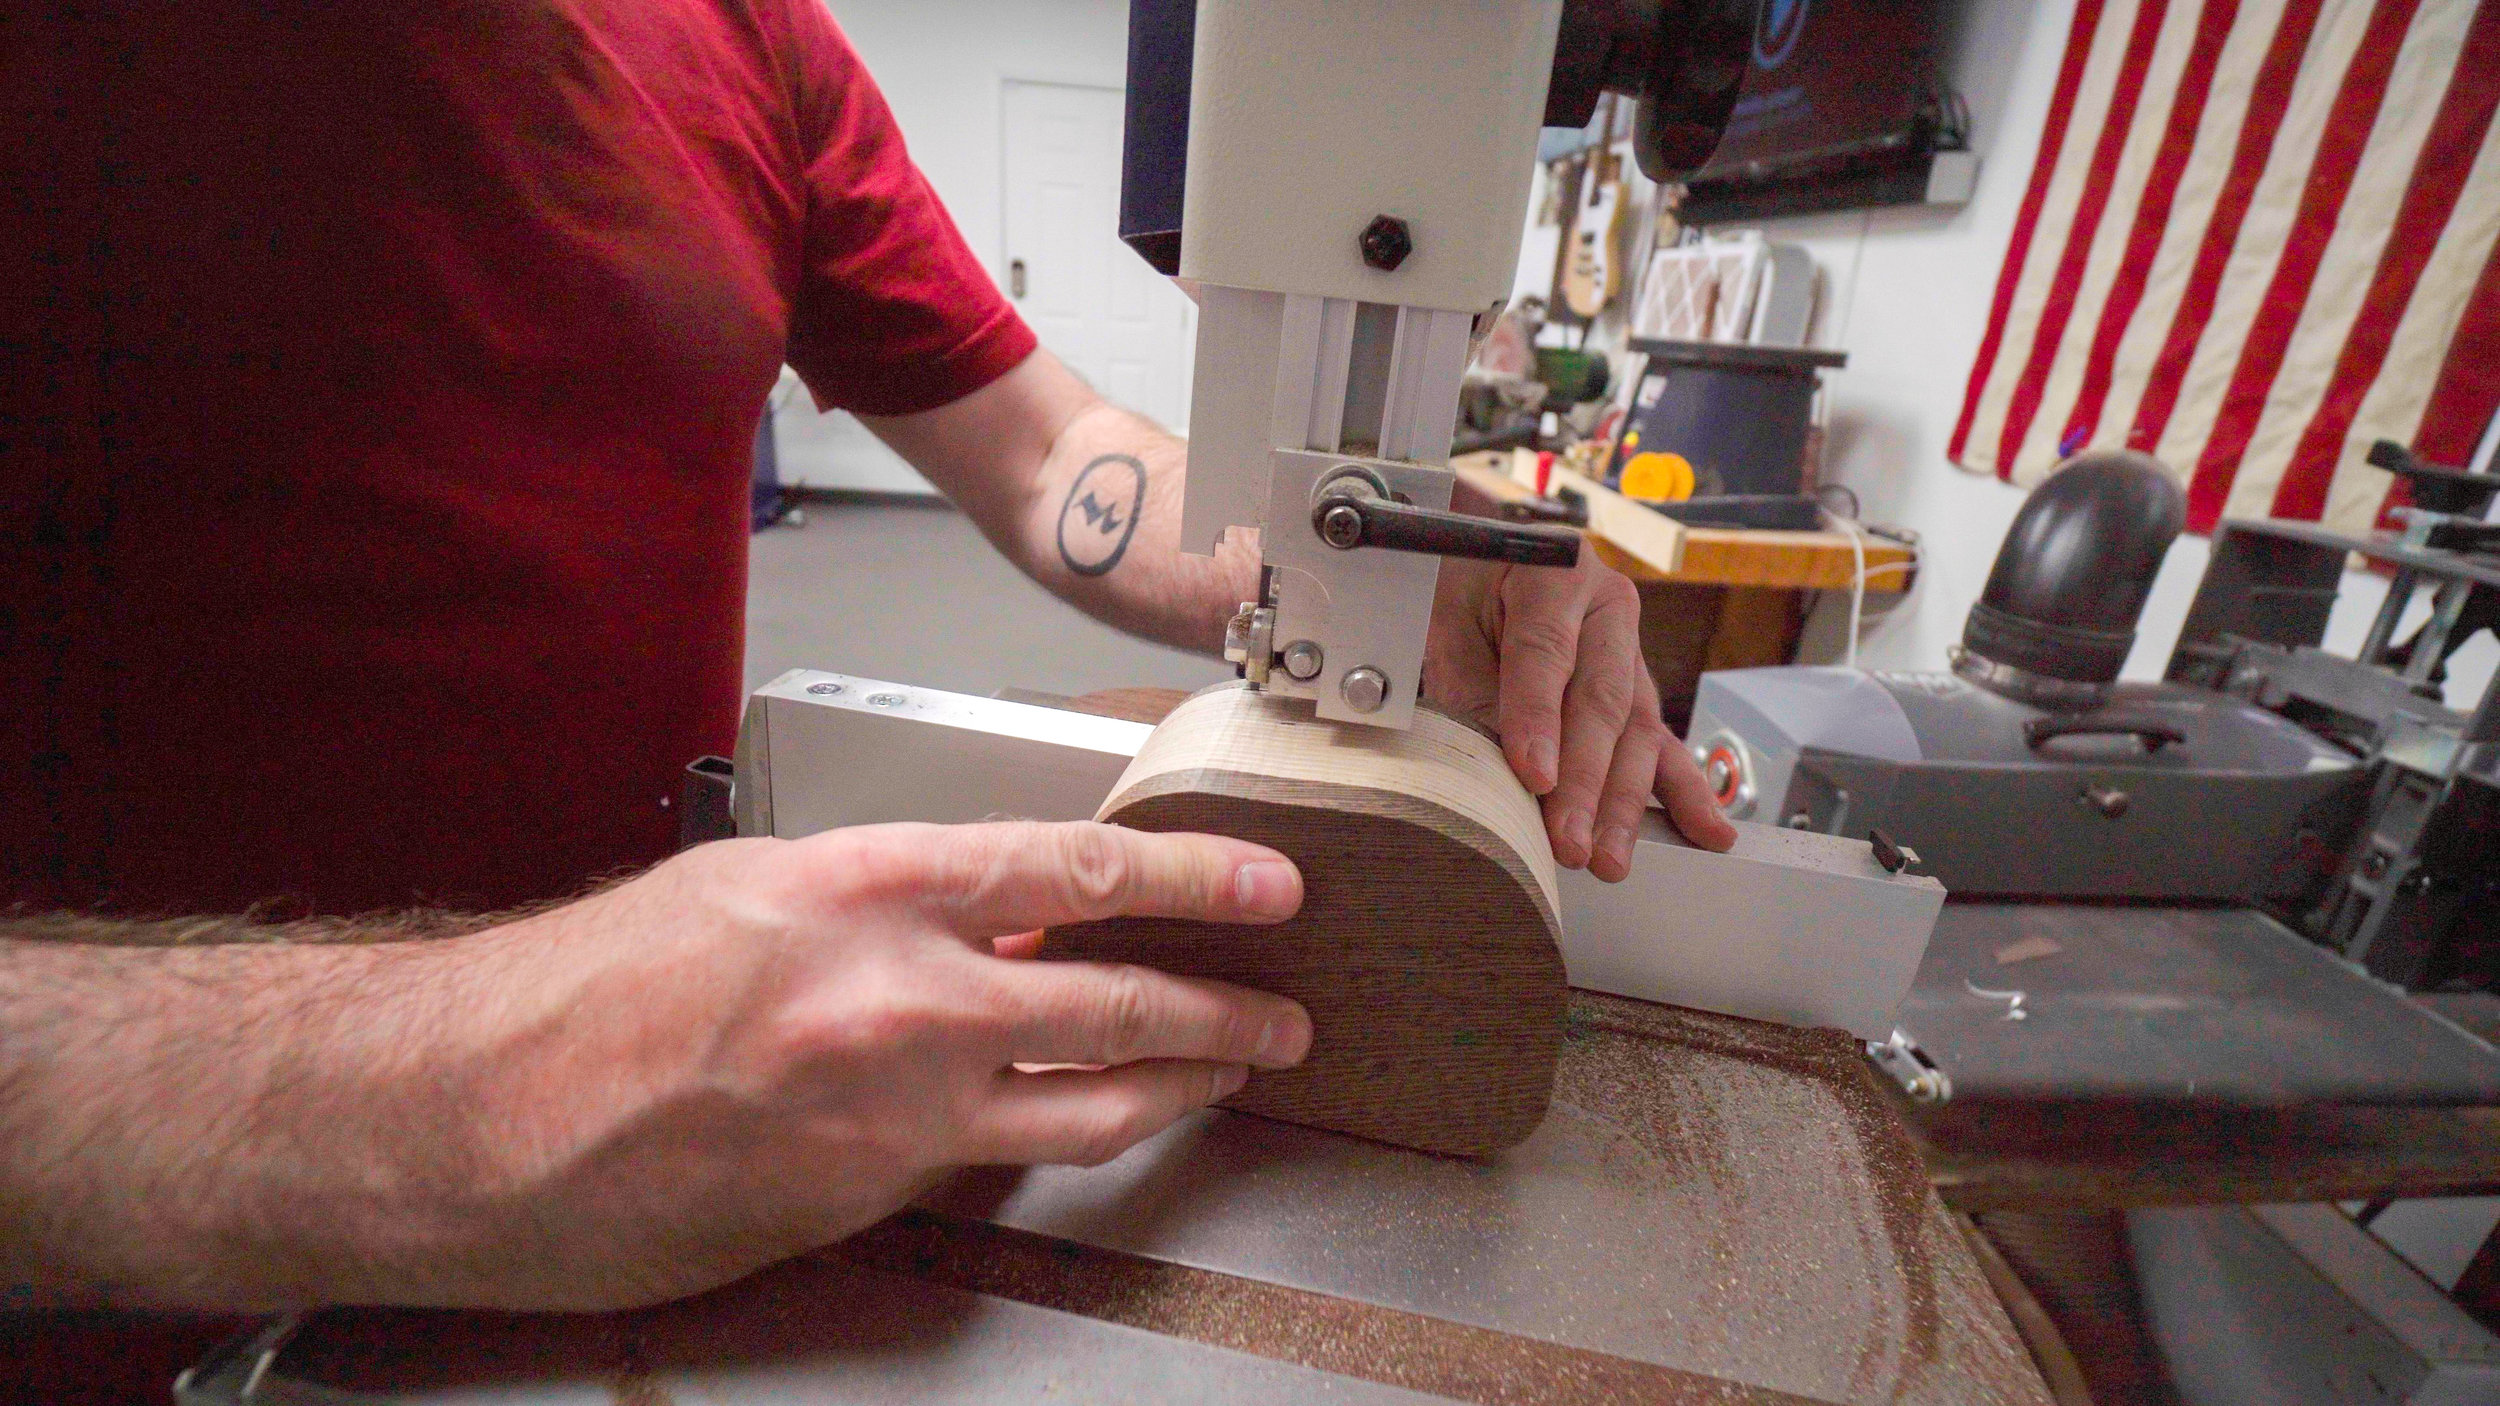
Step 4: Cutting the Bandsaw Box Shell
Next you'll cut the outside shape out on the bandsaw. Cut as close to the line as you can without touching it. In a later step we'll sand down to the line. Cut slow and let the blade do the work. You should not have to push hard if your blade is sharp. Don't worry how rough the cuts are at this point. We'll clean it up in a future step.
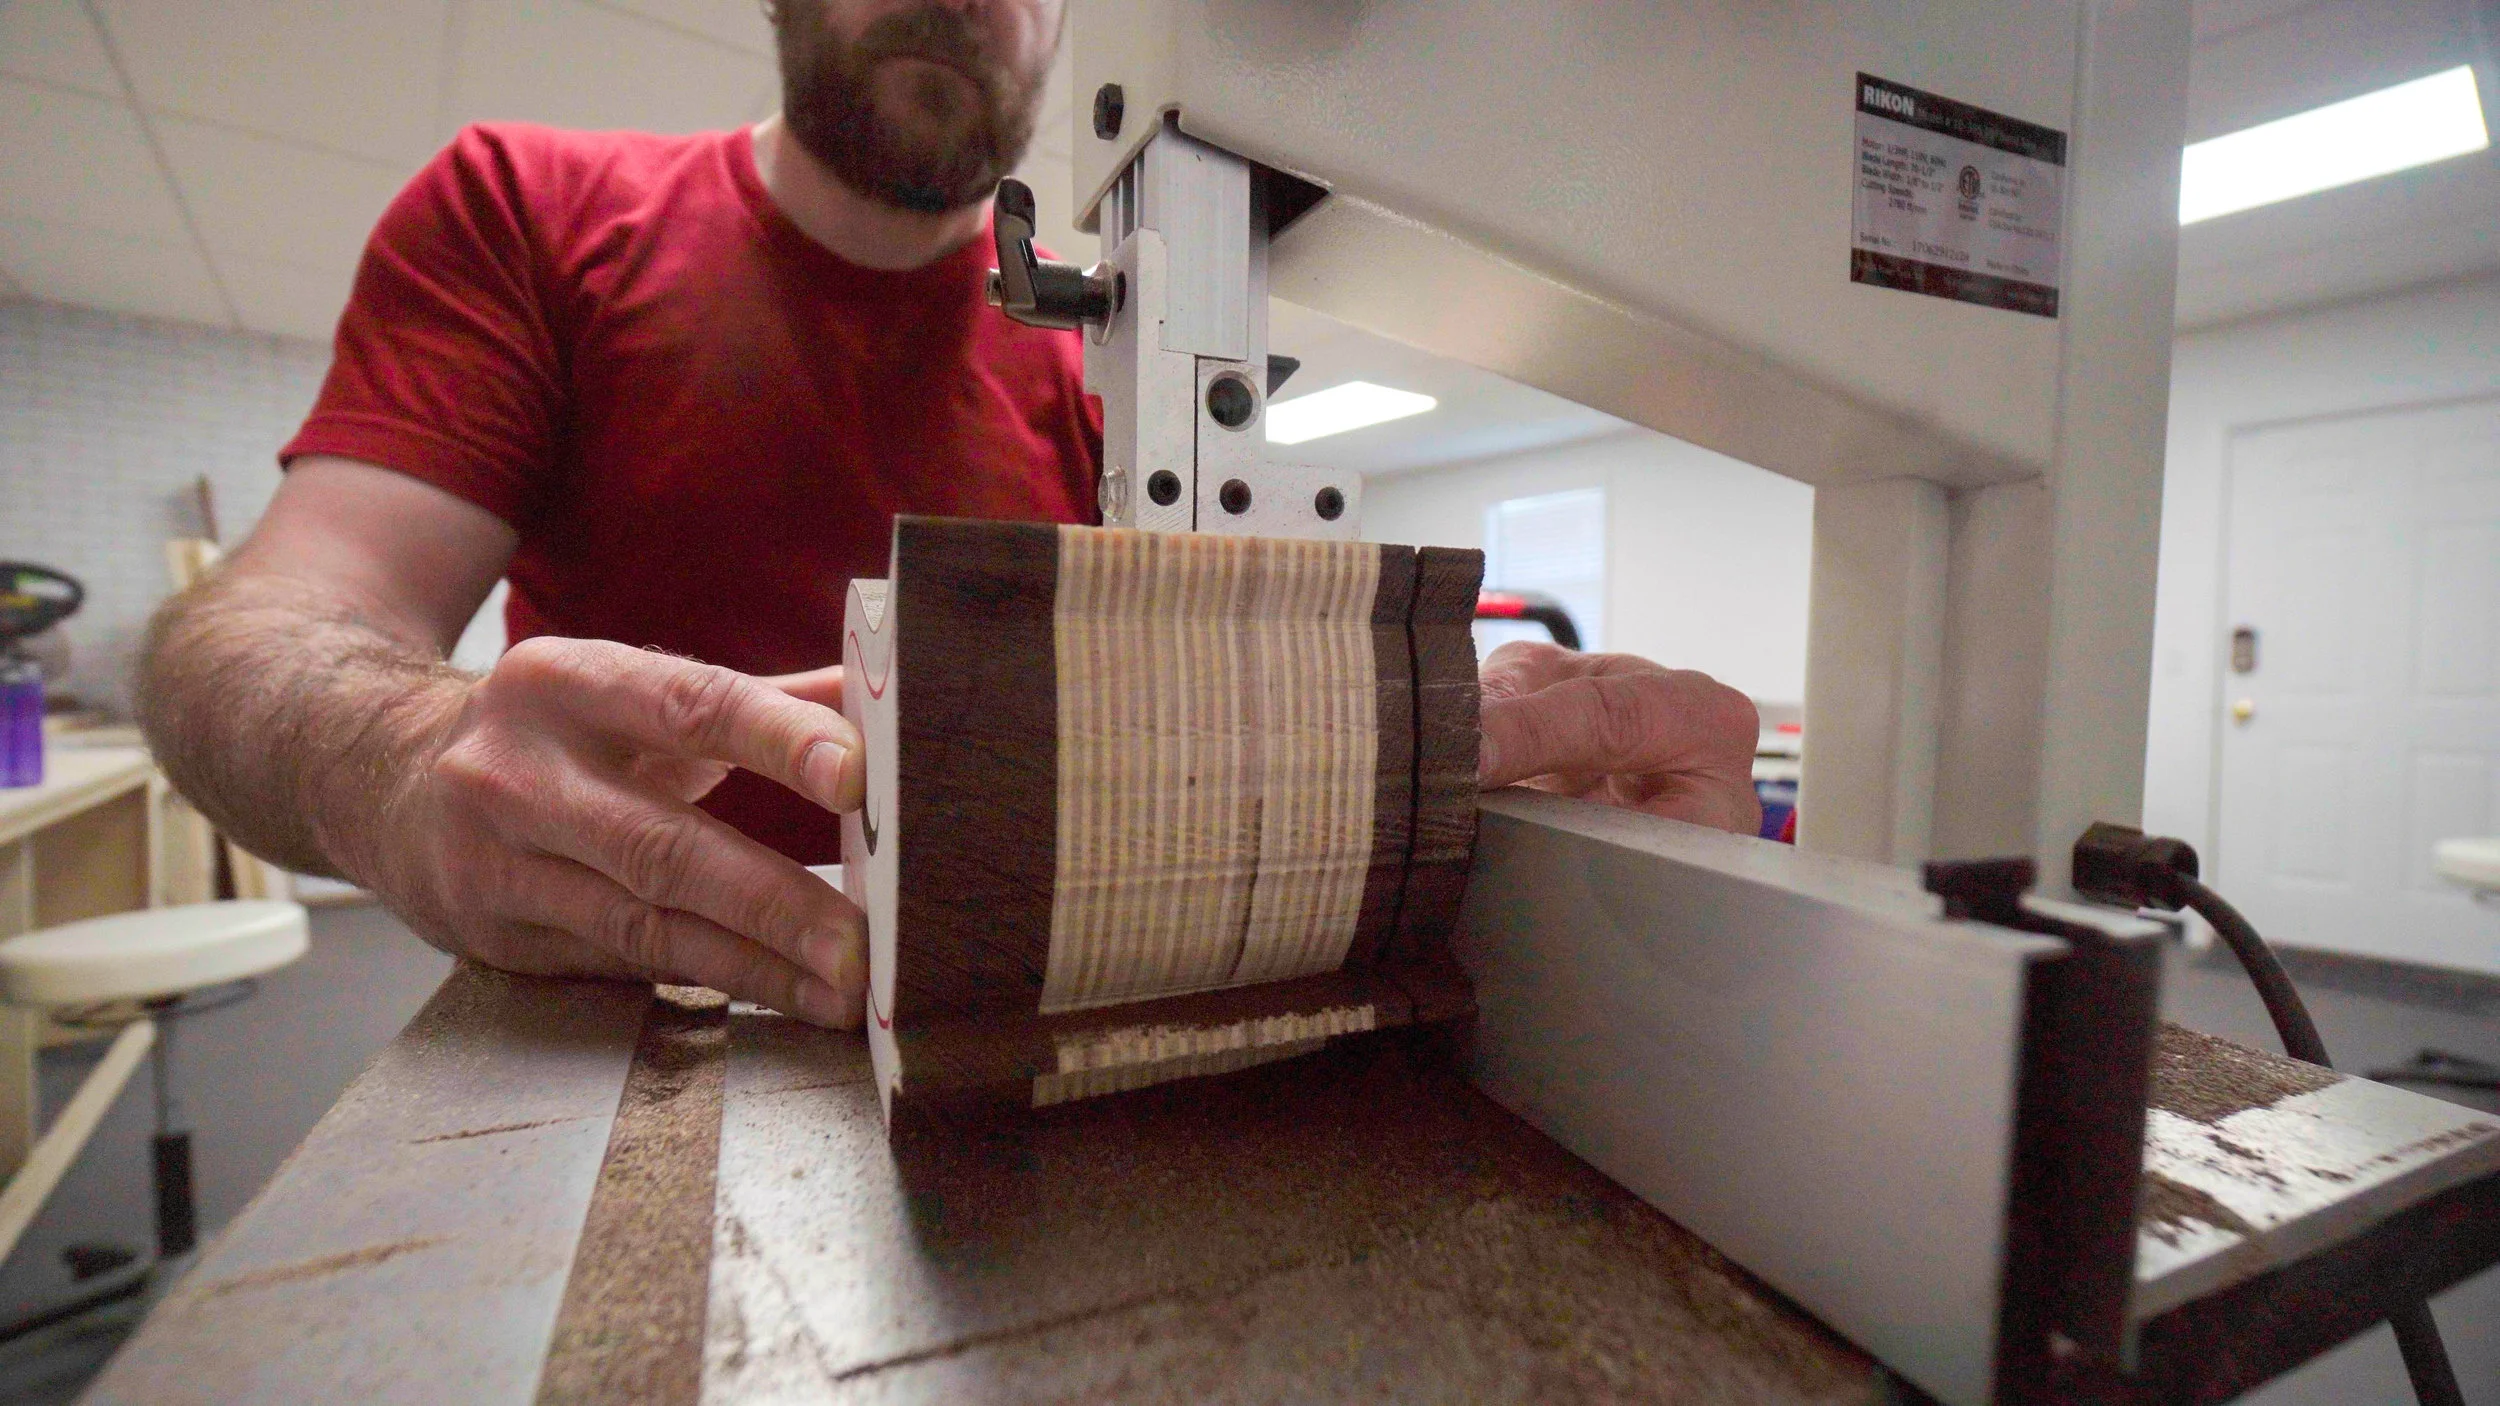
Step 5: Cutting the Bandsaw Box Back
Now you'll cut off the back using your bandsaw's fence set to about 1/2" from the blade. Again, take this cut very slow to allow the blade enough time to remove the waste.
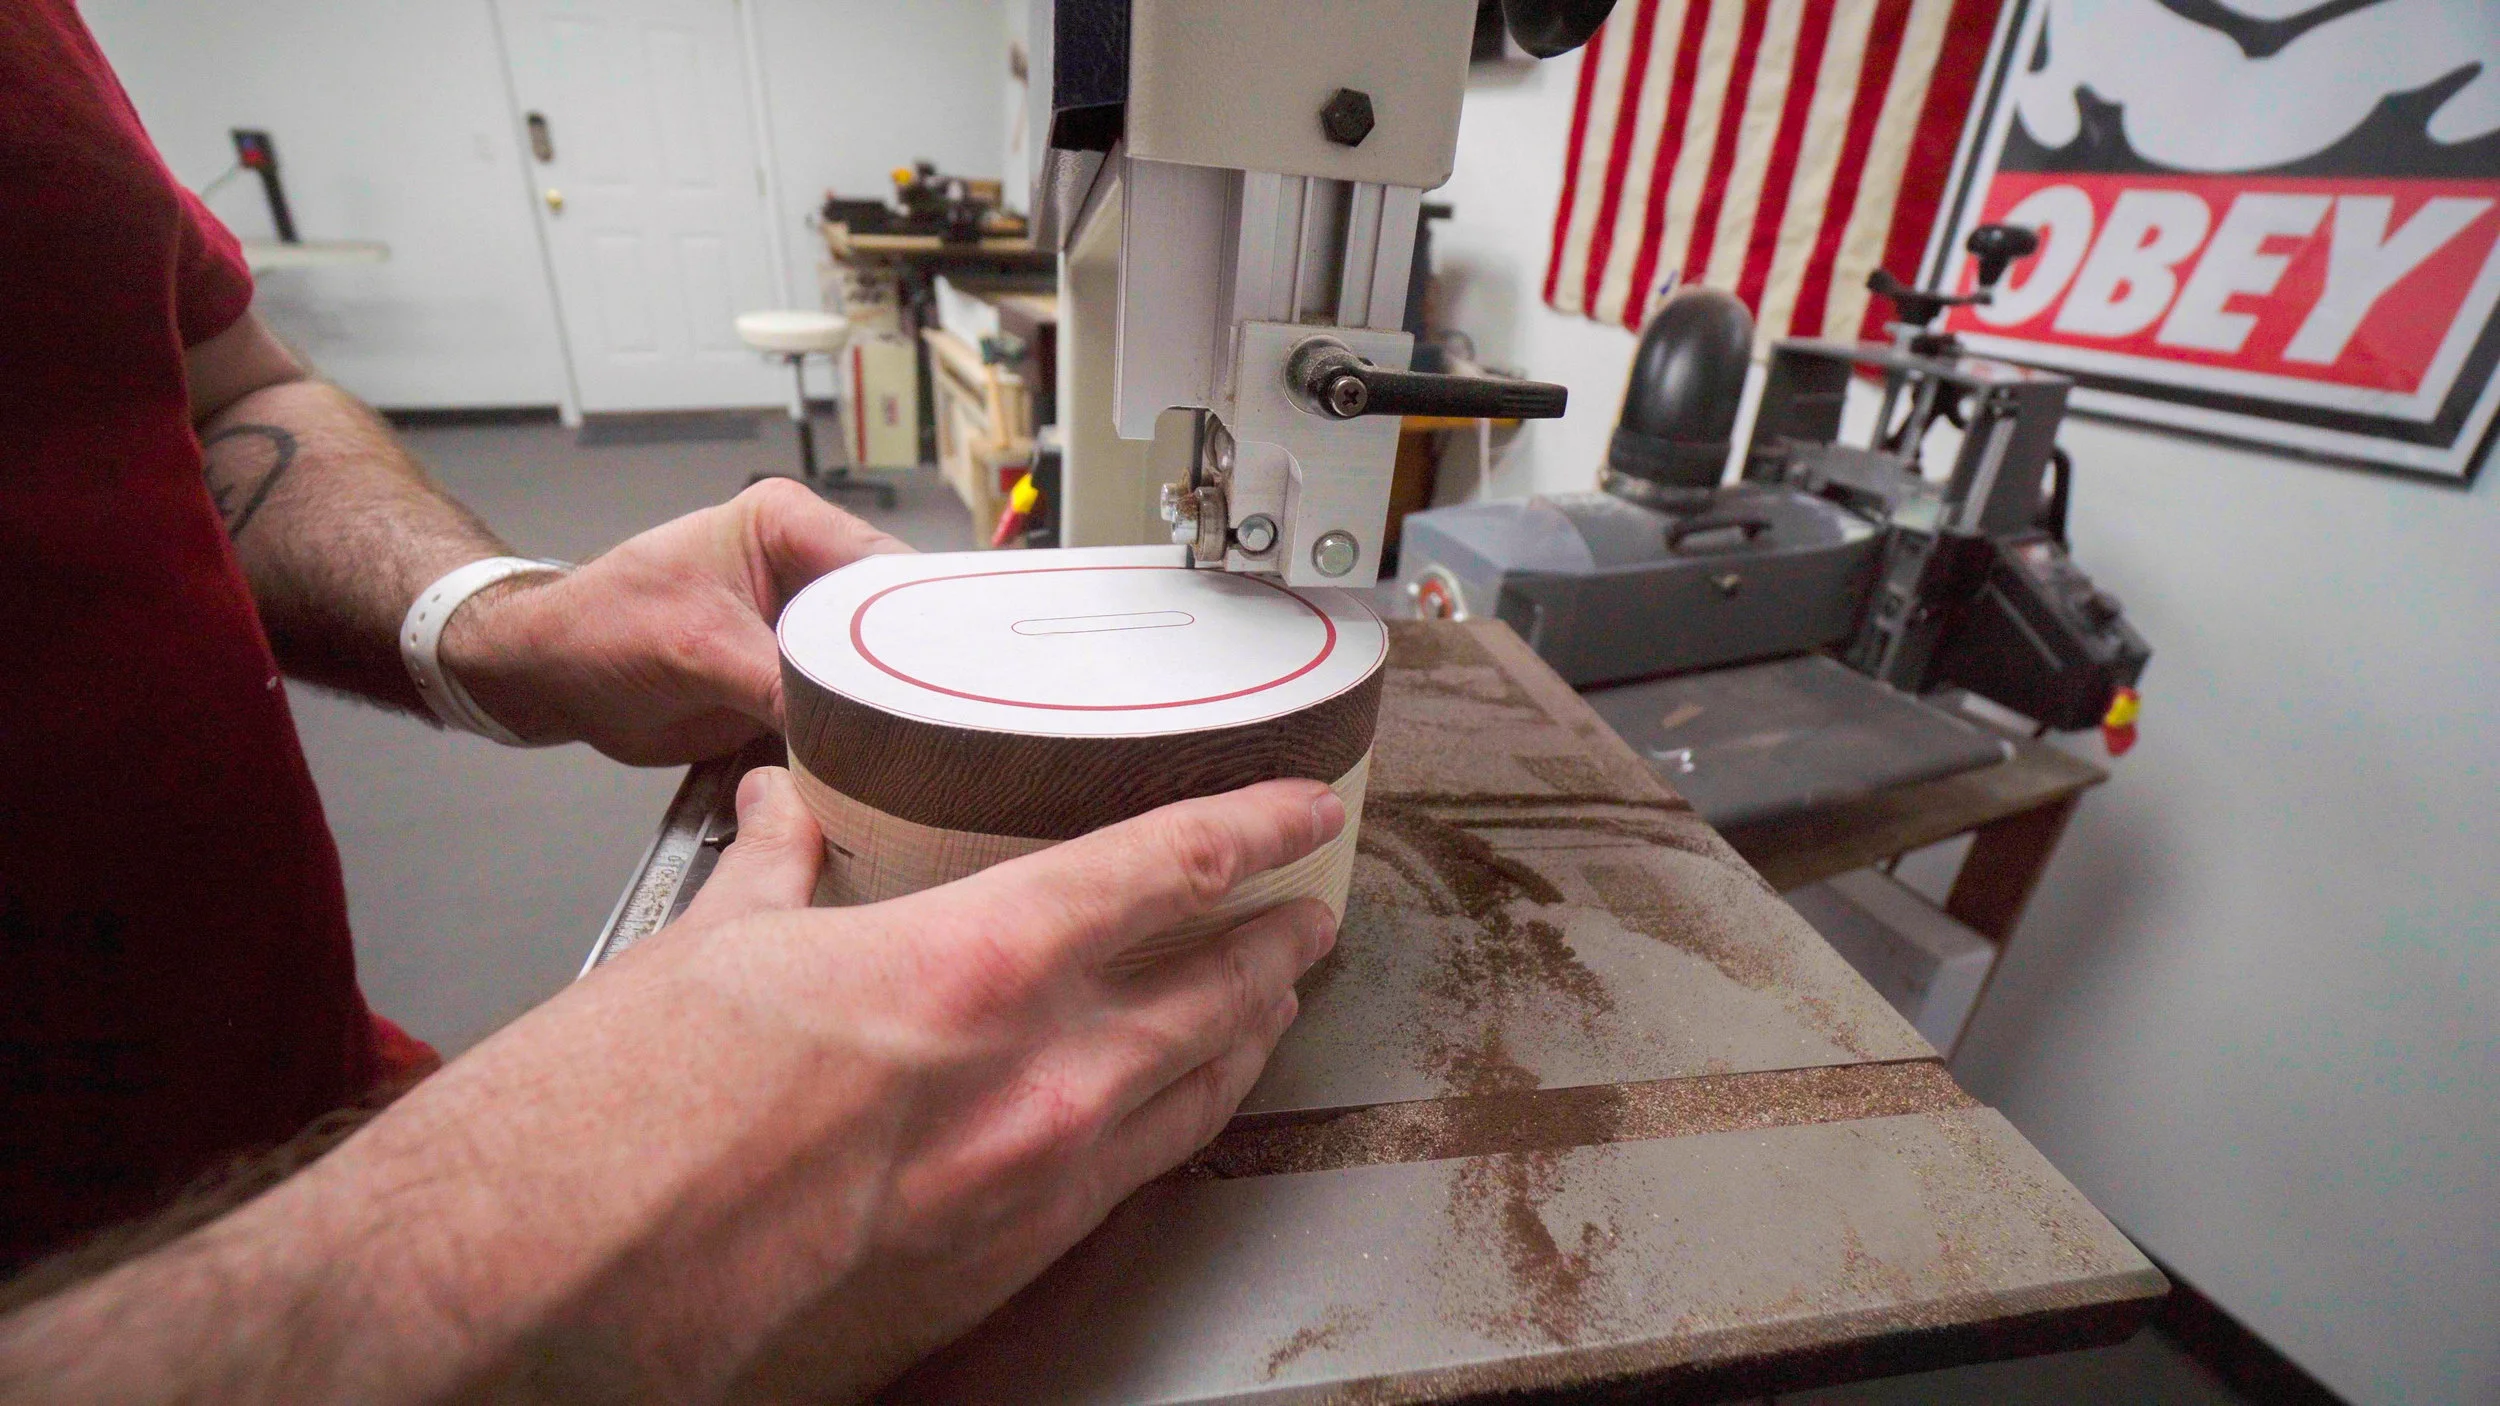
Step 6: Cutting the Bandsaw Box Drawer
Set aside the back that you just cut off and we'll now cut out the drawer from the shell. Enter from the side as indicated in the template. This time you'll cut right down the middle of the thick line. Do your best to split this line in two. Take your time and let the blade do the work.
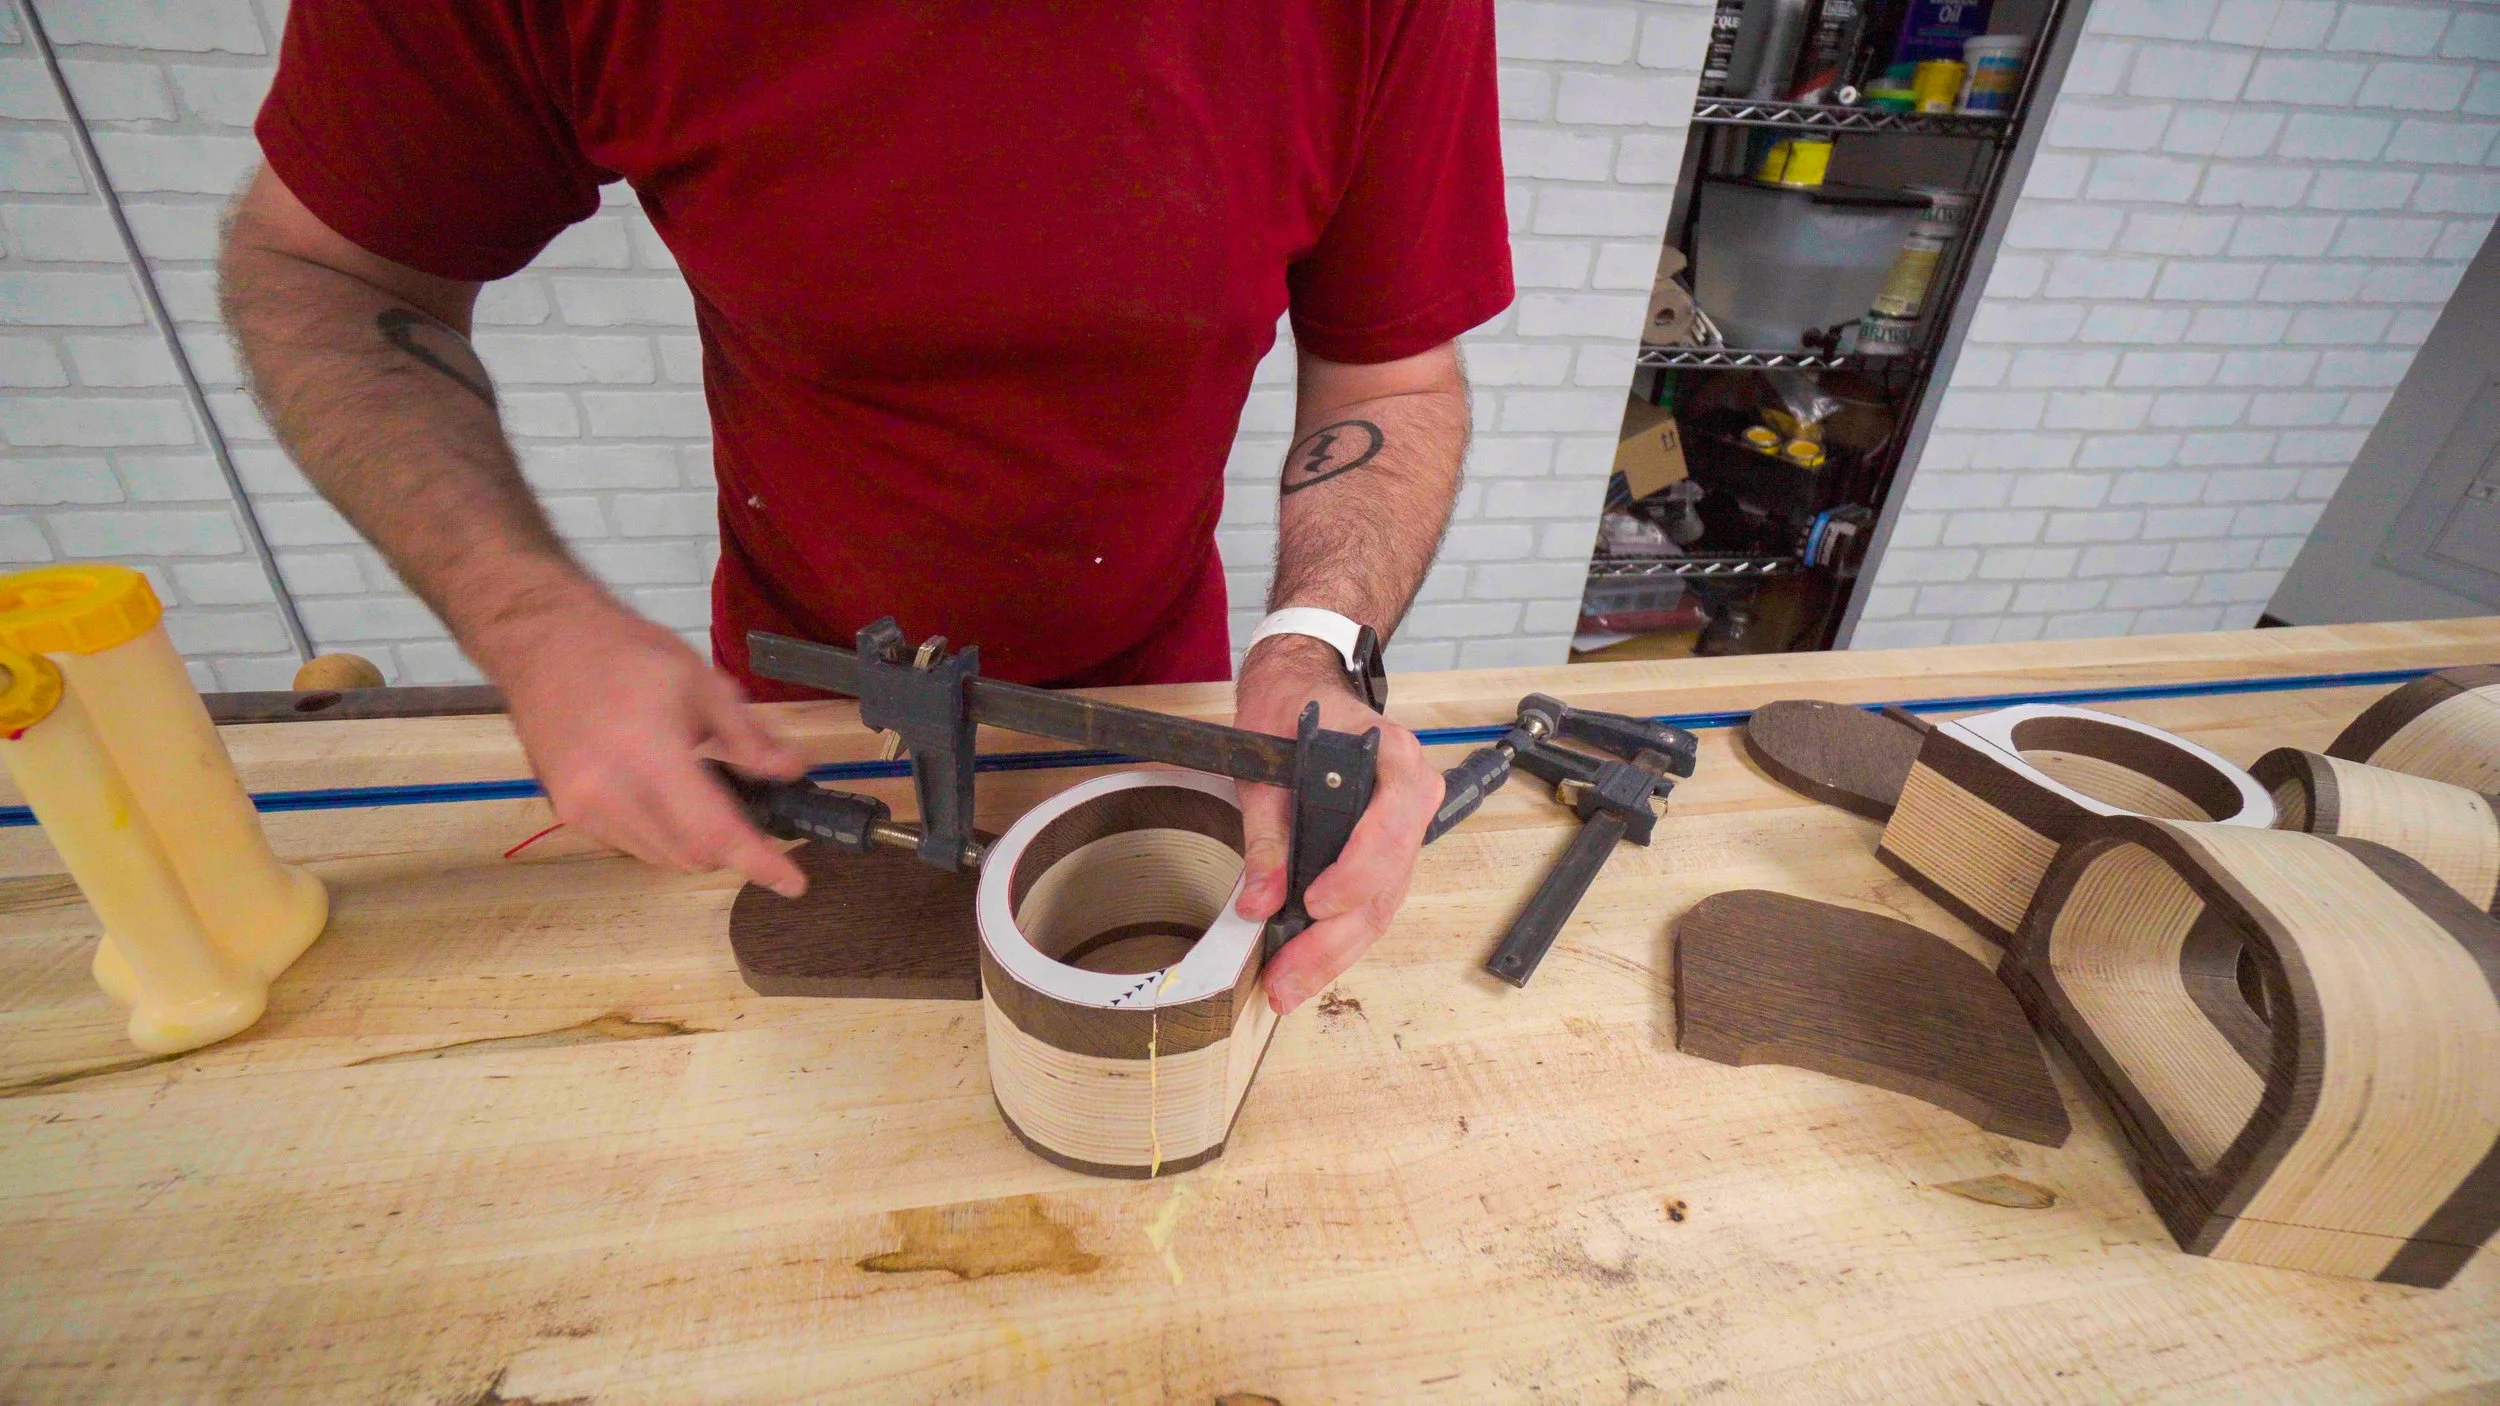
Step 7: Completing the Bandsaw Box Shell
With the drawer blank and shell back set aside, glue together the entrance cut with a couple of F-style clamps. Let this sit and dry for a couple of hours. Be sure to not remove the template just yet. Once the glue dries on the entrance cut you can glue on the back. Try to align the grain of the two pieces before tightening down the clamps. If properly aligned the seam will be invisible when dry. After the glued on the back is dry you can take off the clamps and sand the outside shape. This is easiest at the disc and spindle sanders. Sand down to the line. There's no need to sand inside the shell as we'll be covering that up with flocking. After this you can remove the papertemplates.
Step 8: Making the Bandsaw Box Drawer
Now take your drawer blank and cut the front face and back face off at the bandsaw. Set your bandsaw fence to about 1/2" from the blade and cut slow. Next you'll take that middle drawer piece and draw out the bottom and side walls. I like to use a black marker as it's easier to see the line. This wall should offset about 5/16". Then back at the bandsaw you'll cut this out. Like before, nice and slow and keep your fingers away from the blade!
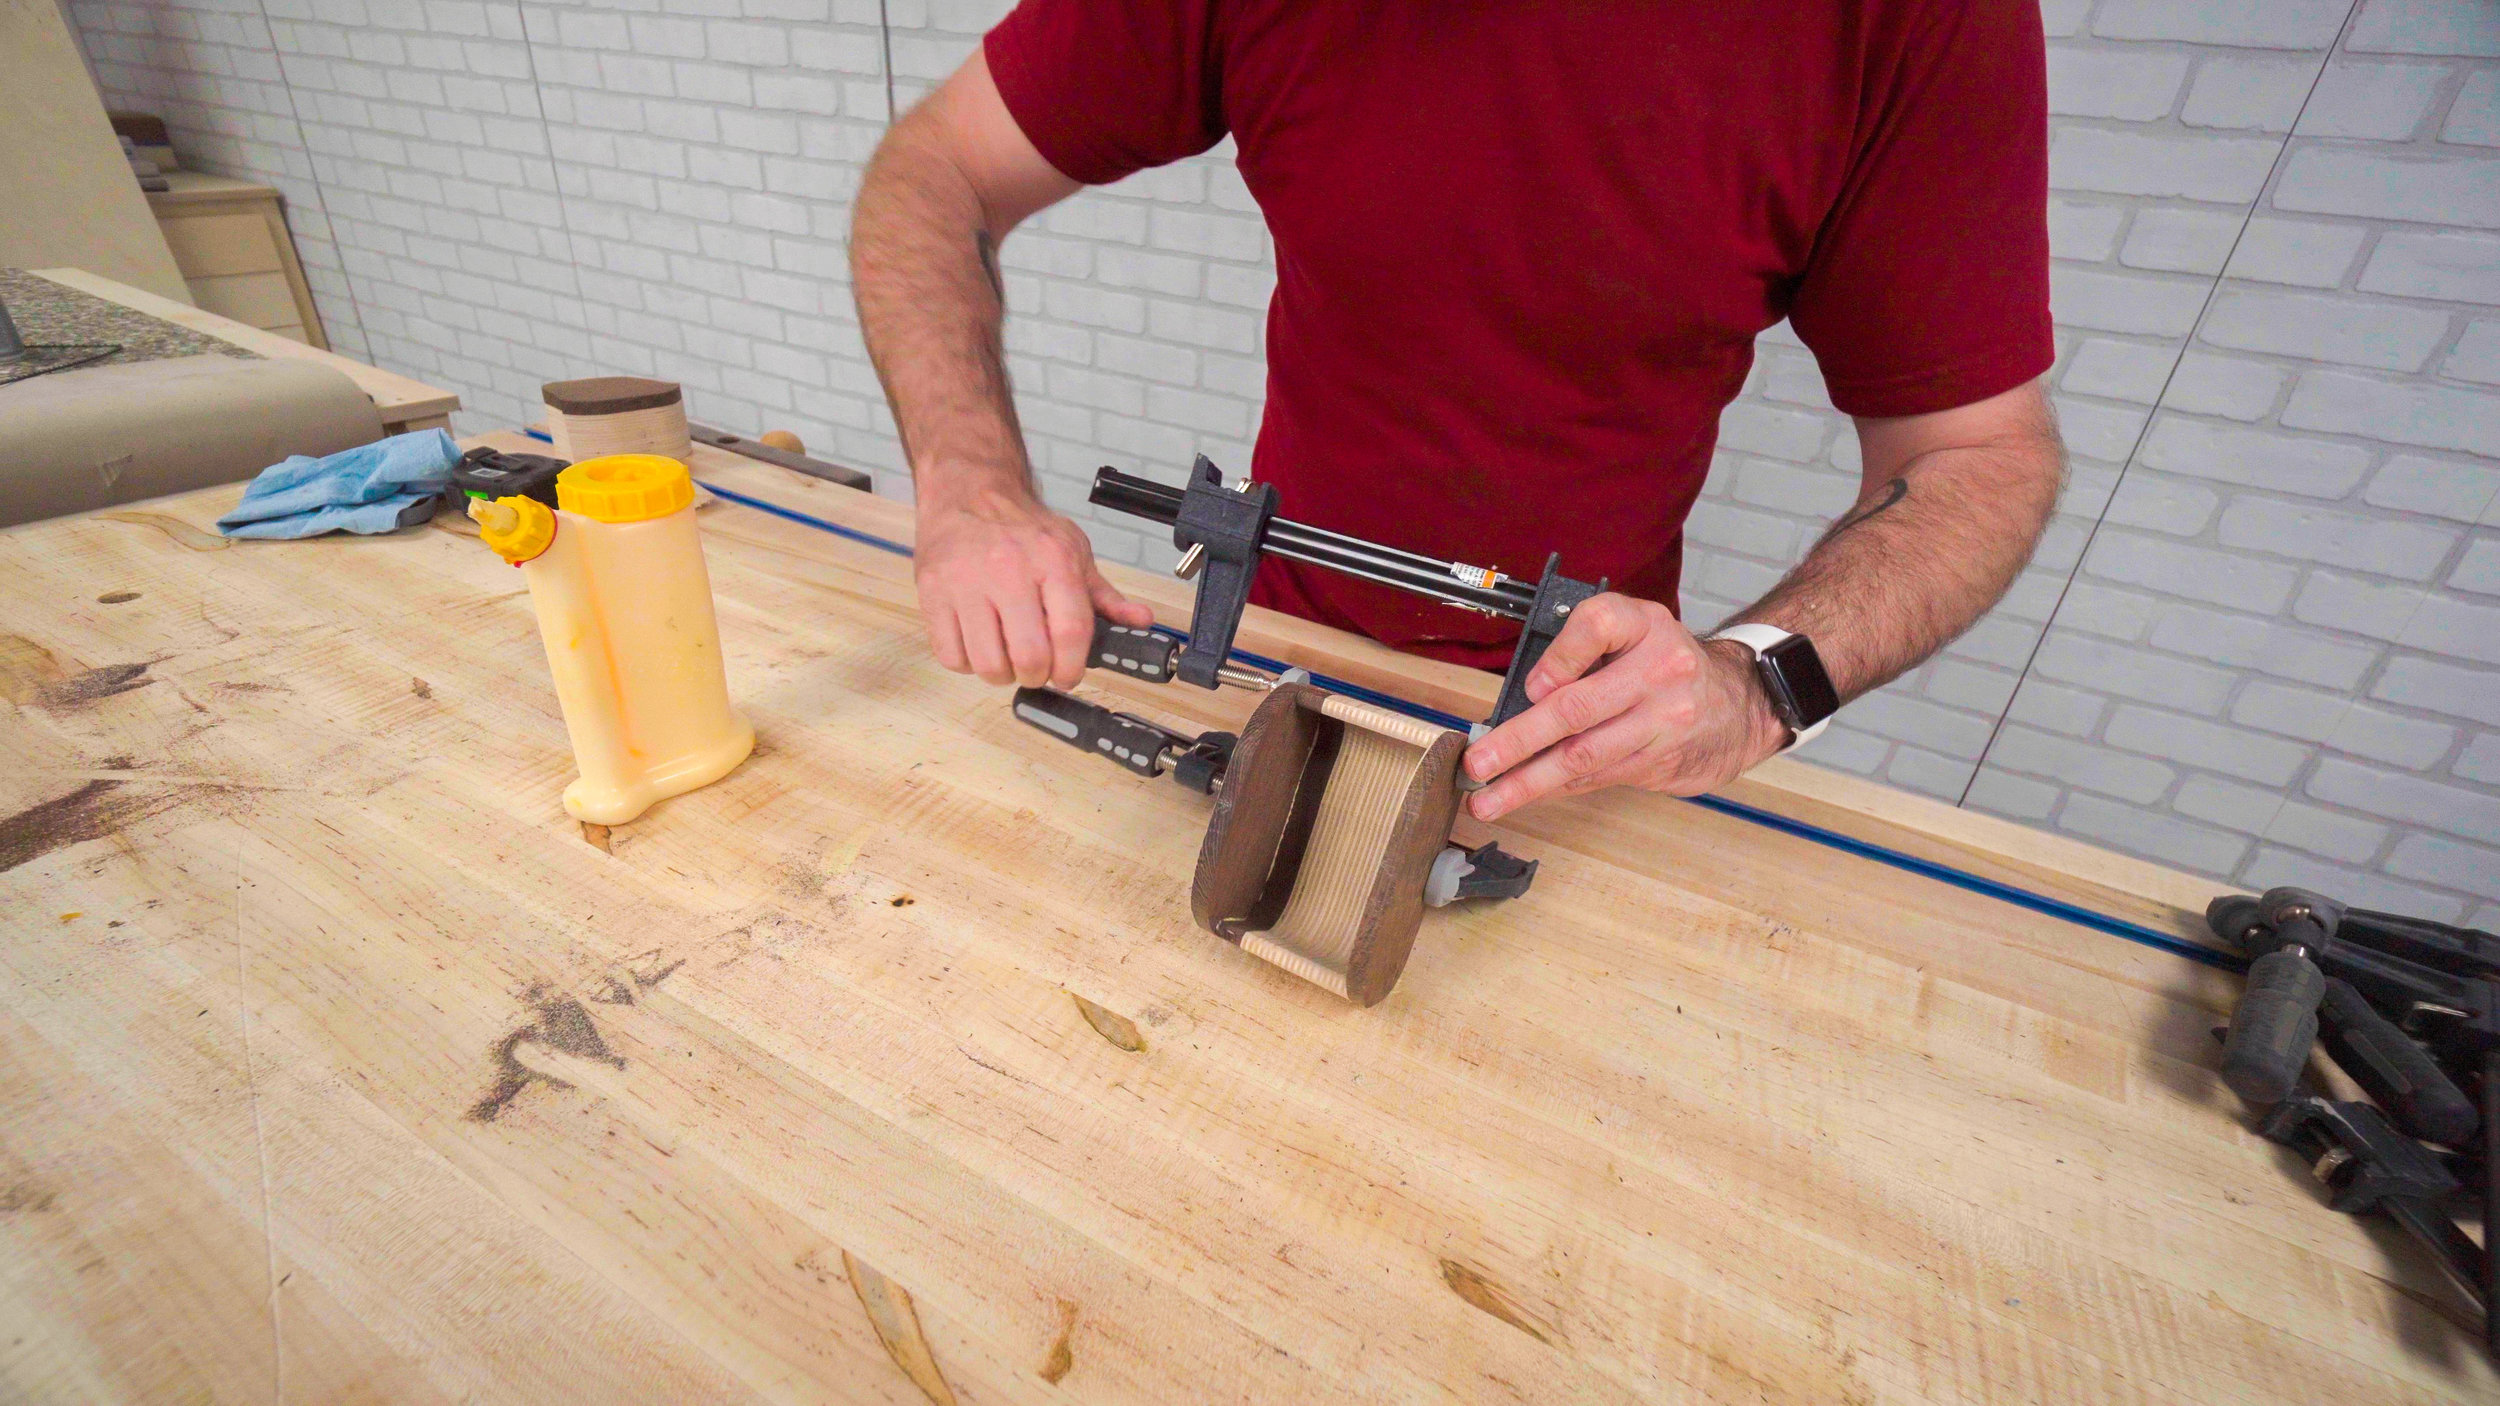
Step 9: Bandsaw Box Drawer Glue-up
You should now have three pieces to your drawer. Glue them up and clamp them with F-style clamps. Again be sure to align the grain to hide the seams. Once the glue dries you can then sand the drawer's outside shape. At this point there may not be template lines to follow so only sand off the bandsaw marks until smooth. Try to avoid sanding too much to maintain a tight fit into the shell.
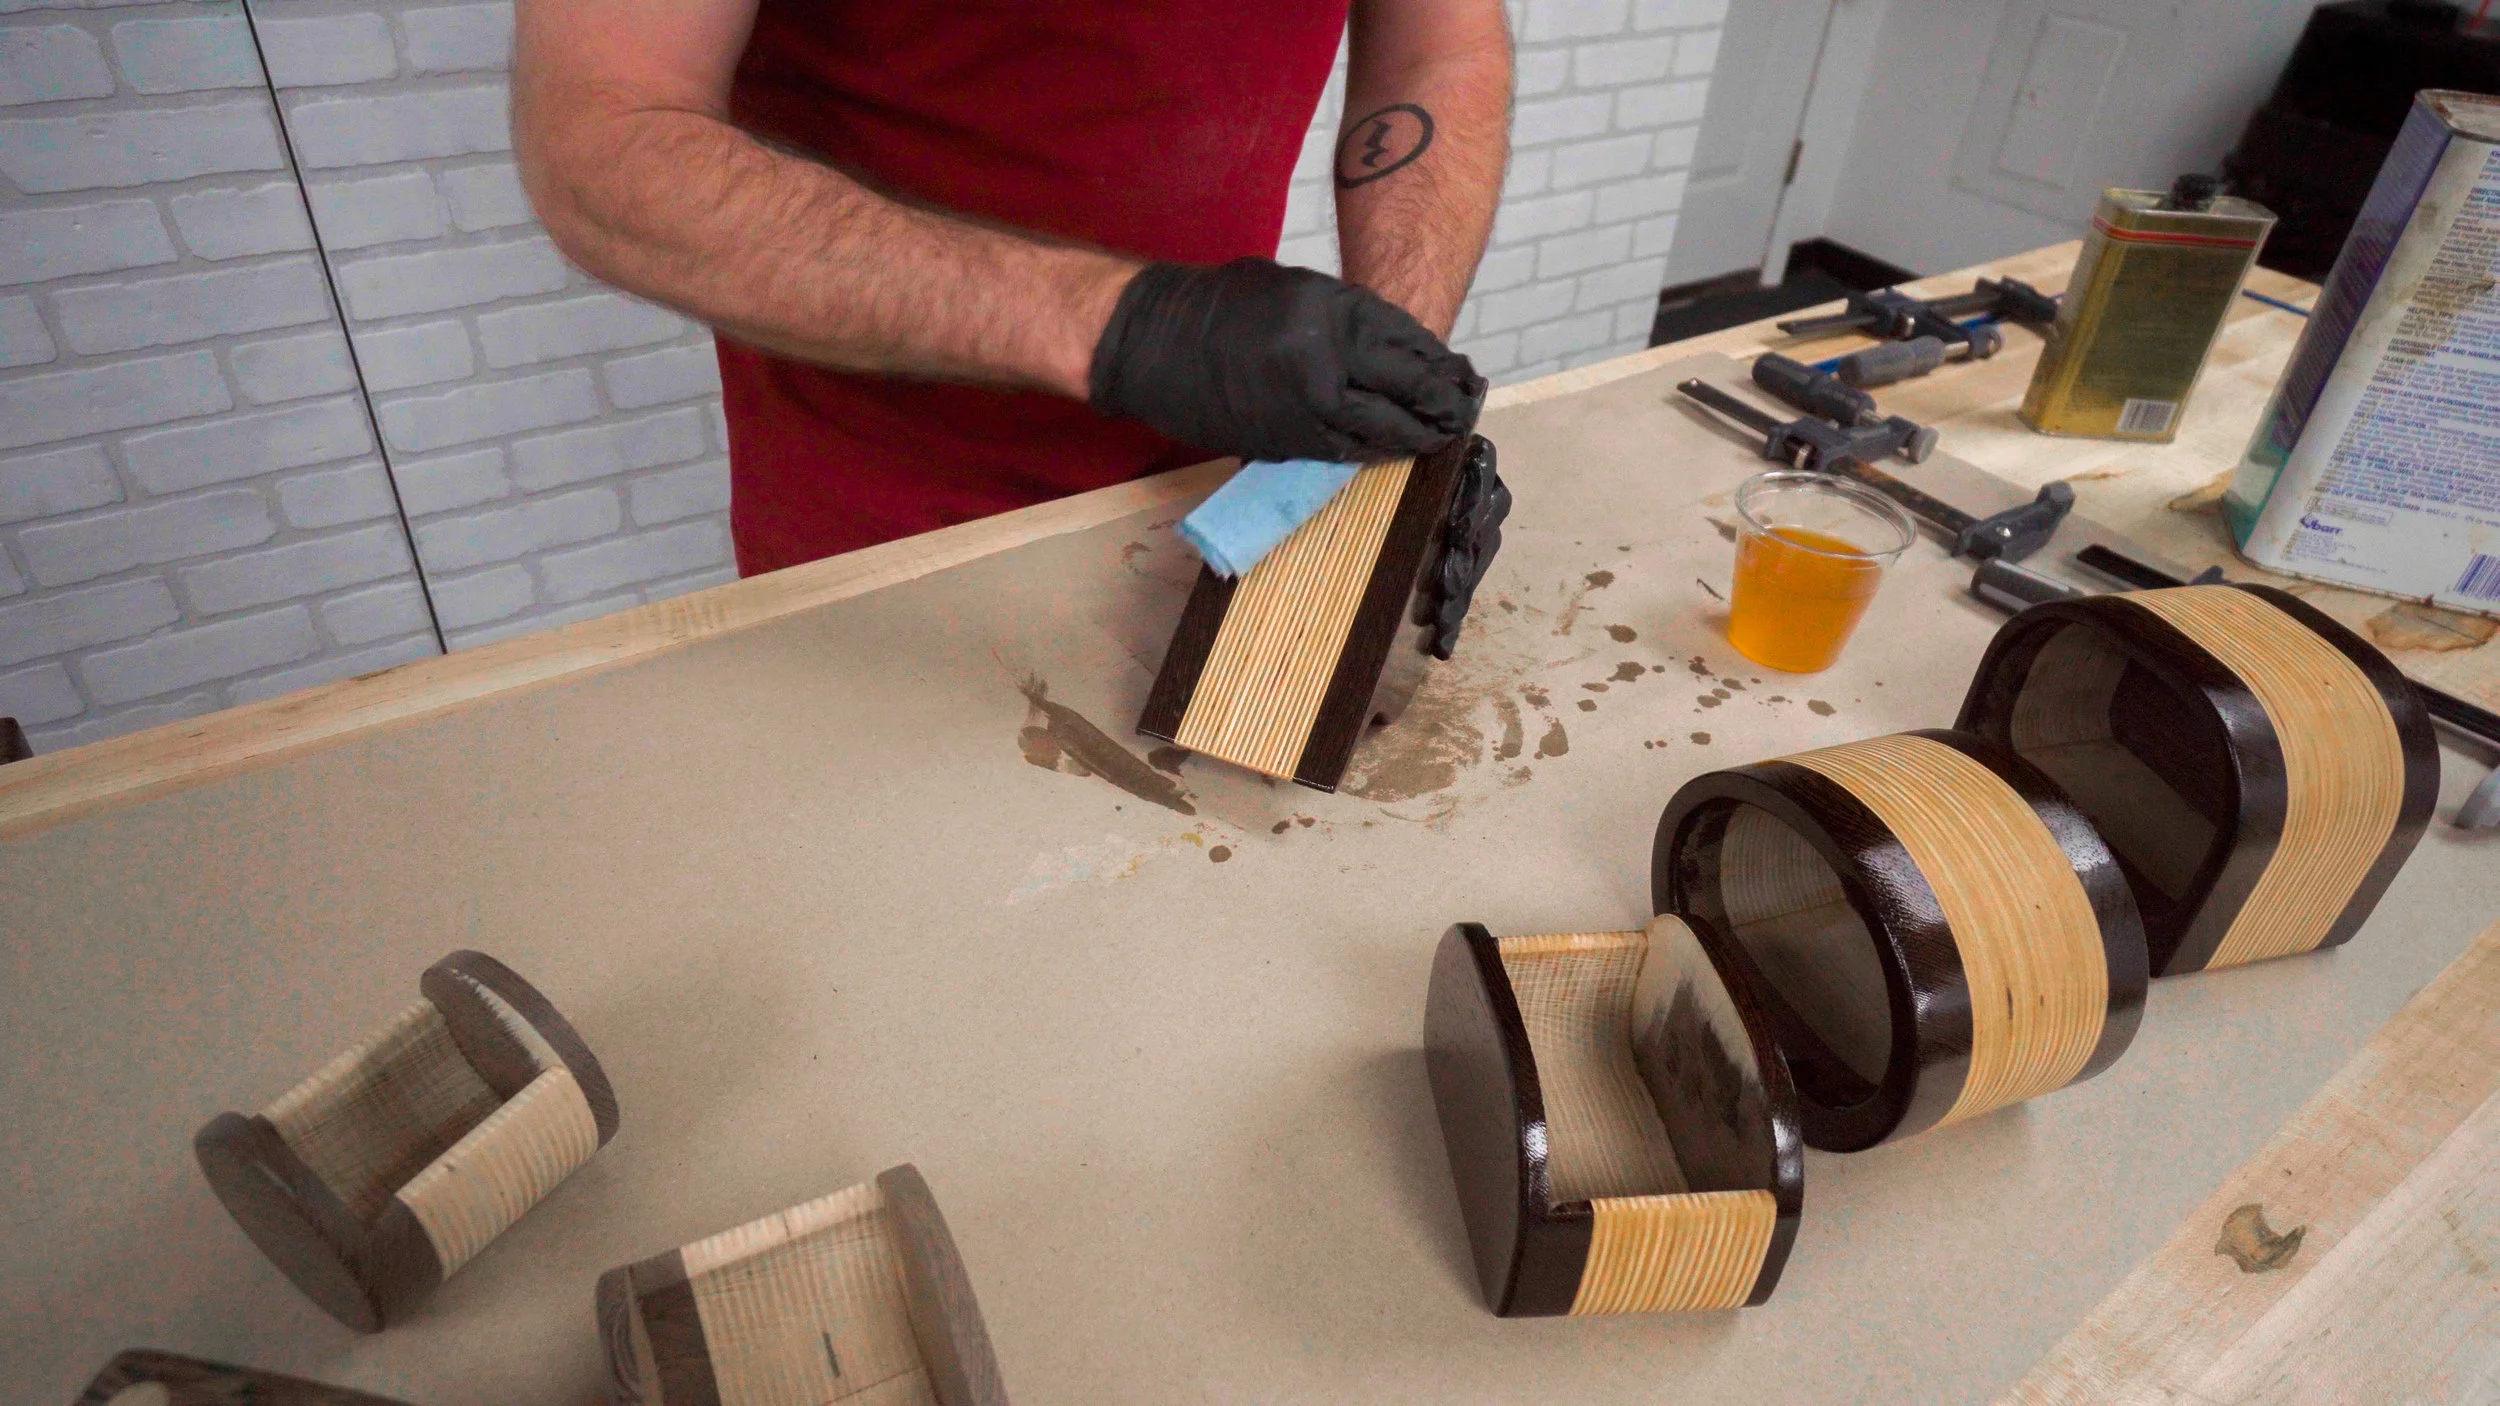
Step 10: Finishing Touches
For a finished look I like to round over the face of the drawer and all edges of the shell with a 1/8" round over bit. Sand the outside of the shell and the outside of the drawer and finish with a rub-on oil. Flock the inside of the drawer and shell and add a pull.


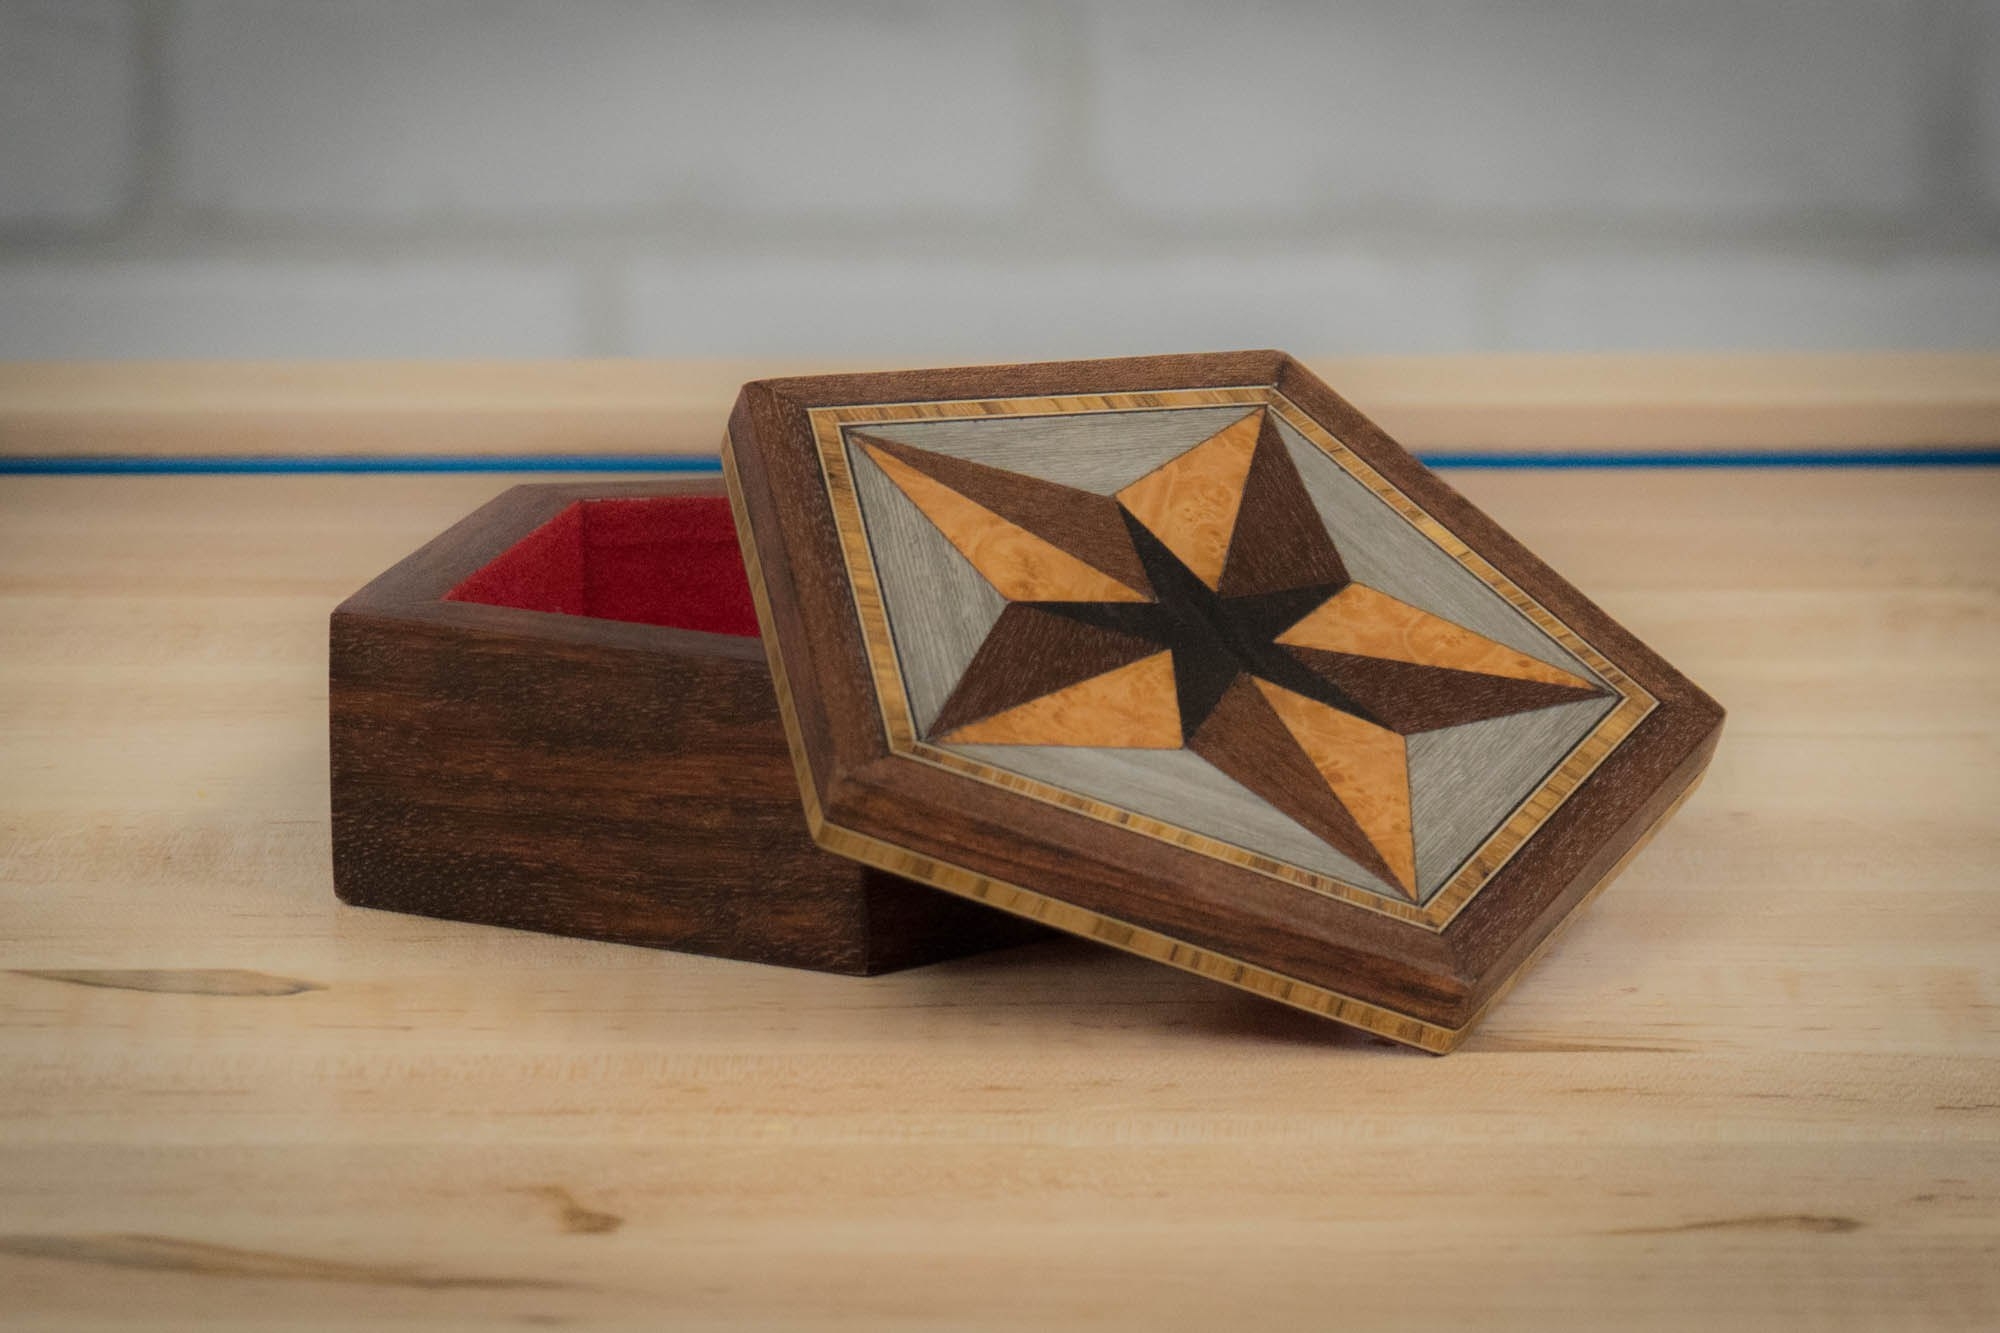
Making a Wood Box with Veneer, Inlay and Marquetry
How to make an inlay box using old fashioned marquetry techniques combined with some modern tools.
A different approach to the wooden box, including surprisingly easy techniques for inlay and marquetry.
This tutorial shows you how to create a pentagon-shaped wooden box by stacking 1/4-inch shapes rather than building solid walls. In addition, I demonstrate my process for creating veneer, inlay and marquetry.
I’m trying very hard not to make a clichéd “think outside the box” pun here, but we really are looking differently at the process of making a classic pentagon-shaped wooden box. With a traditional box, we’re assembling the sides out of whole wood. Here, though, we’re building from the ground up. It’s an interesting way to think about how all the pieces come together to make a whole, which is a big part of the creative woodworking process.
Along the way, I’ll be showing you my approach to creating inlays, veneers and marquetry. It’s a step-by-step tutorial that demonstrates how these very cool features can be done relatively easily. Plus, I’m providing another look at how flocking can make a huge difference in the overall look and feel of the piece.
Don’t let all the super-hot laser cutter action throw you — most of the techniques I’m showing you in this how-to tutorial can be easily replicated using a table saw or even an X-Acto knife. The goal here for you to see the process up close and hopefully pick up a few tricks you can use as you do it yourself.
Tools and Supplies Used in this Project


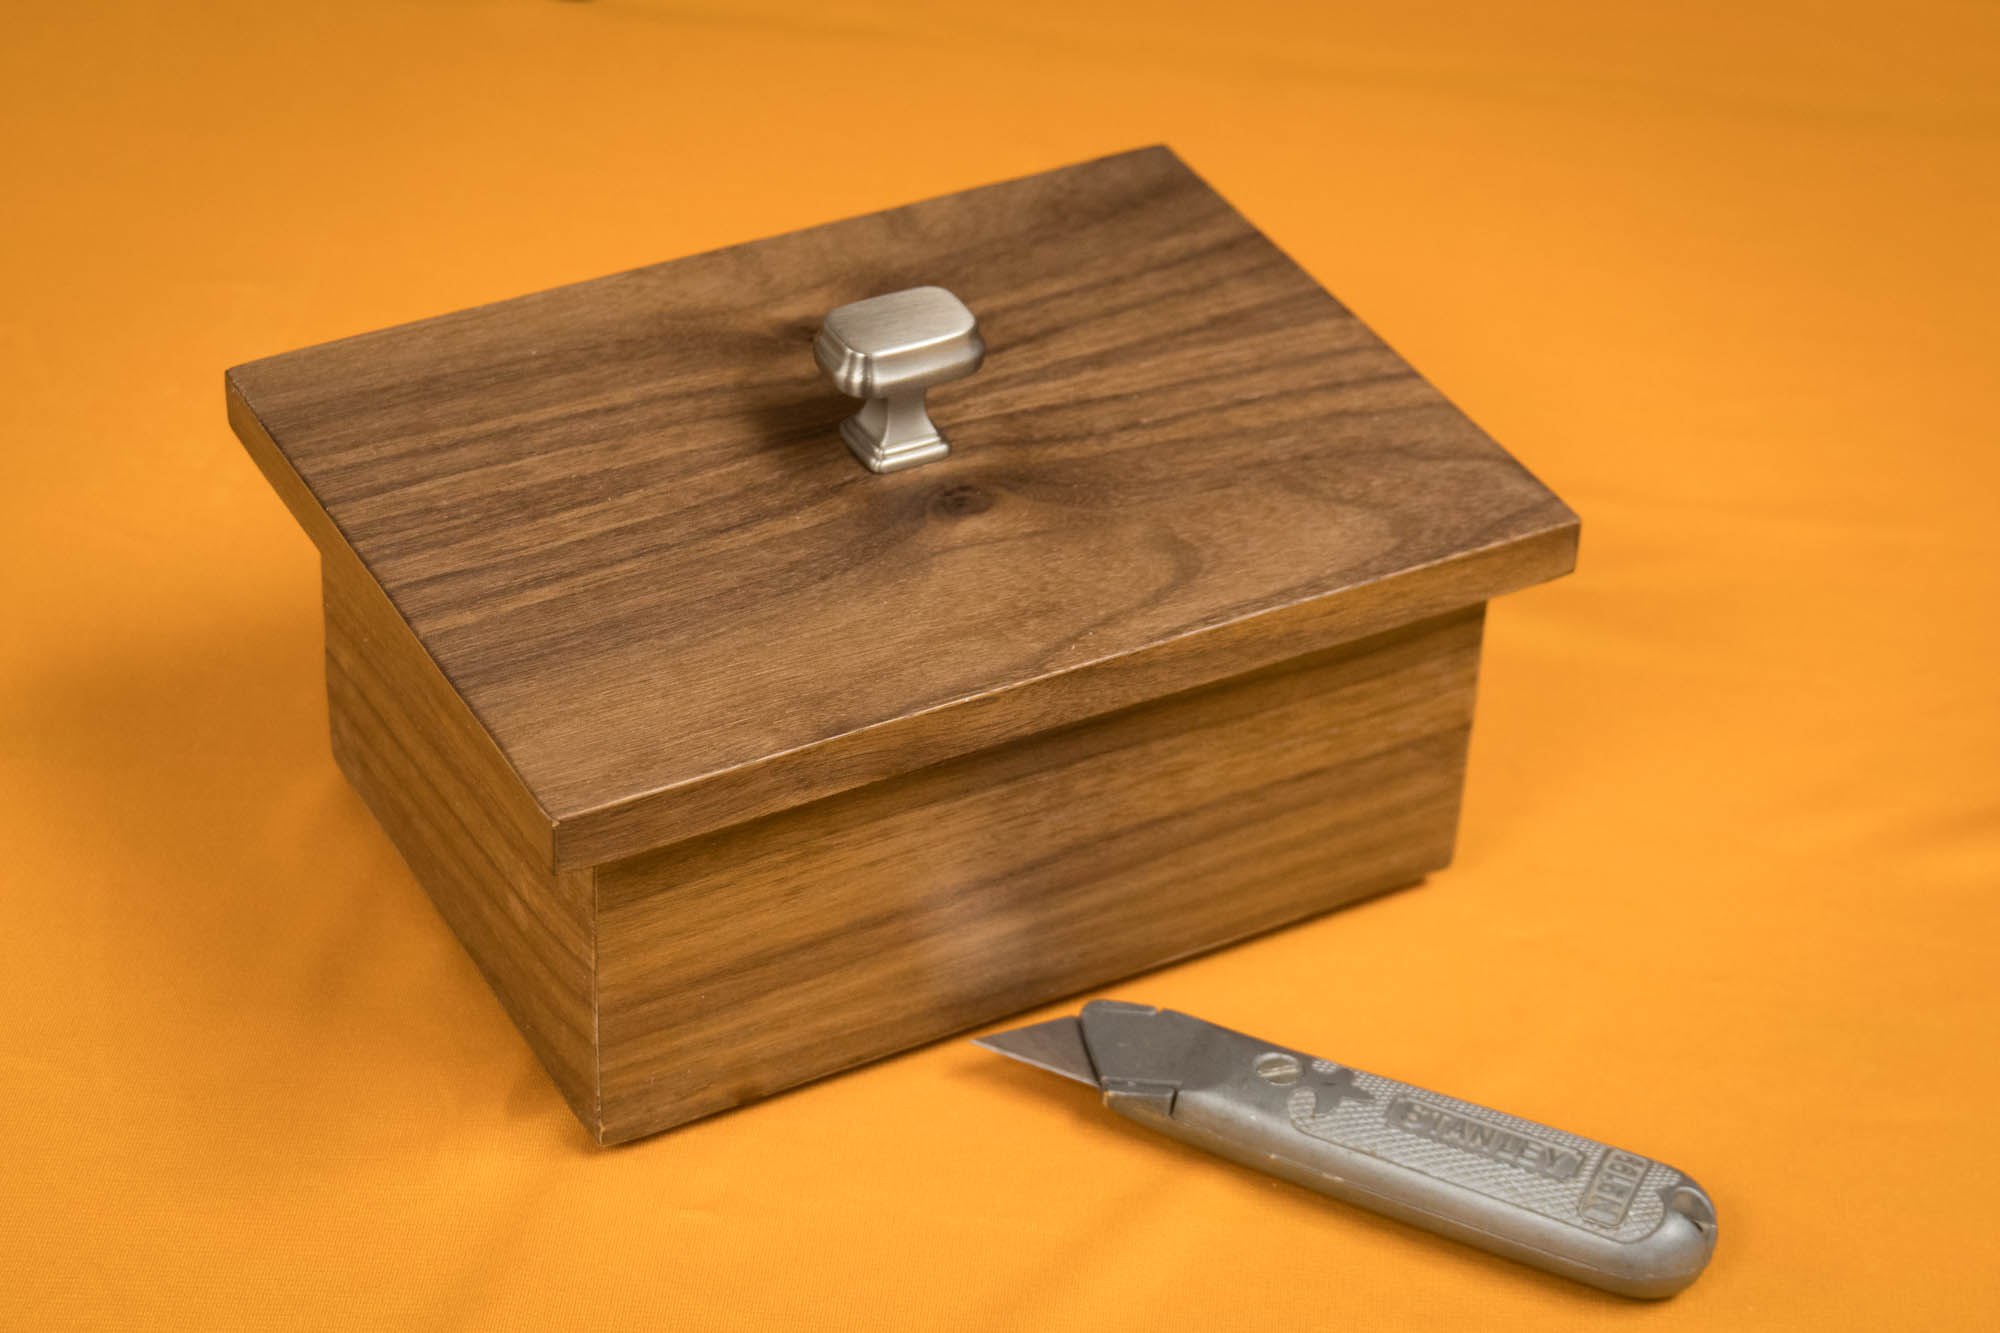
Walnut Box Made with Utility Knife
Create a 100% functional box from foam and veneer, using nothing more than a utility knife and a little ingenuity
Create a 100% functional box from foam and veneer, using nothing more than a utility knife and a little ingenuity
Tools and Supplies Used in this Woodworking Project
I’m not going to lie — I love having all these tools around here, and I’ll bet you feel the same way about the tools in your shop. But sometimes the key to developing your creativity is figuring out how to do more with less. In this tutorial, we going to make something using just one tool.
Armed with only a utility knife, I’m creating a simple box out of foam, veneer and glue, and I think you’ll find it comes together very well. And by limiting the resources available to me, I’ve forced myself to think outside the box (see what I did there?), using just my imagination and a rudimentary understanding of geometry.
Don’t freak out, though, people — I’m not going to start building everything out of foam and veneer. We’ll be getting back into straight-ahead woodworking before you know it. But this was an exercise in challenging myself, and I hope it inspires you to challenge yourself as well.


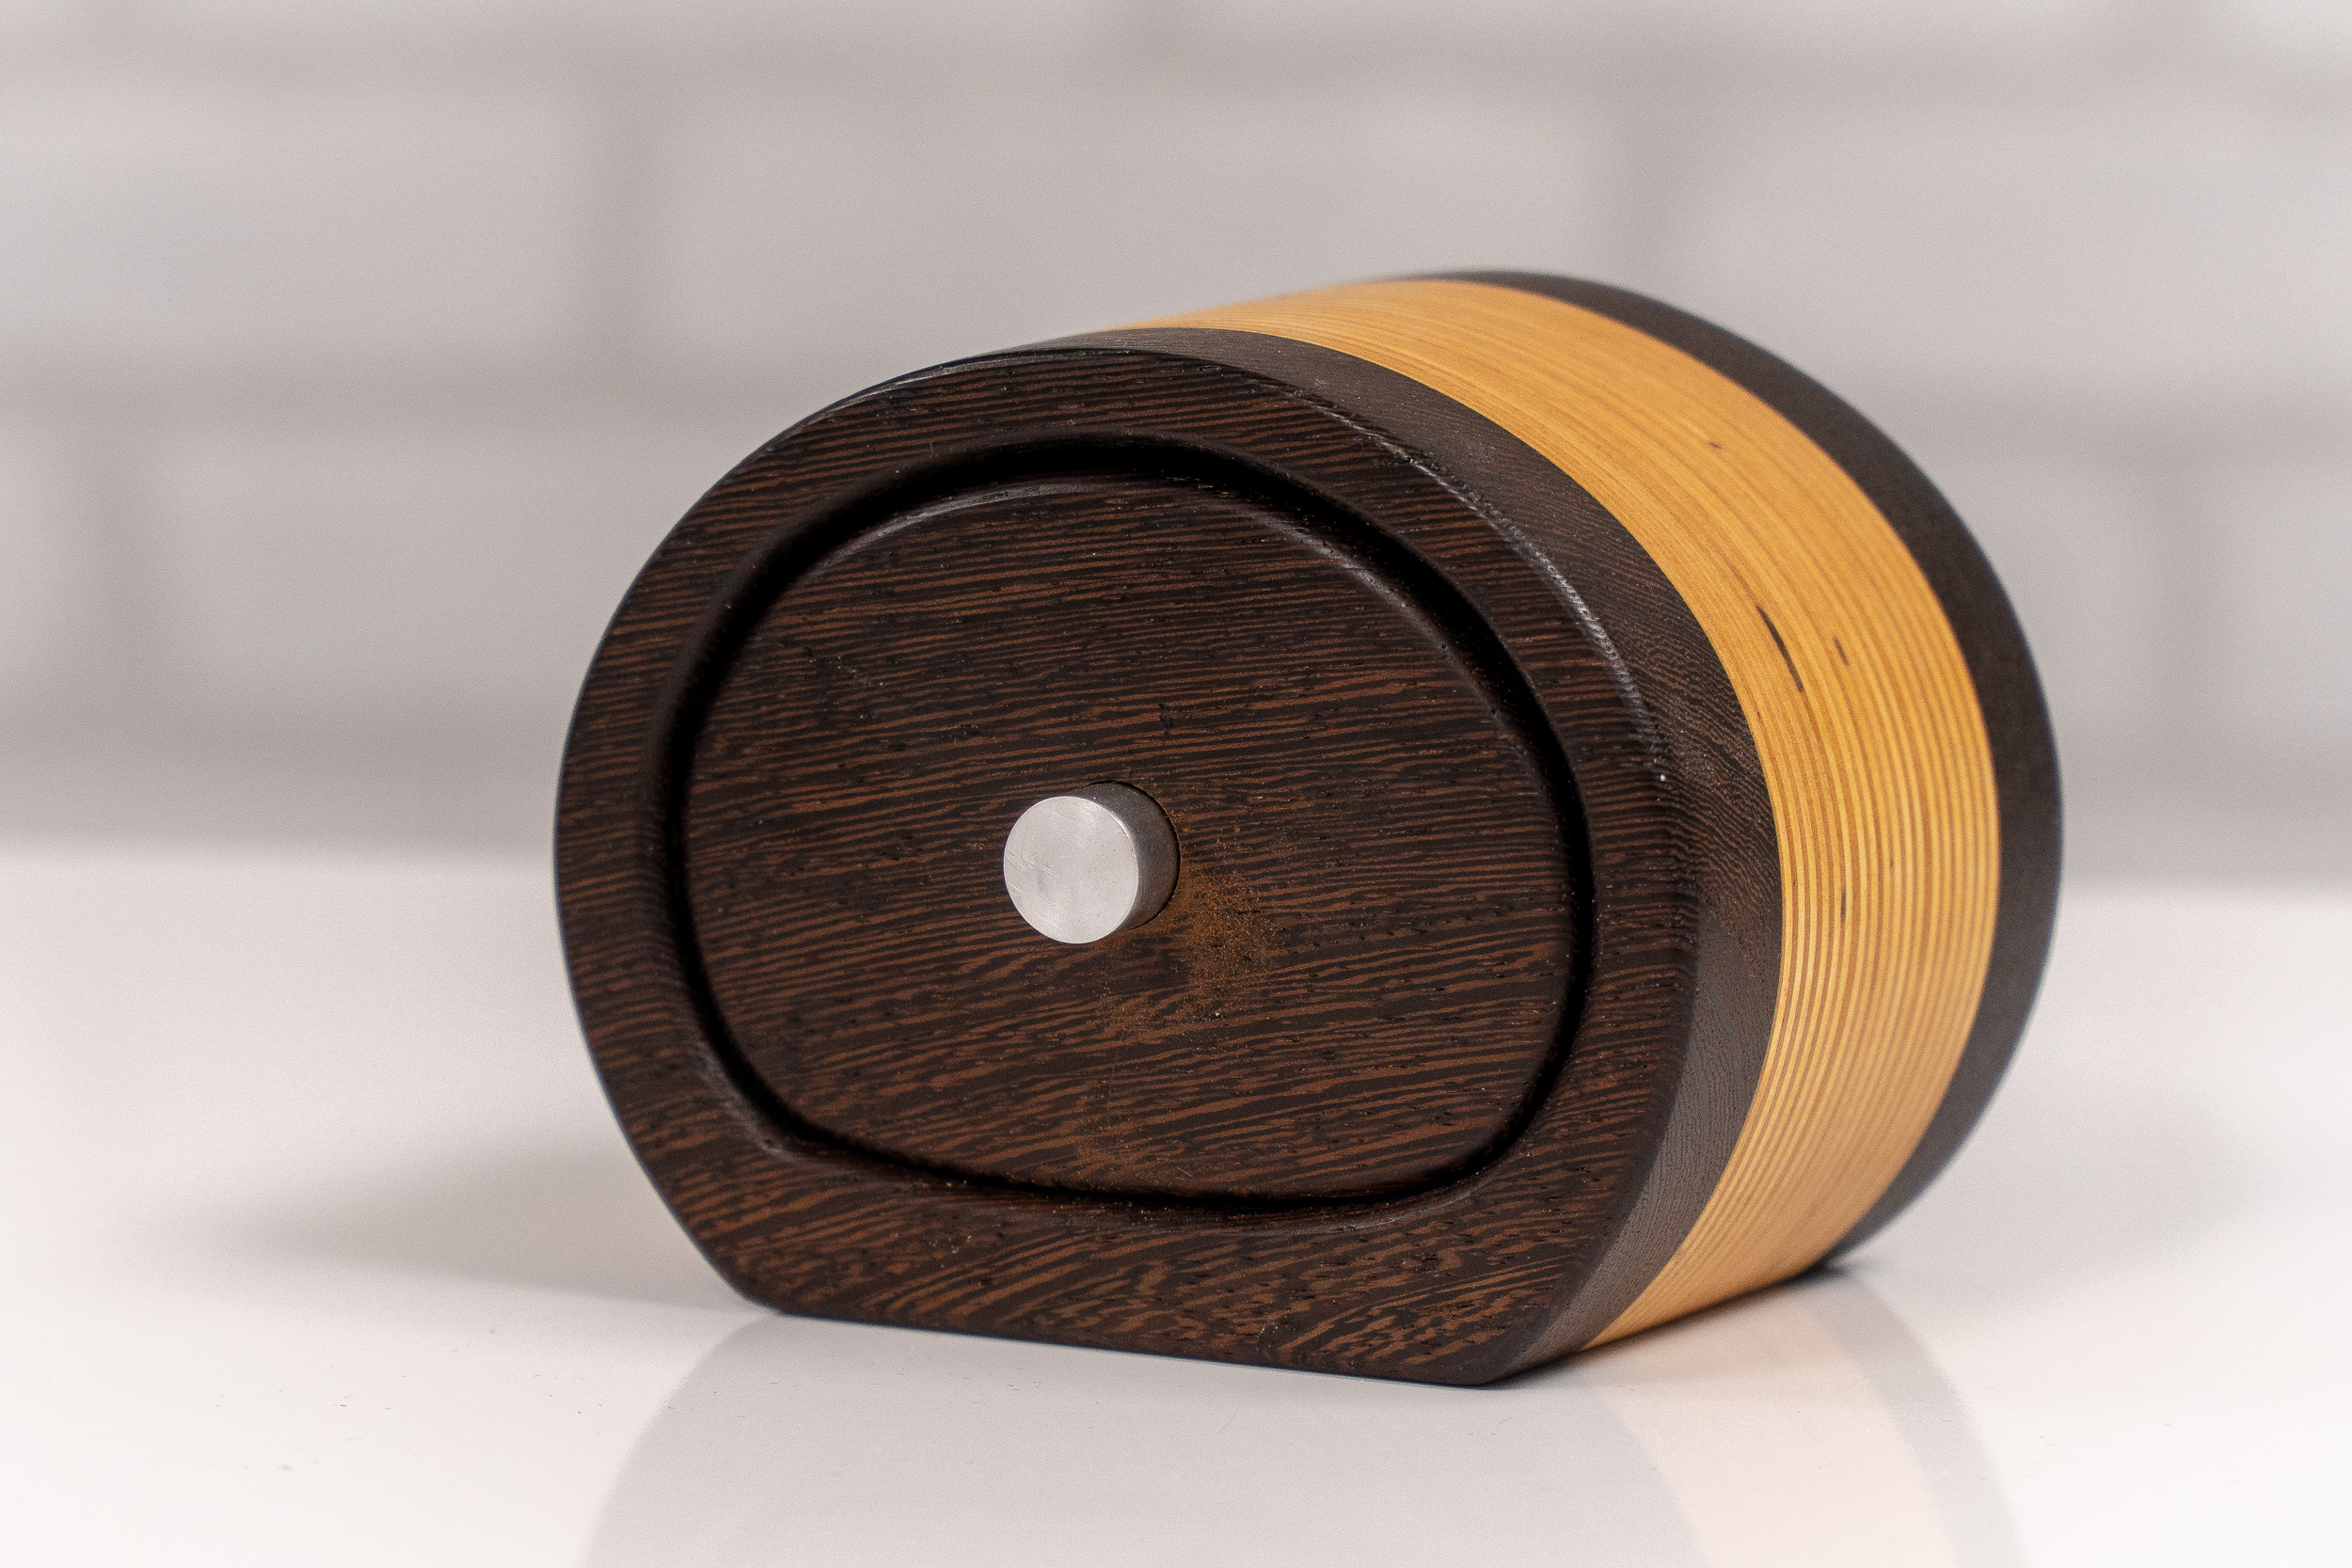
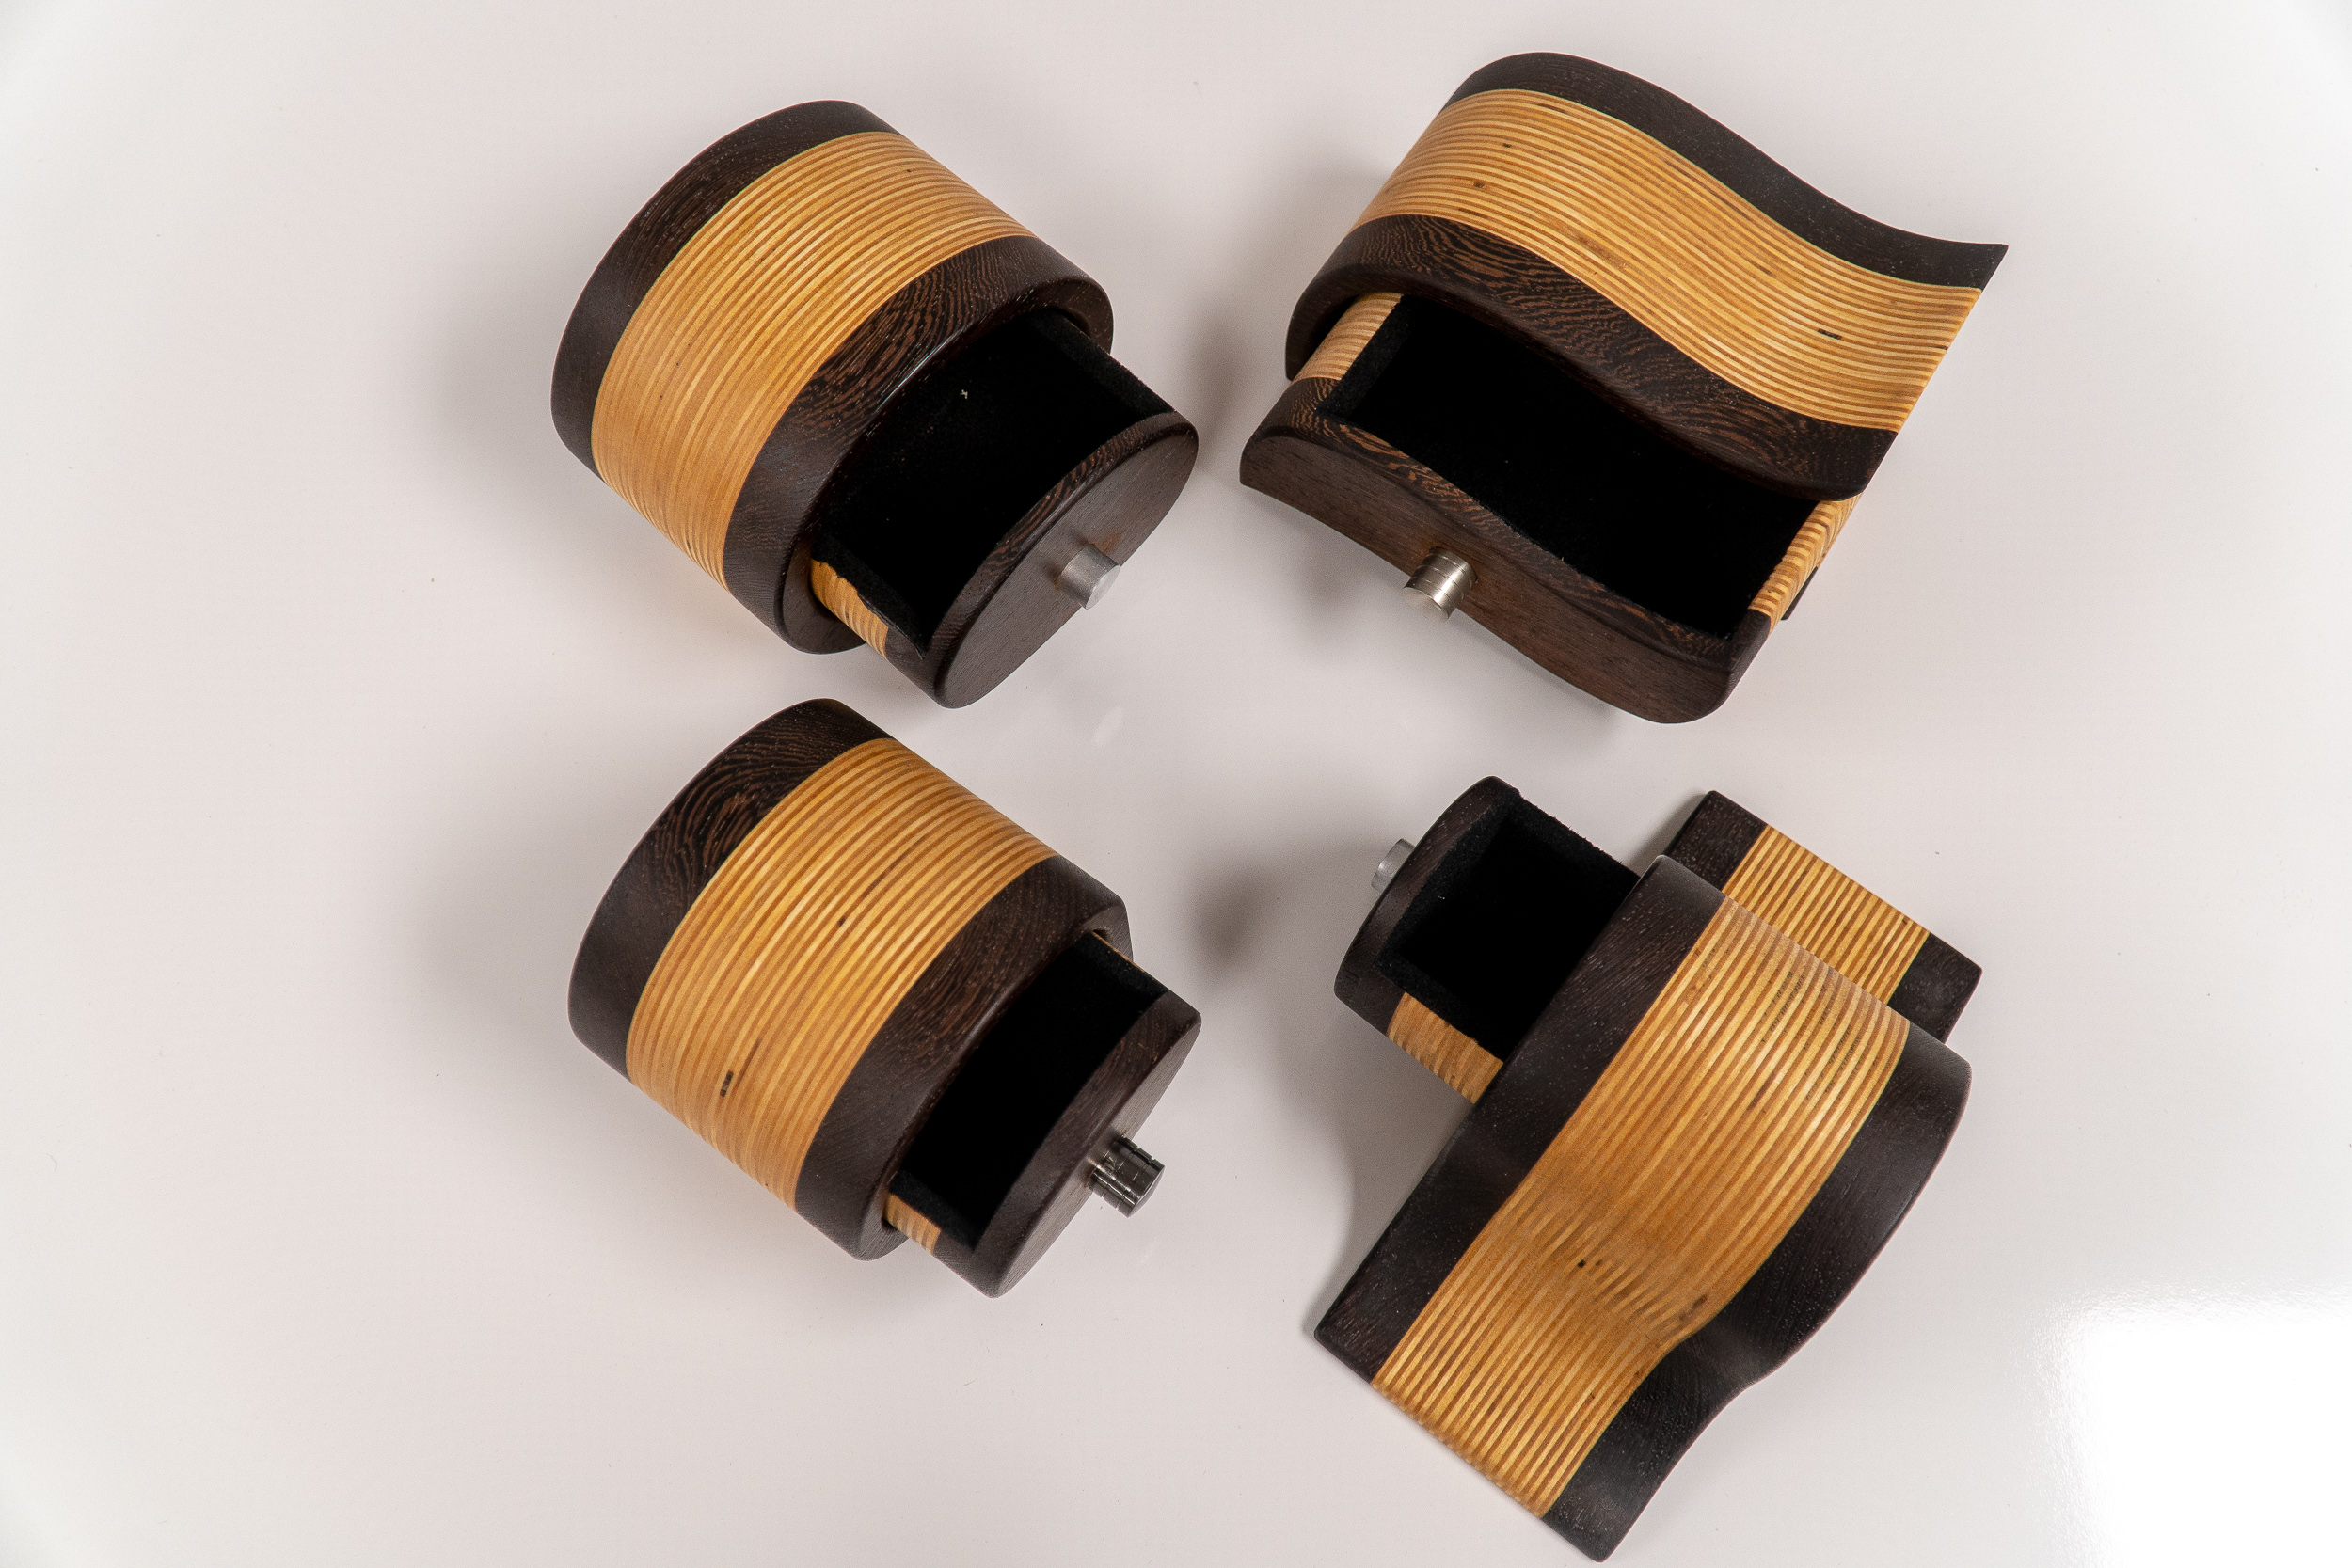
Multipurpose Drawer Organizer & Travel Case | Woodworking Project
What if you could make a drawer organizer that doubles as a travel case? Let’s give it a shot!
Simple and Quick Woodworking Project!
When it comes to keeping clutter off your bathroom counter, drawers are OK. But eventually they just become a big box you throw stuff in. What if you could make a drawer organizer that doubles as a travel case? Something you could just lift out of the drawer and take with you? It’s surprisingly easy, and this tutorial will show you how to do it.
With a removable lid and a sliding drawer, which provides a second layer of storage, the organizer/travel case is a clever design, that’s actually pretty straightforward from a woodworking perspective. I’m building this ingenious contraption out of walnut (for the sides) and plywood (for the bottom and lid). I use mitered corners and splines for the build.
I’ve also designed the compartments within this piece to be modular, so you can arrange the storage levels to meet your needs. As you watch this easy woodworking tutorial, I hope you’re inspired to make modifications that work for your available space and personal toiletry habits. (No judgment here.)
Tools and Supplies Used in The Video


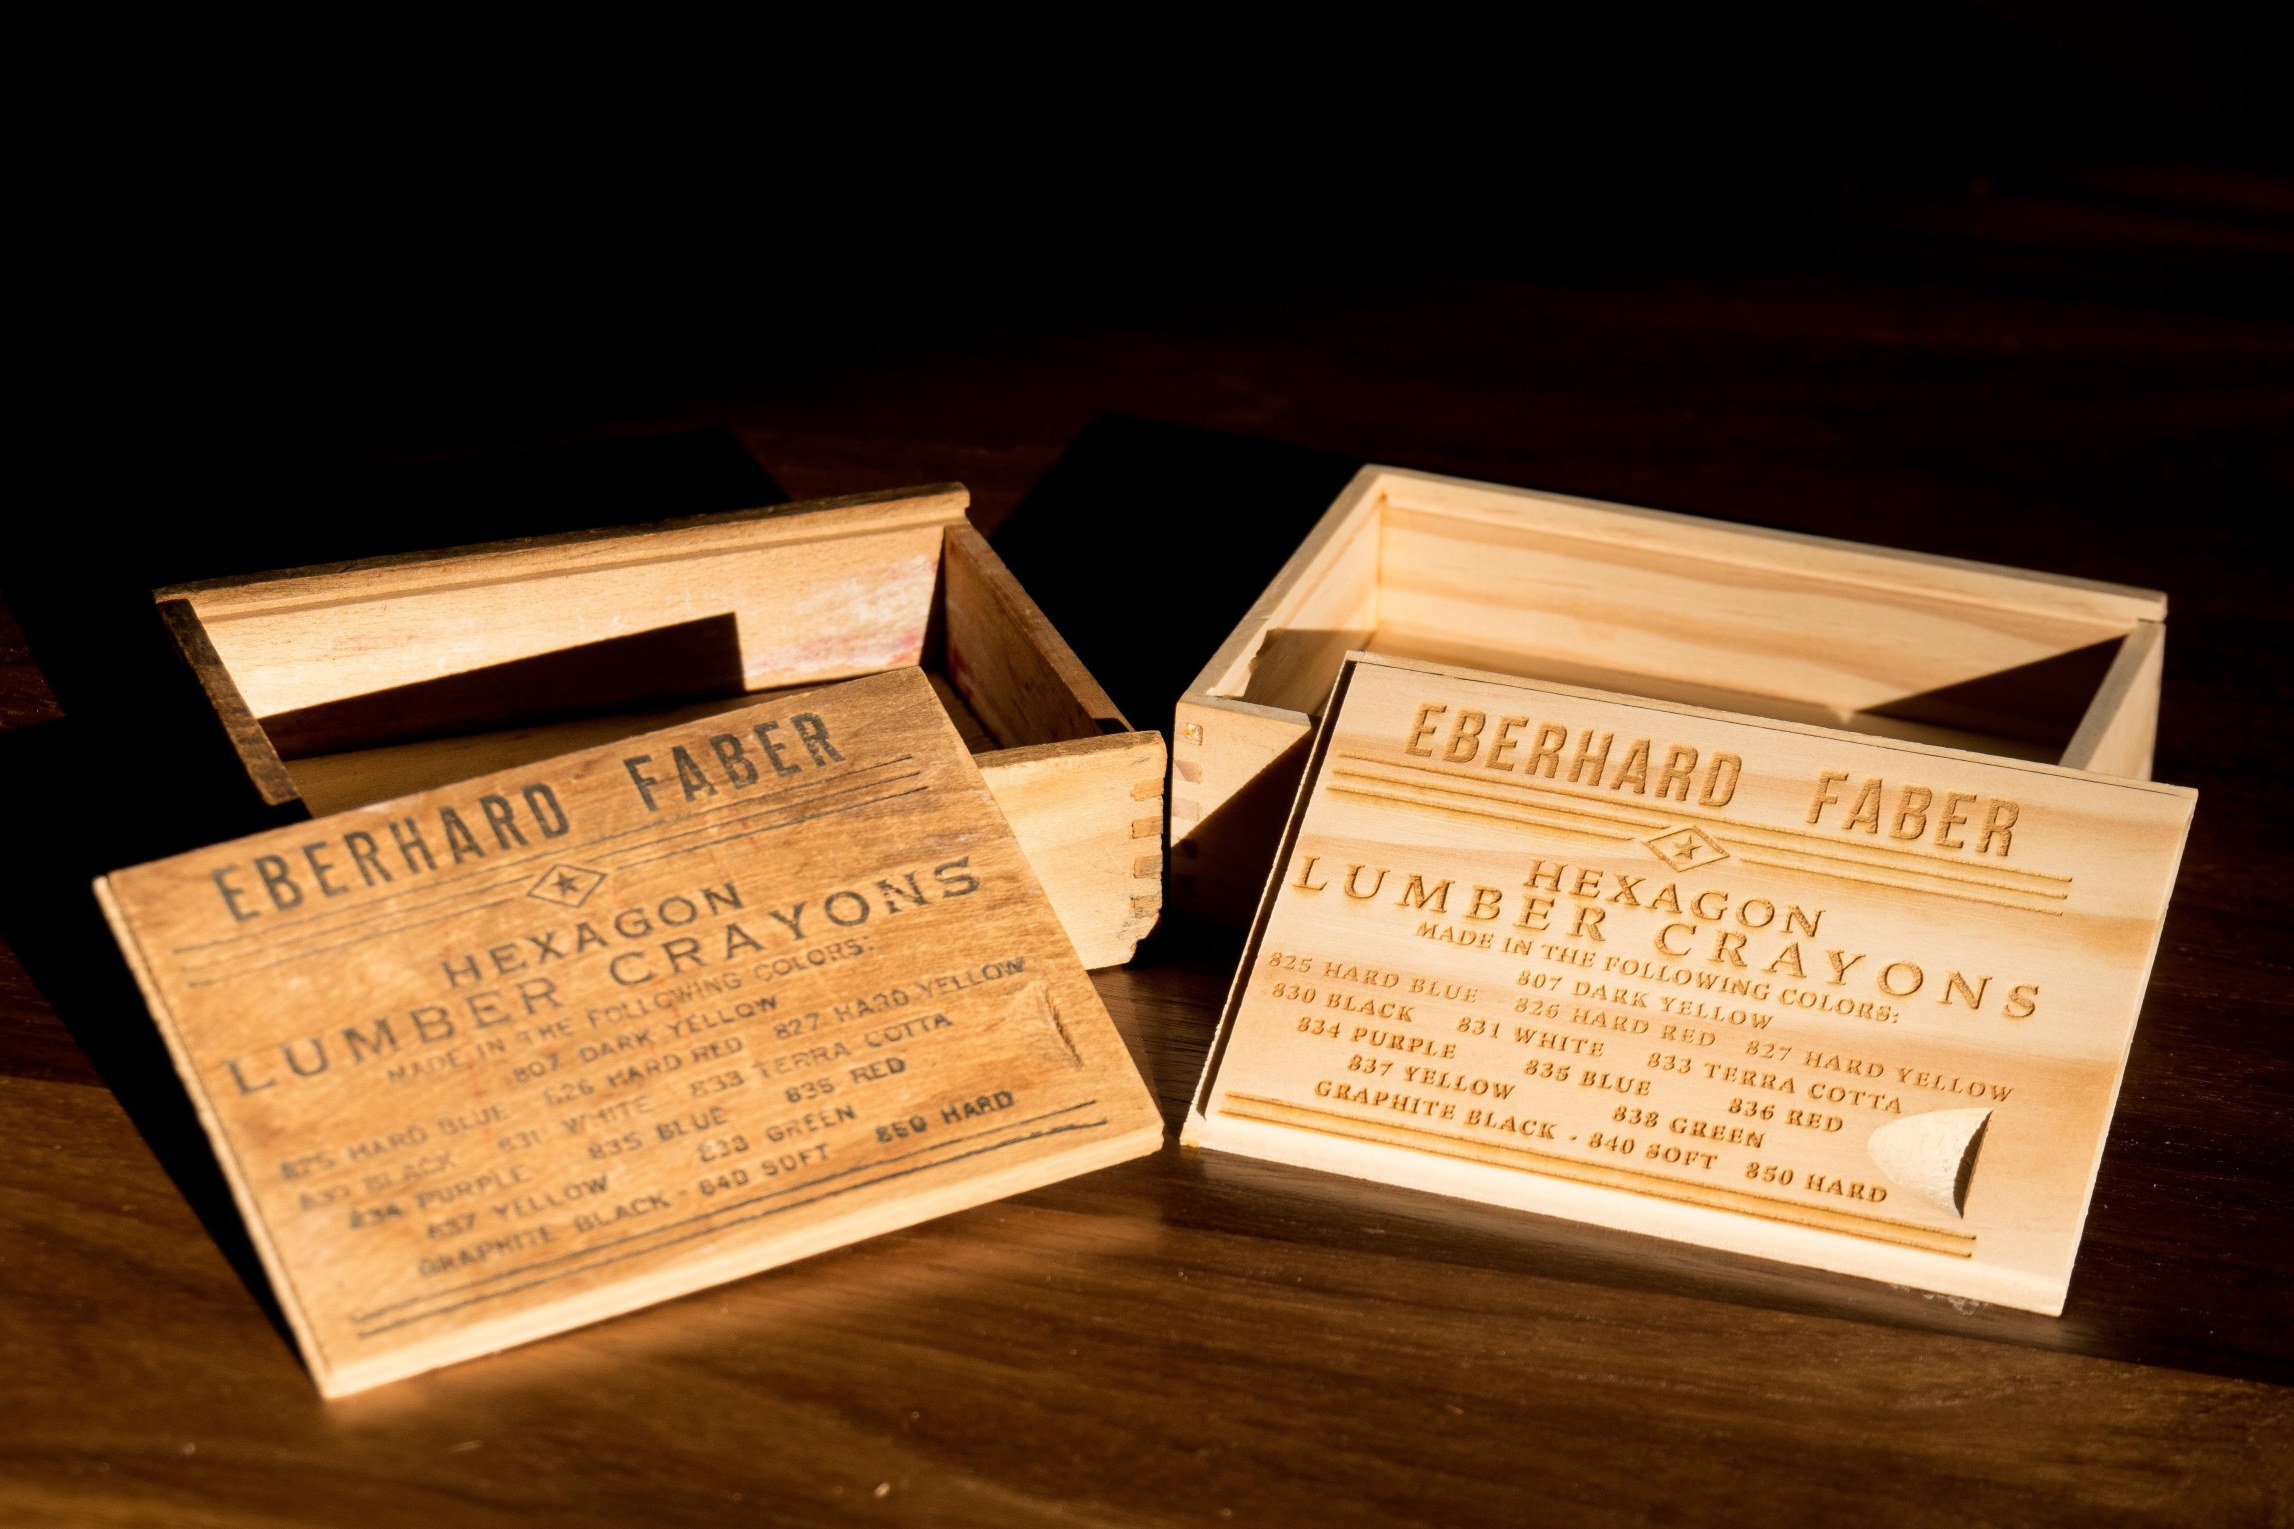
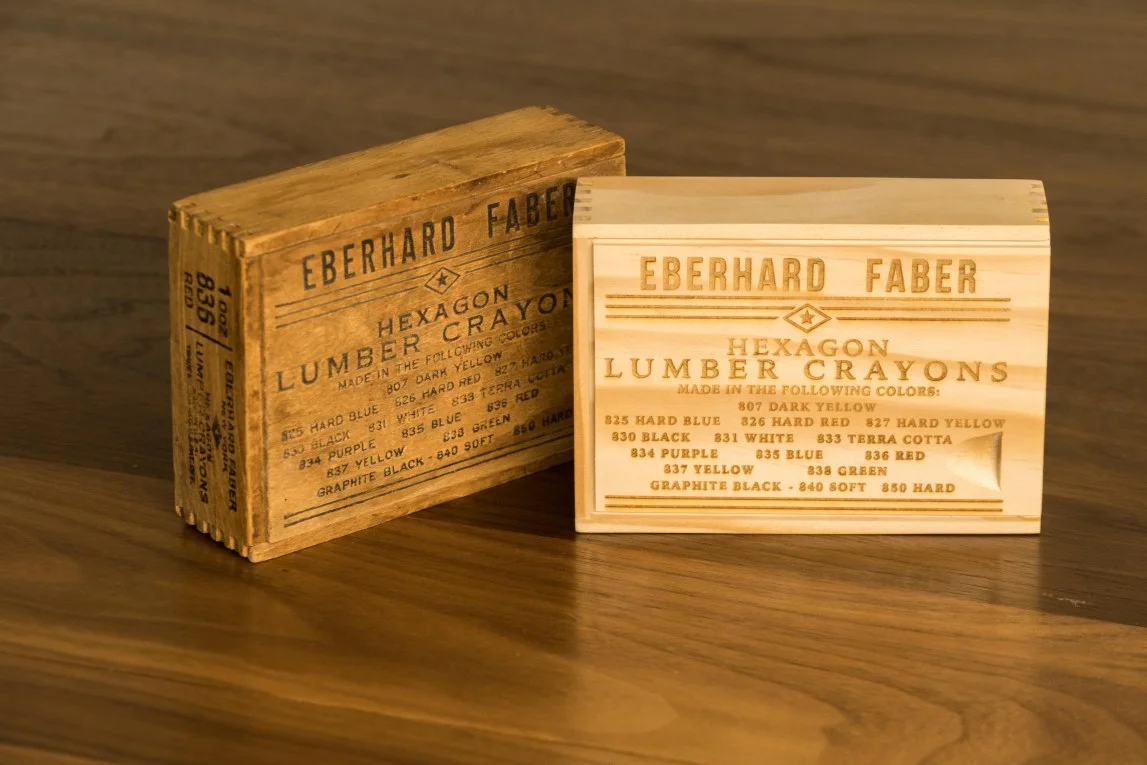
Recreating a 100 Year Old Finger Joint Box
Deconstructing a vintage Eberhard Faber Lumber Crayon box and making a replica.
Box Joints and Finger Joints Made Easy
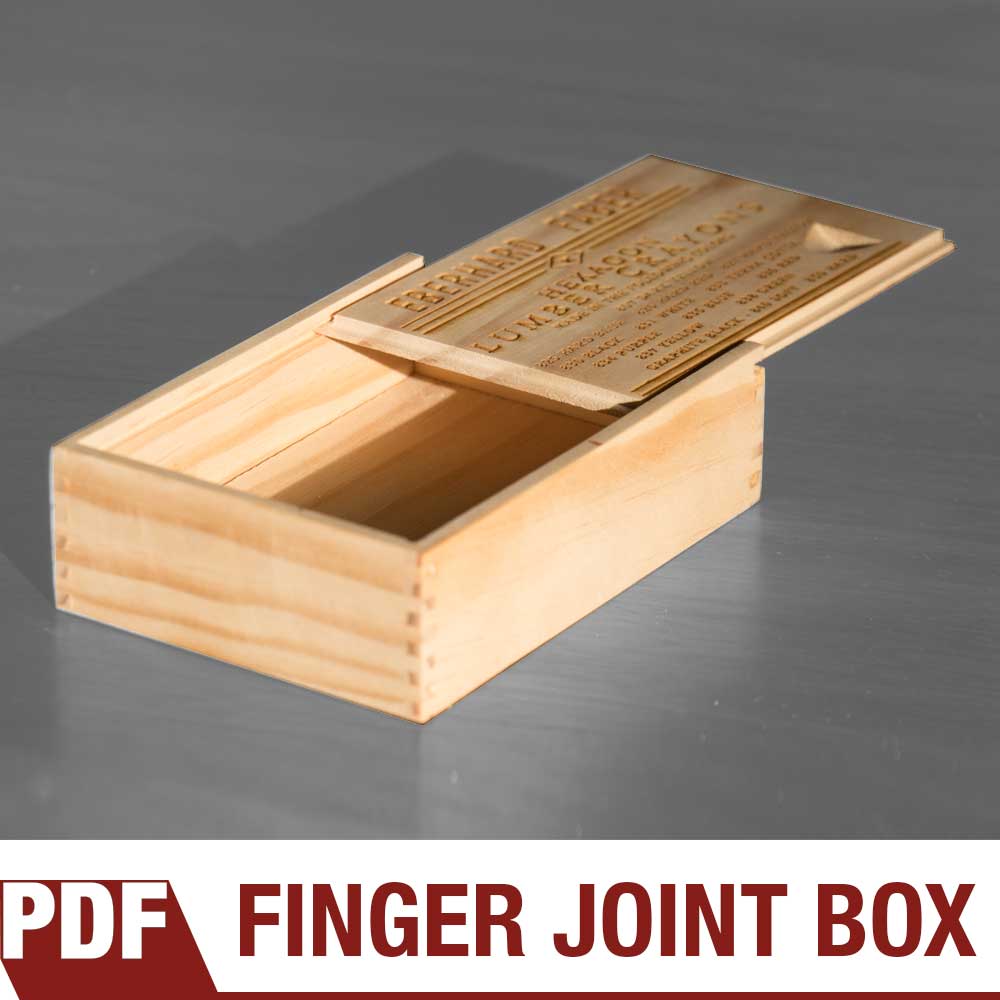
Deconstructing a vintage Eberhard Faber Lumber Crayon box and making a replica. This classic box features box joints (also called finger joints) and a sliding lid complete with engraved and branded lid. Makes for a great woodworking project you can sell at craft fairs.
Tools and Supplies Used In This Woodworking Project


How to Cut Inlay Dovetails With Hand Tools
Step by step video tutorial on how to cut inlay dovetails.
Inlay Dovetail Joinery. Easier Than You May Think!
Step by step video tutorial on how to cut inlay dovetails. Jonathan Katz-Moses walks us through the process and shows just how easy it is to cut double dovetails.
I am giving this box away along with a set of the Katz-Moses dovetail jig. Sign up for my email list with the form for the bottom of the page and I’ll draw a name on August 24th.
Tools Used for Cutting Dovetails


CNC Machining a Mailbox On An Inventables X-Carve
I challenged myself to make all the pieces on my CNC for this mailbox project.
Limited Tools CNC Project
In this fun woodworking project we cut out all the pieces on my Inventables X-Carve CNC. We are purposely limiting ourselves to only the CNC and non-stationary tools like a drill, router and random orbit sander. No tablesaw, no bandsaw and no miter saw. I like to show that there’s more than one way to perform a task in woodworking. It’s not about the tools, it’s all about using what you have and finding creative ways to problem solve.
The mailbox is made from beautiful straight grain walnut with the house number inlayed with some contrasting maple.
Tools and Supplies Used In This CNC Woodworking Project


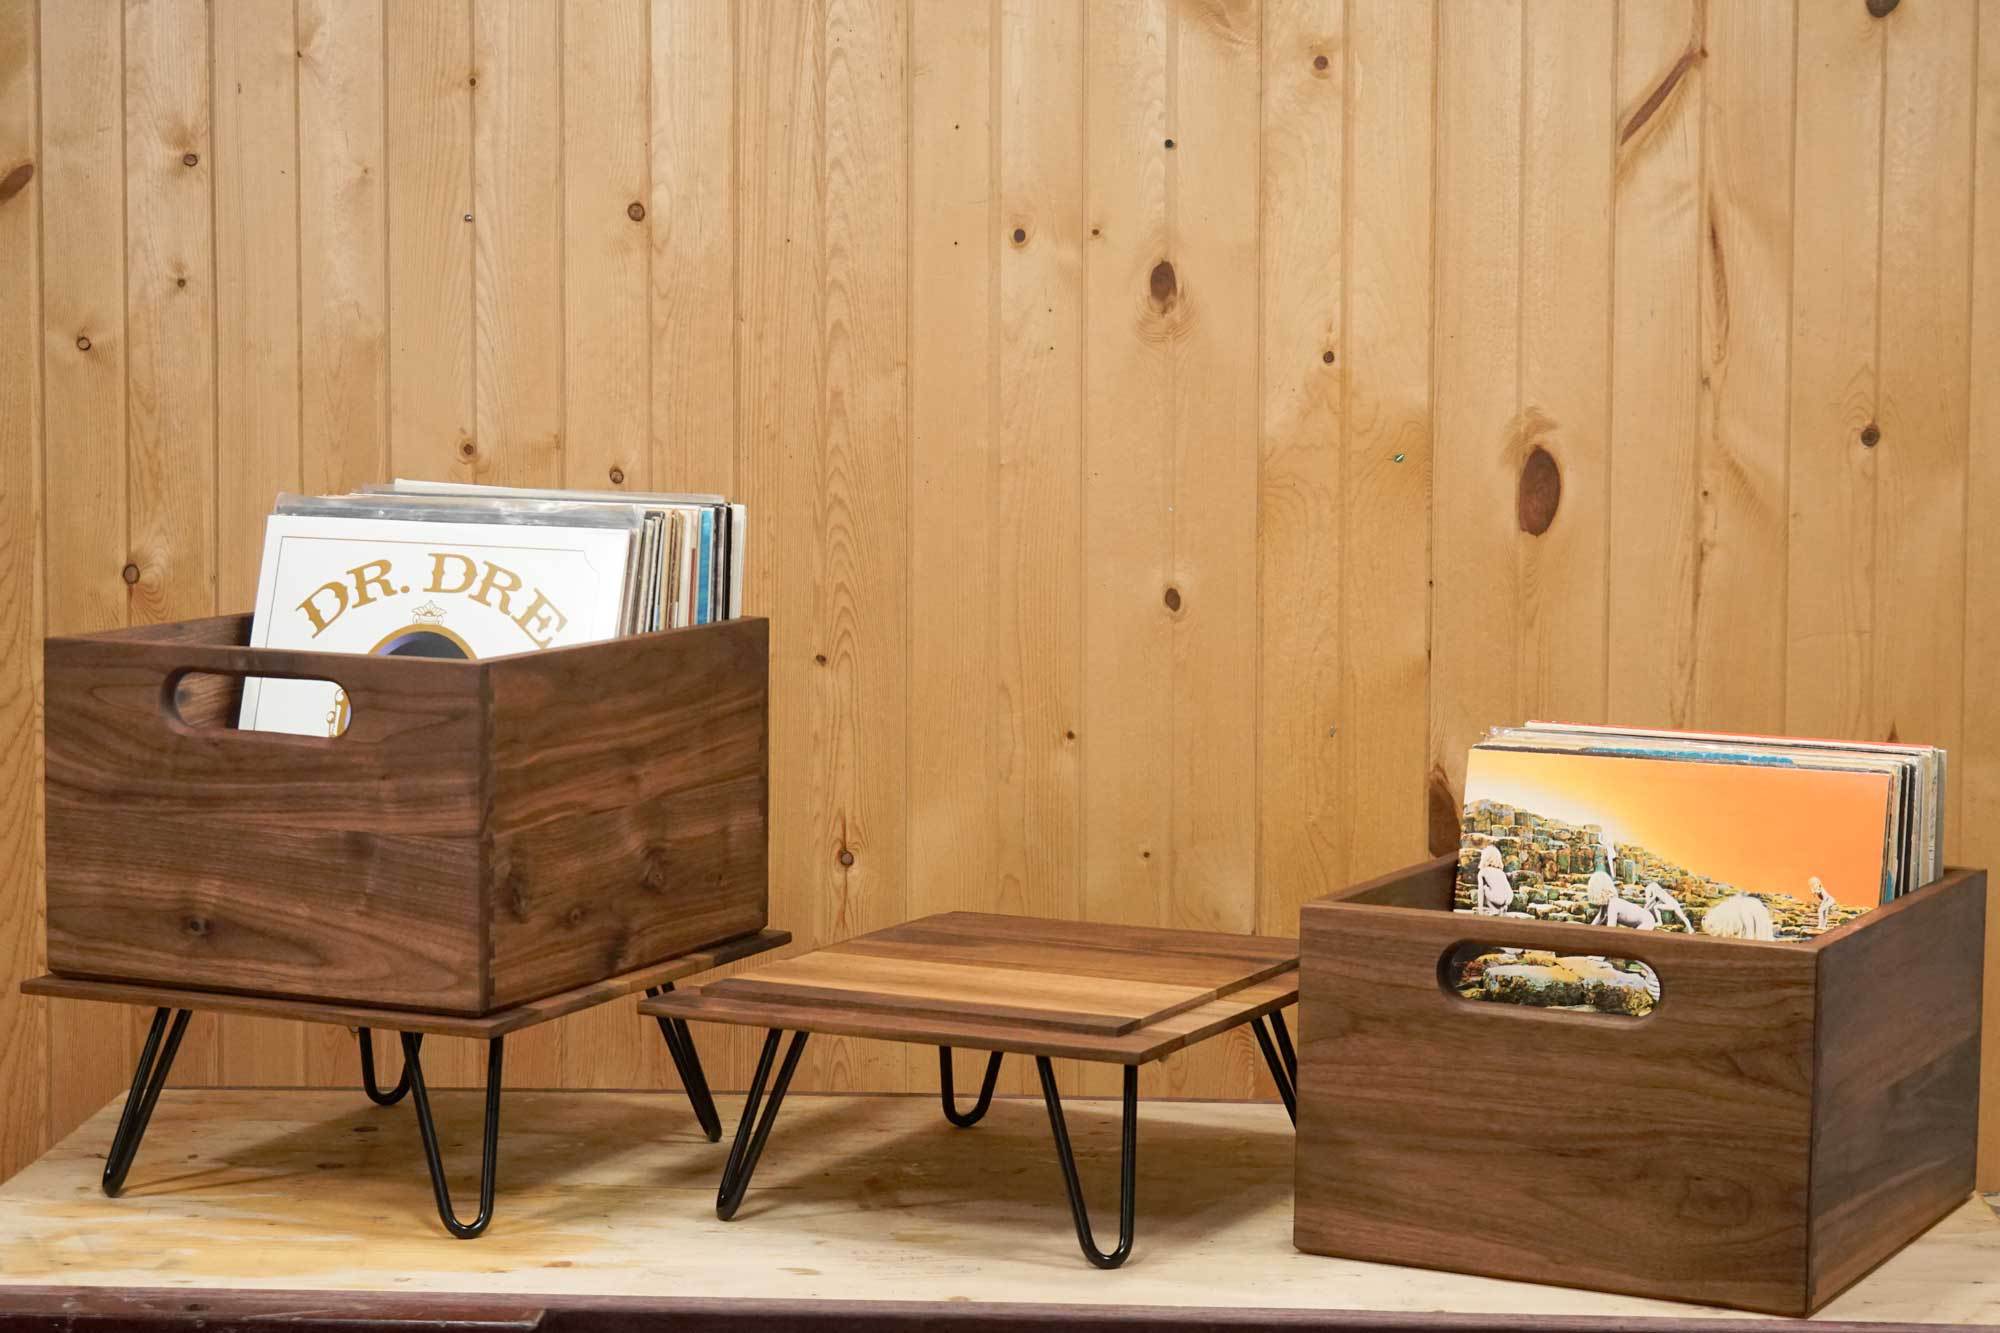
How to Make Classic Record Crates
Making a modern style wood record crates.
Walnut Wood Record Crates
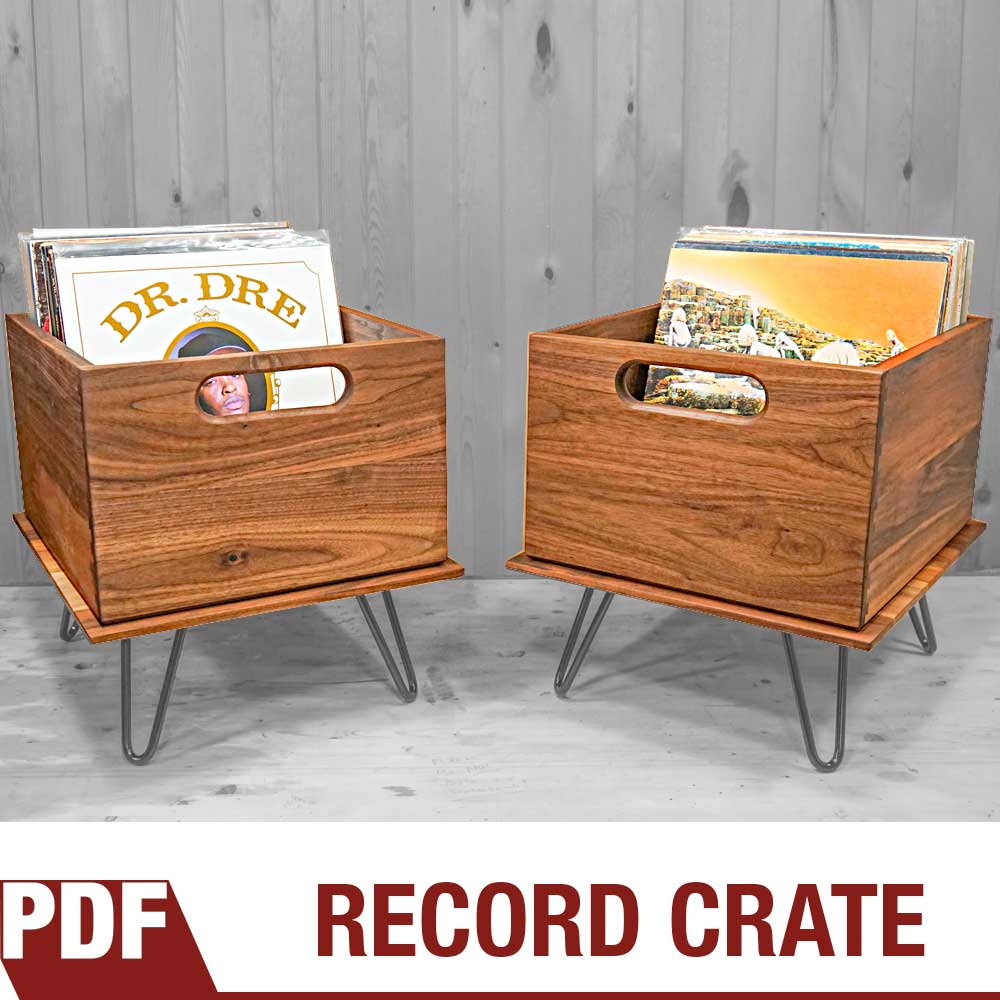
When it comes to music I am a total nerd. I have a decent vinyl record collection and needed a way to store it and show it off at the same time. I wanted something that looked vintage and thought walnut and hairpin legs were the way to go. The crate and base are two separate parts meaning you can remove the crate and go DJ that next gig. Everything is made from solid walnut and used router cut dovetails for joinery. You can find plans for this project here.
Tools and Supplies Used in this Woodworking Project


Making a Box with Hidden Compartment
This box that we’re about to make has mitered corners that can easily be done on the table saw and reinforced with easy-to-make splines.
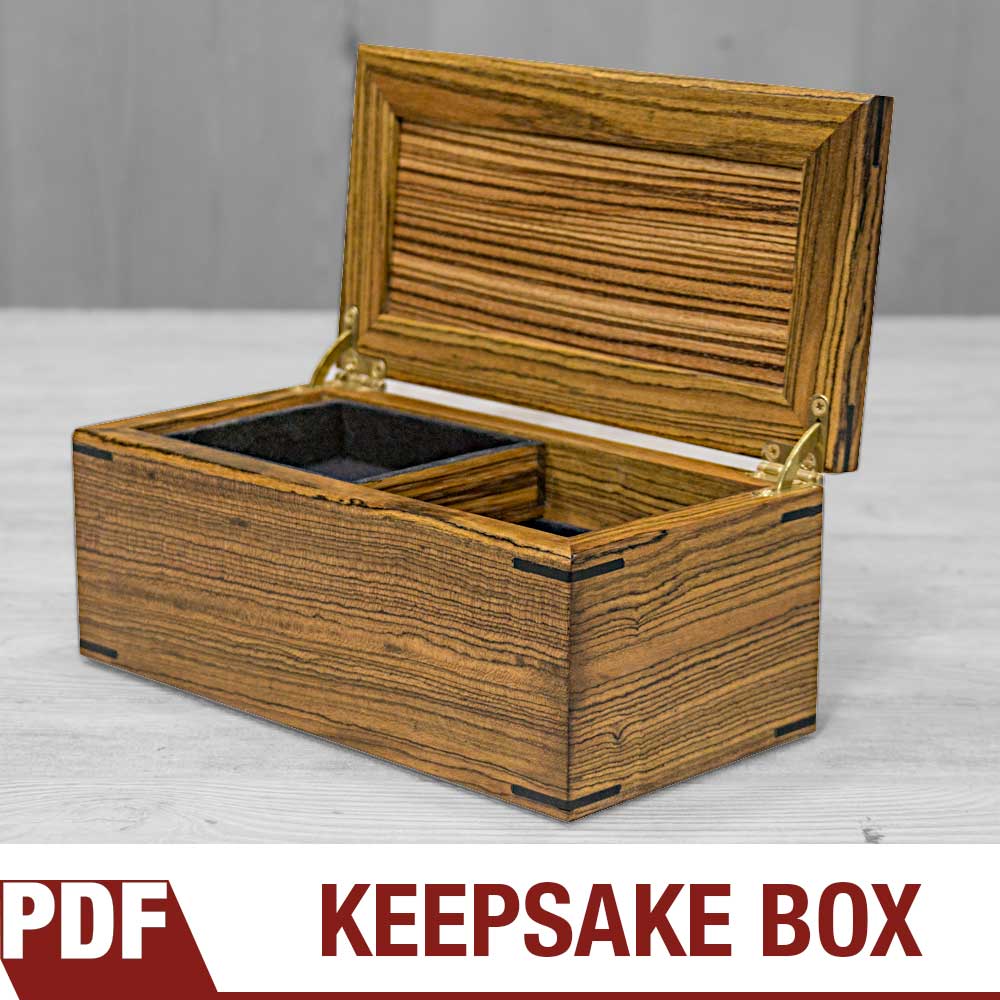
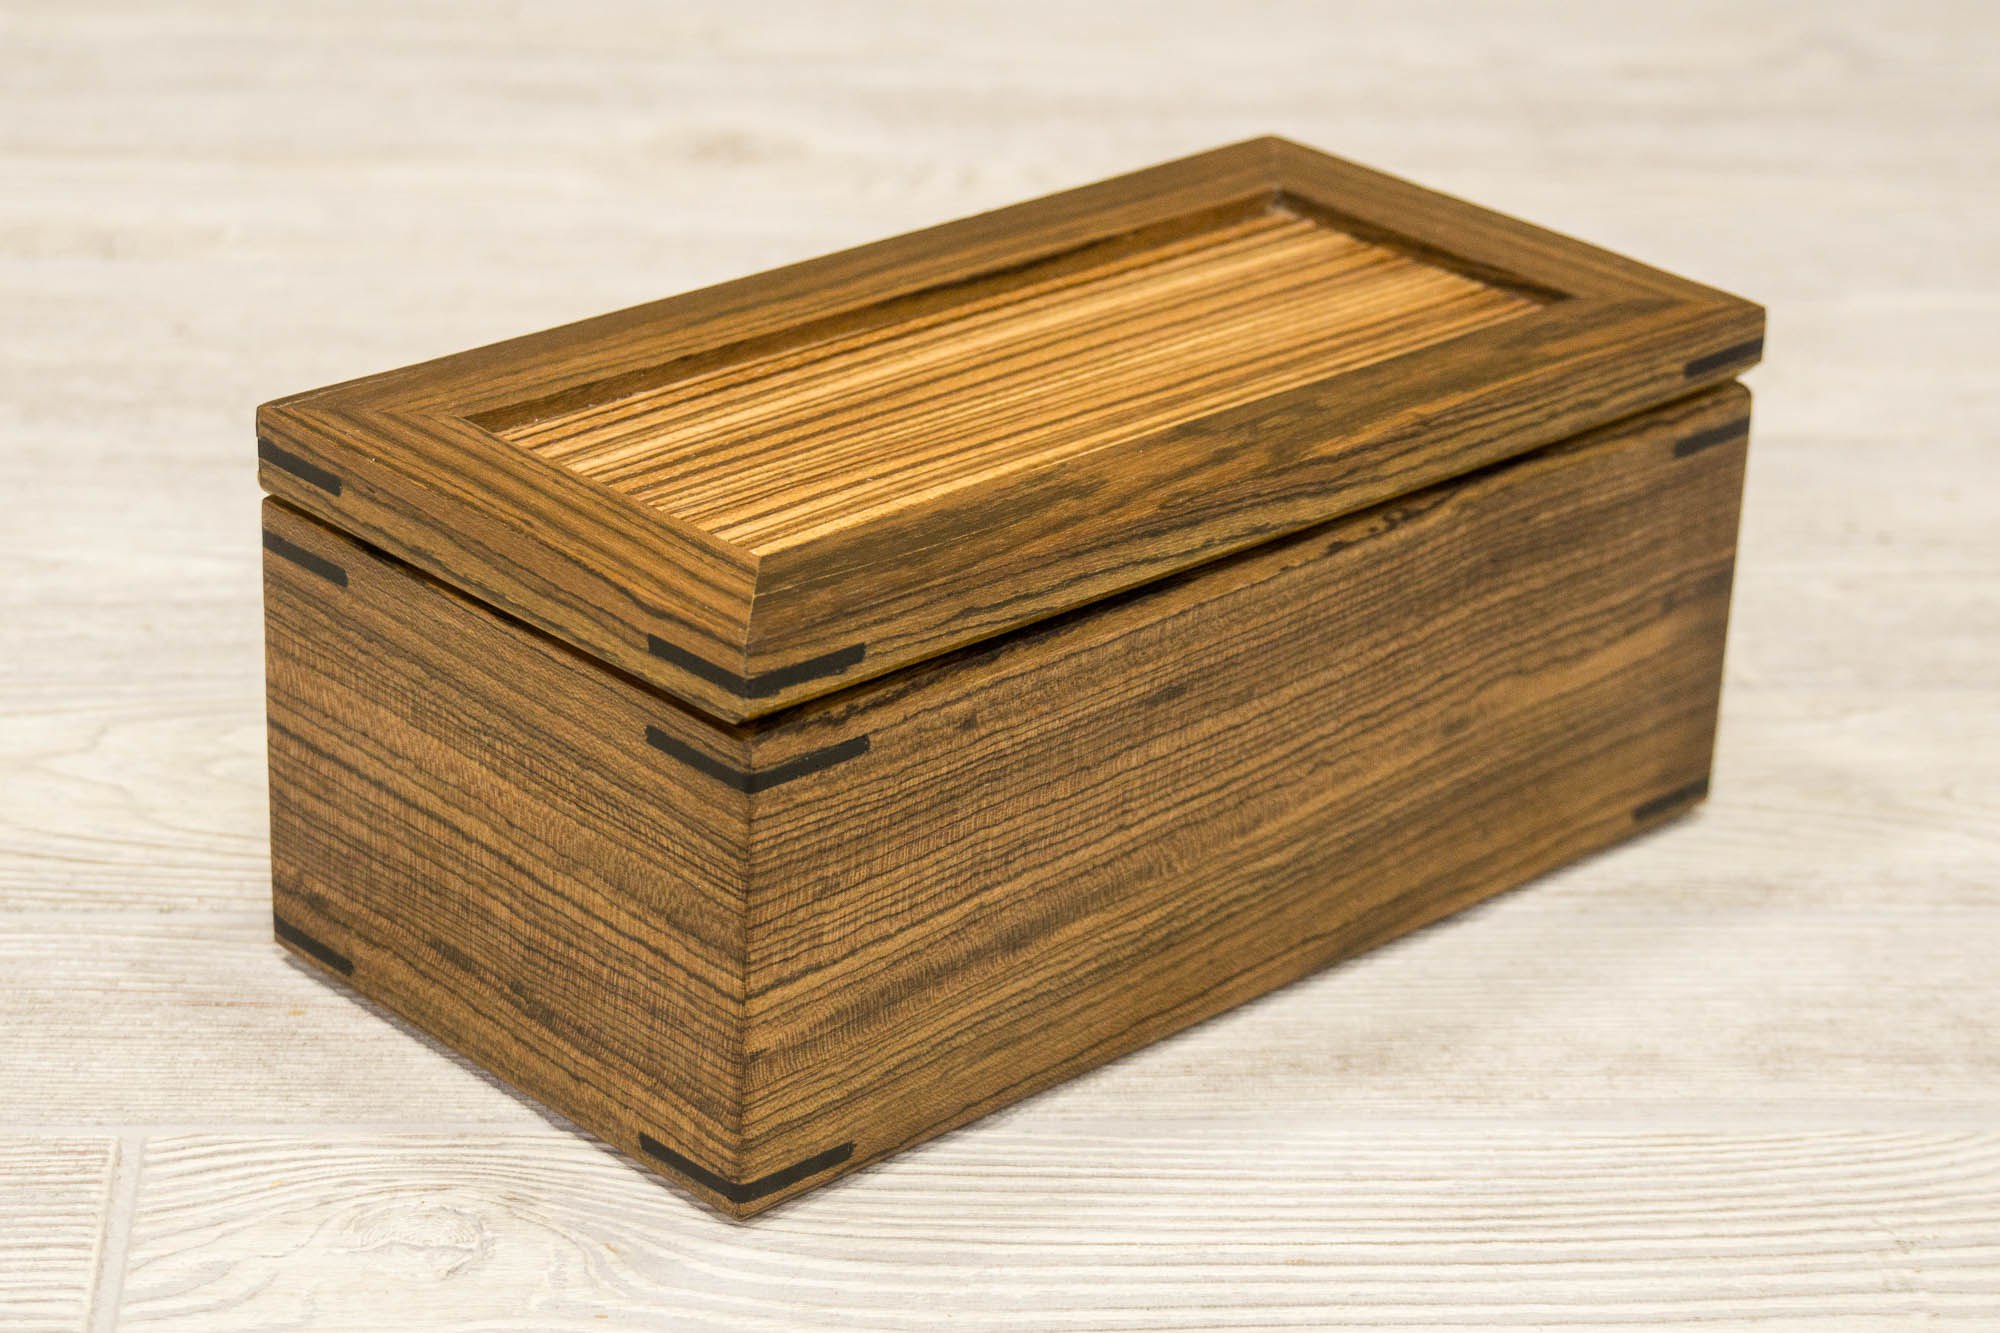
This box that we’re about to make has mitered corners that can easily be done on the table saw and reinforced with easy-to-make splines. The inside has a top sliding tray that when moved left and right reveals two trays below it. When all the trays are lifted out, a hidden compartment is revealed underneath to hide your valuables. All these trays are lined with a soft flocking that feels like velvet and I’m using solid brass quadrant hinges with lid support from Brusso Hardware. For this box I wanted to use special exotic woods so I went to Kencraft, my local hardwood dealer and picked out some Bocote for the sides, Zebrawood for the top and bottom and ebony for the splines.
Although I can’t give you an exact amount of hours it took to make this I can tell you that if well planned this could easily be made in two days. On day 1 all the pieces can be cut and glued together. On day 2 the splines, chamfers and hinges can be added. If you choose to use a lacquer finish you could also get multiple coats done on the second day as it will dry fast. The tri-blend finish I recommend on exotic woods takes 4 days but each day only requires a couple minutes of work with a full day to dry between coats. The price of wood can be very dynamic depending on the choice of woods and your location. I chose to get a little fancy and paid $73.58 for the wood used in this project without any leftovers. I also decided to use the well made Brusso hinges that come in at $49.99. Yes, the Brusso hinges cost a pretty penny but you can feel the difference in quality as soon as you hold them in your hand. They have high standards and a very good reputation for being the best in the business. So after taxes and shipping the total cost of materials was $135.62 which doesn’t include the flocking and finish.
I’m really happy with the way this box came out. The top tray slides effortlessly across the bottom tray and everything lifts out to reveal the hidden compartment. All of the joinery is mitered corners that are easily done on the tablesaw and reinforced with splines. And the solid brass hinges compliments the exotic woods and the the design. You learn more about the jigs I used as well as the flocking and finishing techniques in the links below. Plans are available in my store. I hope you enjoyed this video as I’ve got a lot more projects like this coming out as well as bigger builds and non-woodworking projects. As always, be safe, stay passionate and make something!
Tools and Supplies
- Micro Jig GB-1 GRR-Rip Block
- Micro Jig GRR-Ripper
- Brusso Solid Brass Quadrant Hinges
- Festool Random Orbit Sander
- SawStop Tablesaw
- Grizzly Bandsaw
- Blue Painters Tape
- TiteBond Glue
- Flush Trim Saw
- Suede-Tex Mini Flocker
- Suede-Tex Undercoat Adhesive – Black
- Flocking Fibers, 3 oz., Black
- Minwax Wipe-On Poly Polyurethane
- Mineral Spirits
- Boiled Linseed Oil
- Dewalt Plunge Router
- JIG IT Hinge Mortising System
- Bench Dog Router Table
Related Resources and Tutorials


Use Flocking to Enhance Your Boxes!
Use flocking on the inside of your drawers to enhance the look and feel of your boxes.
I show you a technique called flocking. This is commonly used in lining the drawers of boxes and cases. It leaves a soft velvety feel and adds a touch of class to your projects. The fibers used in the process are very small and lightweight so I highly suggest proper air filtration and a dusk mask. I flock all the drawers of my bandsaw boxes and sometimes I will flock the cavity the drawer slides into. I really like the look and feel of flocking fibers.
Tool and Supplies Used


How to Make a Wood Crate from a 2×6
Each crate is made from a single 2x6 that you can get at your local Home Depot or Lowes.
Making a Wood Crate
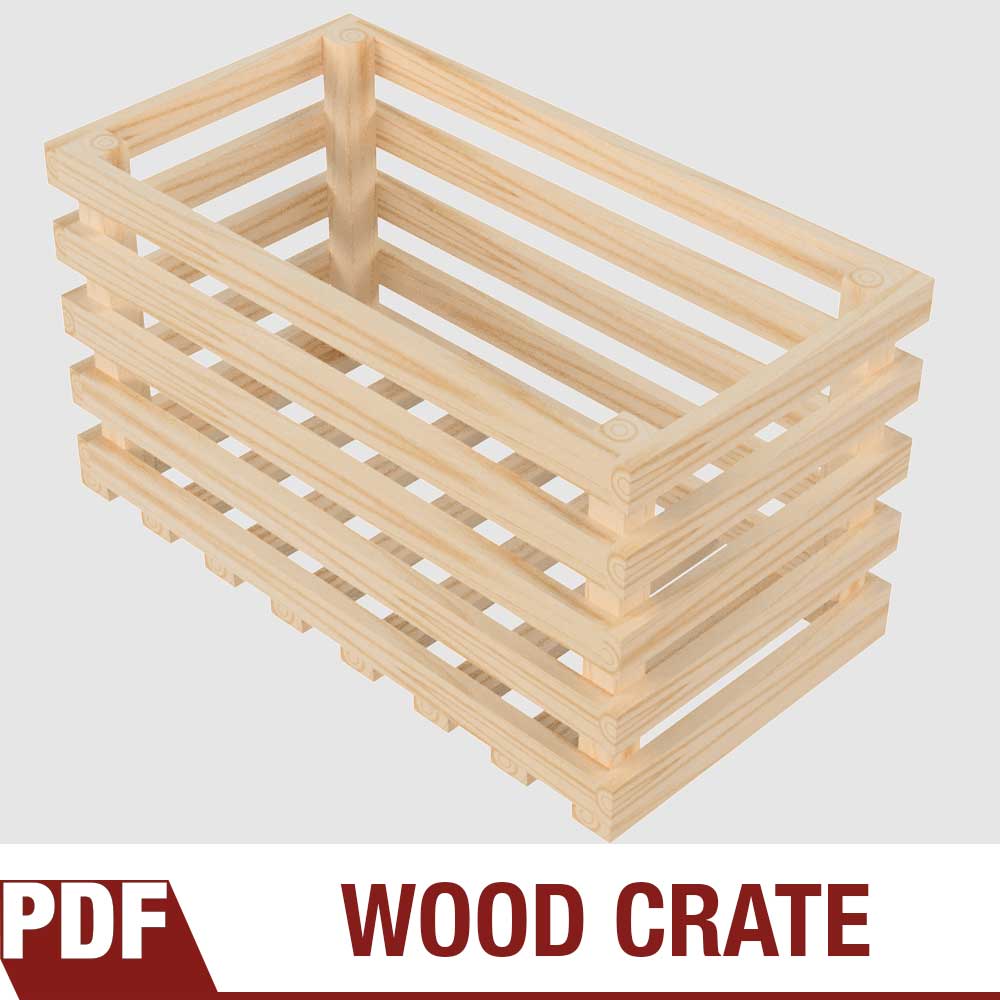
How to make a wood crate from a cheap home center 2×6. This is a super quick and simple process anyone can do with a tablesaw, some nails and glue. I like to take these crates on the road with me and use them for my display stand at craft and handmade shows. Back at home I stack them on their sides and use them like you would a book case. This is one of those projects where accuracy isn’t important and a single crate can be made in under an hour. And since I don’t worry about glue squeeze out and don’t use a finish on them, BOOM, they’re done! In fact I was able to batch out six of these crates in about two hours. Having a pin nailer surely will help save a lot of time but isn’t necessary. You could easily use a hammer or even just screws. Each wood crate is made from one 96” 2×6 and each 2×6 only costs $4 at my local Home Depot. Enjoy, be safe and make something!
Products Used


How to Make a TV Remote Box with Hidden Dowel Joinery
How to make unique boxes using hidden dowel joinery.
Making a TV Remote Box
A great woodworking project where I show how I made these unique boxes using hidden dowel joinery out of hickory and mahogany woods. These boxes are the perfect size for storing and hiding all your TV remotes and would look great on any coffee table.
They don’t take much time to make and can be sold at craft fairs and online at places like Etsy. I encourage you to come up with your own design or even modify mine. You can also purchase the plans in the link down below. I’m giving you full permission to make, reproduce and sell these boxes at your next craft show or online. Be safe, stay passionate and make something!
Products Used


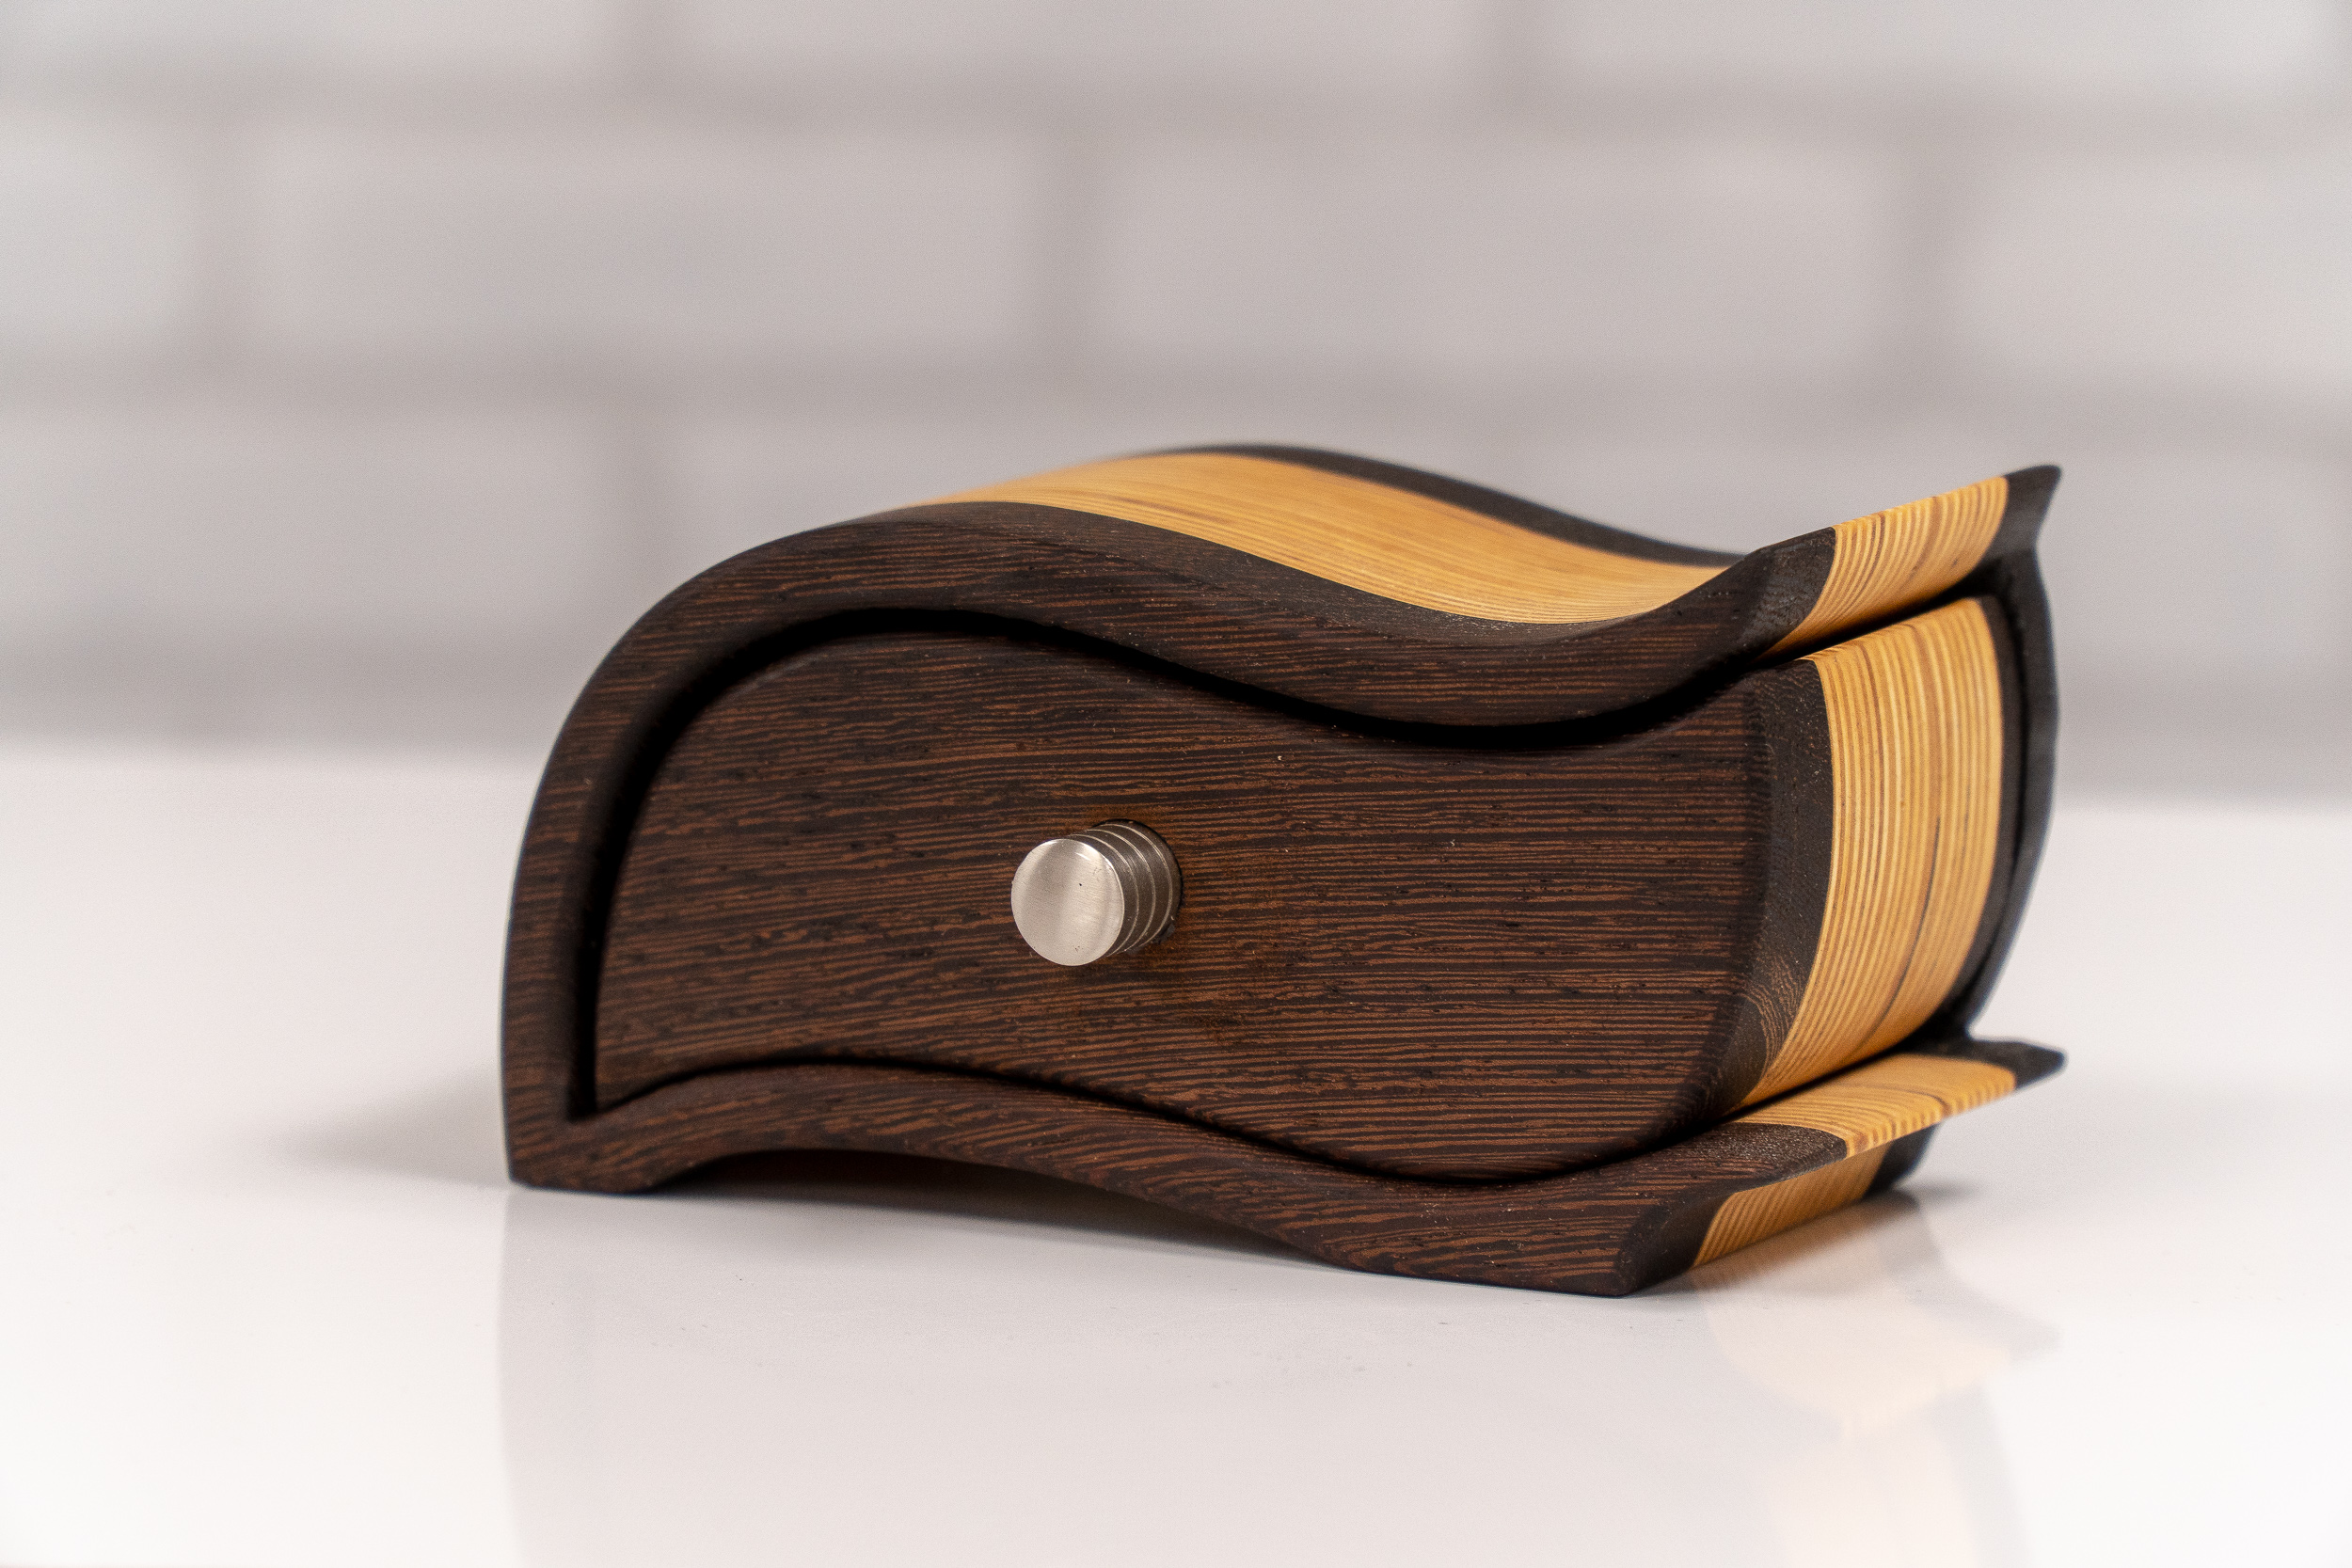
How to Make a Bandsaw Box: Chicago Design
How to make a bandsaw box with a drawer that can be opened from both sides.

How to Make Curved Inlay. Great Design Feature for Wooden Boxes!
A simple step-by-step technique on how to make curved inlay using thin strips of wood.
A simple step-by-step technique on how to make this curved inlay using thin strips of wood. All you need is a router with a flush trim bit, a straight bit, bandsaw or coping saw, and a way to flatten a the surface. Preferably a block plane but a planer or drum sander will do. This technique works great for boxes, cutting boards and table tops!
Tools and Supplies Used in this Woodworking Project
Woodworking Books

Make Your Own Cutting Boards
15 cutting board projects to make as gifts or sell! Get your signed copy!

The New Bandsaw Box Book
8 bandsaw box projects you can make and sell at craft shows. Signed copies now available!