How to Make a Wood Wastebasket / Rubbish Bin
Easy Woodworking Project for the Home or Office
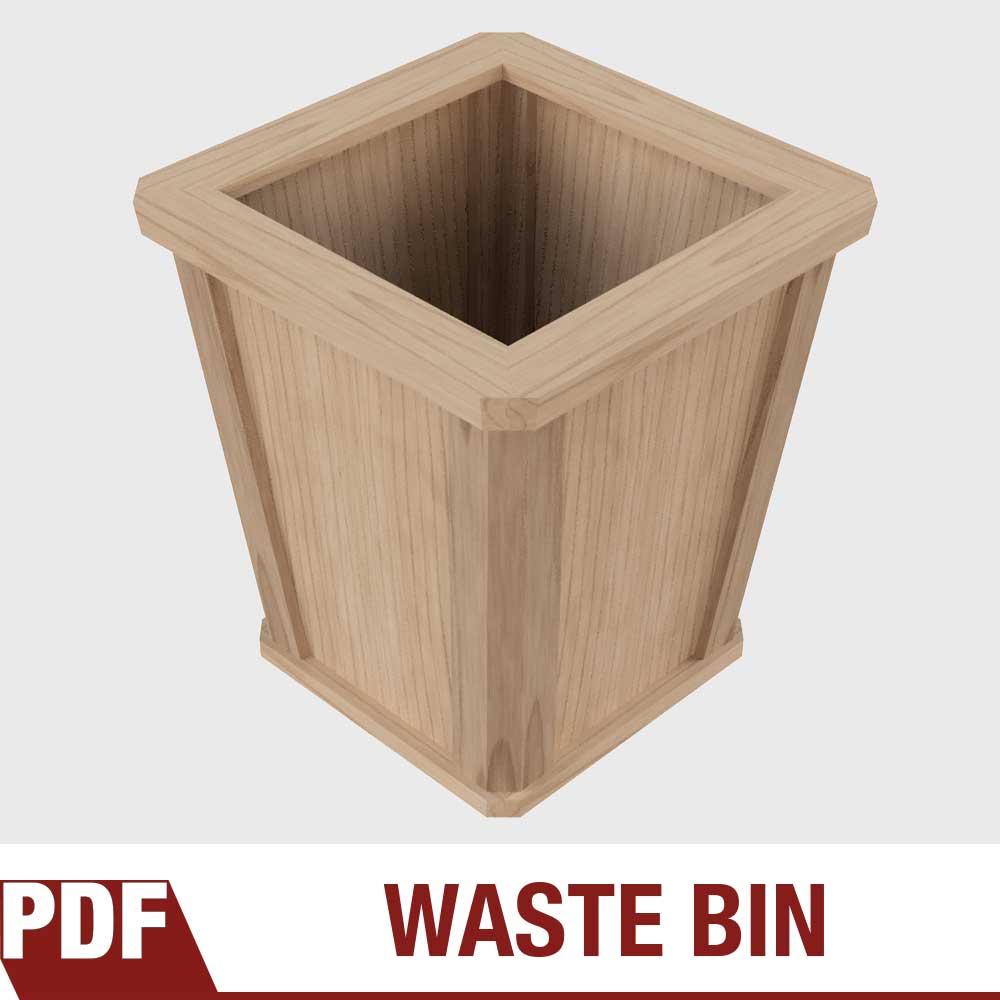
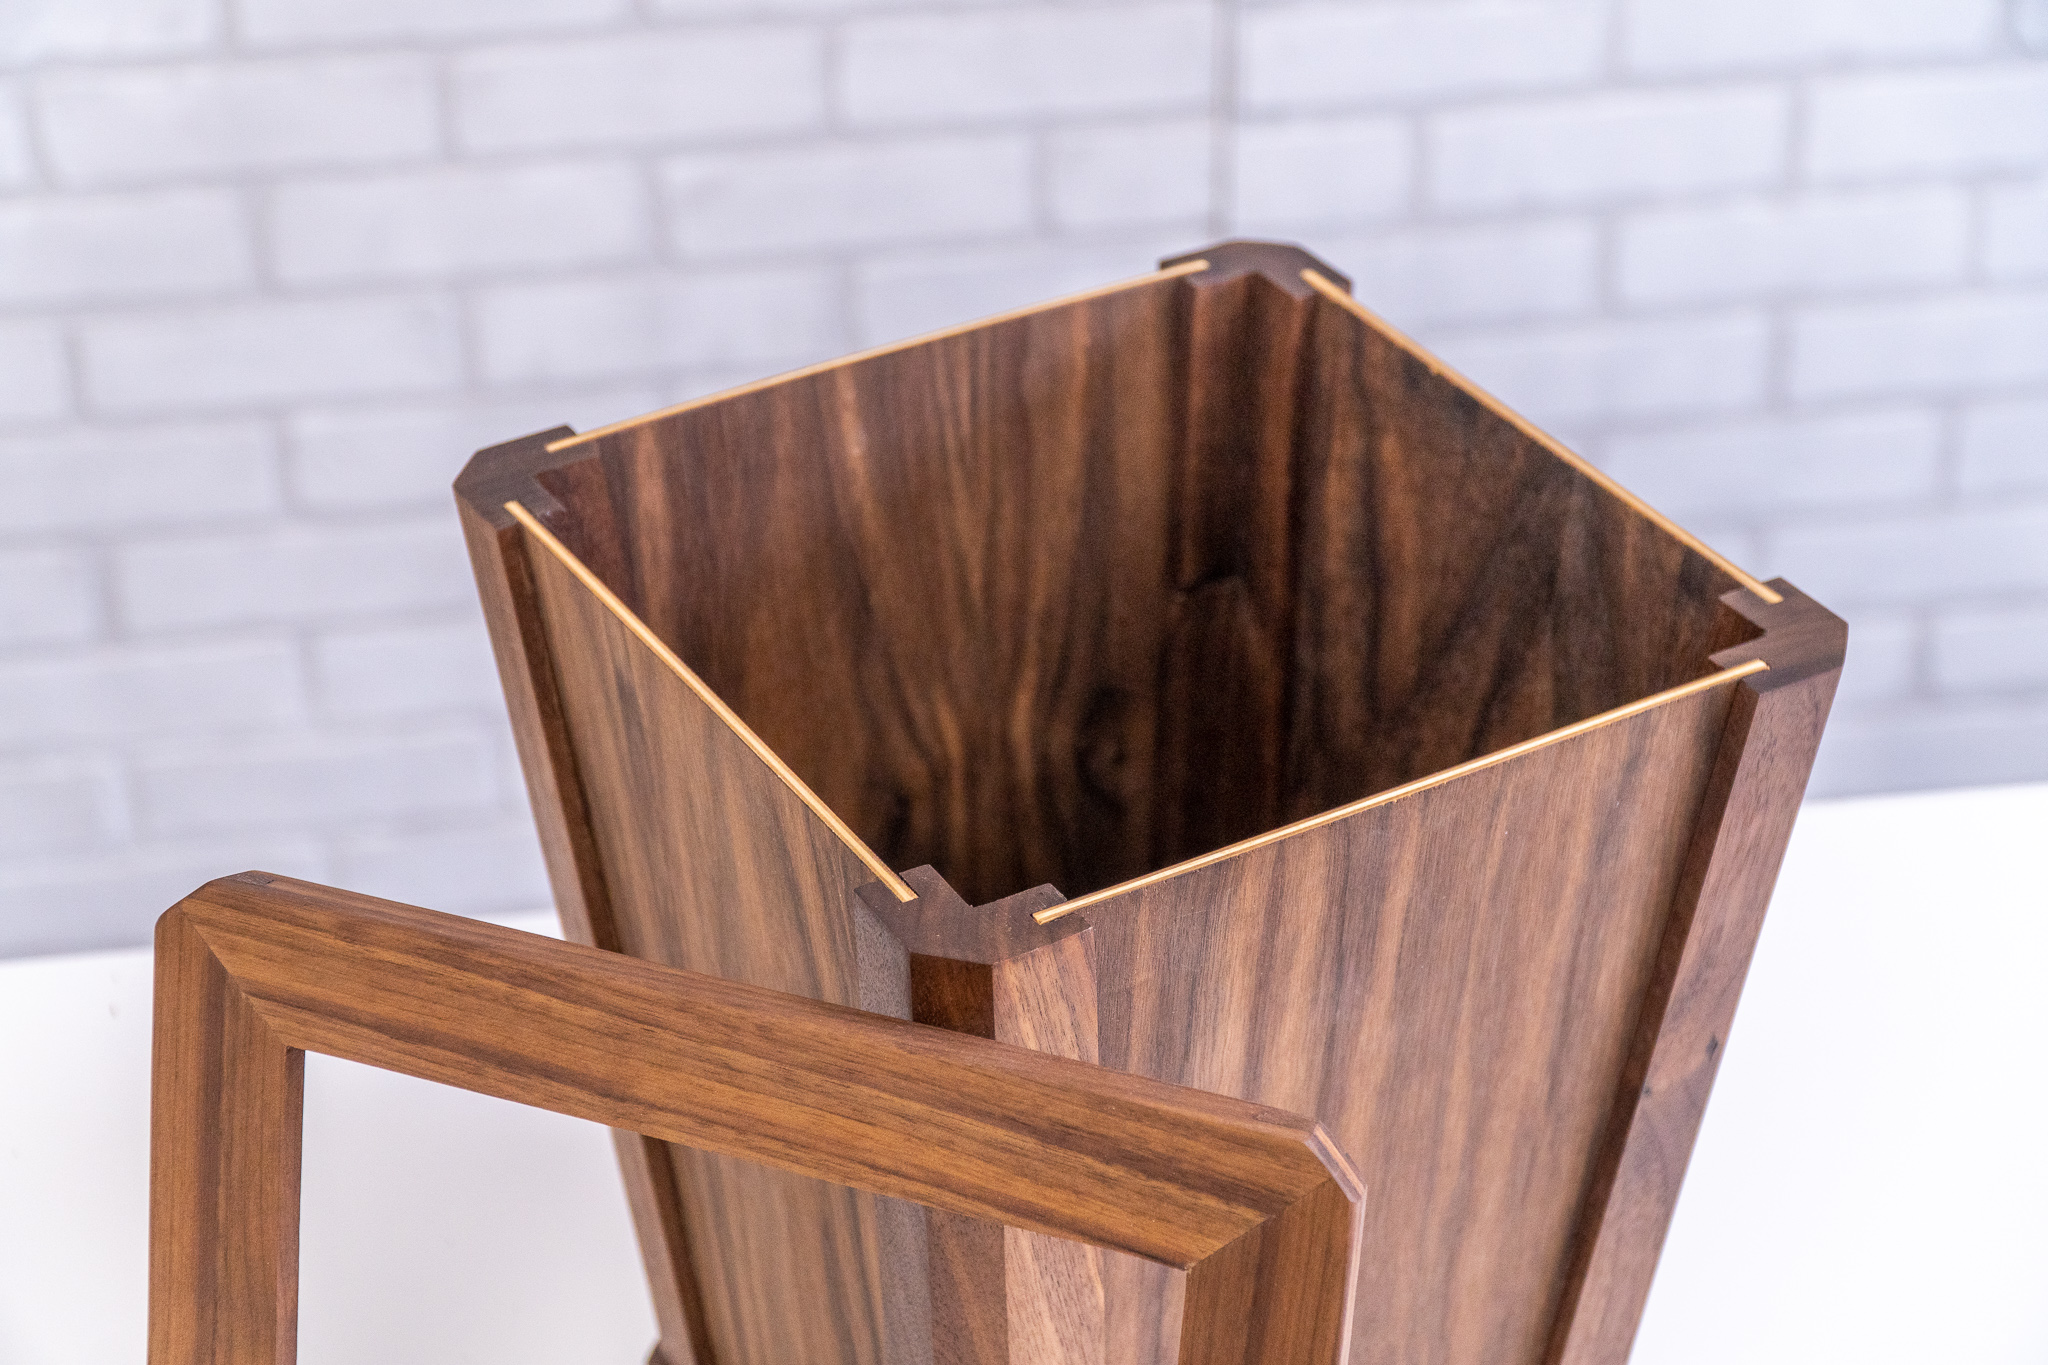
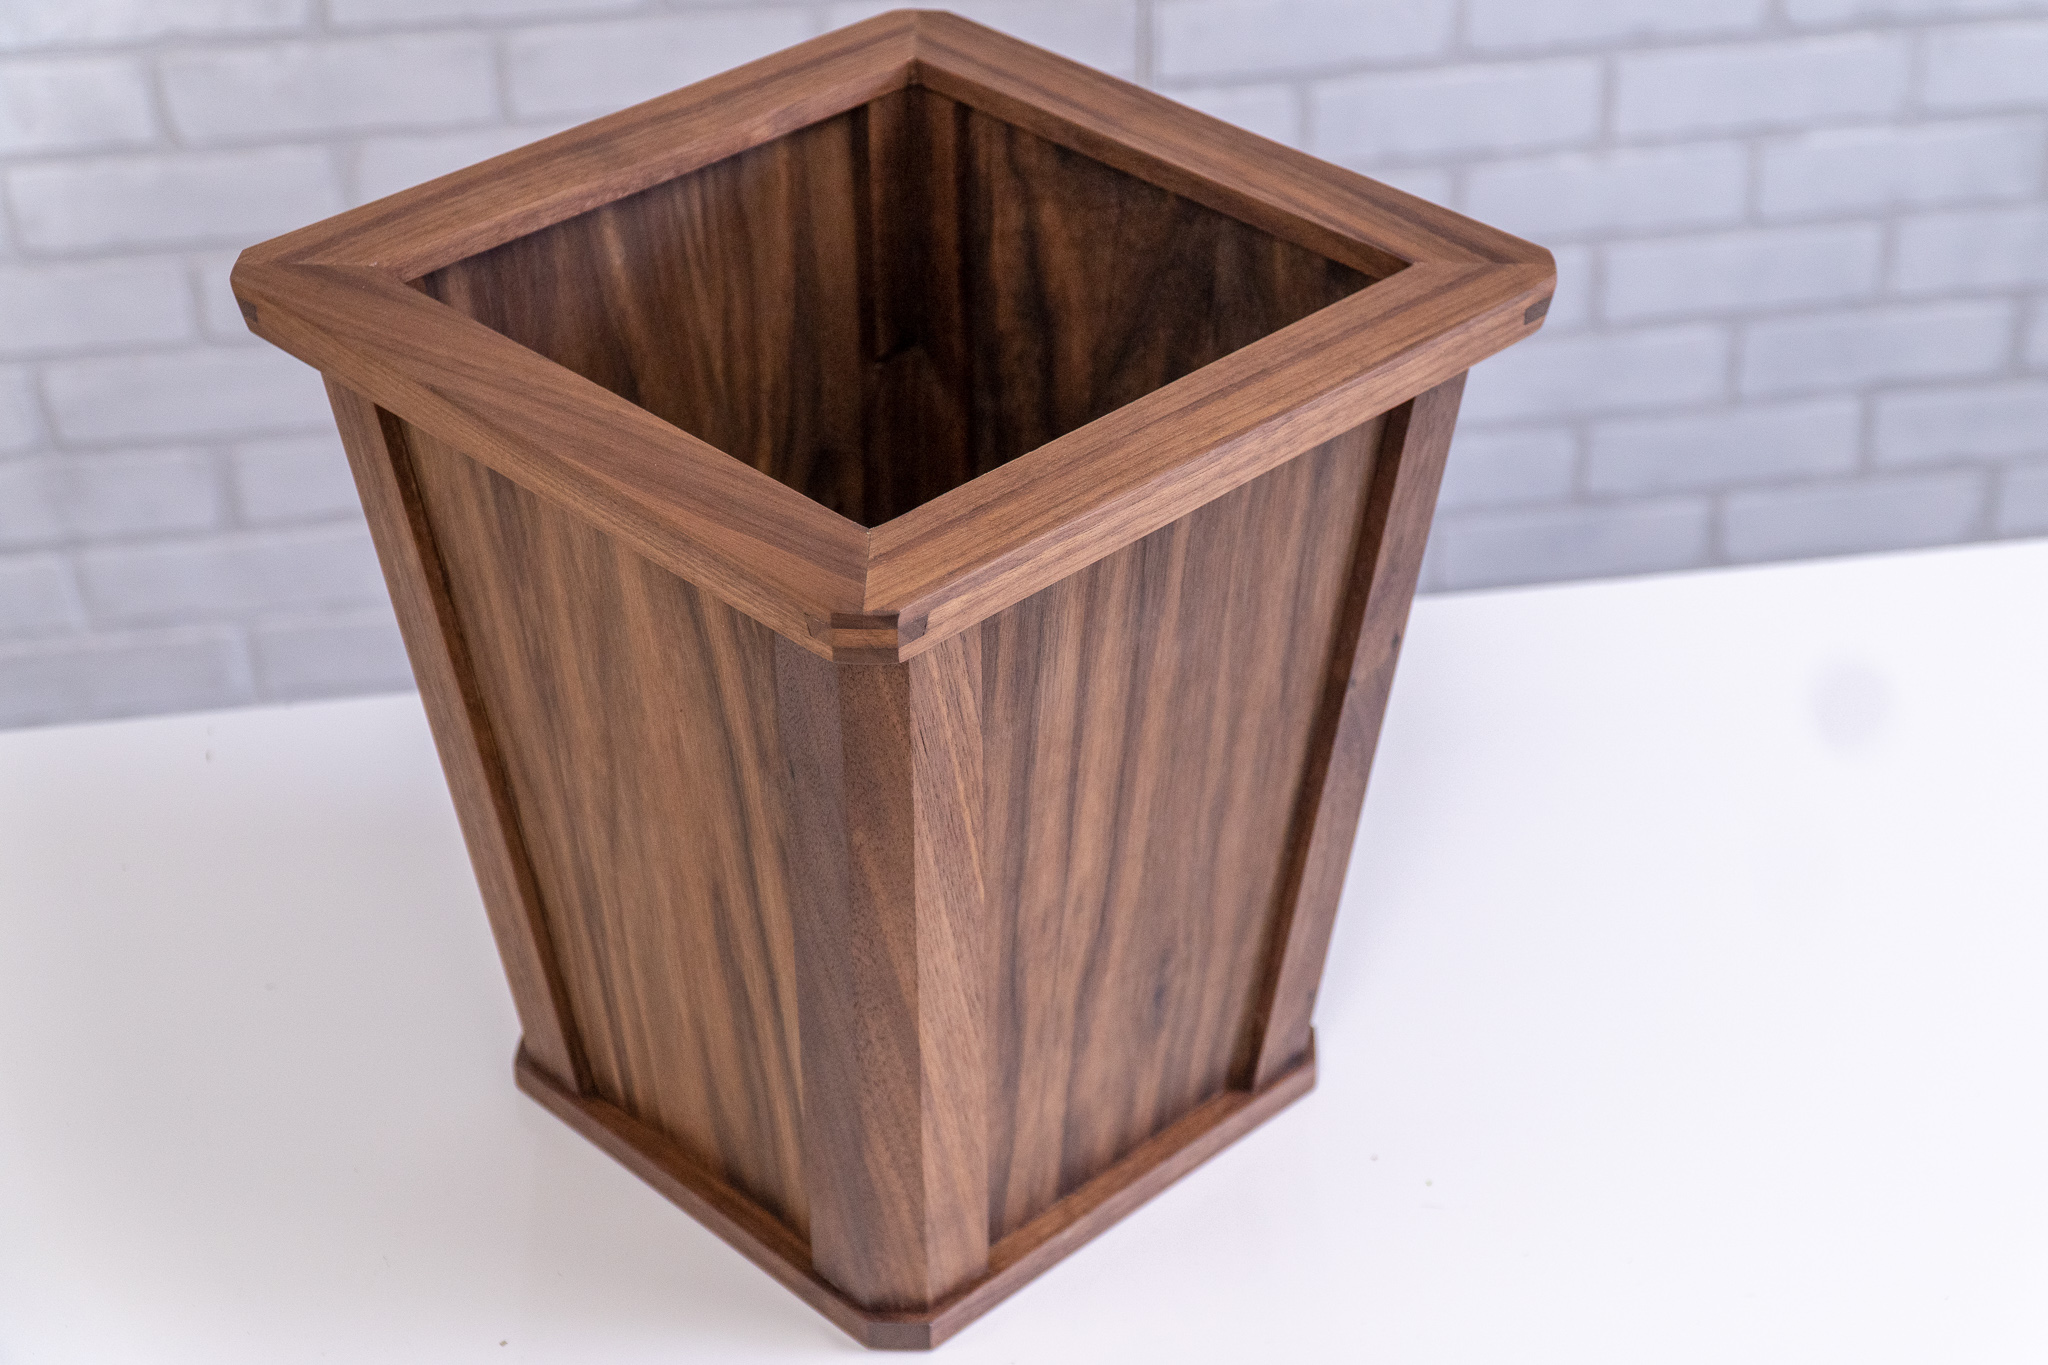
Step-by-step tutorial on how to make a modern stylish wastebasket for your home or office. This rubbish bin has a removable lid to hold in place a disposable grocery sack that can be used as a liner. With a few basic woodworking tools like a tablesaw and bandsaw you can make this project in a few hours. Get the easy to follow plans here!
How to Make a Wood Tissue Box Cover
Easy to make woodworking project. Great for Christmas gifts and craft shows!
Easy Woodworking Project That Can Be Batched Out as Gifts
Looking for something you can batch out quickly for holiday gifts or craft shows? This wood tissue box is the perfect project. Easy joinery with basic woodworking tools. Watch the tutorial video above to see how this simple design can turn an ordinary tissue box into a center piece on your coffee table! Get the plans and Make Something!
Tools and Supplies Used In This Woodworking Project
How to Make Gift Wine Boxes With Finger Joints
Easy to make woodworking project. Great for Christmas gifts and craft shows!
Quick and Easy Woodworking Project Just In Time For Christmas Gifts!
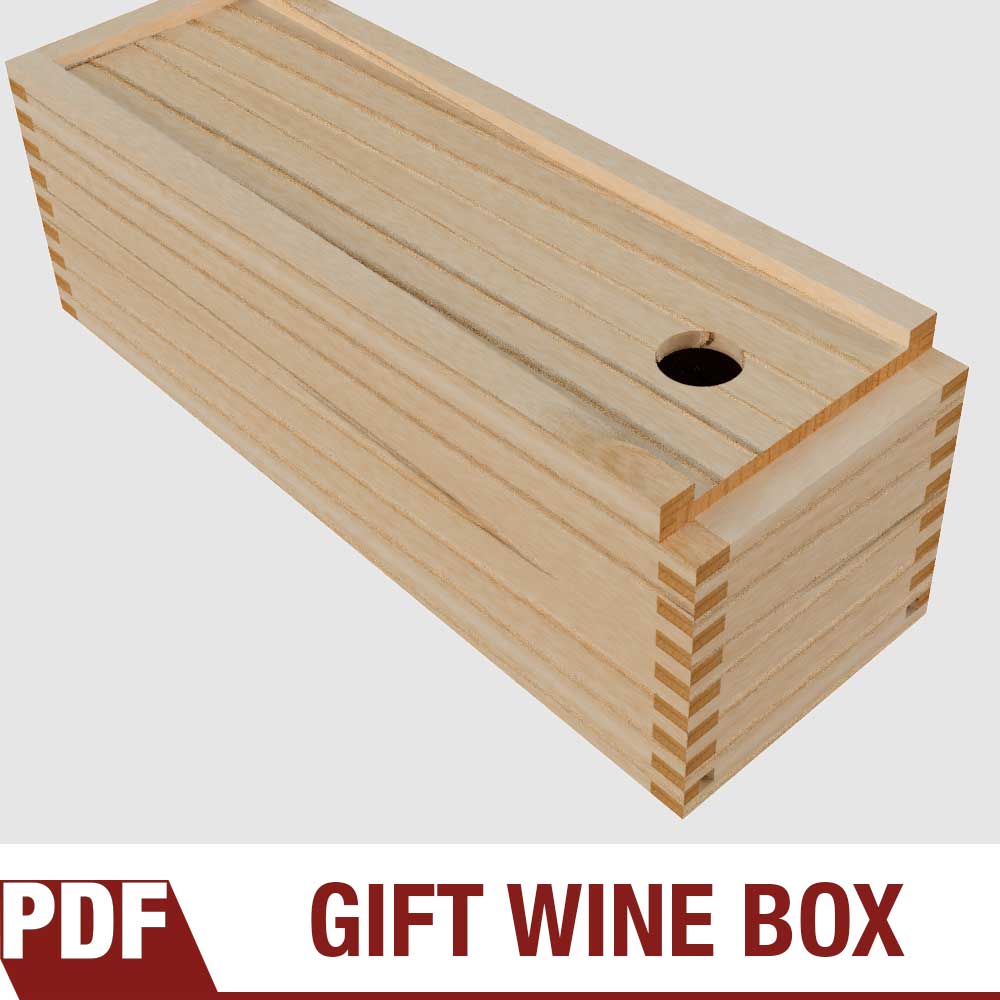
These easy to make wine boxes make for a great gift when pared with a bottle of wine and also sell well at craft shows. I like to make mine from pine and leave them unfinished for that natural softwood feel, smell and look. If you’ve never made finger joints (also known as box joints) then check out this video that’ll get you up a running quickly and easily. Looking to batch out a few of these? Get the plans and Make Something!
Tools and Supplies Used In This Woodworking Project
Quick and Easy Tool Bench From Plywood With Free Plans
Step-by-step instructions on making a tool bench from plywood. Very easy woodworking project with basic tools.
Perfect for Bench Top Tools with Lots of Storage
This tool bench is easy to make and made almost entirely out of 3⁄4" plywood. Goes together quick and can be made with almost no clamps. The width of the base is 40" which can easily be modified by lengthening the rails. You can also easily modify the height by adjusting the leg size. You ready? Let's Make Something!
Tools Used in this Woodworking Project
How to Make a Box Joint Jig. Quick Simple and No Dado Needed.
How to make a finger joint/box joint jig. Quick and easy and you don't need a dado stack. Step by step tutorial that can be used on any table saw.
How to make a finger joint/box joint jig. Quick and easy and you don't need a dado stack. Step by step tutorial that can be used on any table saw.
Tools and Supplies Used to Make This Woodworking Jig
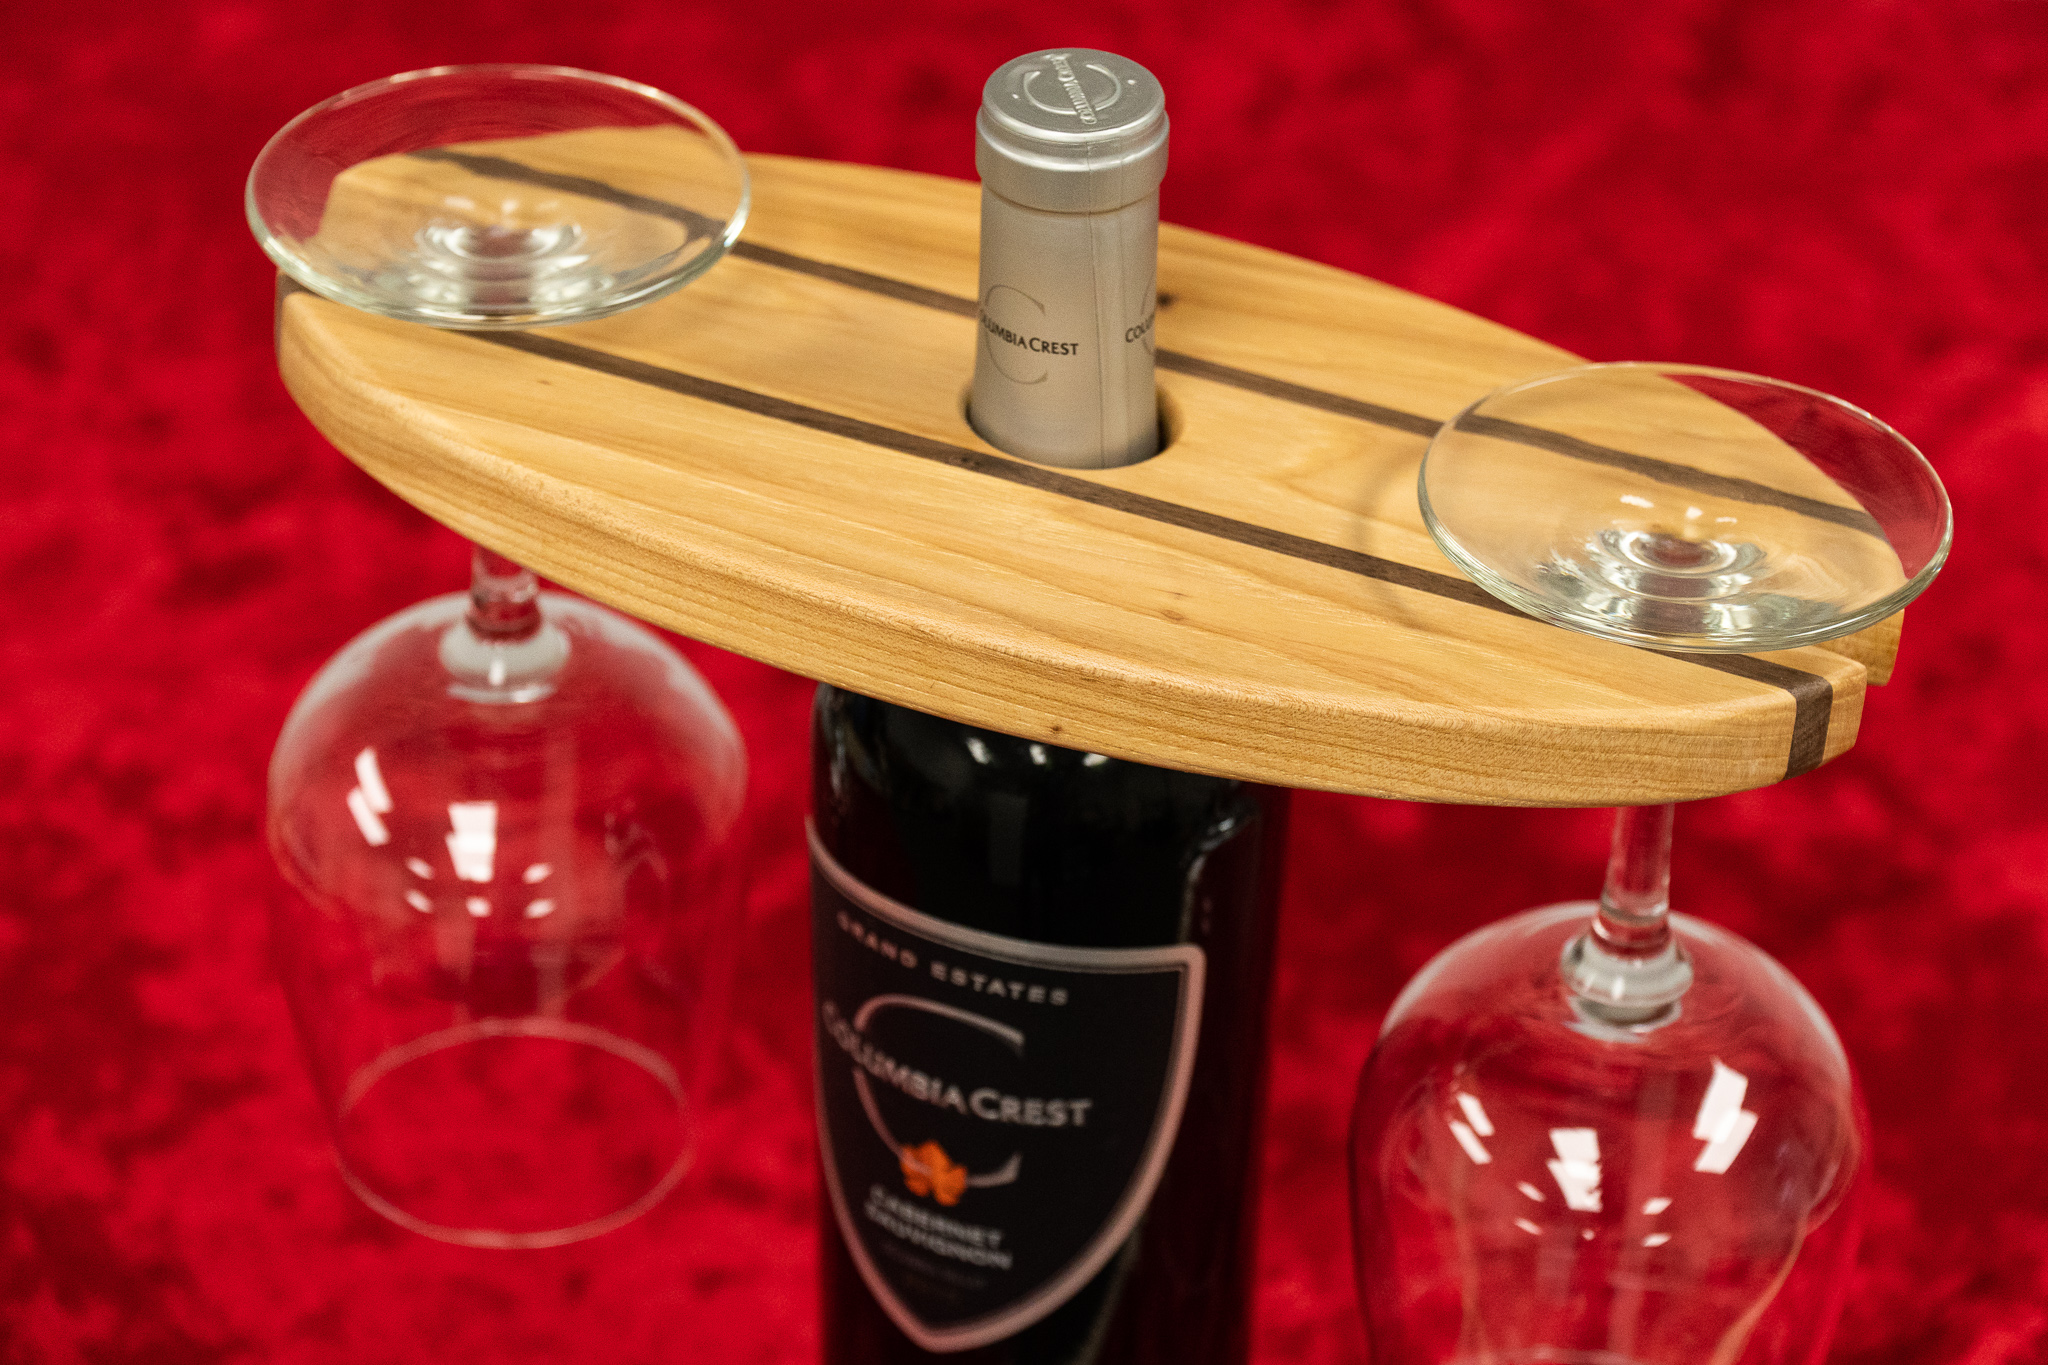
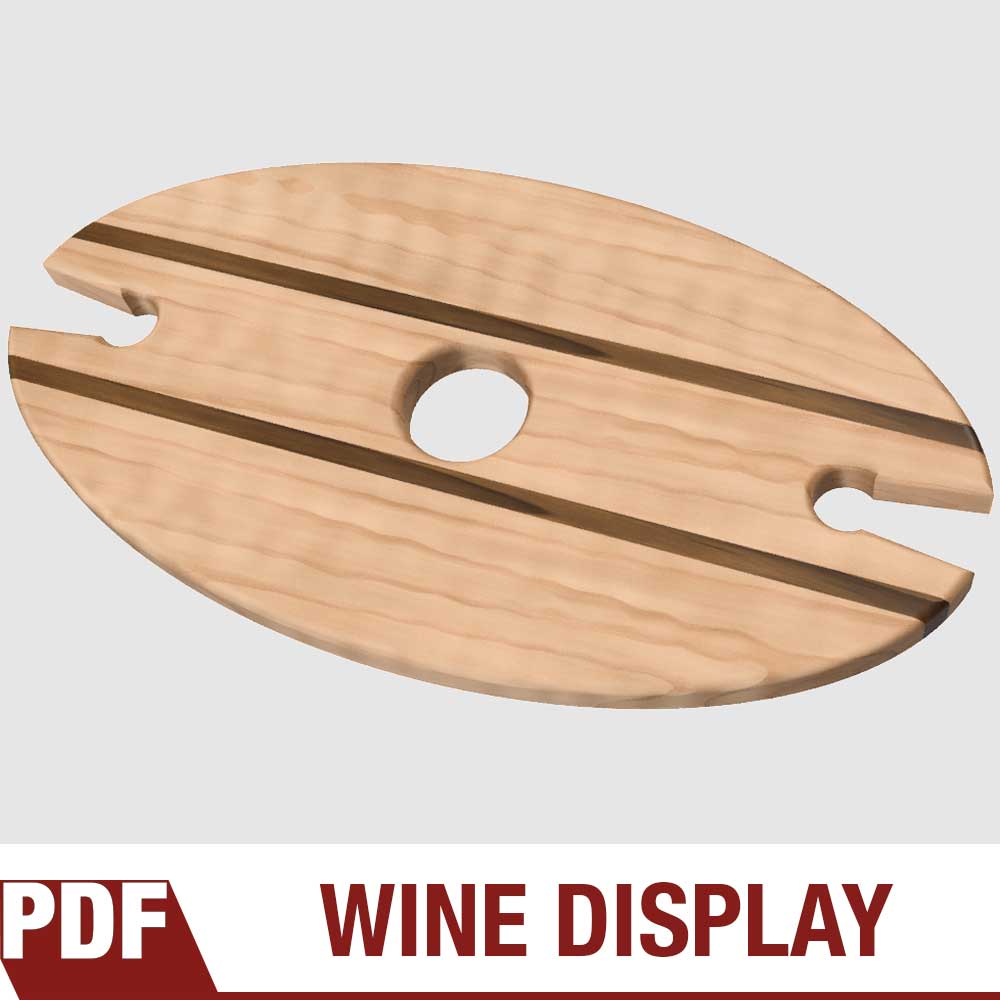
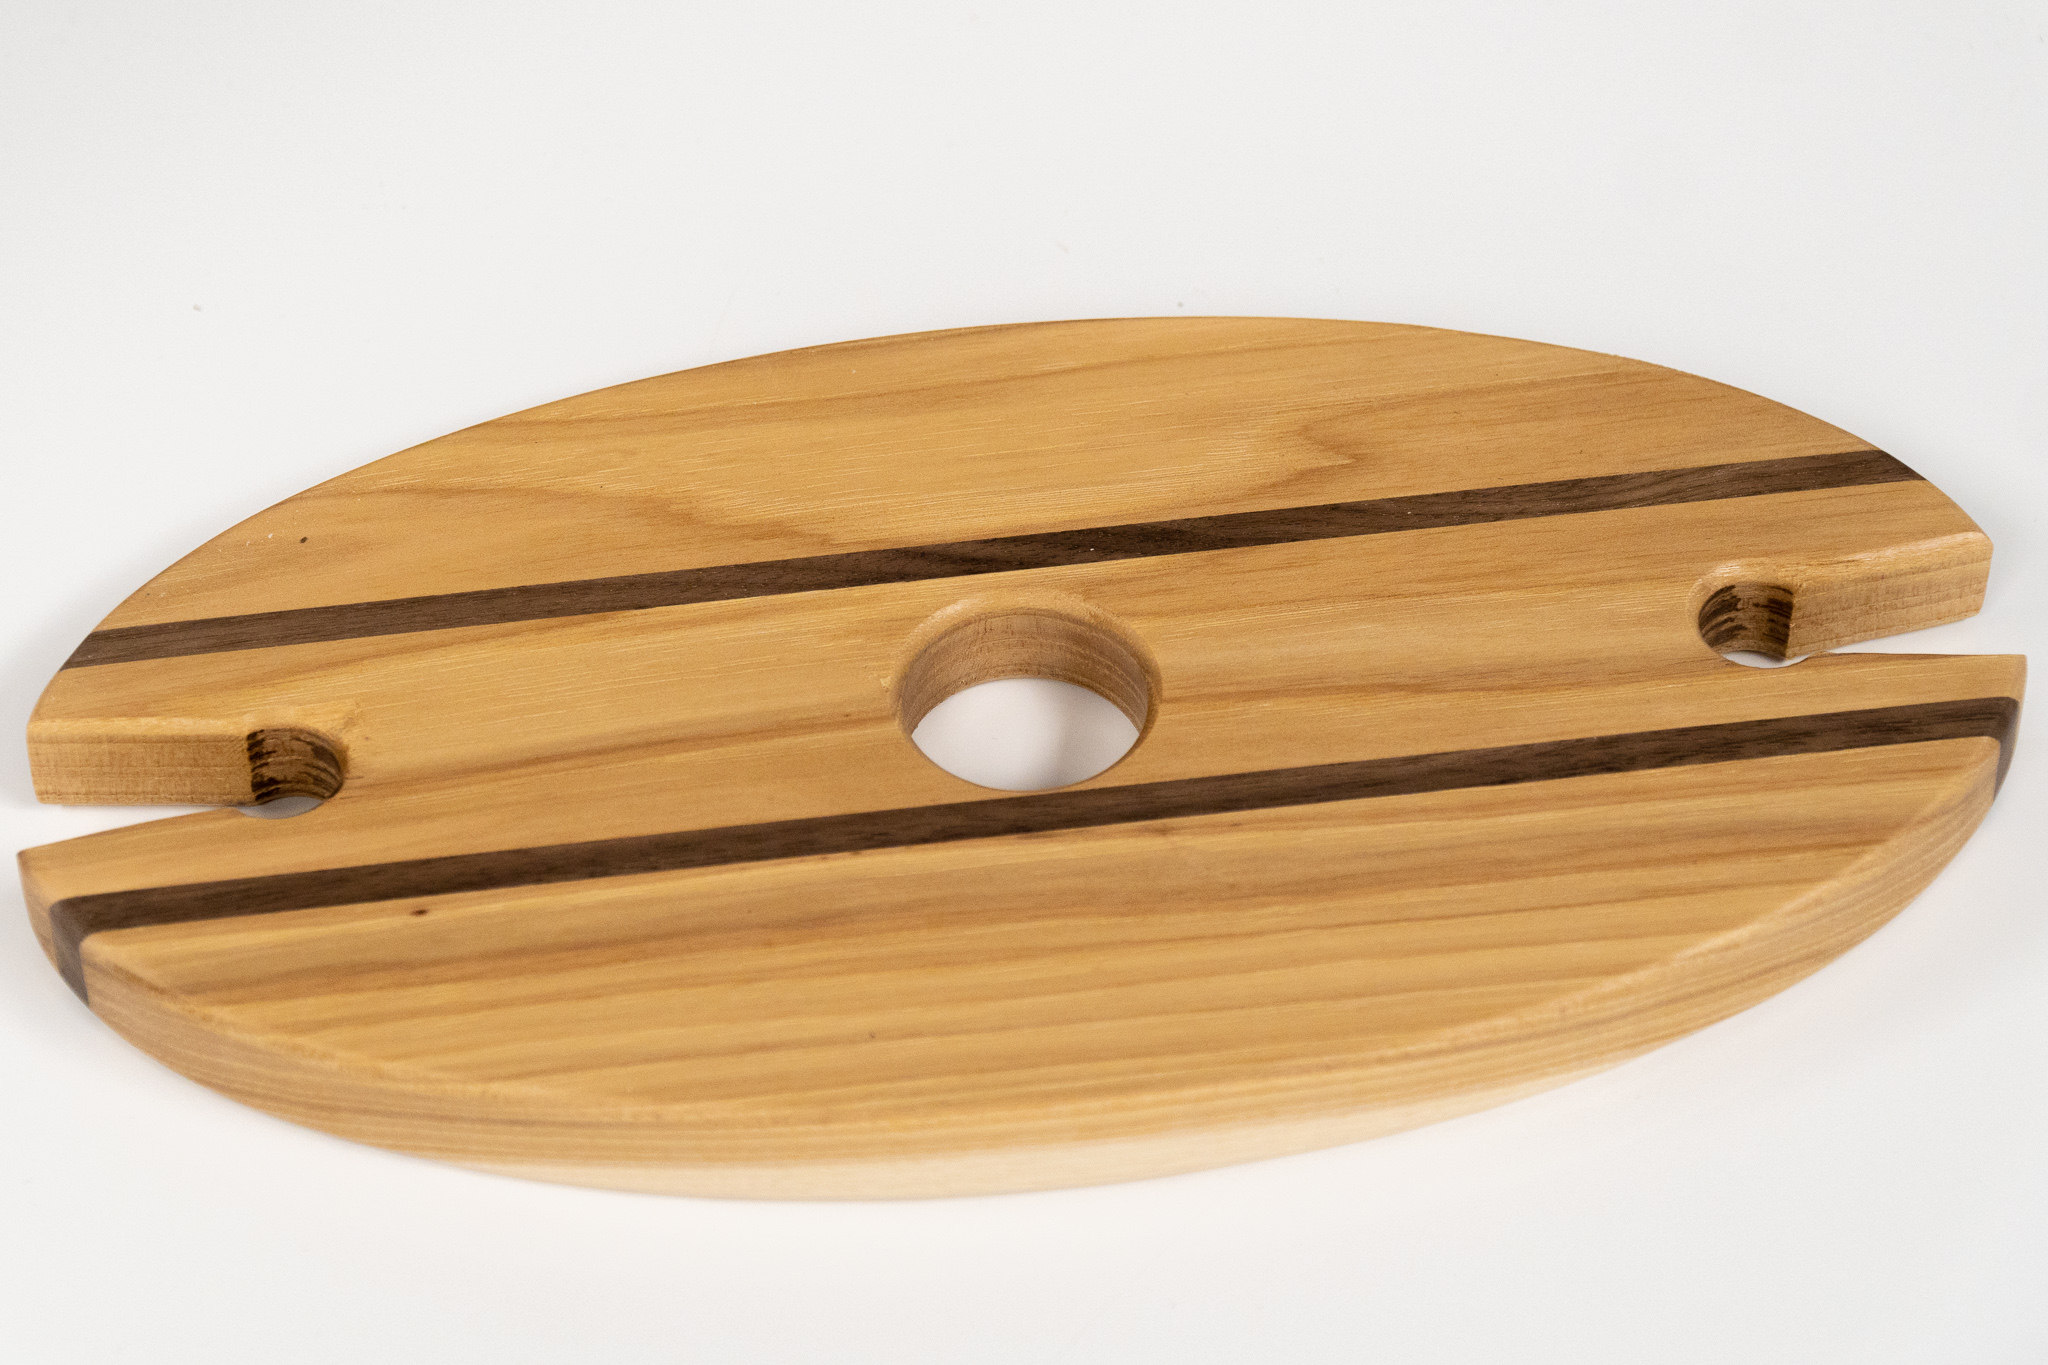
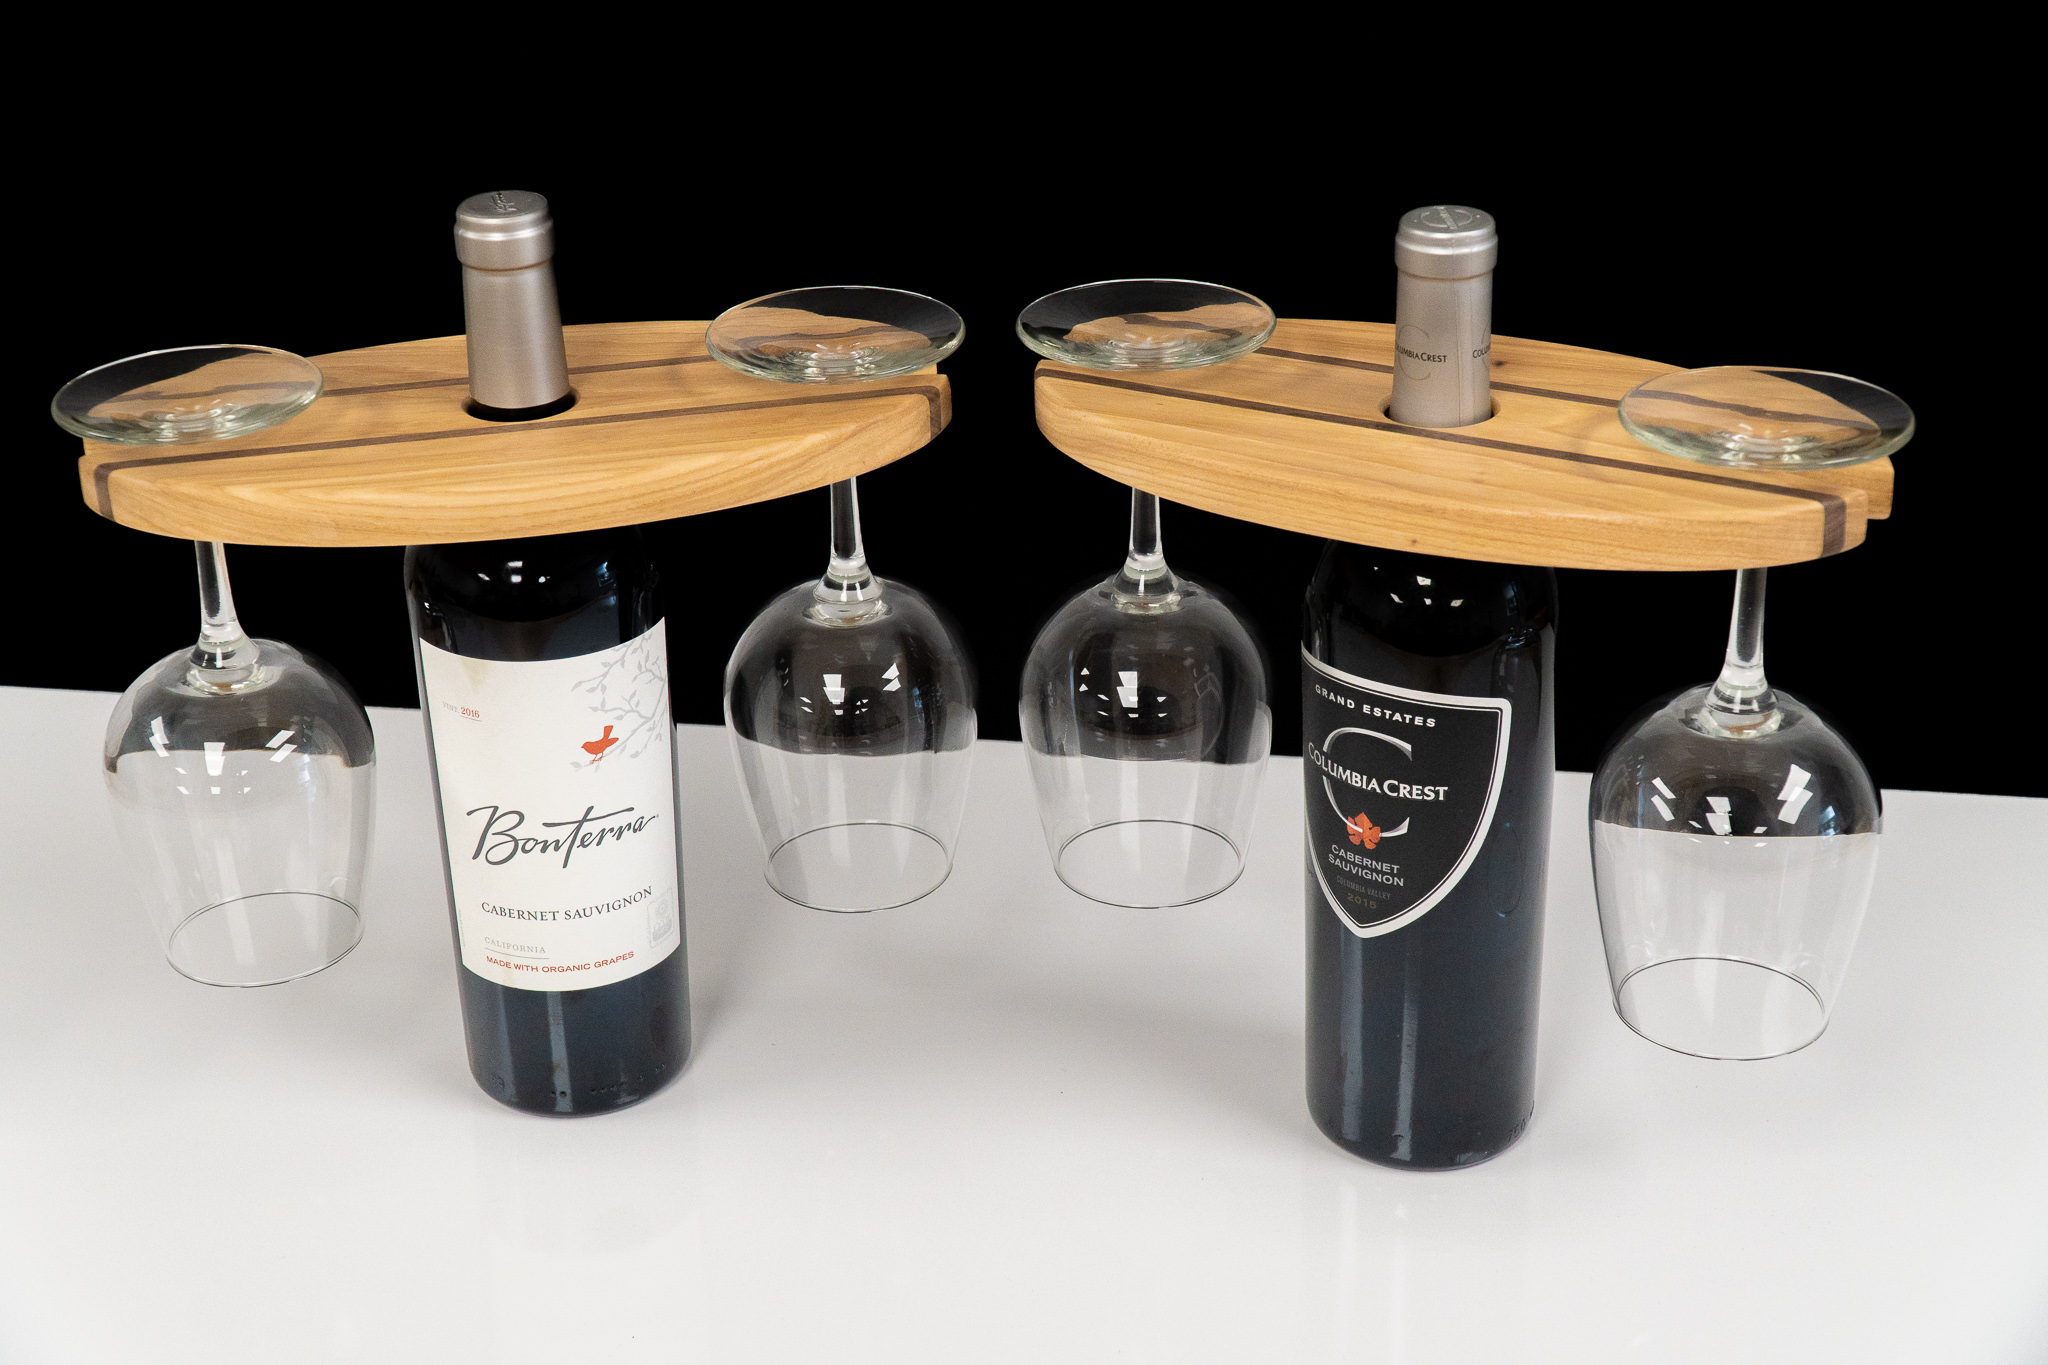
How to Make a Wine Bottle and Glass Display
A quick and simple woodworking project that can easily be batched out for selling at craft shows.
Make Money With Your Woodworking
These wine displays are constantly my biggest seller at craft shows and also one of the easiest things to make! When making these it's best to batch out and make a handful at once to make efficient use of your time. I give the customer the option of buying them with or without the glasses. You ready to dig in and Make Something? Let's go!
Trade is offering 50% OFF your first order when you subscribe to The Hookup. Use my code ‘david’
Everything You Need to Know on Making Bandsaw Boxes
Step-by-step tutorial on how to make bandsaw boxes with templates and plans. Easy and fun woodworking projects!
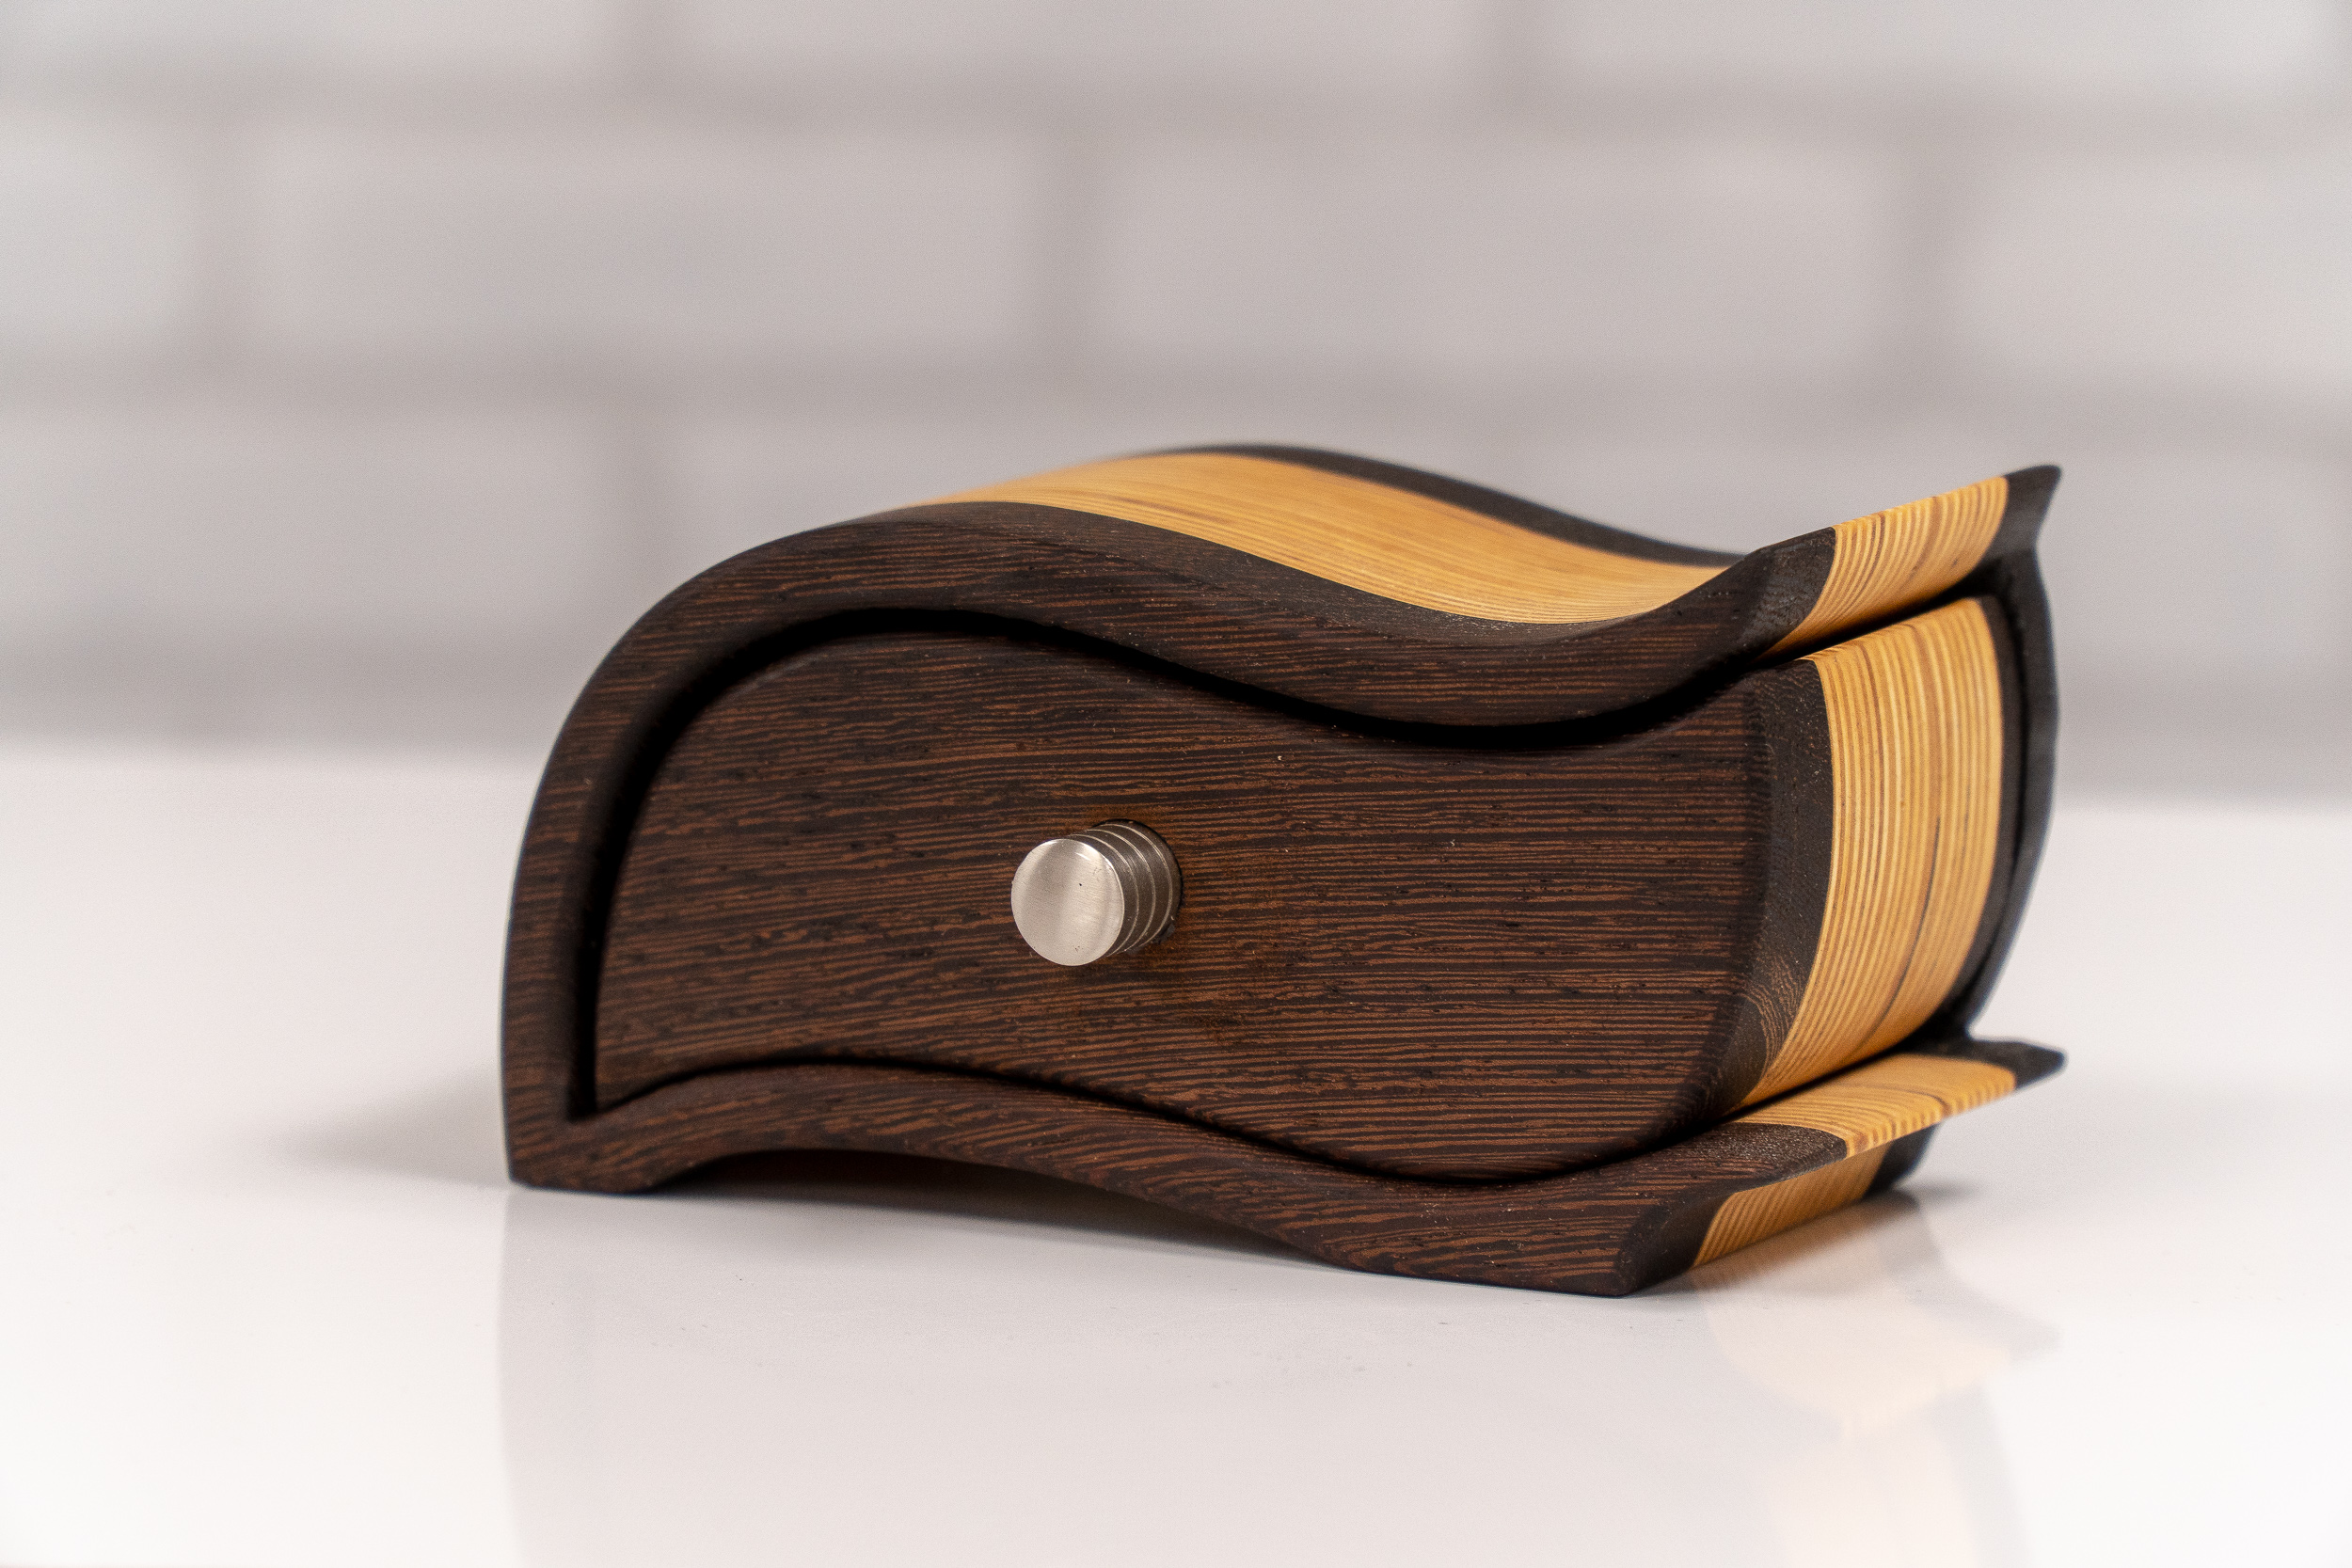
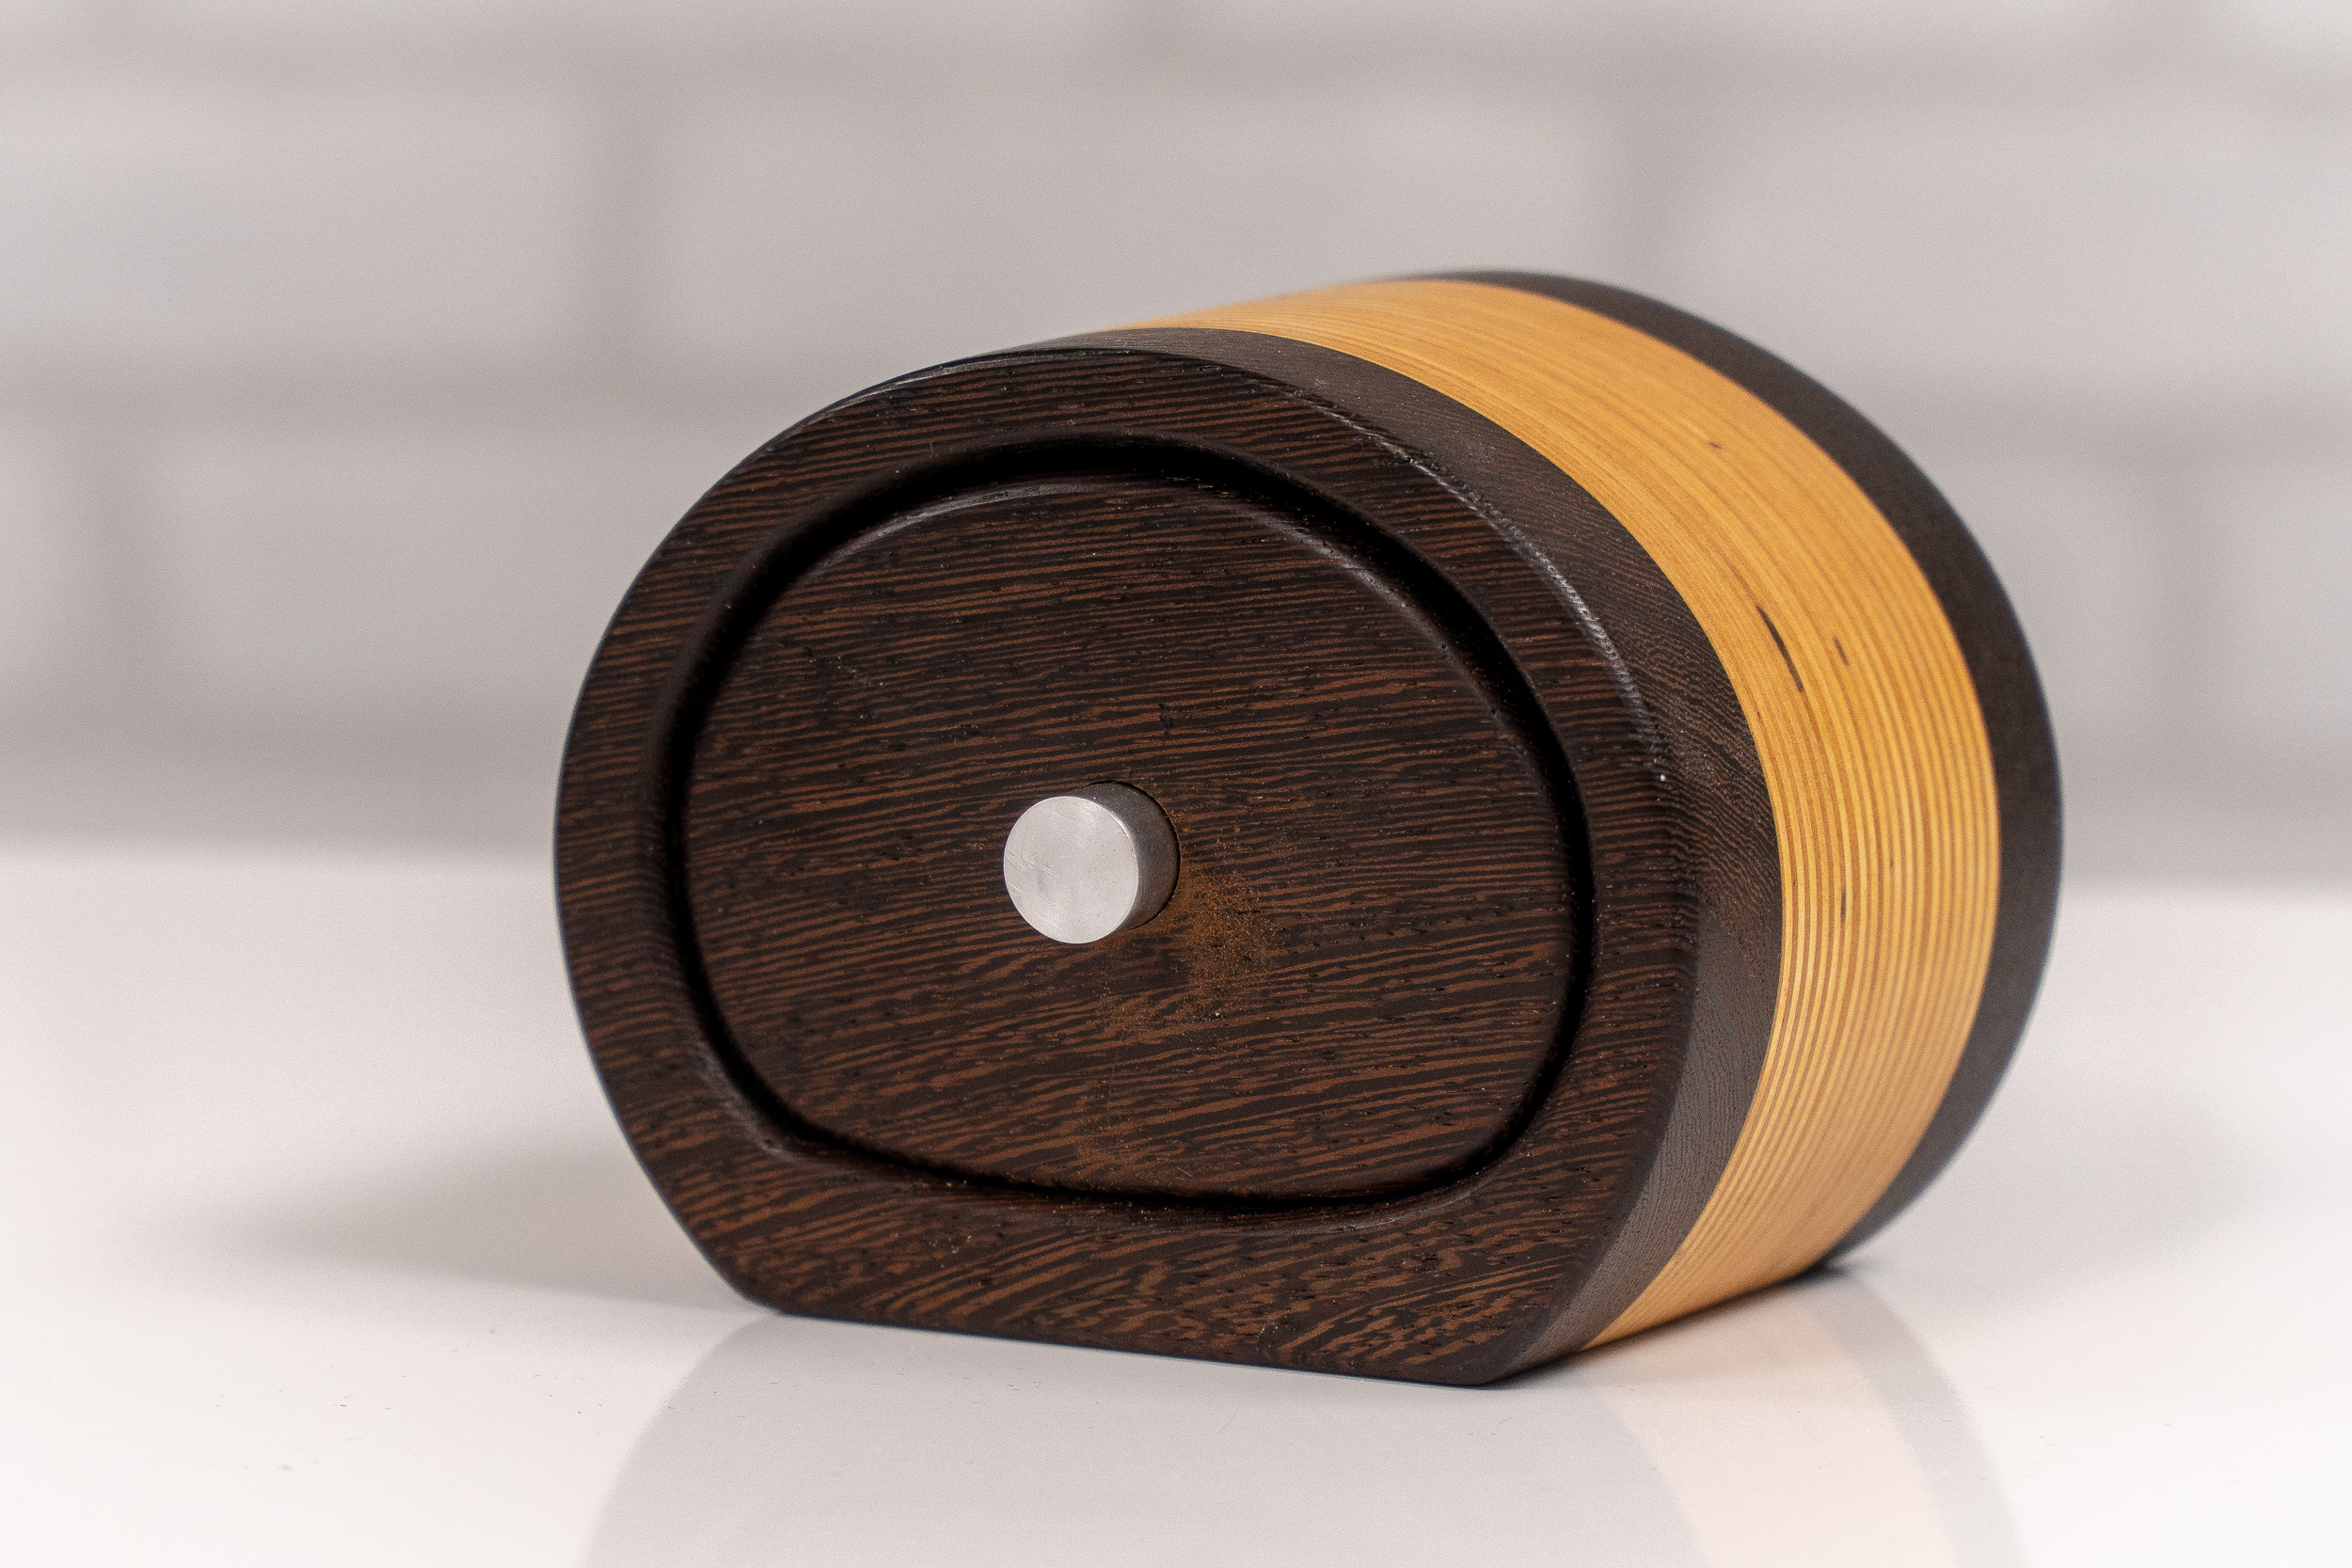
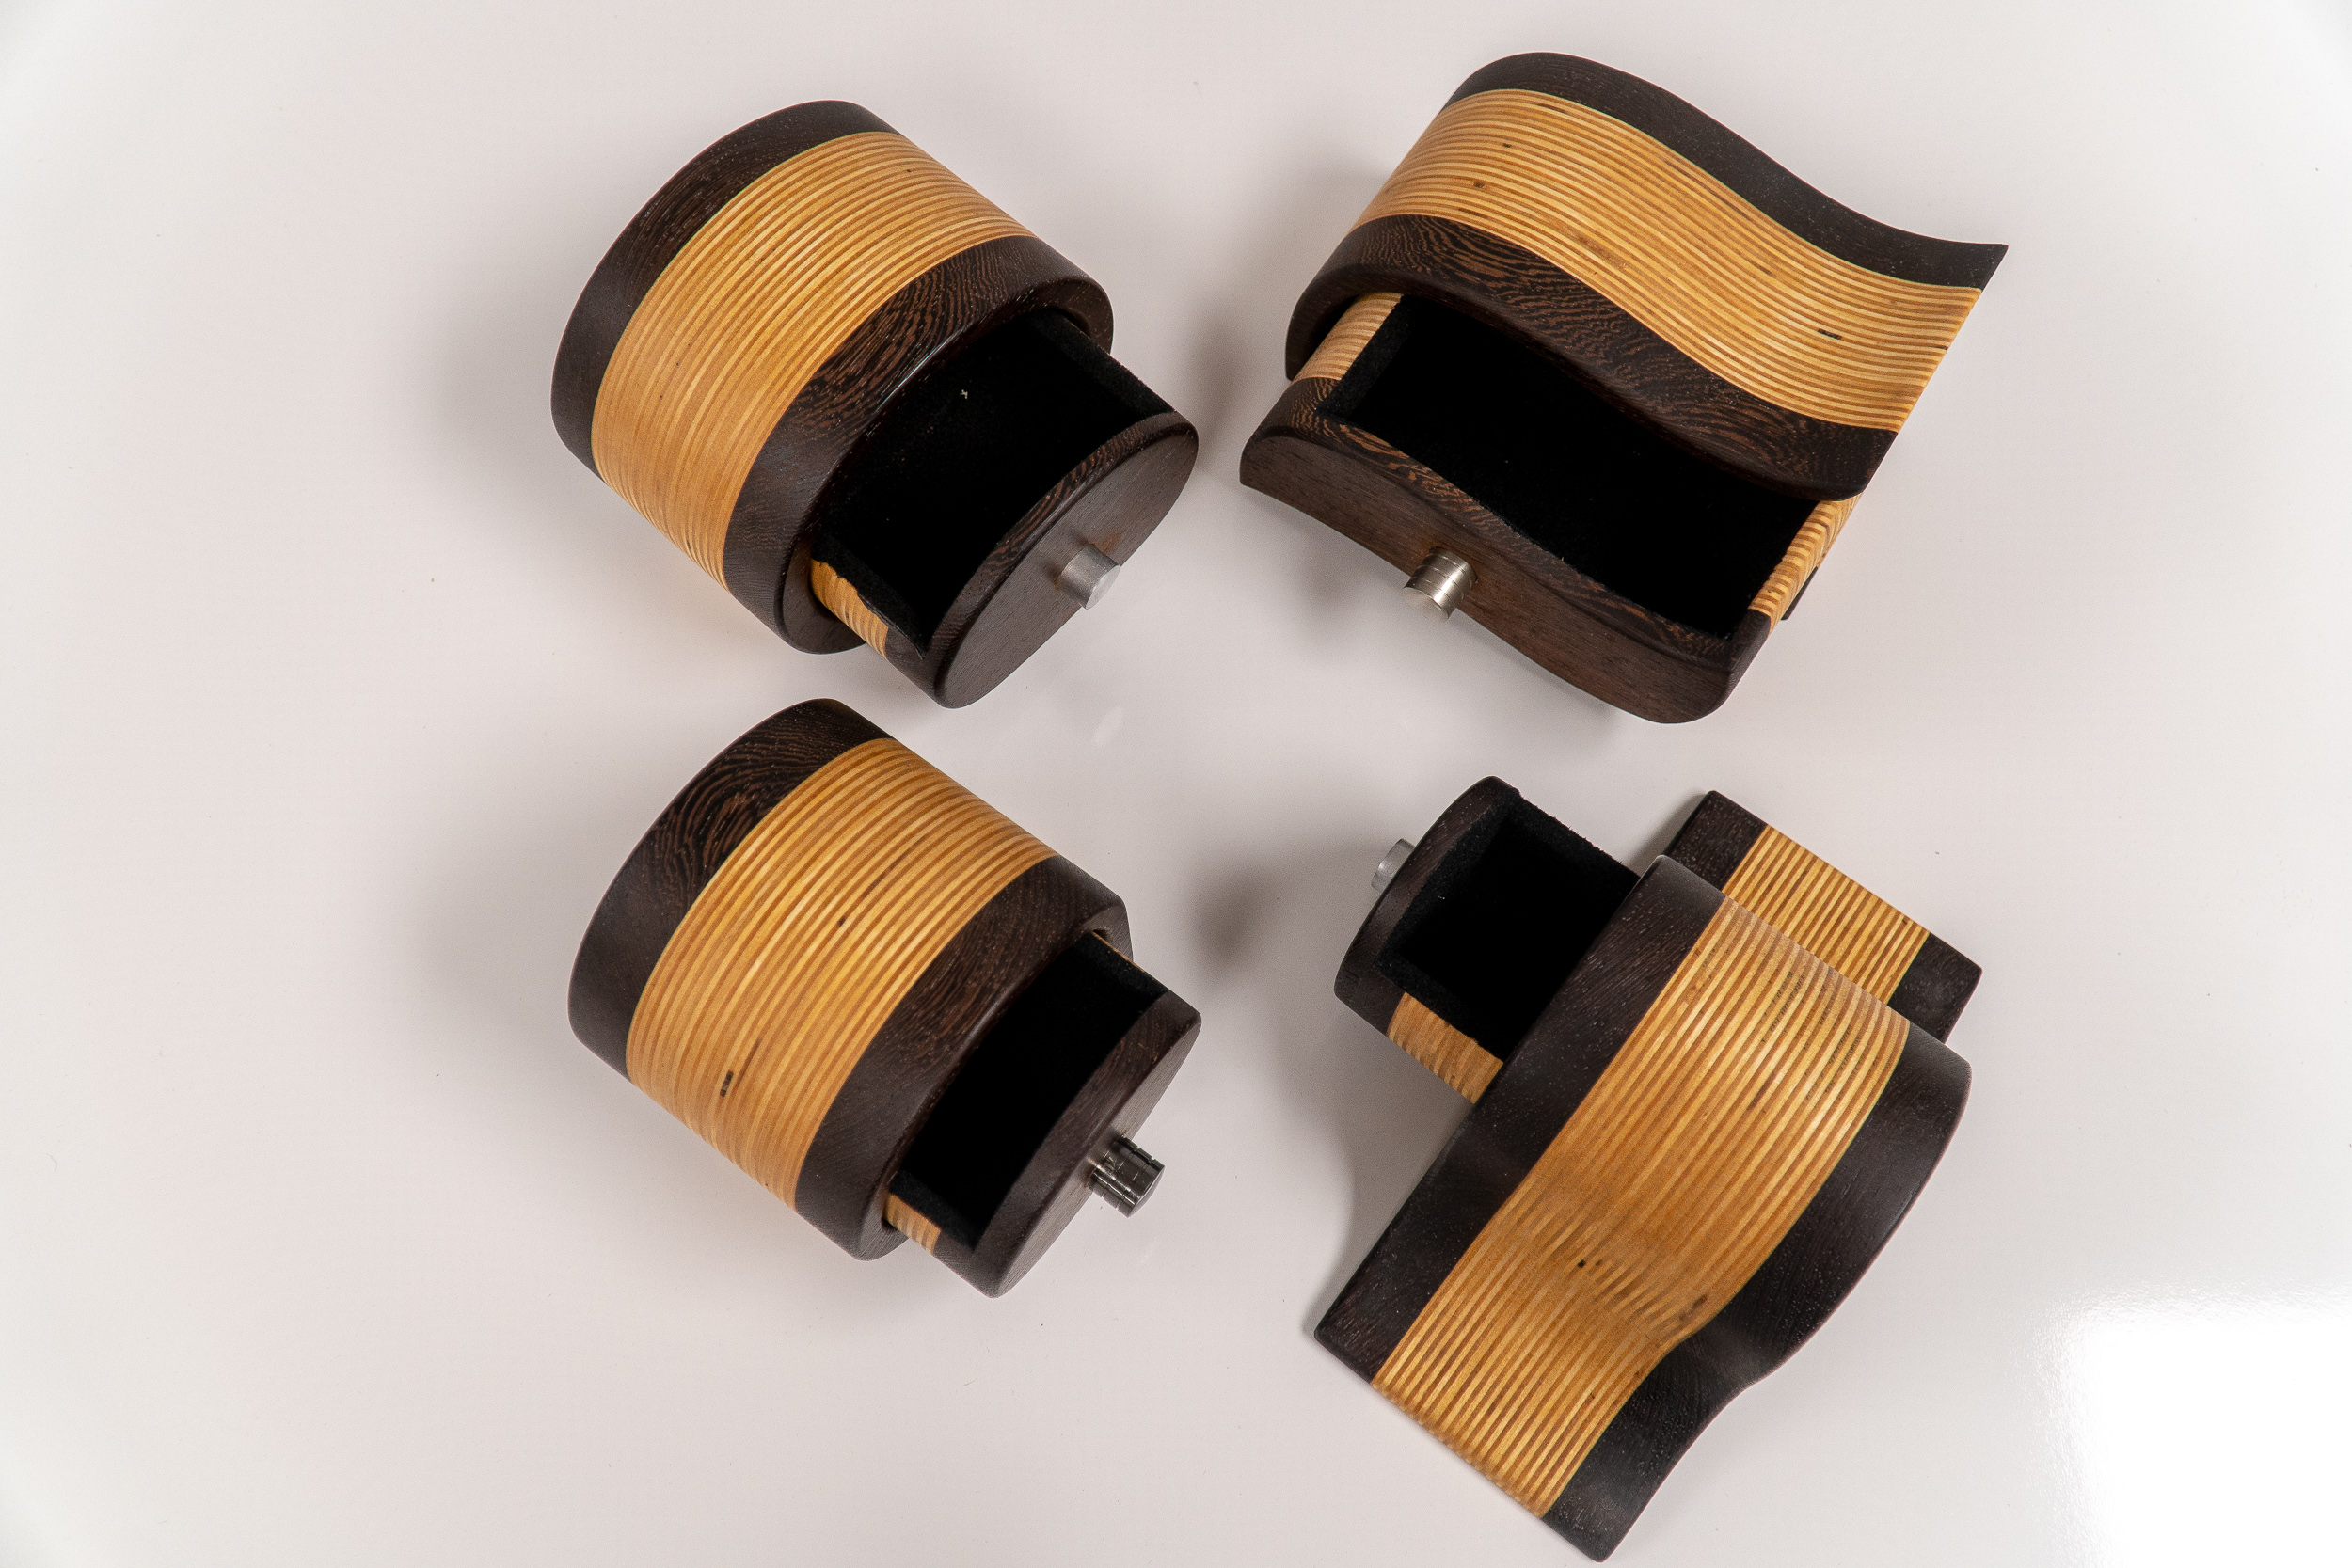
Making bandsaw boxes is what got me excited about woodworking! You can make them out of scraps in a day and they make for a great handmade gift. There are endless possibilities in shapes and sizes and you don't need and entire shop full of expensive tools or years of experience.
Bandsaw Box Templates and Plans
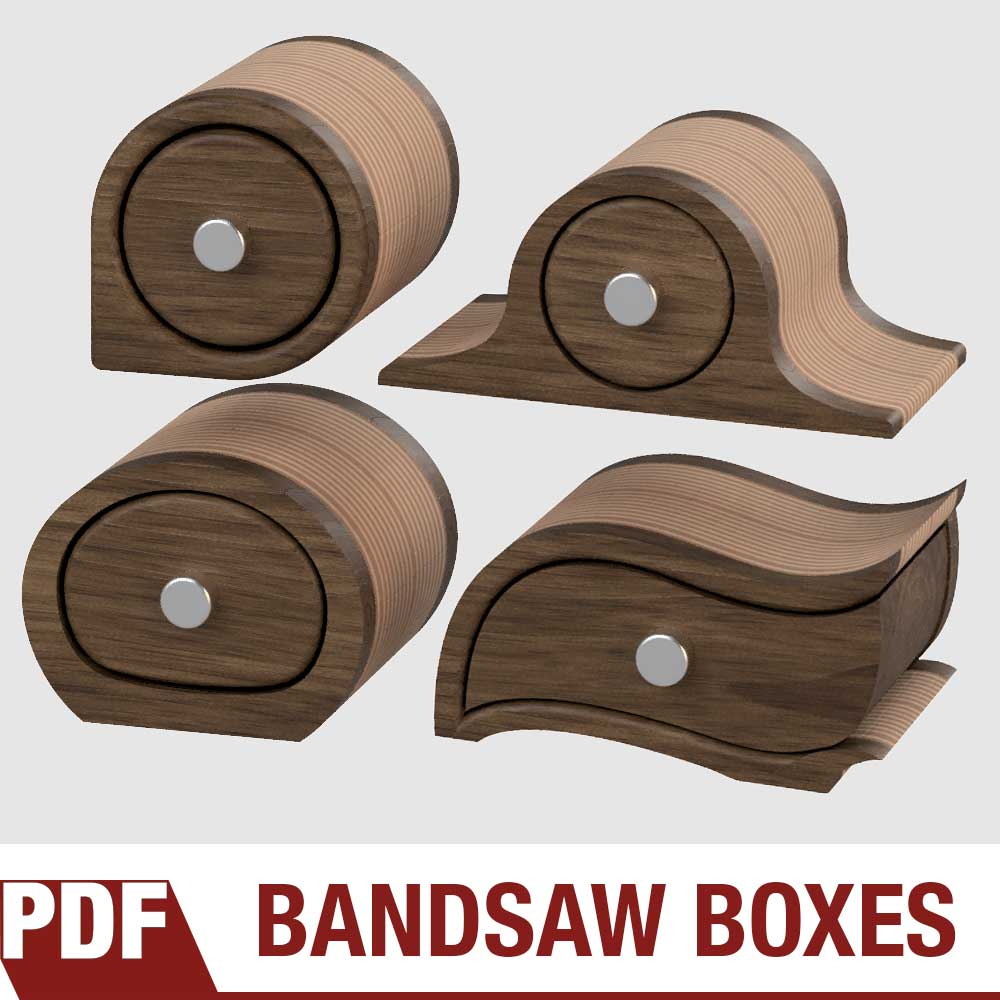
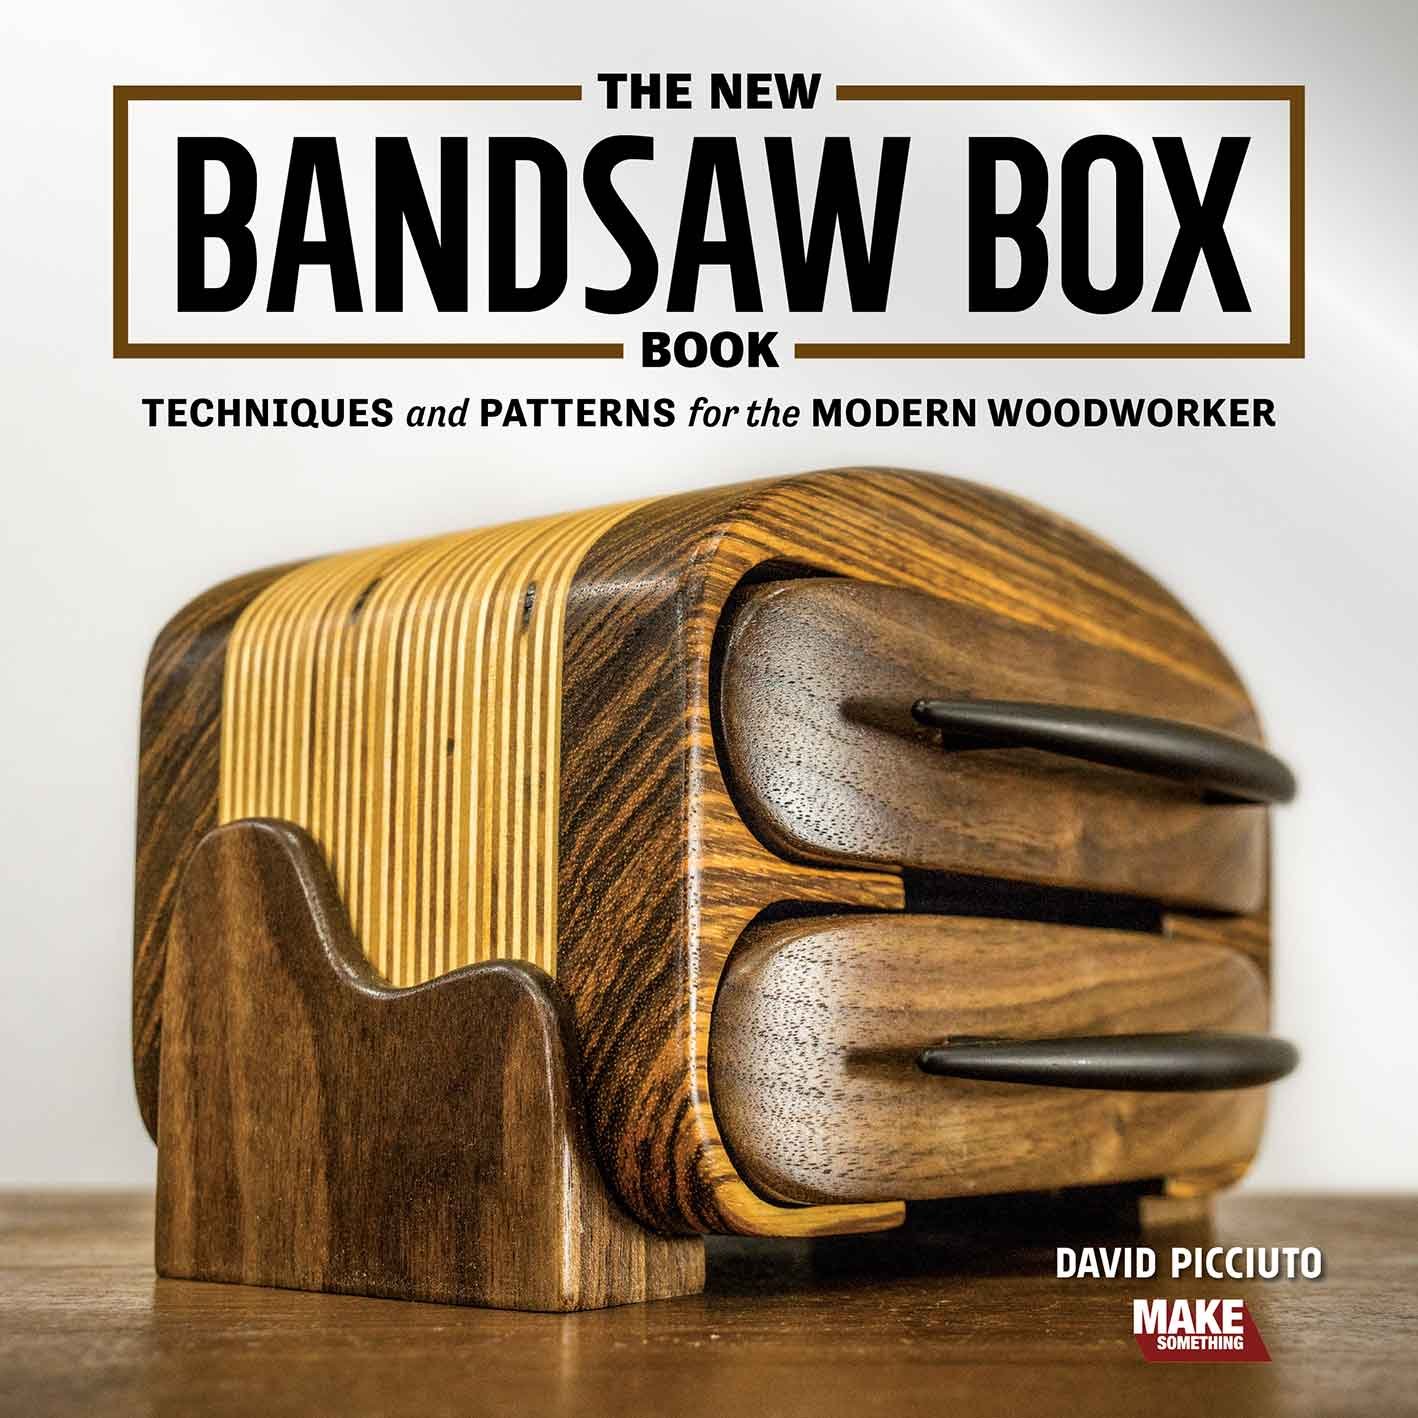
Looking to get started in making bandsaw boxes? I’ve got PDF templates for 4 simple but elegant bandsaw box designs as well as a book full of unique styles. You can find the book in all major book stores and public libraries or you can get a signed book directly from me!
The Best Blade For Making Bandsaw Boxes
I’ve made dozens of bandsaw boxes in my day and I’ve tried many blades. You need a blade small enough to cut tight curves. Generally the more teeth per inch the smoother the cut you’ll get. But when it comes to making bandsaw boxes a smooth cut is not necessary. What’s more important is large gullets between the teeth to remove all the waste dust that’s created when cutting a big 4" thick bandsaw box blank. If you have too many teeth you’ll have issues with burning and not being able to cut the curves because of all the saw dust trapped between the blade and the wood. I’ve come to the conclusion that a 3/16" blade for 4 teeth per inch is the perfect blade for these bandsaw boxes. I like this 3/16", 4 TPI, Skip Tooth blade from Highland Woodworking.
Step 1: Bandsaw Box Blank
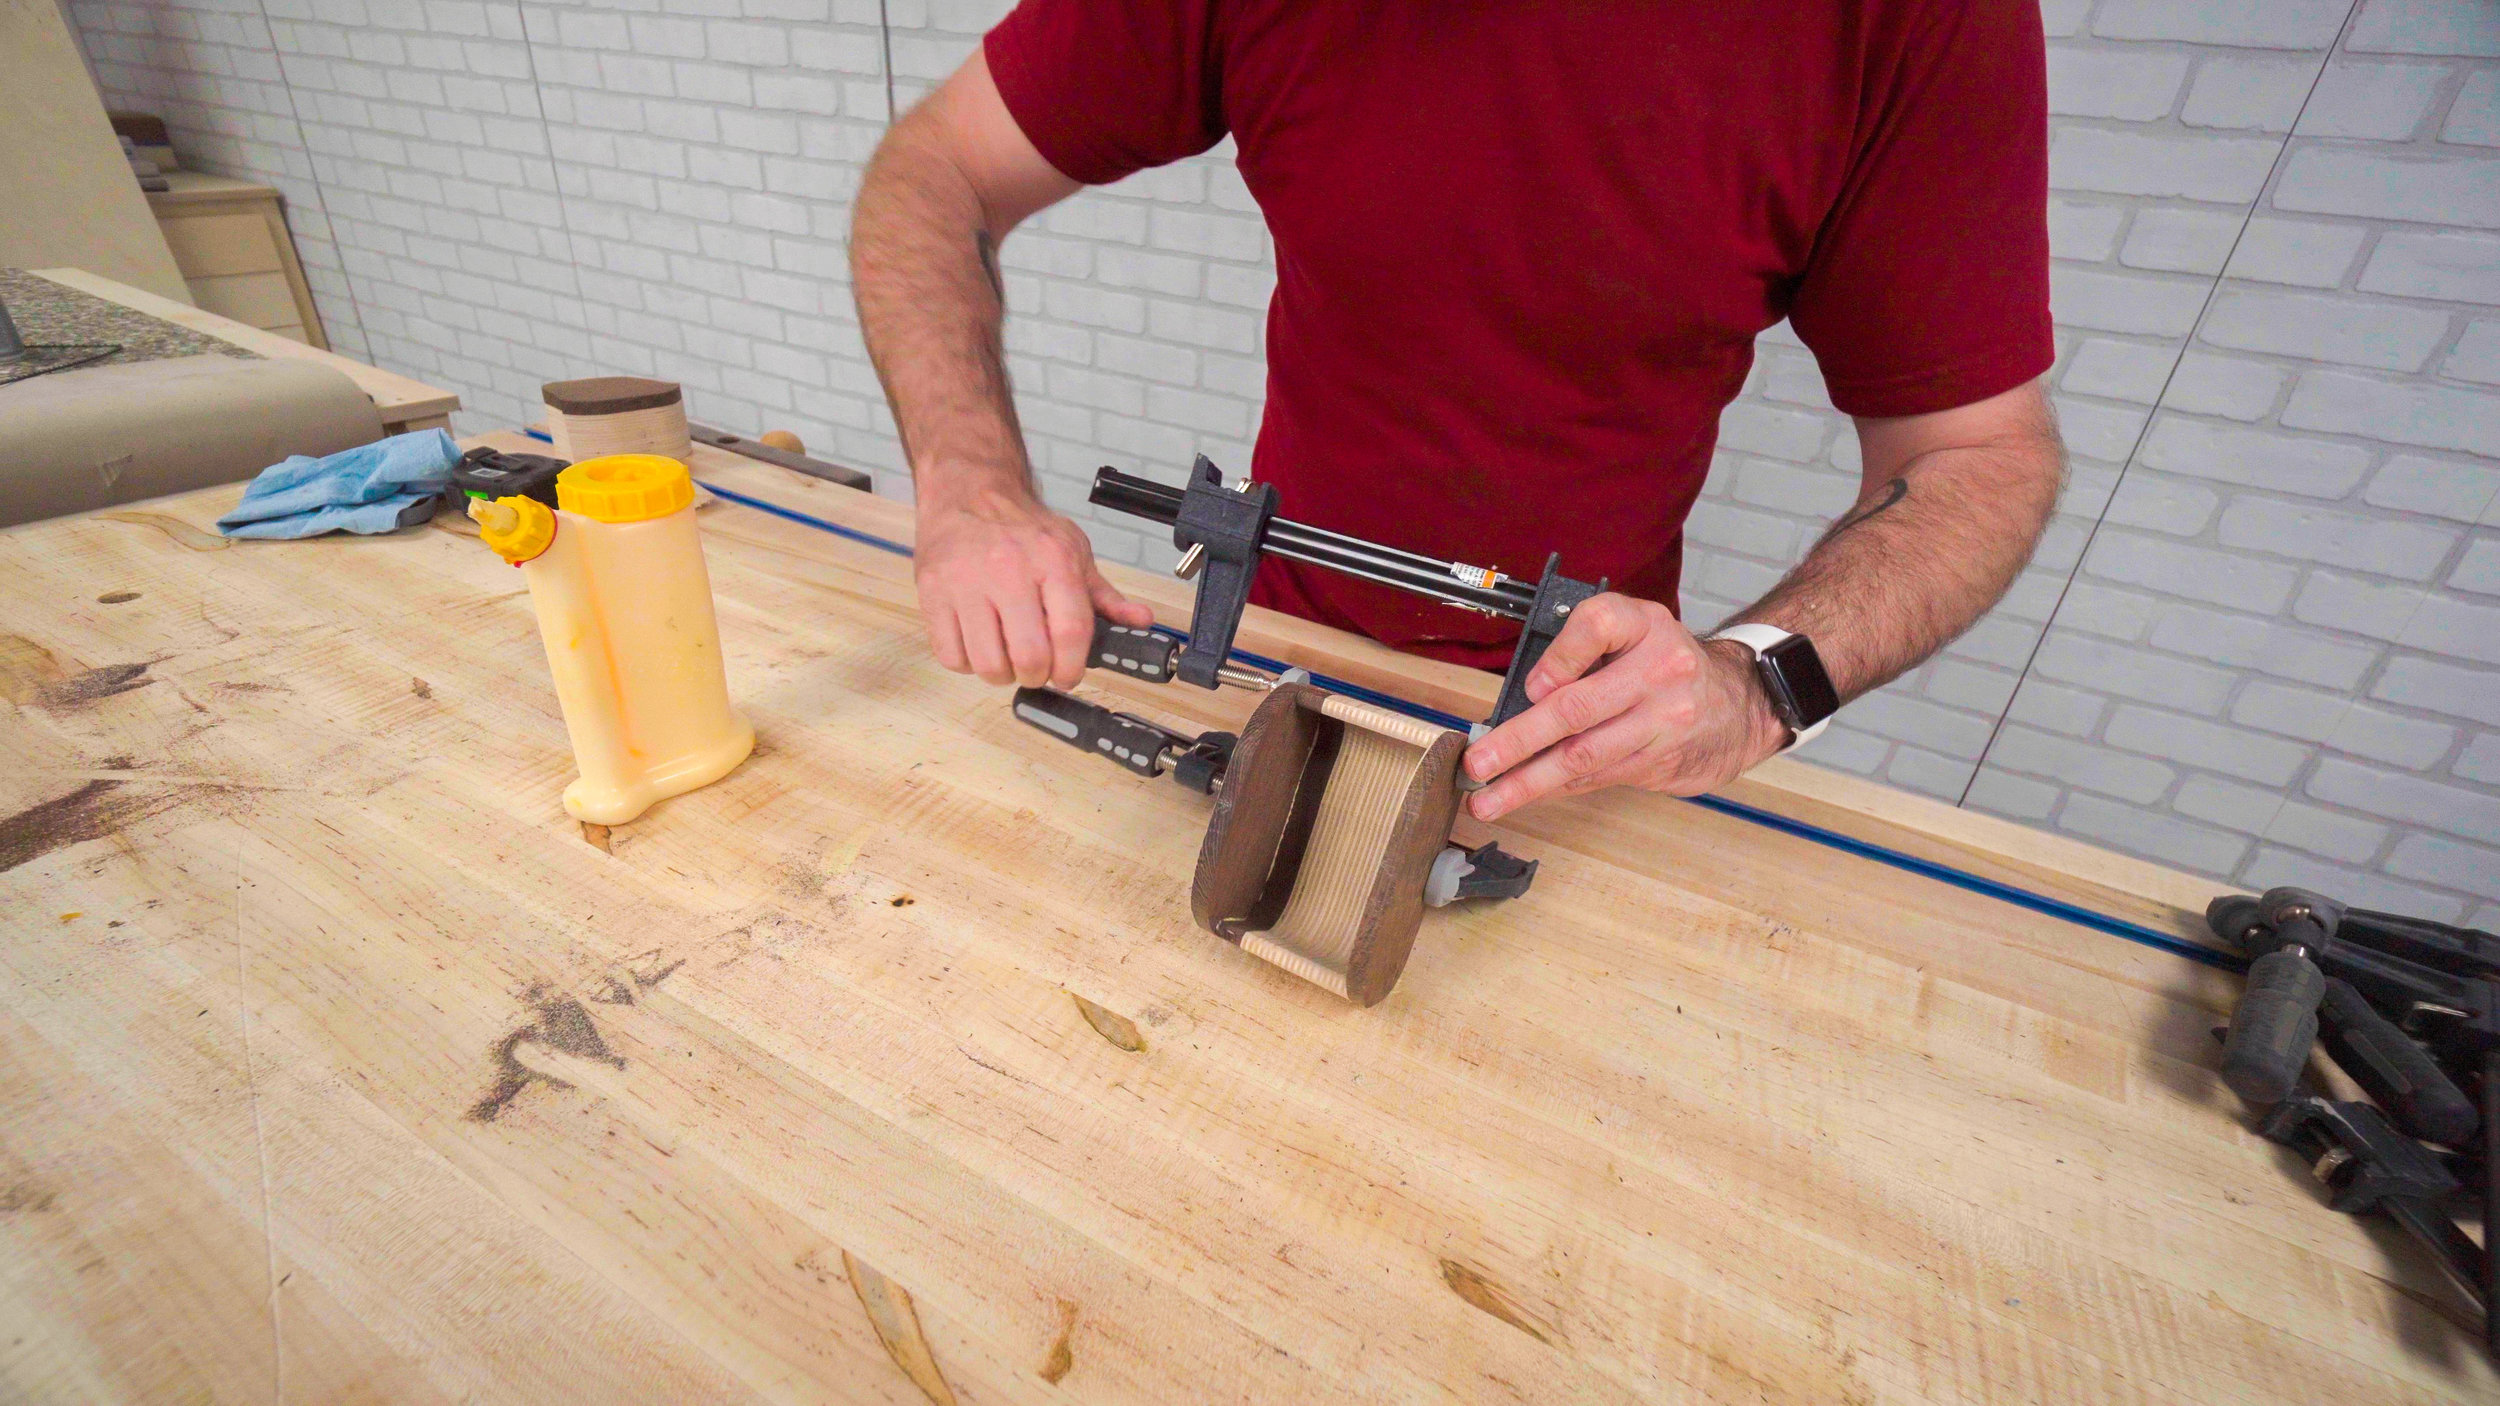
The first thing you need to do is cut up the boards that'll make up your bandsaw box blank. The height and width will depend on which template you choose to work with. The depth can vary but I like mine to be about 4" thick. In this example I'm using Baltic birch plywood as my core with an exotic wood on the faces. You'll glue up all the pieces with wood glue on the faces of each piece. Use plenty of wood glue make sure the entire surface is covered.
Step 2: Bandsaw Box Glue-up
Now you'll clamp everything up with plenty
of F-style clamps. You should see some glue squeeze out all around. Let this sit and dry for a few hours.
Step 3: Bandsaw Box Templates
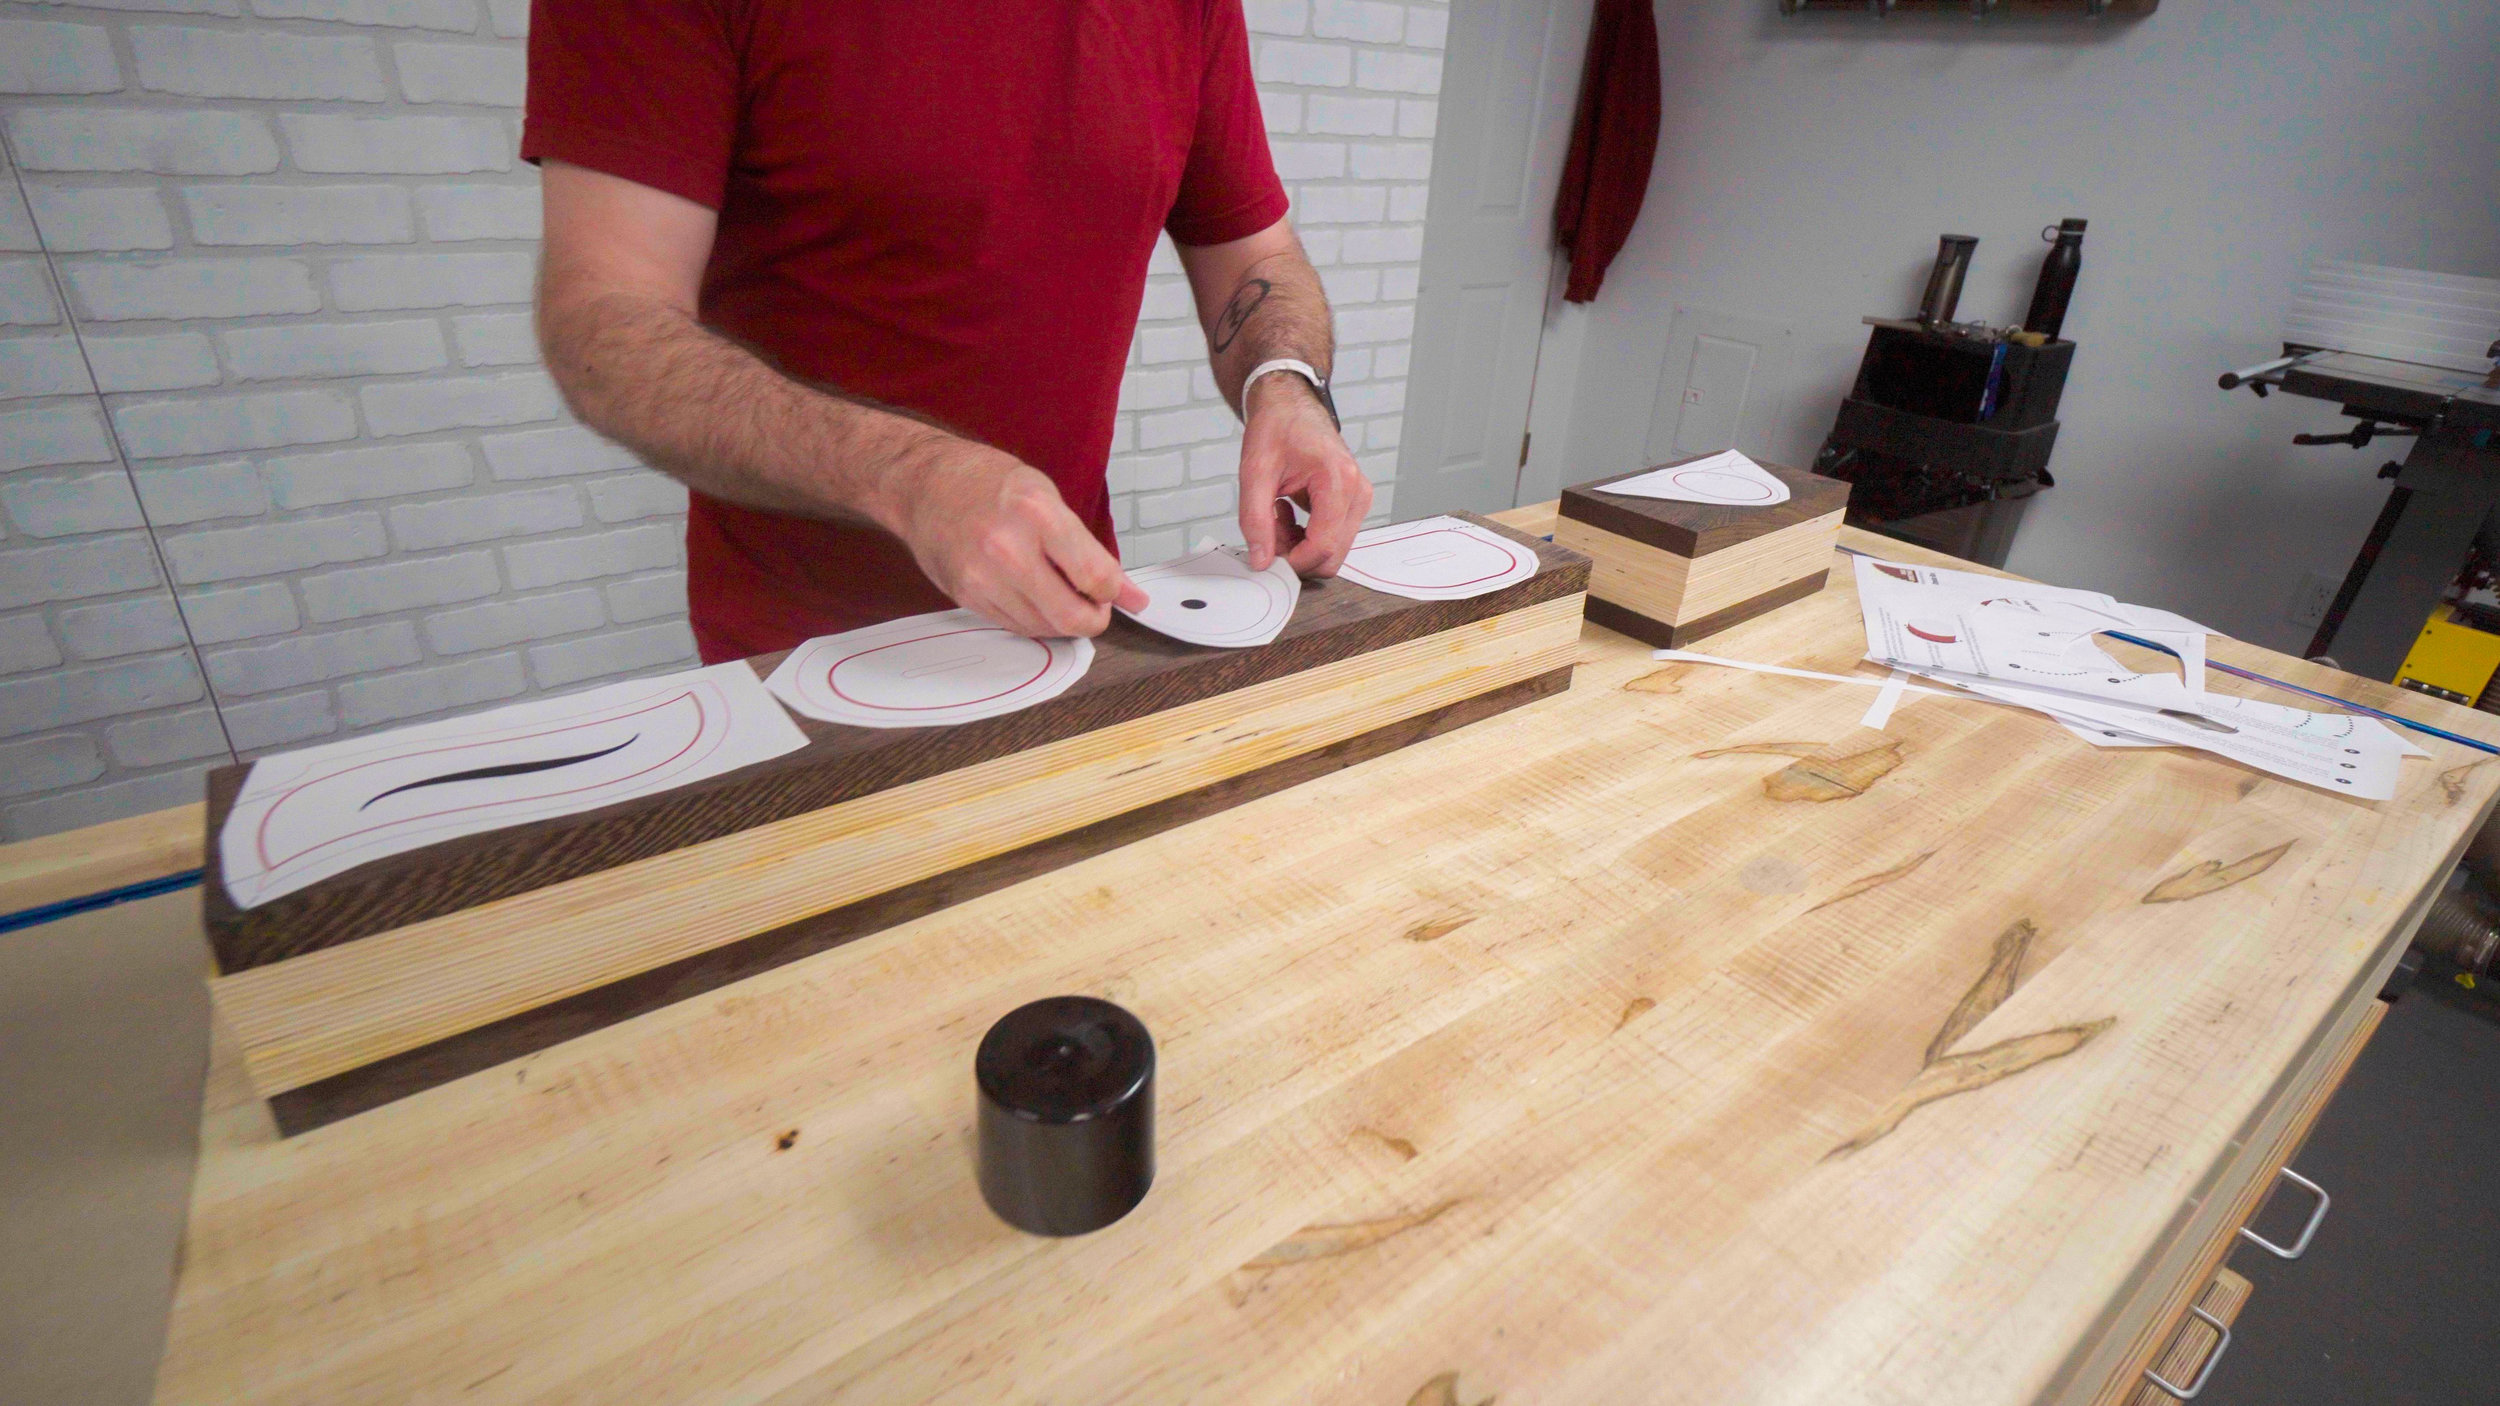
Print out your template at 100% size (do not fit to scale) and spray the back with spray adhesive. A light even coat is all that's needed. Let it sit and get tacky for 60 seconds. Place your template and push out any air bubbles.
Step 4: Cutting the Bandsaw Box Shell
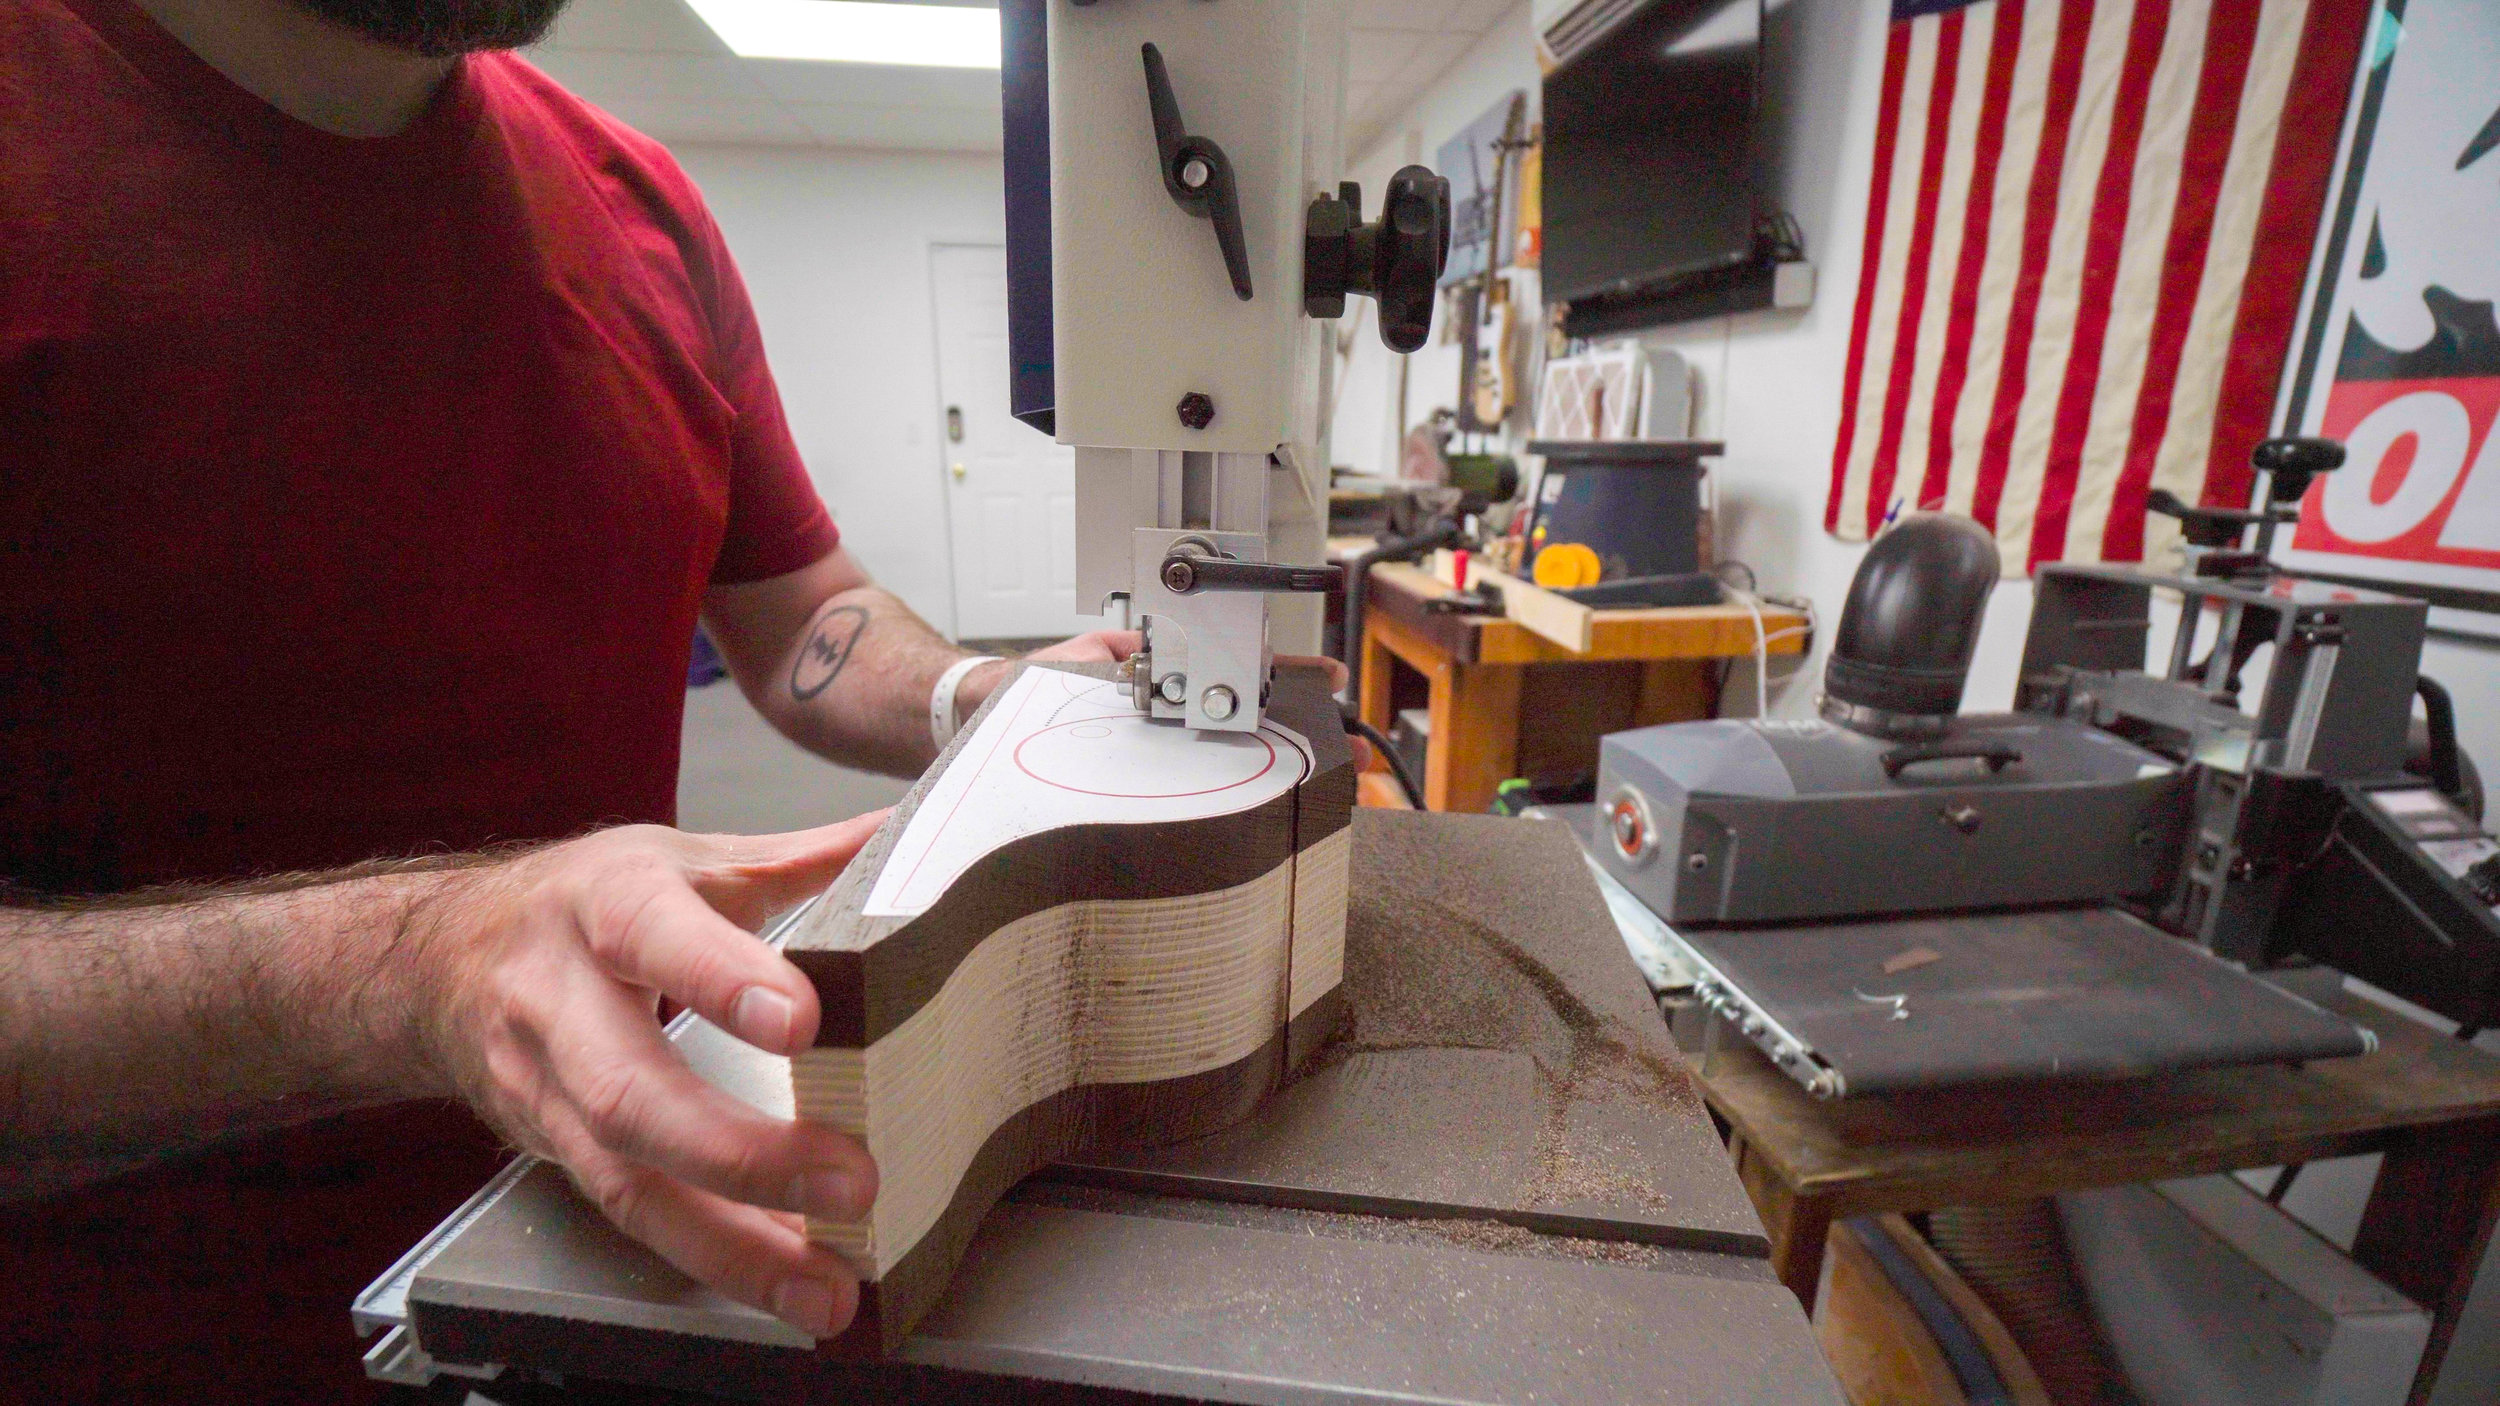
Next you'll cut the outside shape out on the bandsaw. Cut as close to the line as you can without touching it. In a later step we'll sand down to the line. Cut slow and let the blade do the work. You should not have to push hard if your blade is sharp. Don't worry how rough the cuts are at this point. We'll clean it up in a future step.
Step 5: Cutting the Bandsaw Box Back
Now you'll cut off the back using your bandsaw's fence set to about 1/2" from the blade. Again, take this cut very slow to allow the blade enough time to remove the waste.
Step 6: Cutting the Bandsaw Box Drawer
Set aside the back that you just cut off and we'll now cut out the drawer from the shell. Enter from the side as indicated in the template. This time you'll cut right down the middle of the thick line. Do your best to split this line in two. Take your time and let the blade do the work.
Step 7: Completing the Bandsaw Box Shell
With the drawer blank and shell back set aside, glue together the entrance cut with a couple of F-style clamps. Let this sit and dry for a couple of hours. Be sure to not remove the template just yet. Once the glue dries on the entrance cut you can glue on the back. Try to align the grain of the two pieces before tightening down the clamps. If properly aligned the seam will be invisible when dry. After the glued on the back is dry you can take off the clamps and sand the outside shape. This is easiest at the disc and spindle sanders. Sand down to the line. There's no need to sand inside the shell as we'll be covering that up with flocking. After this you can remove the papertemplates.
Step 8: Making the Bandsaw Box Drawer
Now take your drawer blank and cut the front face and back face off at the bandsaw. Set your bandsaw fence to about 1/2" from the blade and cut slow. Next you'll take that middle drawer piece and draw out the bottom and side walls. I like to use a black marker as it's easier to see the line. This wall should offset about 5/16". Then back at the bandsaw you'll cut this out. Like before, nice and slow and keep your fingers away from the blade!
Step 9: Bandsaw Box Drawer Glue-up
You should now have three pieces to your drawer. Glue them up and clamp them with F-style clamps. Again be sure to align the grain to hide the seams. Once the glue dries you can then sand the drawer's outside shape. At this point there may not be template lines to follow so only sand off the bandsaw marks until smooth. Try to avoid sanding too much to maintain a tight fit into the shell.
Step 10: Finishing Touches
For a finished look I like to round over the face of the drawer and all edges of the shell with a 1/8" round over bit. Sand the outside of the shell and the outside of the drawer and finish with a rub-on oil. Flock the inside of the drawer and shell and add a pull.
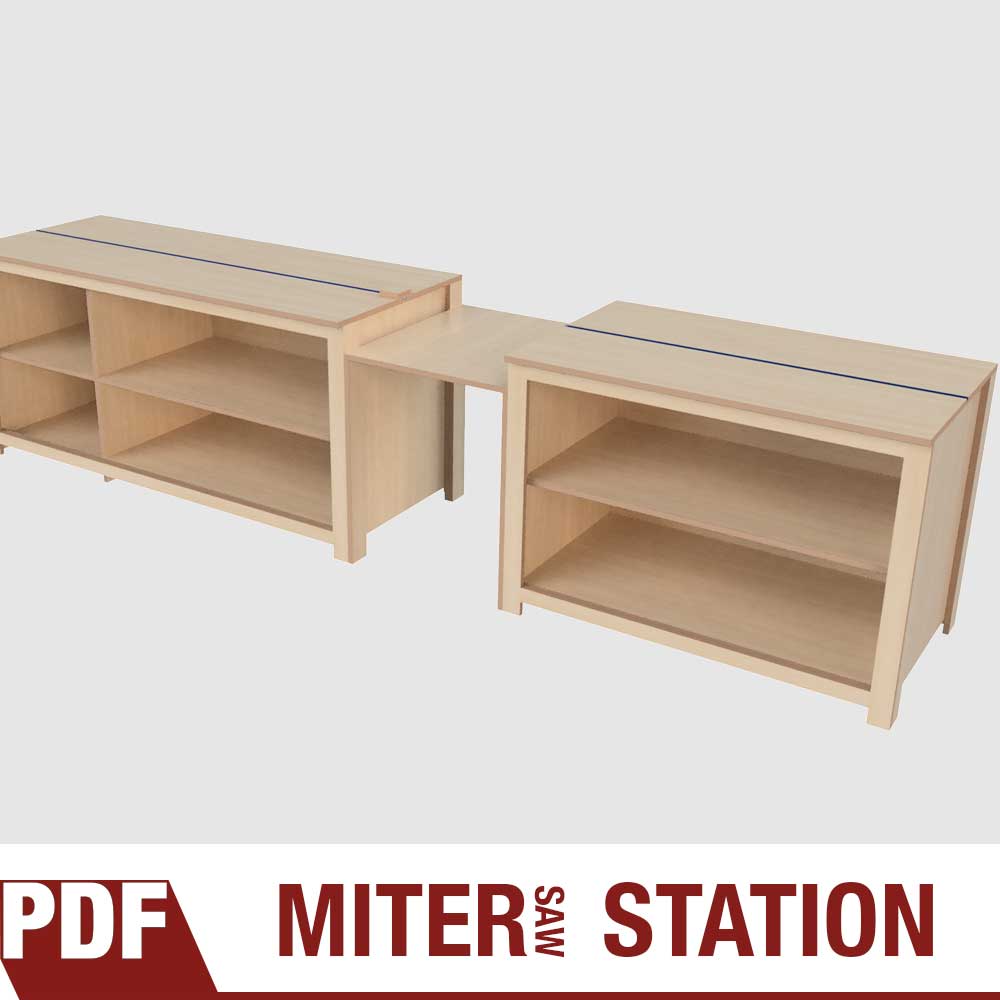
How to Make a Miter Saw Table
Detailed, step-by-step tutorial on how to make a miter saw table with extension wings and stop block.
Step-by-step Miter Saw Station Build
For a long time I had a miter saw without a table and I can tell you from experience that a dedicated station with support will increase the functionality and value of your machine. Having that added support for long pieces and a stop block system will make your workflow faster, safer with more precise and repeatable crosscuts. In this tutorial I show you how to make a quick and easy miter saw table completely out of 3/4" plywood. And don't be fooled by "quick and easy", this shop project will look good in any woodworking space. Get the plans for this miter saw table!
Tools and Supplies Needed for This Woodworking Project
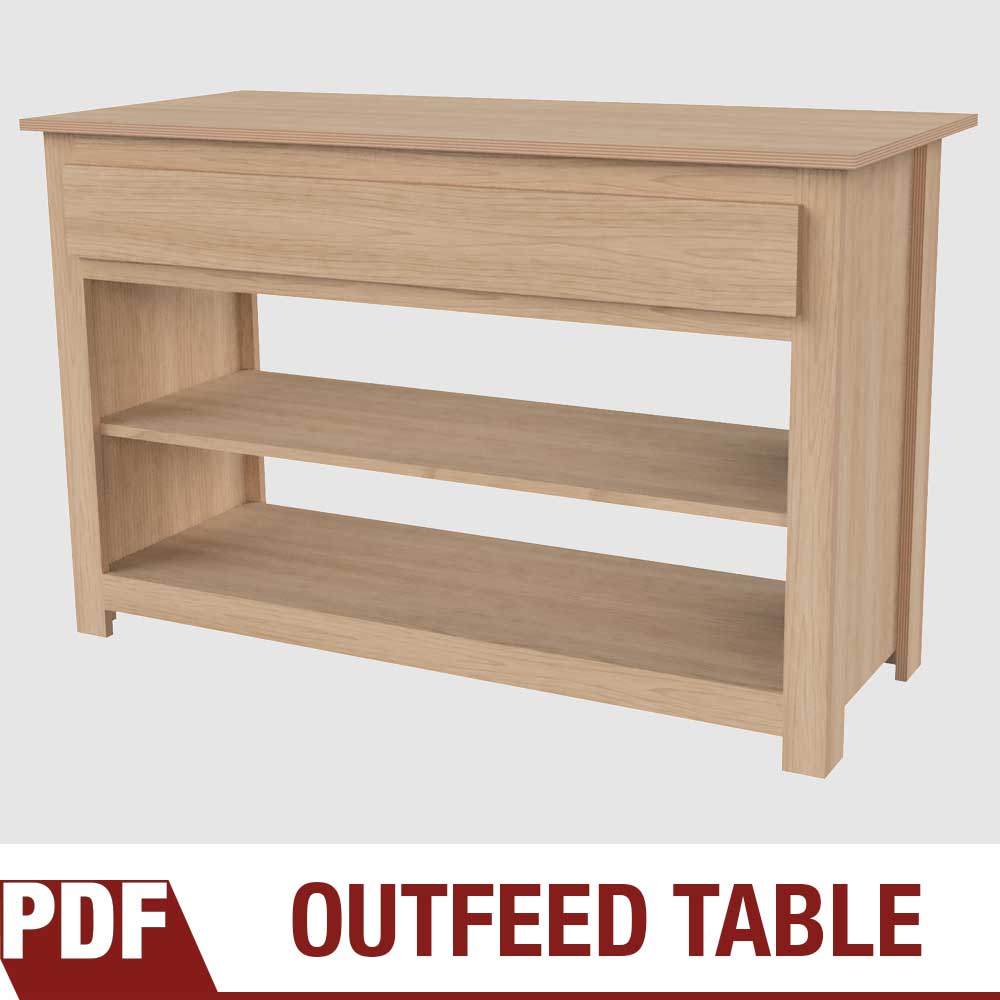
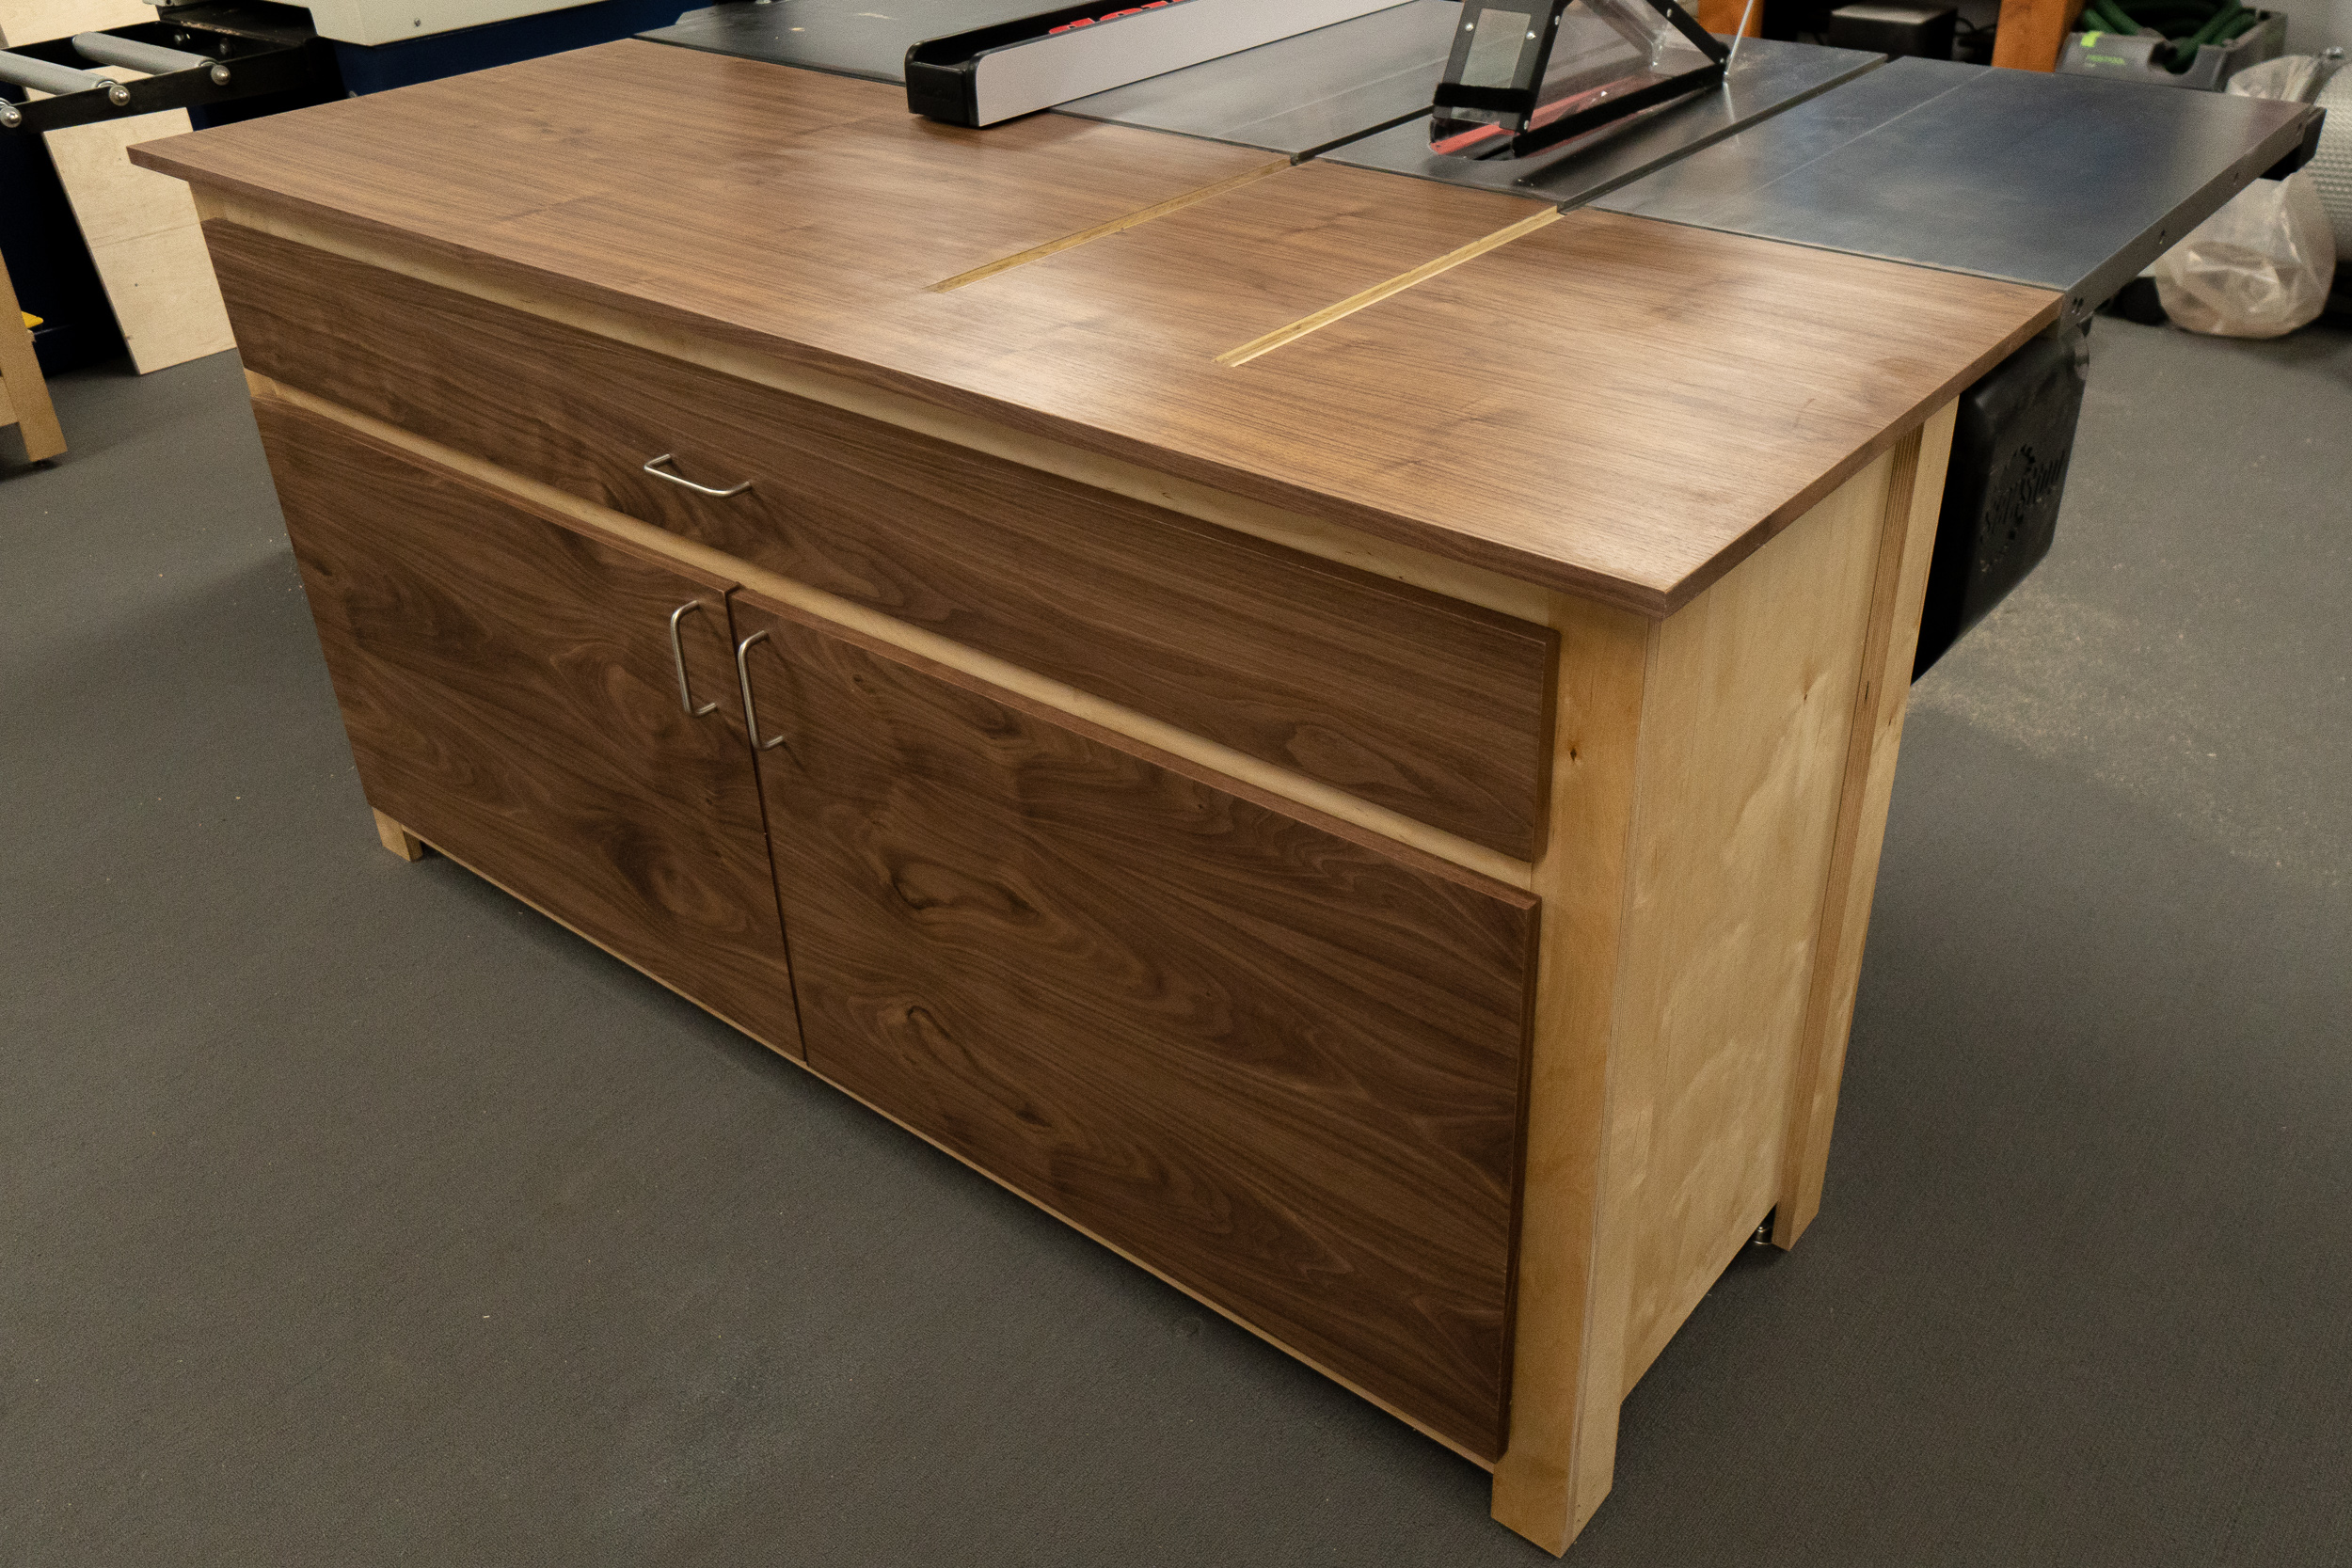
How To Make a Simple Tablesaw Outfeed Table From Plywood
Detailed, step-by-step tutorial on how to make a tablesaw outfeed table.
Step-by-step Tablesaw Outfeed Table Tutorial
Every woodworker needs a tablesaw outfeed table. You need that added support beyond your saw to support long pieces not only for safety, but to make your tool easier to use. I prefer my shop furniture to be simple and made from common supplies, and this outfeed table couldn't be easier to make. Everything but the drawer is made from 3/4" baltic birch plywood and fastened together with glue and screws. This outfeed table goes together quickly and will expand the capabilities of your tablesaw no matter how big or small your machine is. Get the plans for this outfeed table!
Tools and Supplies Needed for This Woodworking Project
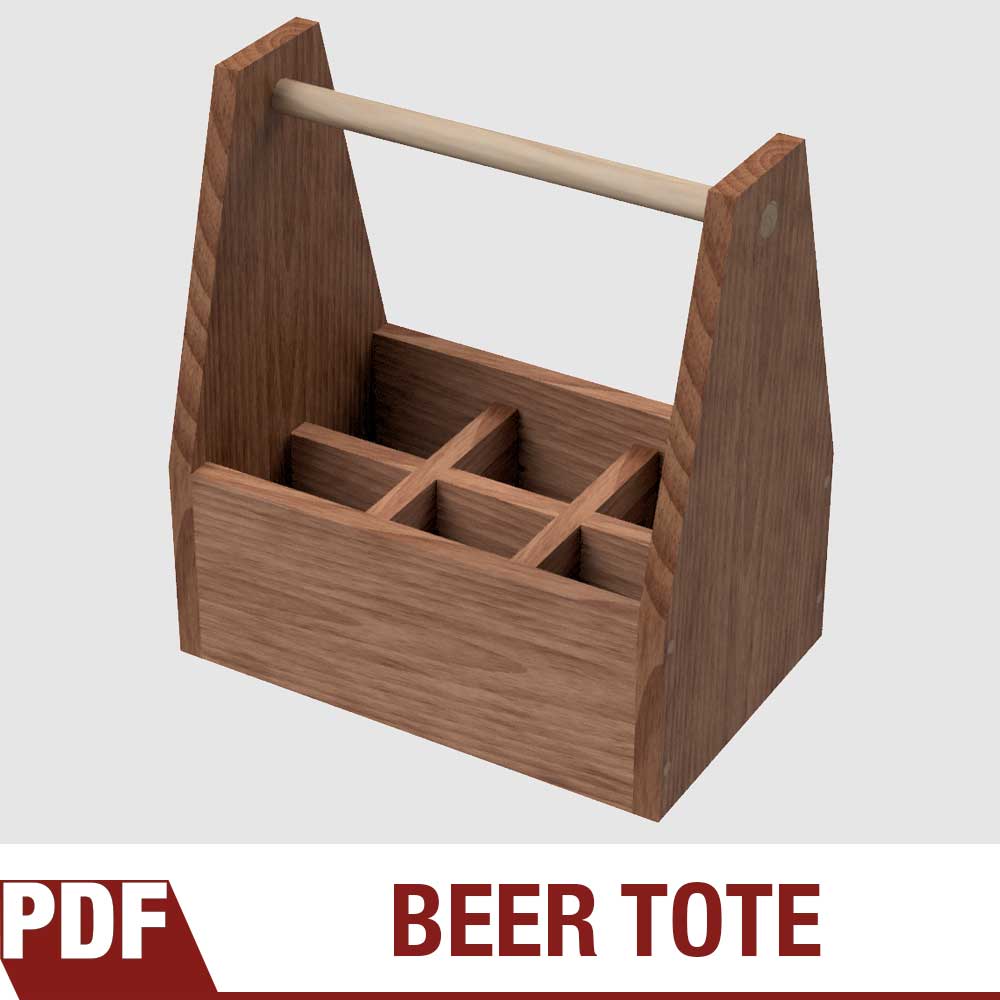
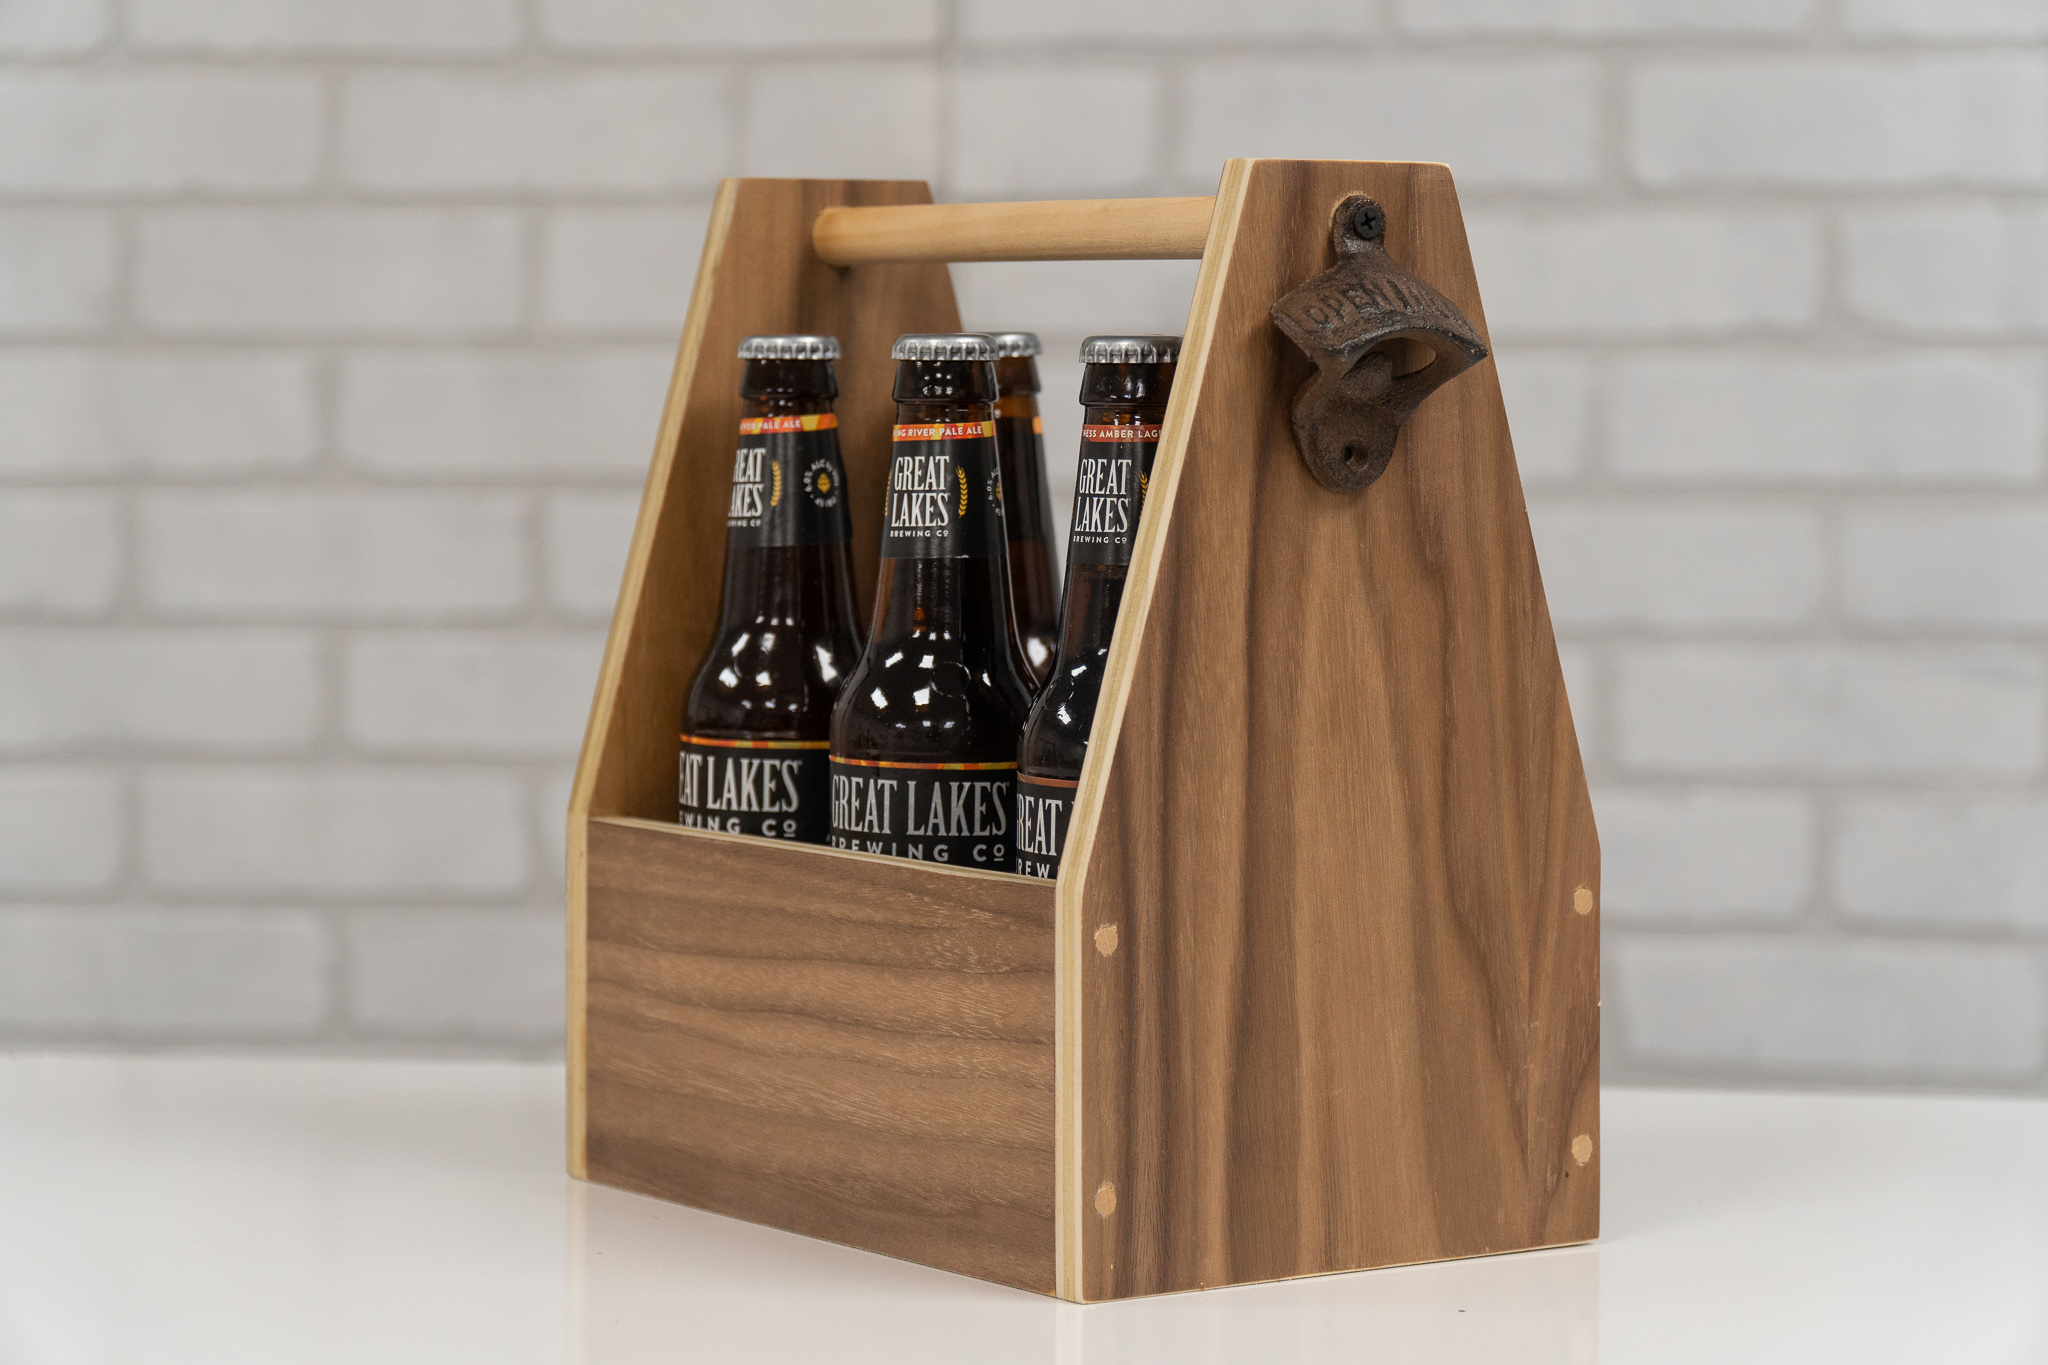
How to Make a Beer Tote / Beer Caddy
Easy woodworking project that you can make as gifts or sell at craft fairs!
Make Money Woodworking by Selling These Beer Totes at Craft Shows
These beer totes are a quick fun woodworking project that anybody can make with a few basic woodworking tools. These are great for batching out and selling at craft shows or Etsy. Watch the tutorial video above to see how it's made. And if you want to make these yourself get the easy-to-follow plans to the right. I encourage everyone who buys my plans to batch these woodworking projects out and sell them at craft shows to earn a little bit of extra money!
Be safe and Make Something!
Tools & Supplies Used In This Woodworking Project
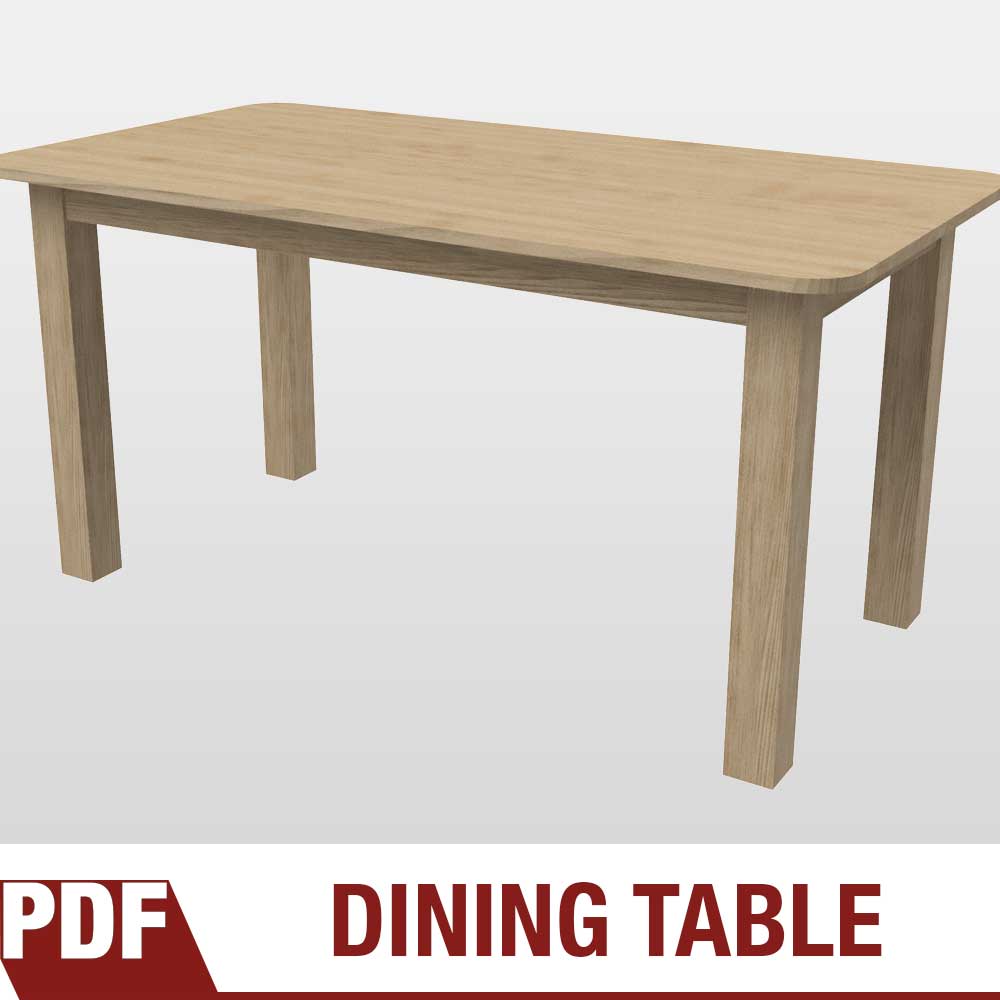
How to Make a Dining Table
Beauty doesn’t mean complicated. Learn how to easily make this dining table.
Simple and Easy to Make Dining Table Project For Any Woodworker
In this woodworking tutorial I show a very simple way to make a beautiful dining table out of standard 3/4" thick wood, even those big beefy legs! A dining table is something we all need so why not make your own? Don't let the size of this project intimidate you. All the joinery is simple enough for anyone to tackle. I'm using hickory that I got from my local hardwood dealer but you could just as well use wood from a home center like Home Depot or Lowes. Just be selective of the boards you choose and look for the straight ones!
Tools & Supplies Used in This Woodworking Project
How To Make a Wood Cutting Board
Everything you need to know about making cutting boards from choosing woods to food safe finishes.
Ask a woodworker if they’ve made a cutting board and nearly all of them will say they have in the past and still do to this day. For many it’s their first woodworking project. For others it’s their go-to project when they’re looking for an excuse to get into the shop. Every kitchen needs a cutting board and nearly every shop is equipped to make them.
Cutting boards can be as simple as a single wood board or contain dozens of pieces with multiple wood species and shapes. Some require very few woodworking tools and others require a whole shop full of tools. The beauty of cutting boards is that no matter what your skill level or how many tools you have, you can make beautiful, useful cutting boards.
What You Need to Know About Making Cutting Boards
Cutting Board Book with 15 Projects for Woodworkers
Cutting Board Video Tutorials
Choosing The Best Wood for Cutting Boards
How to Finish a Cutting Board with Food Safe Finish
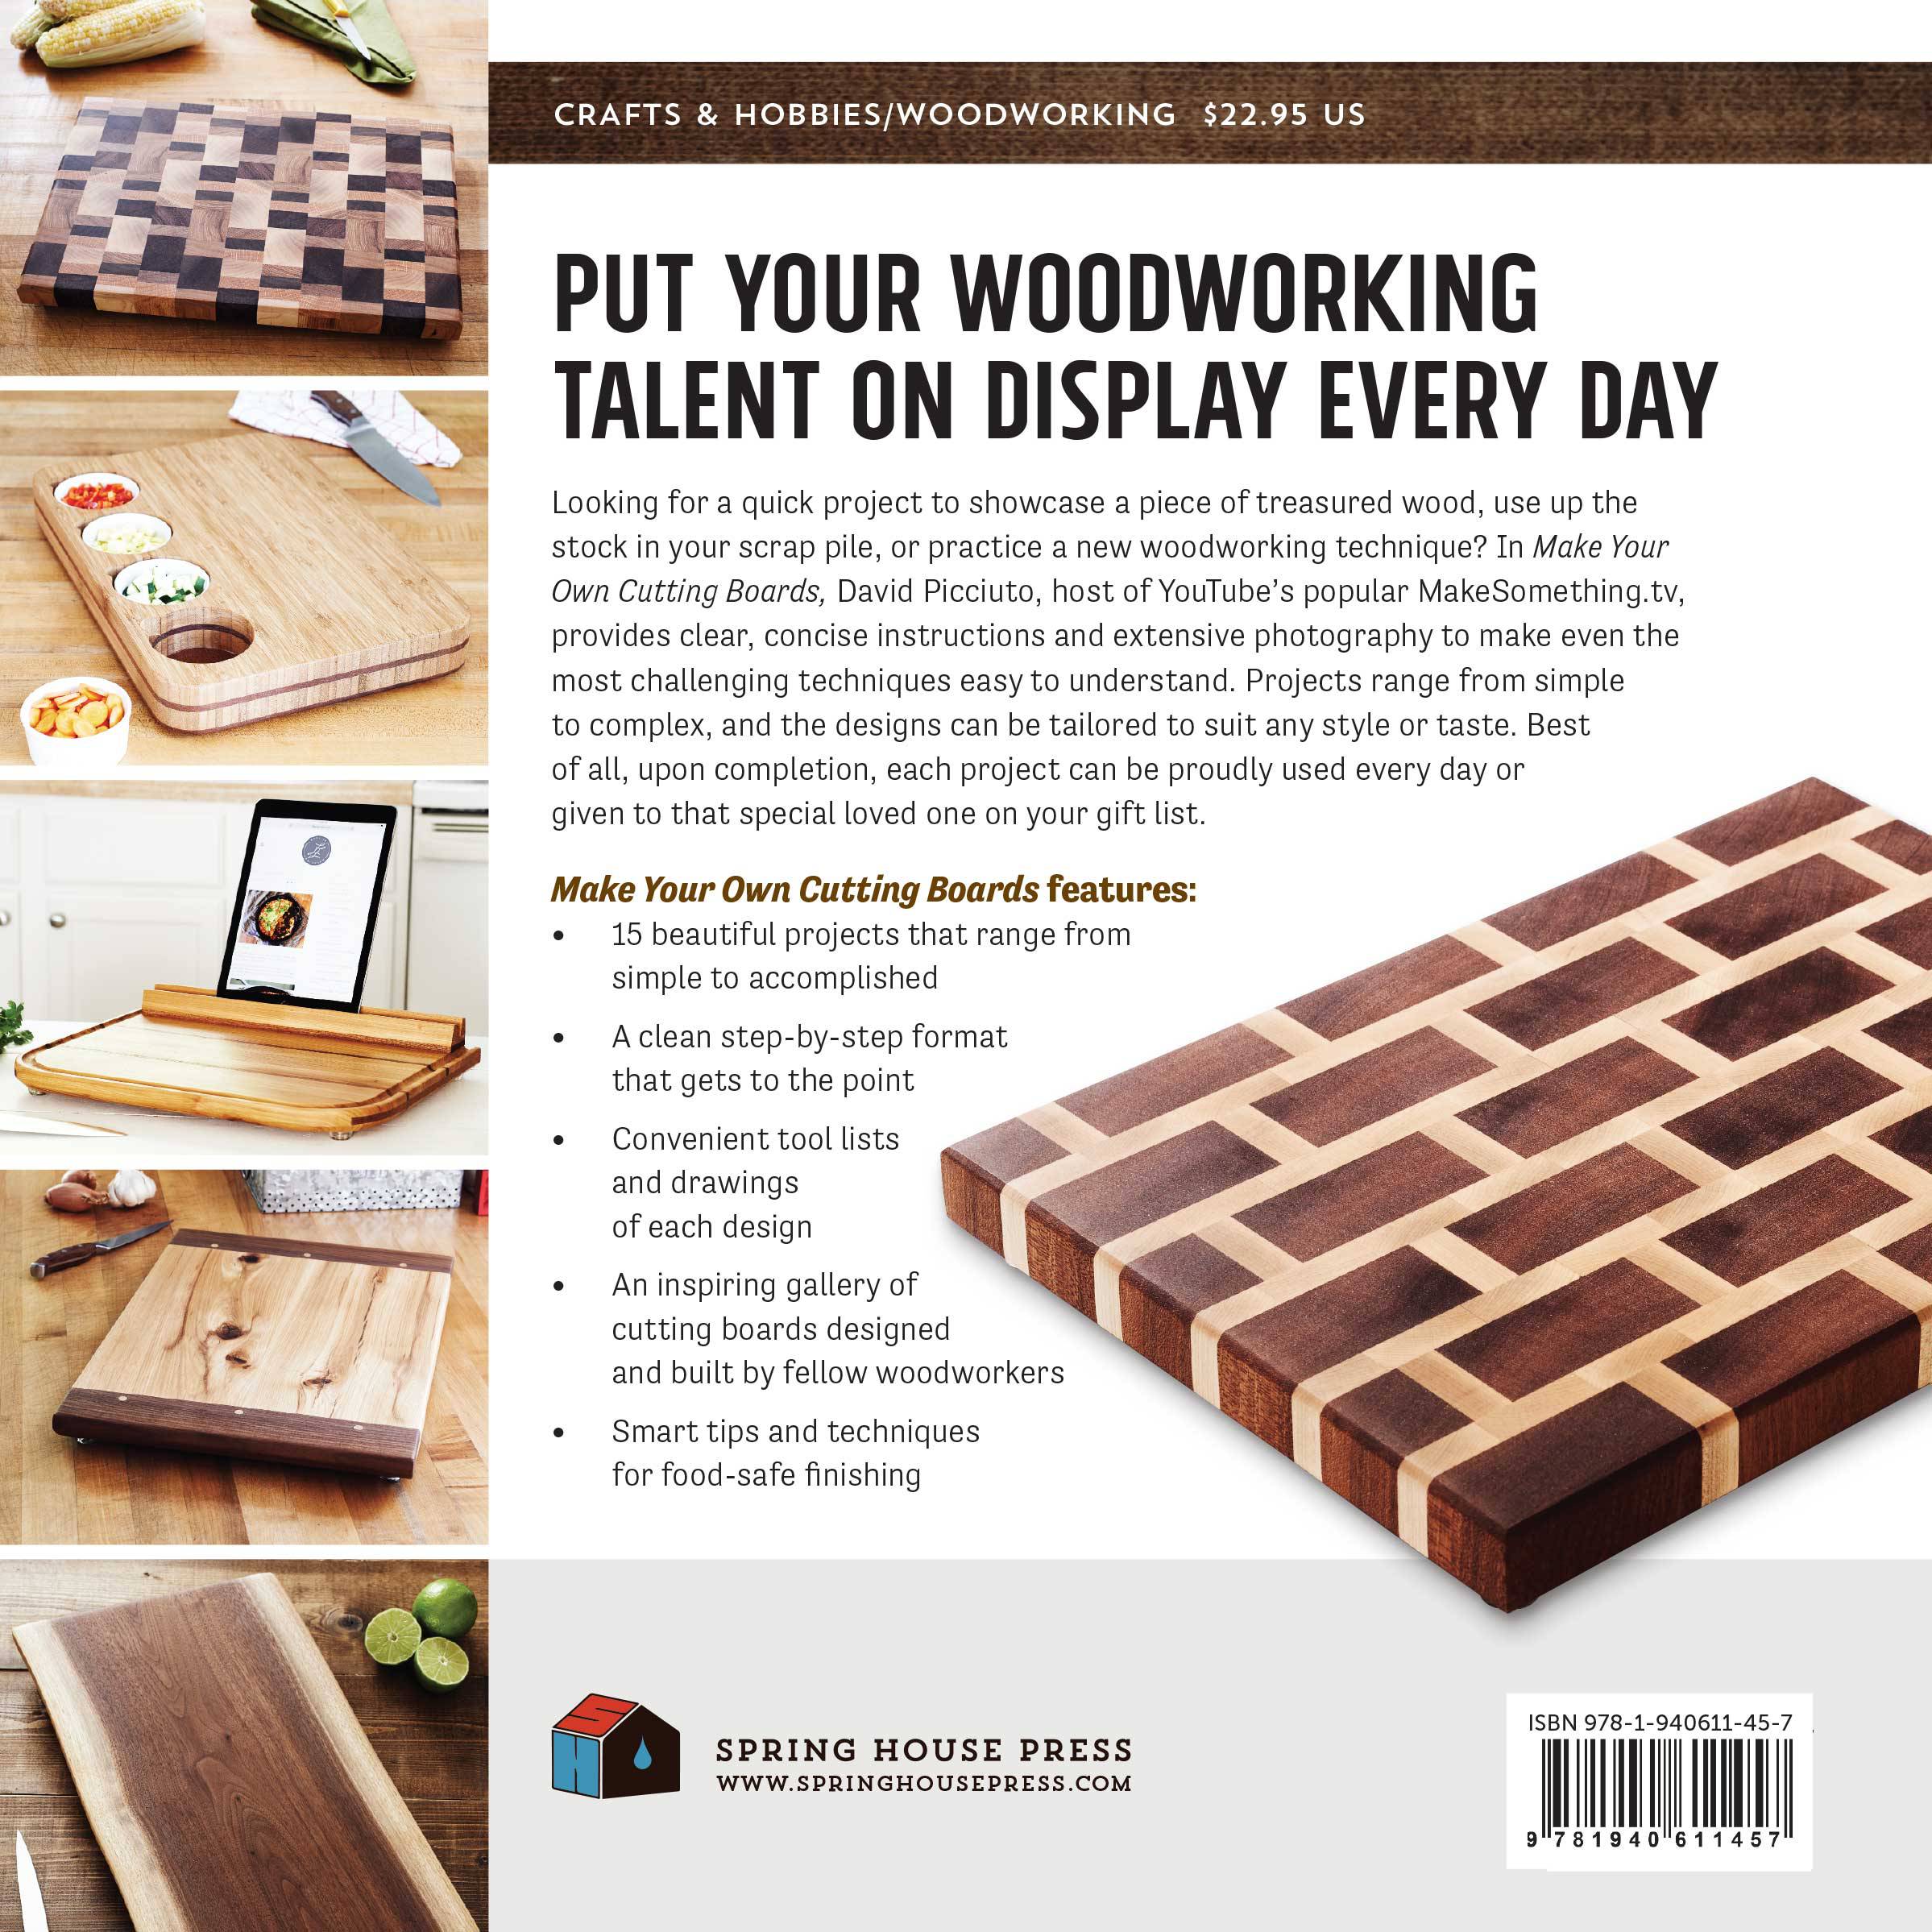
Get the Only Book on Making Cutting Boards! Includes 15 Projects You Can Make and Sell!
The projects in this book range from simple to complex and the finished designs can be tailored to suit any style or taste. Best of all, upon completion, each project can be proudly used or given to that special loved one on your gift list. Extensive photography and clear, concise instructions make even the most challenging techniques easy to understand and conquer. Each book is signed and shipped directly from me.
Cutting Board Video Tutorials
Making an end grain cutting board from scraps. This cutting board project comes from my book.
How to make a cutting board with a decorative inlay. It’s easier than you may think!
Easy to make cutting board with a cutout for a strainer. Perfect for using over your sink to cut vegetables and fruit.
Making an Alaskan ulu knife out of sheet metal and wood with a mating cutting board.
Choosing the Best Wood For Cutting Boards
When choosing woods for cutting boards, look for dense hardwoods, as they are more durable and can stand up to kitchen tasks. You should also lean toward woods that don’t contain an excess of natural oils. Some people have a sensitivity to these oils, and you don’t want your cutting board to alter the taste of your food.
Most people also stay away from spalted and reclaimed woods because you don’t always know what you’re dealing with. If you do use spalted or reclaimed woods, be sure to seal the surface so that it won’t a affect the food in any way. In general, North American hardwoods like maple, walnut, and cherry are commonly used in cutting boards, and rare exotic woods should be avoided. Whatever woods you choose, do your research on food safety before venturing into the unknown.
How to Finish a Cutting Board with a Food Safe Finish
Sand
Raise the Grain
Remove the Raised Grain
Oil the Cutting Board
Even More Oil
Melt Wax and Mix
Applying Wax Mixture
Buff
There are many ways to finish a cutting board and no finish is maintenance free. The more you use the cutting board, the more you’ll need to apply more finish. The finish I like to use takes a two-step process. The first step is applying mineral oil that seeps deep into the wood, and the second step adds a protective film on top of the surface.
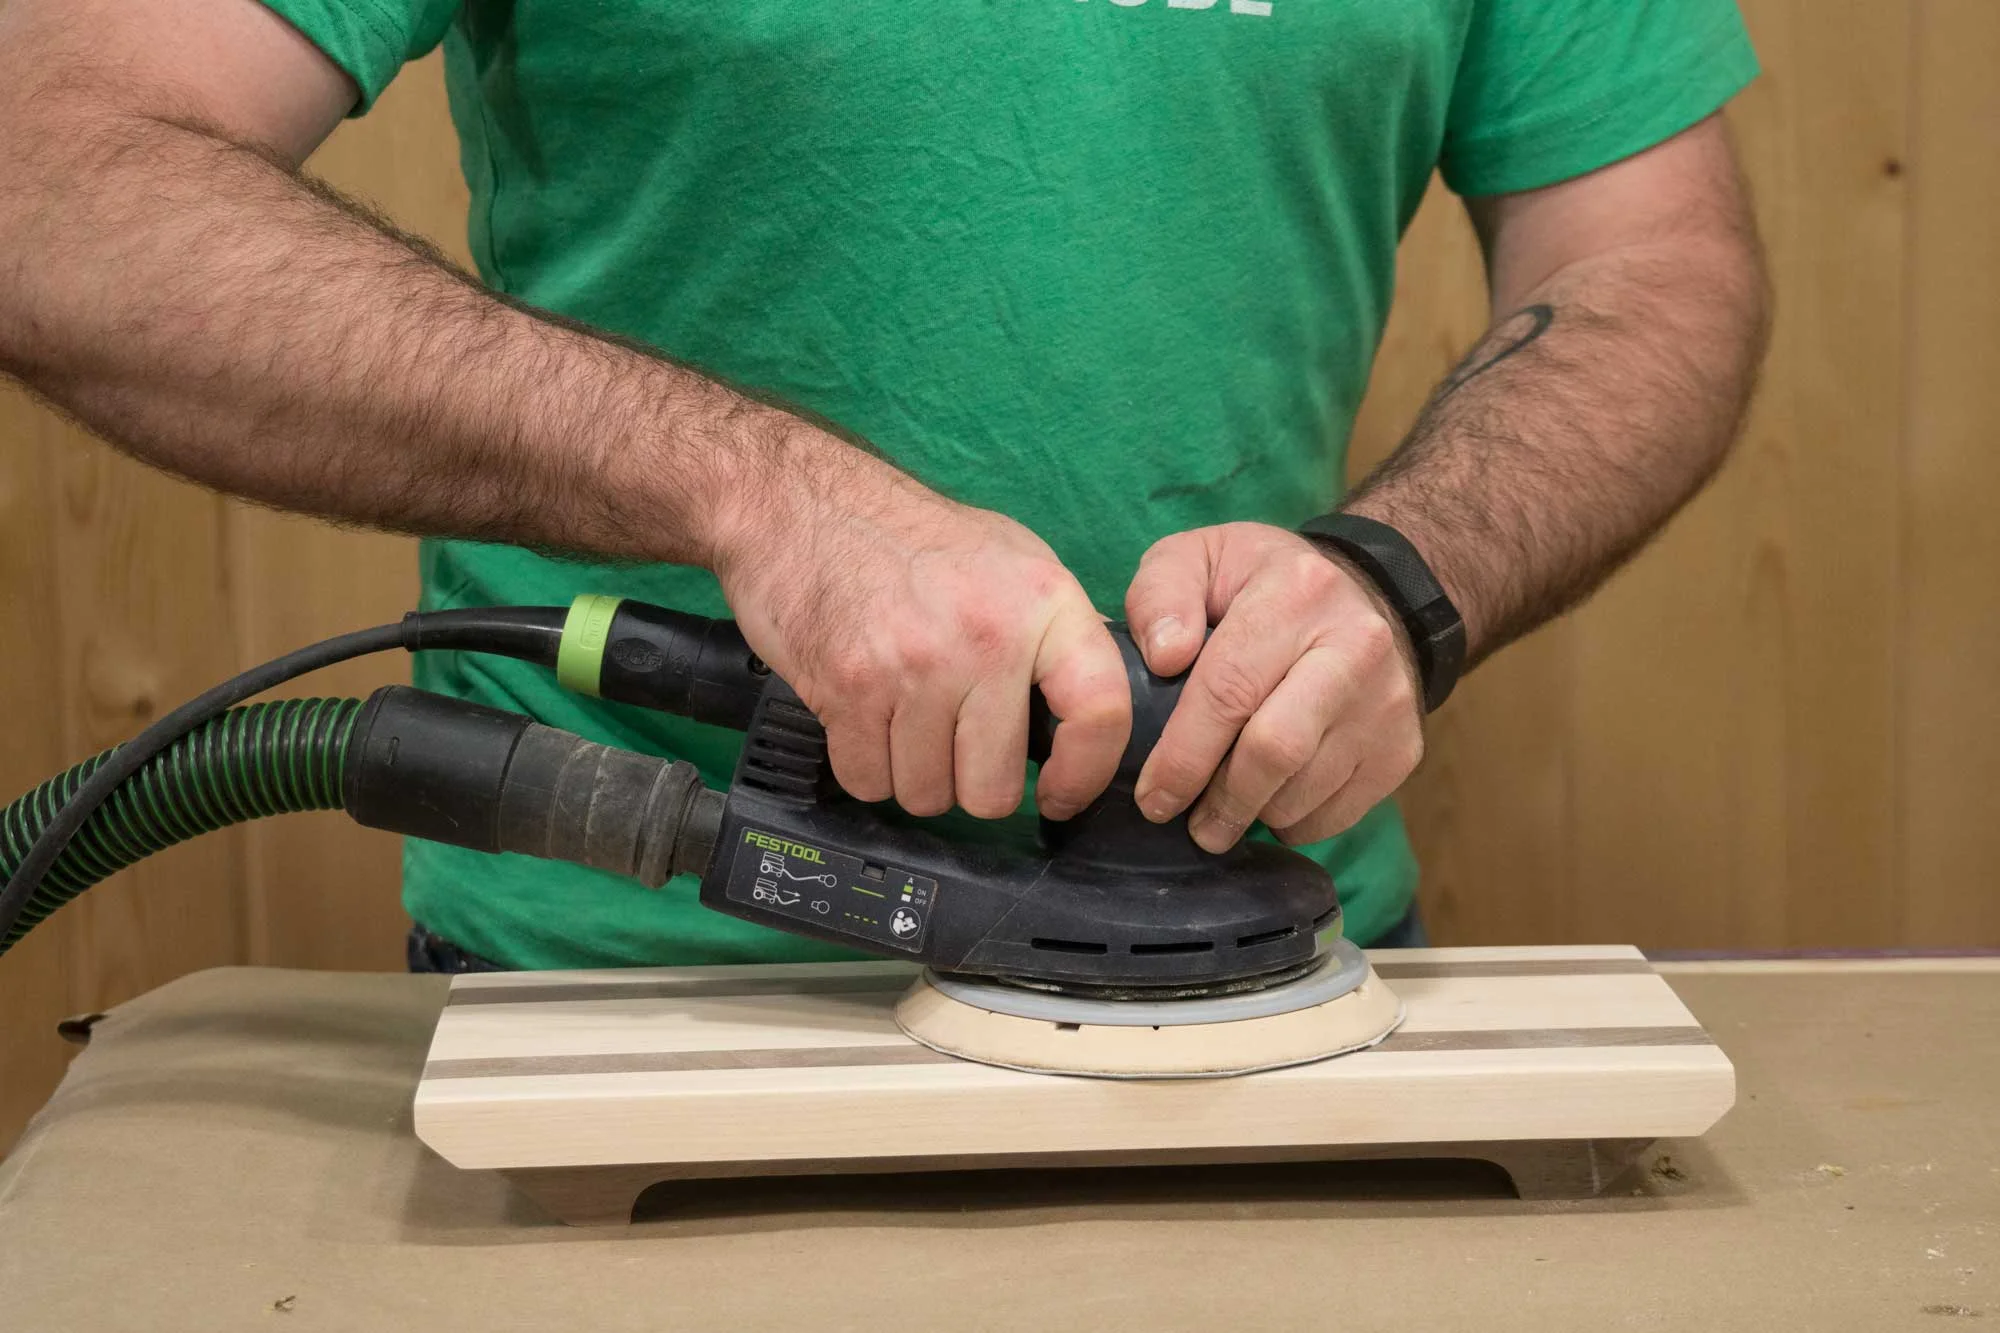
1. Sanding Cutting Boards
Start with smooth stock. Sand everything down to 220 grit. A good sanding job pays off well on small jobs that beg to be touched.
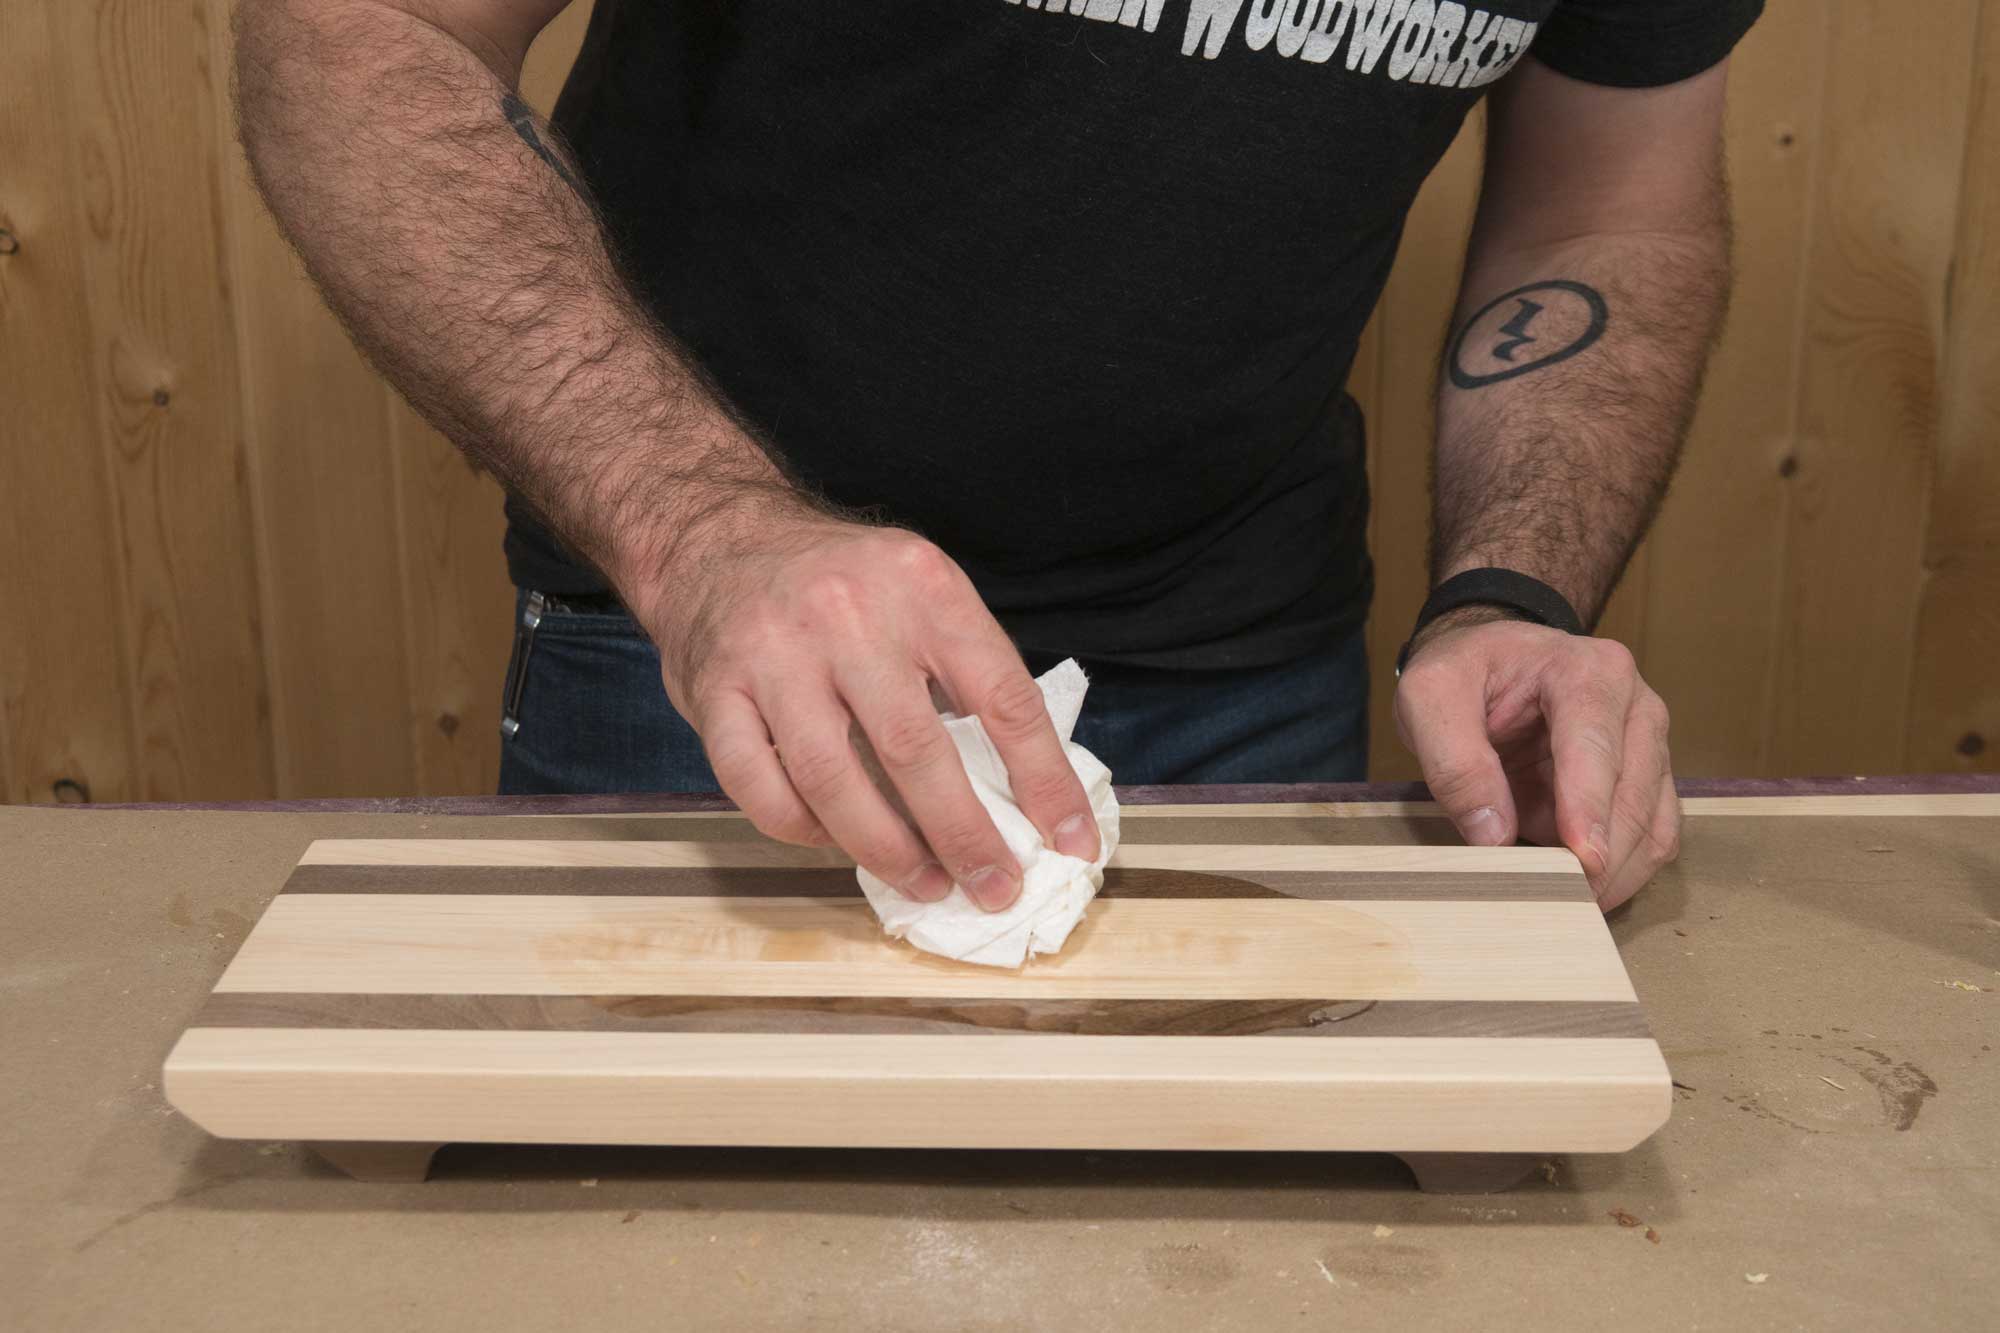
2. Raise the Grain
Use a wet paper towel to raise the grain. The moisture causes some of the wood fibers to swell.
3. Remove the Raised Grain.
Go back and sand everything smooth again with 220-grit sandpaper. This second sanding won’t take long to smooth everything back out. This step will keep the cutting board smooth after use and washing.
4. Oiling the Cutting Board
Coat the entire cutting board with a heavy dose of white, food-grade mineral oil.
5. Even More Oil
And again . . . Some woods and all end grain cutting boards soak up a lot of mineral oil. Keep applying more and more until the oil sits on the surface. Allow the oil to sit for a couple of hours before wiping away any excess.
6. Melt Wax and Mix
For the second coat, melt paraffin wax on the stove using the lowest heat setting. As the wax melts add a bit of the white, food-grade mineral oil. You’ll want about a 50/50 mix.
7. Applying Wax Mixture
Finish while it’s hot. While the wax mixture is still warm, apply a heavy coat to the cutting board. Let the wax set for a couple of hours. This will leave a film on the surface but it’s easily removed later.
8. Buff it out.
Use a soft cloth to buff away the wax. This coat gives your cutting board a protective finish and a satin sheen.
Making a Super Custom Workstation Desk
Making a custom desk out of walnut and plywood.
Making a custom desk out of walnut and plywood. I’m using the wood file cabinets I made previously as the base and building a custom top and shelves for all my audio and video equipment.
Tools and supples used in this project
Making a Wood Box with Veneer, Inlay and Marquetry
How to make an inlay box using old fashioned marquetry techniques combined with some modern tools.
A different approach to the wooden box, including surprisingly easy techniques for inlay and marquetry.
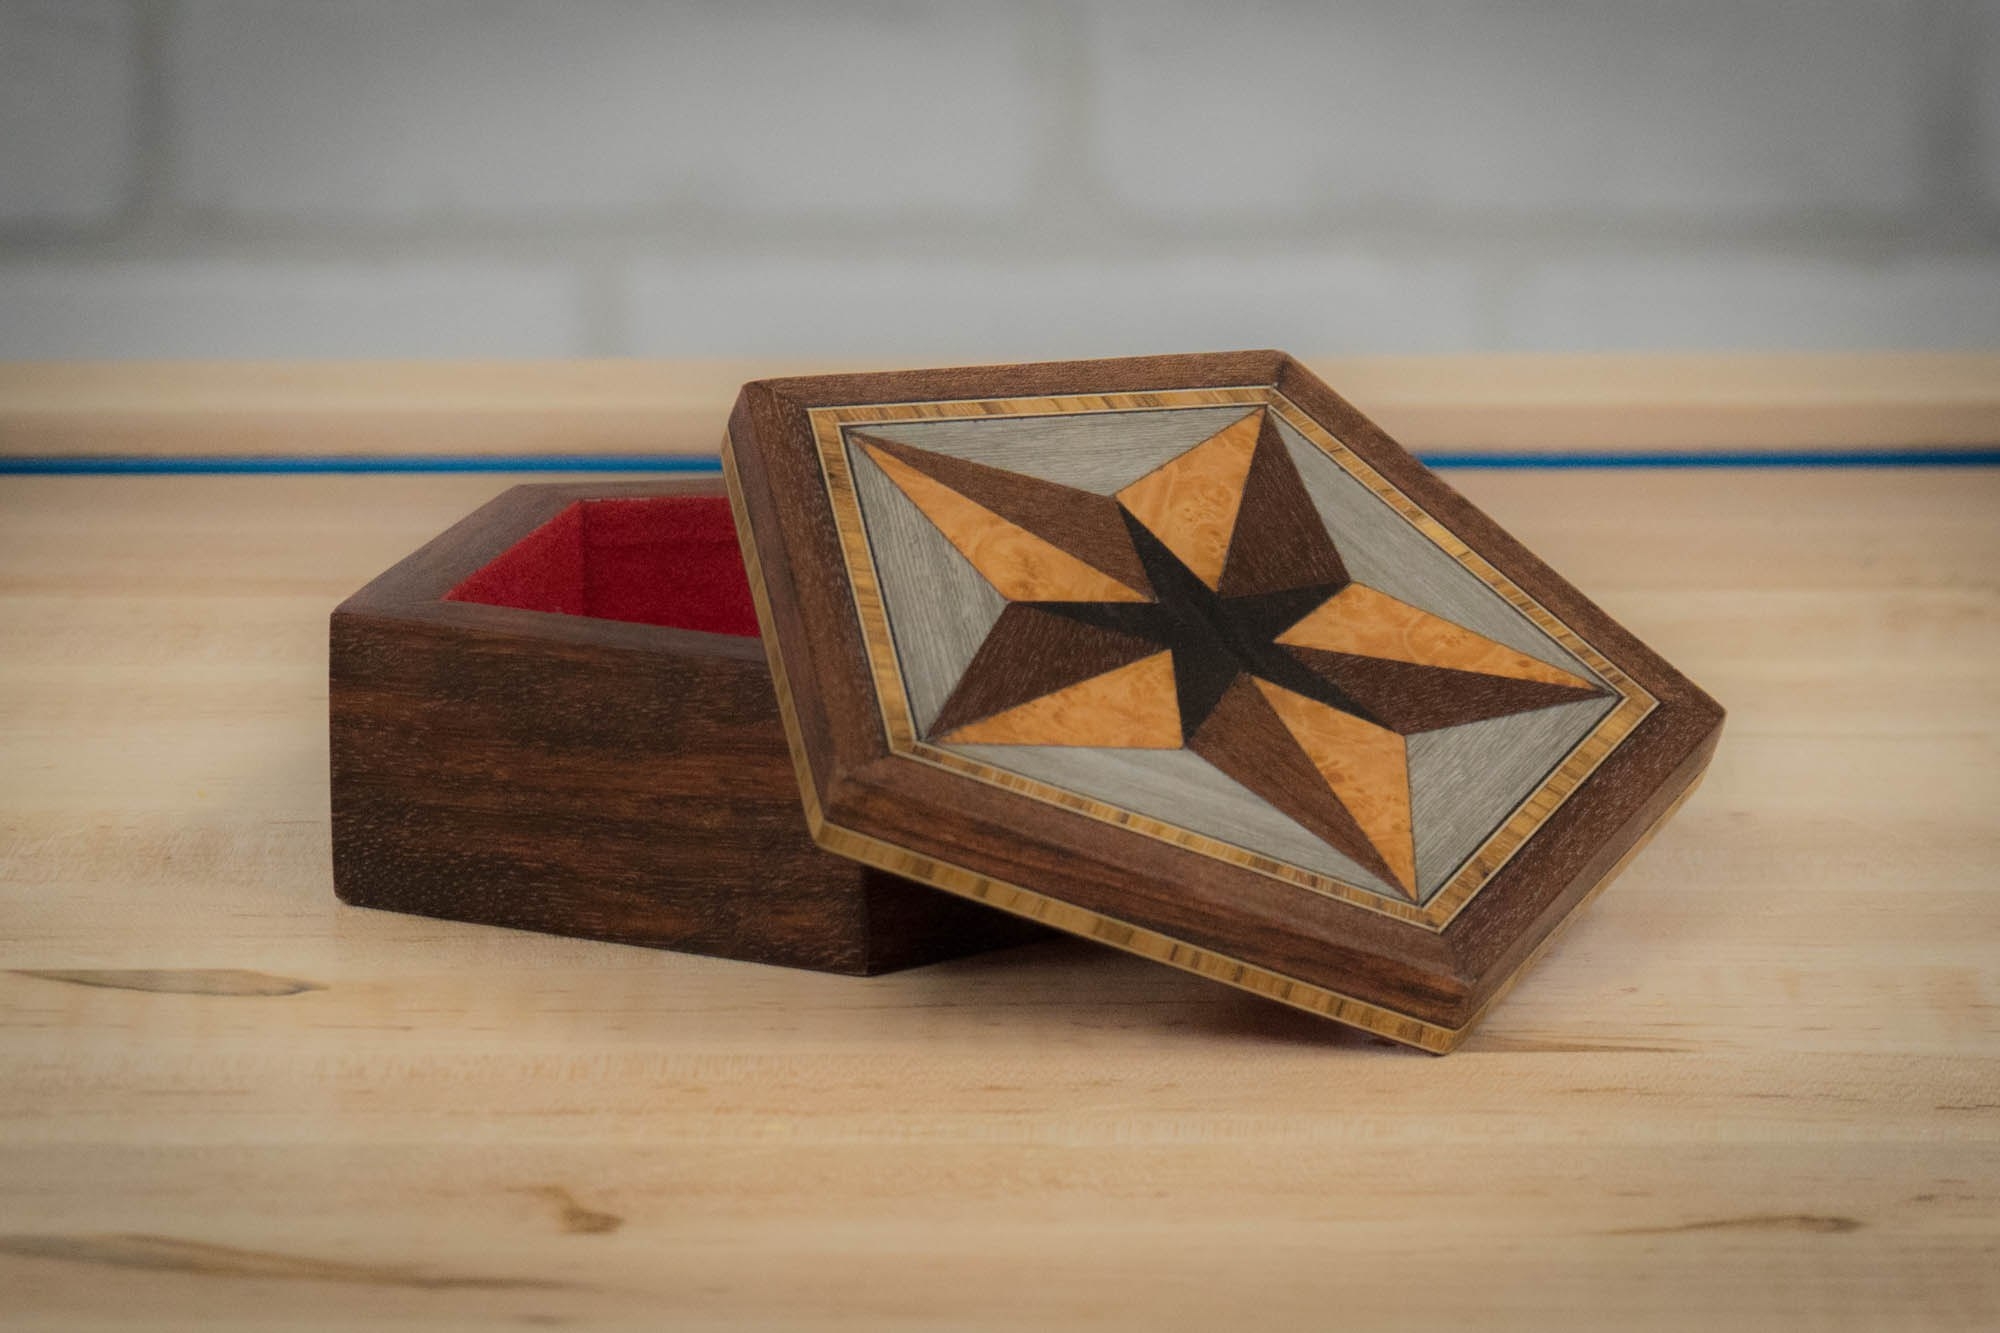
This tutorial shows you how to create a pentagon-shaped wooden box by stacking 1/4-inch shapes rather than building solid walls. In addition, I demonstrate my process for creating veneer, inlay and marquetry.
I’m trying very hard not to make a clichéd “think outside the box” pun here, but we really are looking differently at the process of making a classic pentagon-shaped wooden box. With a traditional box, we’re assembling the sides out of whole wood. Here, though, we’re building from the ground up. It’s an interesting way to think about how all the pieces come together to make a whole, which is a big part of the creative woodworking process.
Along the way, I’ll be showing you my approach to creating inlays, veneers and marquetry. It’s a step-by-step tutorial that demonstrates how these very cool features can be done relatively easily. Plus, I’m providing another look at how flocking can make a huge difference in the overall look and feel of the piece.
Don’t let all the super-hot laser cutter action throw you — most of the techniques I’m showing you in this how-to tutorial can be easily replicated using a table saw or even an X-Acto knife. The goal here for you to see the process up close and hopefully pick up a few tricks you can use as you do it yourself.
Tools and Supplies Used in this Project
Closet Door Makeover w/ Changeable Panels for Customizing!
Bring some style to an element of your room that’s too often overlooked.
Bring some style to an element of your room that’s too often overlooked.
This woodworking tutorial takes your basic hollow-core interior doors and turns them into something cool. Plus, you can easily change them out as the spirit moves you.
Let’s face it — no matter how cool your house is, there’s a good chance your doors are a little drab. And when we’re looking at ways to fancy up our living space, we tend to overlook the doors as an option. In this step-by-step how-to, I’ll show how to add some flair that you can customize to suit your personal style.
We started with your standard mahogany hollow-core doors, which we sanded down and painted. Then, with a few fairly straightforward woodworking techniques, plus some acrylic and cardstock, we created a mid-century modern look that makes the room pop. Not into mid-century modern? Play around with the design a little bit, or create panels more to your liking.
Plus (plot twist), there’s a special touch in this design that makes changing out your panels quickly and easily. What is it? Watch the video to find out.
Making and Prototyping a Mechanical Dog Feeder
I’ll take you step by step through the process of developing a working prototype to make feeding Fido both fun and stylish.
I’ll take you step by step through the process of developing a working prototype to make feeding Fido both fun and stylish.
Here’s a how-to guide to both woodworking that starts from scratch. See how we make a mechanical dog-feeding station — and work our way through the creative process along the way.
Sometimes ideas arrive fully formed, and other times you’re more or less flying blind. That was my experience as I set out to make a working prototype for a mechanical dog feeder. What I’ve created is a good working model, but there are still some place where there’s room for improvement. So throughout out the tutorial, you’ll see how I had to adjust my approach based on what I was learning through trial and error.
The top tube uses paper-back walnut veneer over a PVC pipe with an auger inside to distribute the food. The base and bowl are built from solid walnut, and the knob at the top was made from a 3D printer. The finish is food-grade white mineral oil, which is safe to eat off of and should still hold up well after it gets dog slobber all over it.
While building this prototype model was a challenge, it also gave me the chance to troubleshoot and problem-solve along the way. It’s still not perfect, though, and that’s where you come in. Any suggestions you have to make this mechanical dog feeder better or more efficient, I want to hear them!
Walnut Box Made with Utility Knife
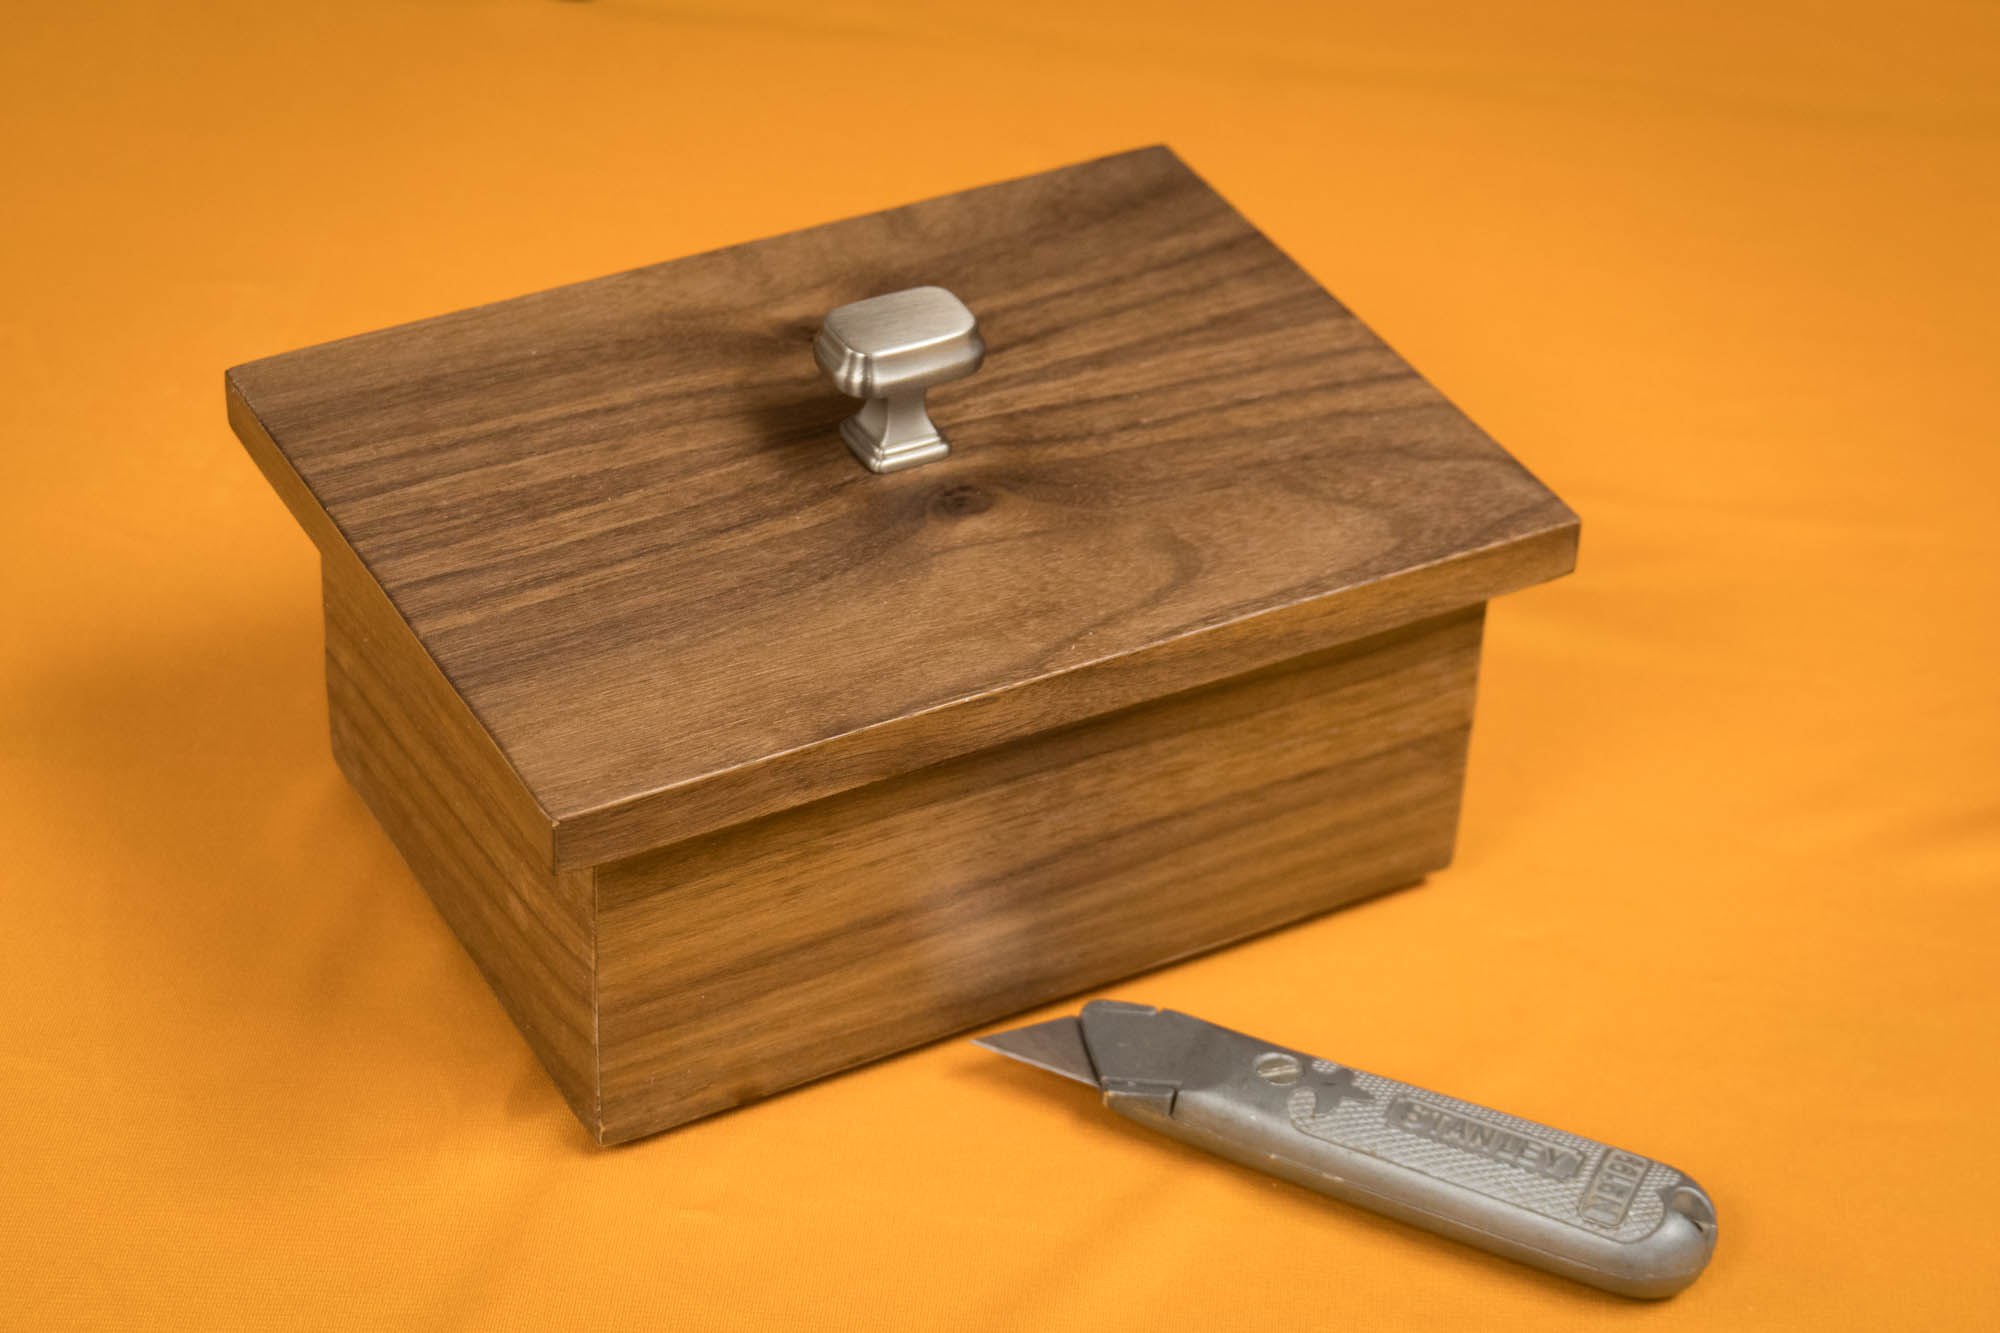
Create a 100% functional box from foam and veneer, using nothing more than a utility knife and a little ingenuity
Create a 100% functional box from foam and veneer, using nothing more than a utility knife and a little ingenuity
Tools and Supplies Used in this Woodworking Project
I’m not going to lie — I love having all these tools around here, and I’ll bet you feel the same way about the tools in your shop. But sometimes the key to developing your creativity is figuring out how to do more with less. In this tutorial, we going to make something using just one tool.
Armed with only a utility knife, I’m creating a simple box out of foam, veneer and glue, and I think you’ll find it comes together very well. And by limiting the resources available to me, I’ve forced myself to think outside the box (see what I did there?), using just my imagination and a rudimentary understanding of geometry.
Don’t freak out, though, people — I’m not going to start building everything out of foam and veneer. We’ll be getting back into straight-ahead woodworking before you know it. But this was an exercise in challenging myself, and I hope it inspires you to challenge yourself as well.
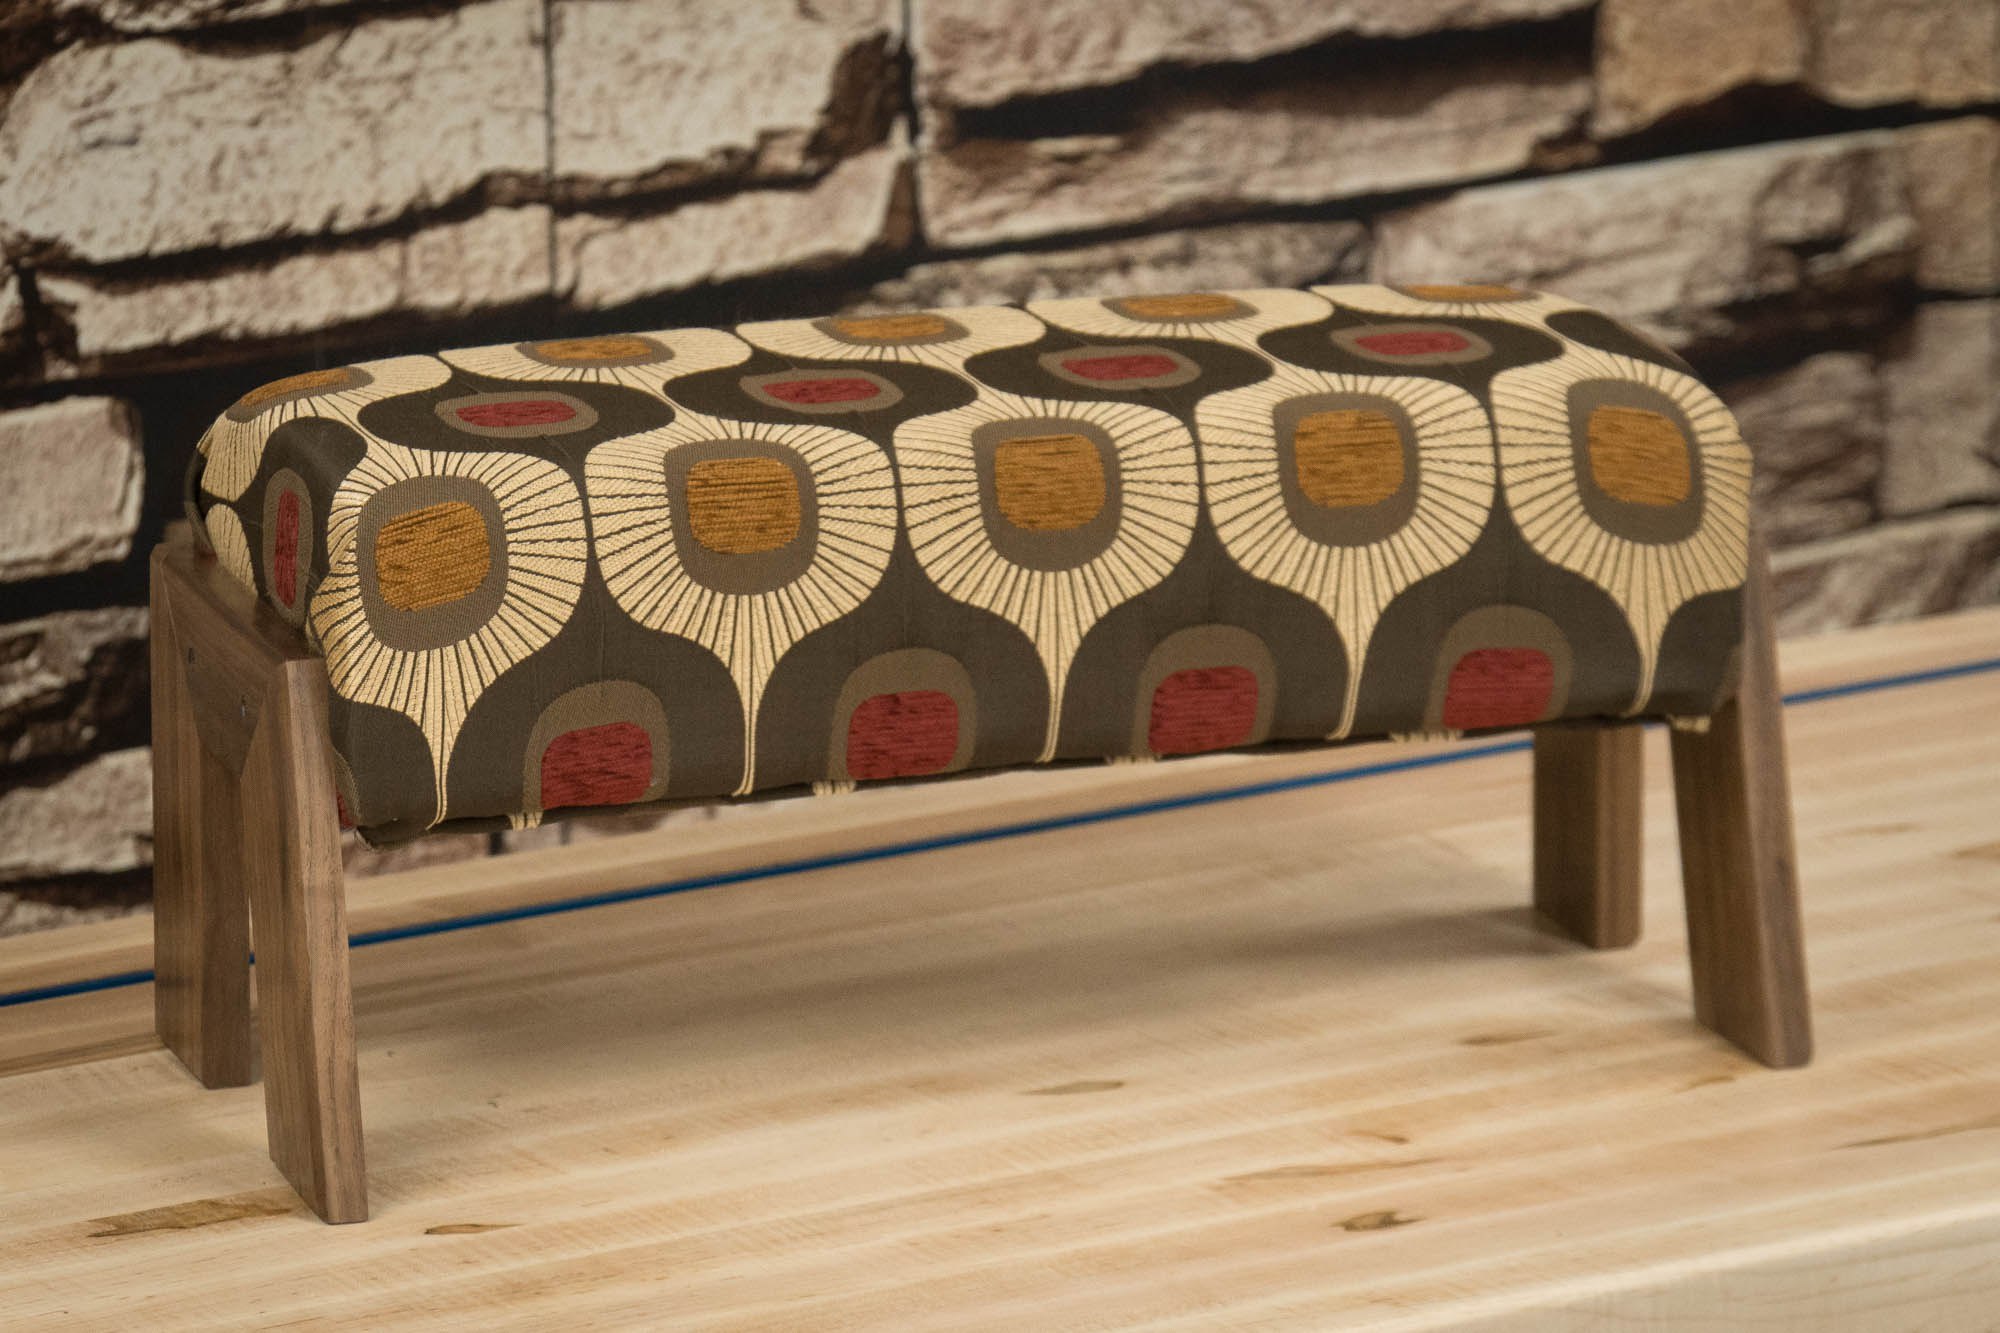
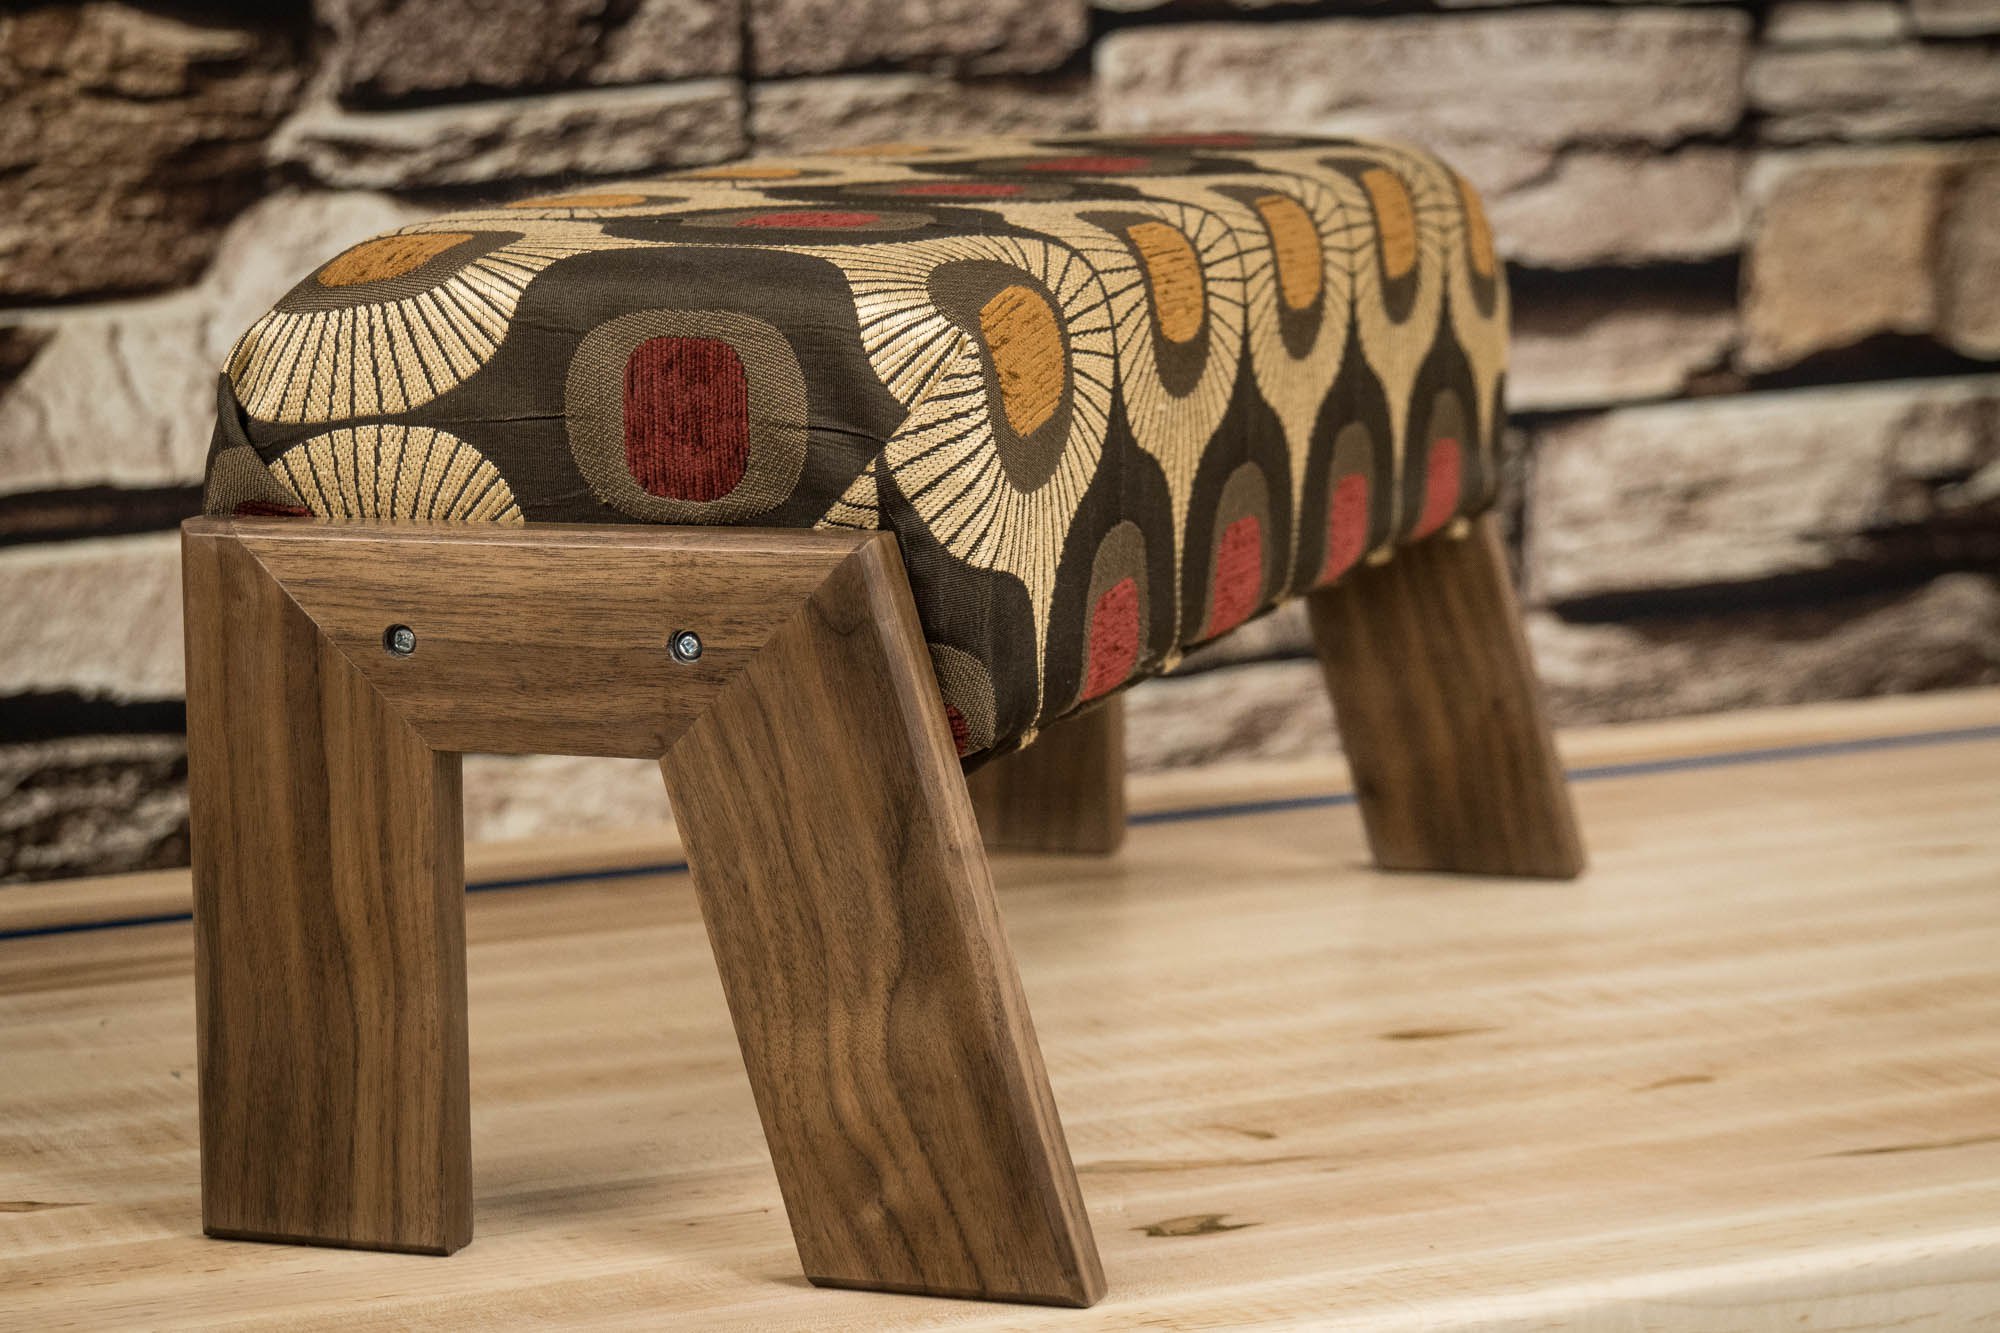
Making a Footstool With Woodworking and Basic Upholstery
Build the perfect office accessory using fabric, foam rubber, walnut and your own ingenuity.
Build the perfect office accessory using fabric, foam rubber, walnut and your own ingenuity.
Tools and Supplies Used in this Woodworking Project
Part of the fun of woodworking is experimenting with various techniques and design elements. It’s a great way to learn new tricks and expand your woodworking repertoire. For this how-to video, all I knew was I needed a footstool to put under the desk in my awesome new office. From there, I decided to make my first-ever attempts at basic upholstery. This tutorial video walks you through it step-by-step.
Because I was taking a trial-and-error approach, the top box of the footstool is just screwed together without glue. If you’re more confident in your design, you may want to adjust accordingly. For the legs of the footstool, I experimented with angles to create something with a distinctive look. Once I had something I was happy with, I shellacked and waxed the walnut that works well with the distinctive, vibrant look of the fabric I’ve used.
So did this experiment in designing something upholstery pay off? Am I the Jack White of woodworking? Watch the video and find out!
Mid-Century Modern Console Woodworking Project
How to make a mid-century modern console to hide all those wires from modern tech devices.
Mid-century modern design is very cool and very timeless, but it wasn’t designed with the cords and wires of modern technology in mind. To remedy the situation in my own house, where the TV, modem, speakers and other gizmos are making a huge mess, I’m constructing a custom console to get everything in place.
I’m using walnut plywood here, along with panels made from acrylic and cloth. We’re using dowel joinery in the assembly for added structure and strength. Dowel joinery can be a little tricky, so I have a pro-tip that helps you get the dowel holes lined up perfectly every time. Overall, though, this how-to tutorial shows you how surprisingly easy it can be to build a mid-century modern console that meets your specific needs.
The great thing about combining woodworking craftsmanship with mid-century modern design is you get the retro look you want and still account for the technology that didn’t exist in 1962. This project hides the electronics away — and those ugly cords — while still giving you easy access to them and preventing them from overheating.
Making The Ultimate Workbench for the Modern Woodworker
Imagine having your most-used woodworking tools right where you need them, when you need them. Here’s how to make a modern workbench.
Imagine having your most-used woodworking tools right where you need them, when you need them. The perfect workbench does just that, making every project easier, more efficient, and generally more fun. In Part 1 of this two-part tutorial, I’m working on my dream workbench, giving me dedicated spaces for clamps and tools, as well as modern touches like space for a built-in dust extractor and air compressor.
With this how-to guide, I take you through my process step by step, giving you the basics you need to design a modern workbench with all the electric bells and whistles that lead to successful projects. From here, you can customize your workbench to suit your specific woodworking needs. It turns out it’s true—you never know what you need in a workbench until you’ve worked on one long enough to know your process. I hope this tutorial inspires you think about your process, and then design a workbench that provides what you need when you need it.
Tools and Supplies Used in Making this Workbench
Woodworking Books
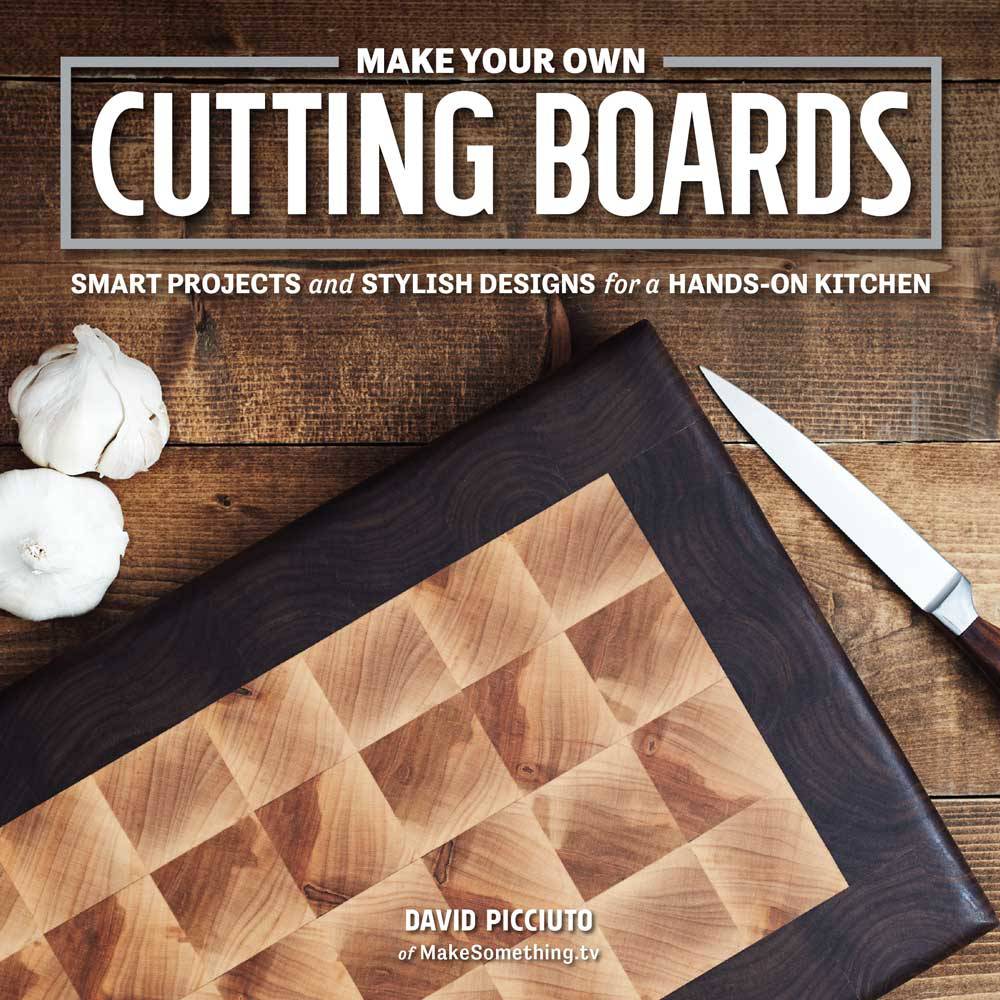
Make Your Own Cutting Boards
15 cutting board projects to make as gifts or sell! Get your signed copy!
The New Bandsaw Box Book
8 bandsaw box projects you can make and sell at craft shows. Signed copies now available!

